The skin retouching is an essential step to give your comic character an appealing and lively appearance. It is important to remove distracting elements such as freckles, liver spots, and other skin blemishes to achieve a smooth, "painted" effect. In this guide, I will explain the basic tools for an effective skin retouching in Photoshop and show you how to apply these on a blank layer.
Key insights
- Working on a blank layer gives you complete control over the retouching.
- The clone stamp is a classic tool for removing distractions.
- The healing brush provides better results through intelligent pixel adjustment.
- The patch tool is ideal for quick retouching without source sampling.
- The clone stamp is best suited for contours.
Step-by-step guide
First, create a new blank layer on which the retouching will take place. This is crucial to avoid damaging the original images and to be able to make adjustments at any time. Name the layer something like "Retouching" to maintain clarity.
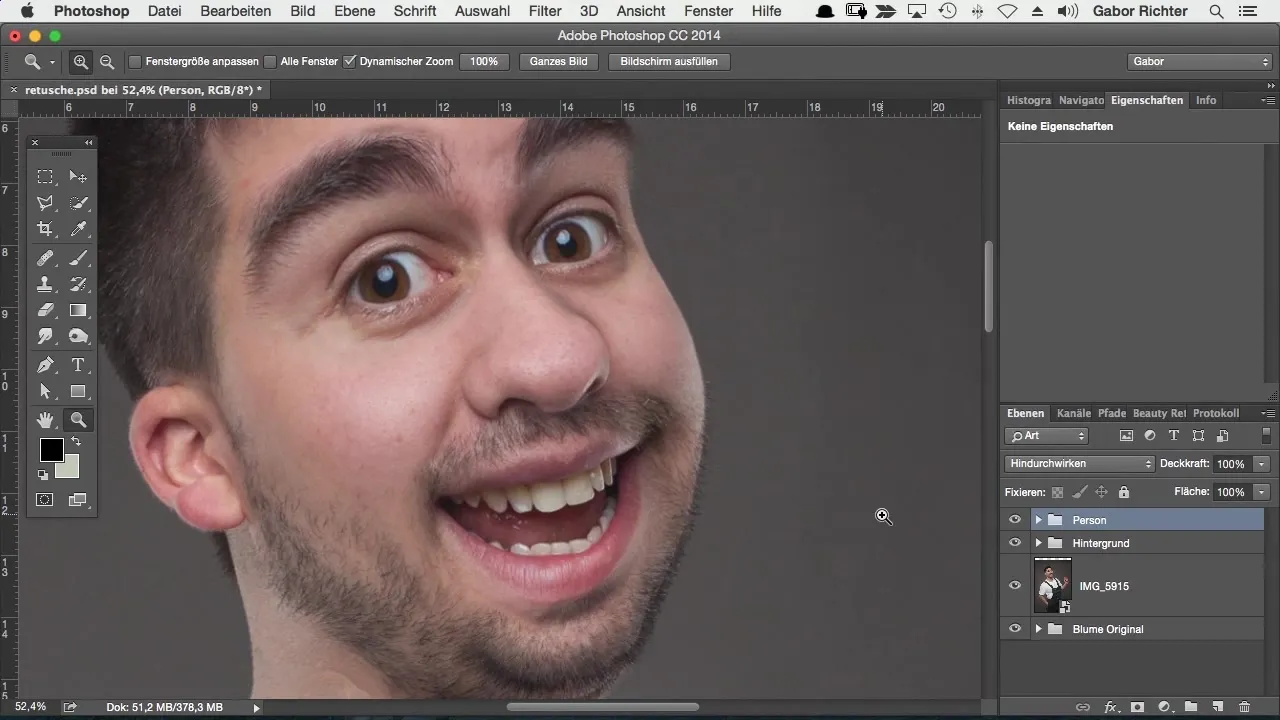
Next, select the clone stamp tool, a proven tool for removing distractions. To use it effectively, make sure that the pixel source is sampled from the correct layer. Change the clone stamp setting to "current layer and below" so that it can utilize the desired information. Click with the Alt key on the source in the image that you want to use, and then paint over the distraction.
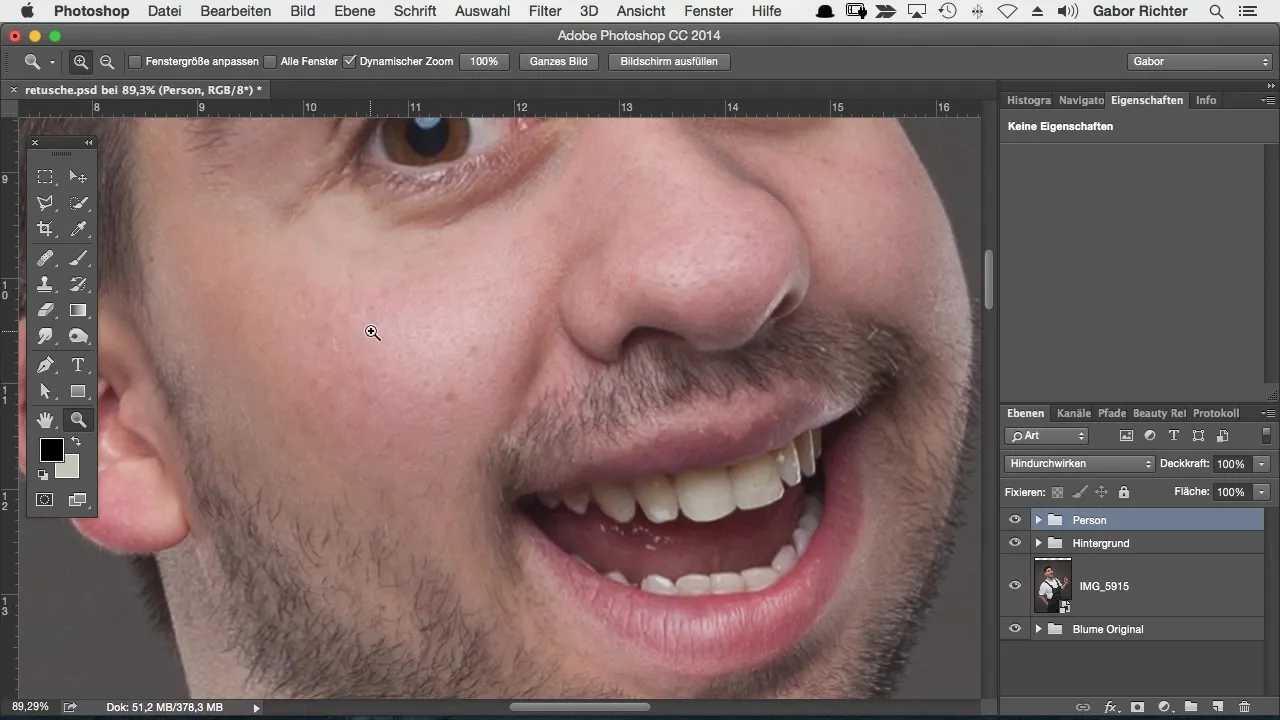
Adjusting settings is also important. You should vary the brush size and hardness depending on the size of the distraction. A softer setting (20-50%) allows you to create natural transitions. This ensures that the retouching remains inconspicuous and the skin looks natural.
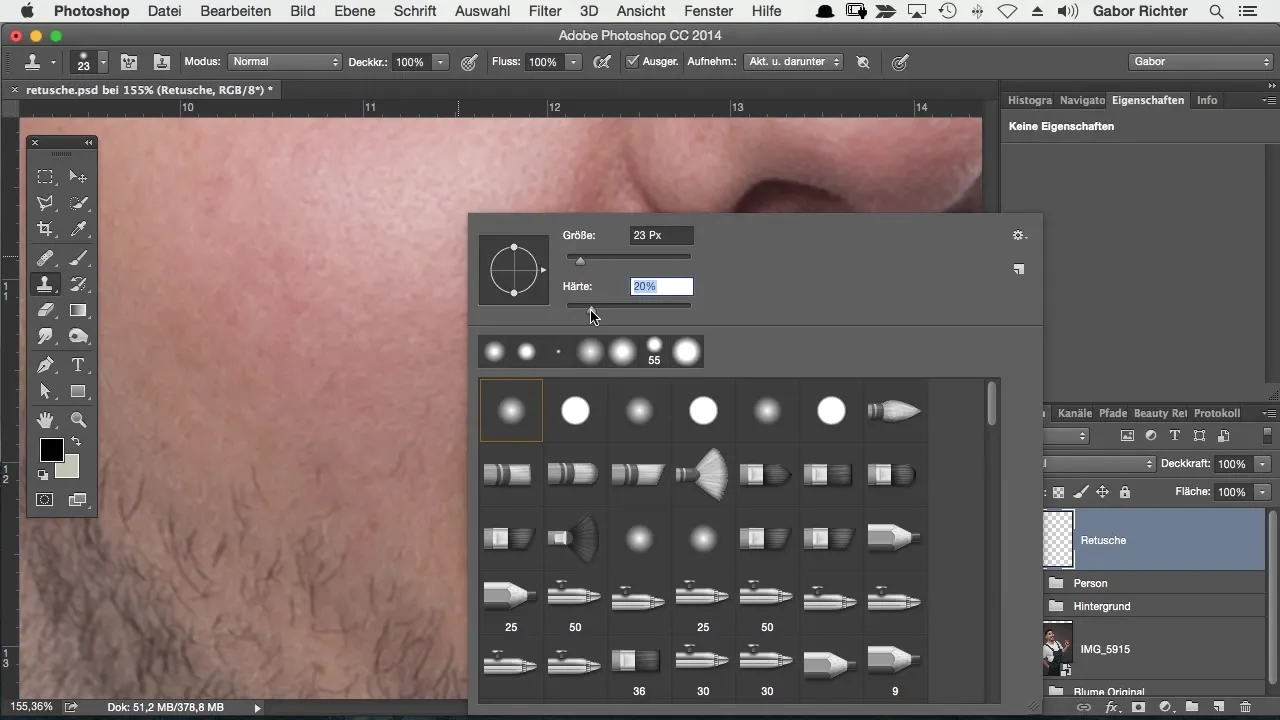
If you paint over the distraction multiple times with reduced opacity, it achieves a better result than working directly with 100% opacity. This technique creates irregularities that contribute to a more natural look.
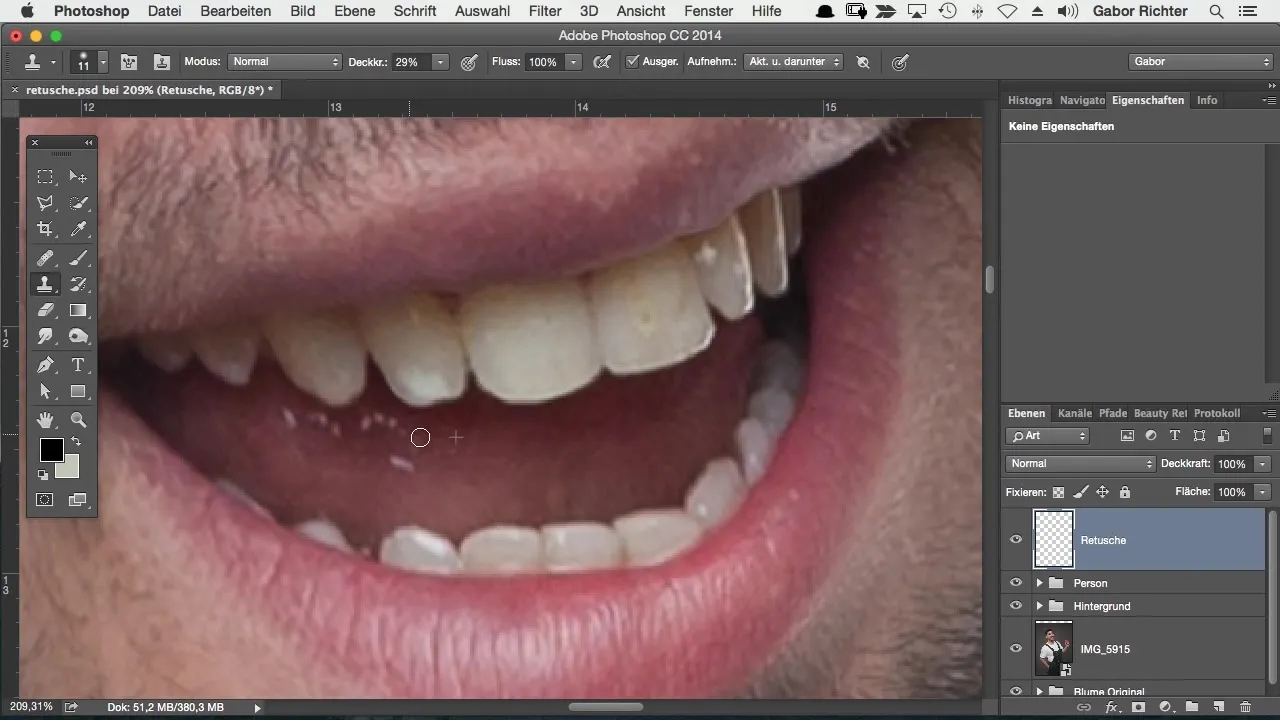
You can also use different sources for the retouching by sampling from various sides. This results in a more harmonious final result.
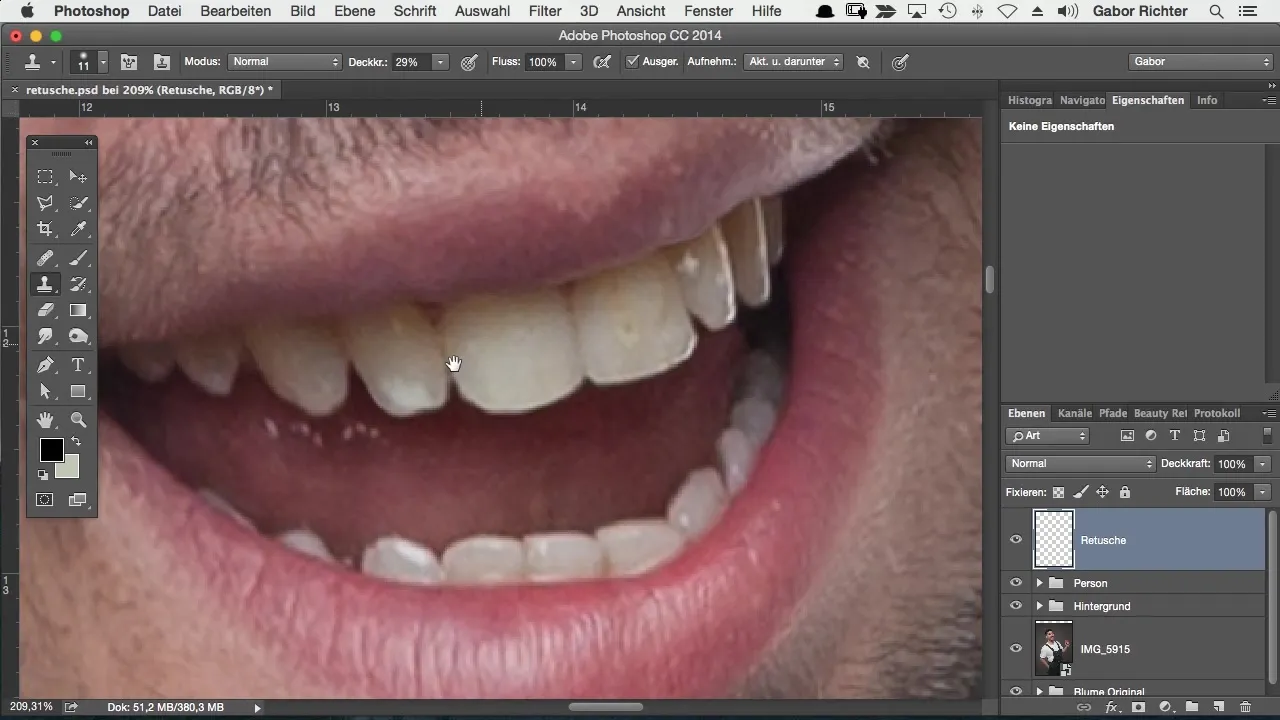
After the clone stamp, the healing brush provides an excellent alternative. It works similarly, but instead of simply copying pixels, Photoshop analyzes the surrounding environment and automatically creates an optimal solution. Here, it is also important to have "current layer and below" active, so that the healing brush can work correctly.
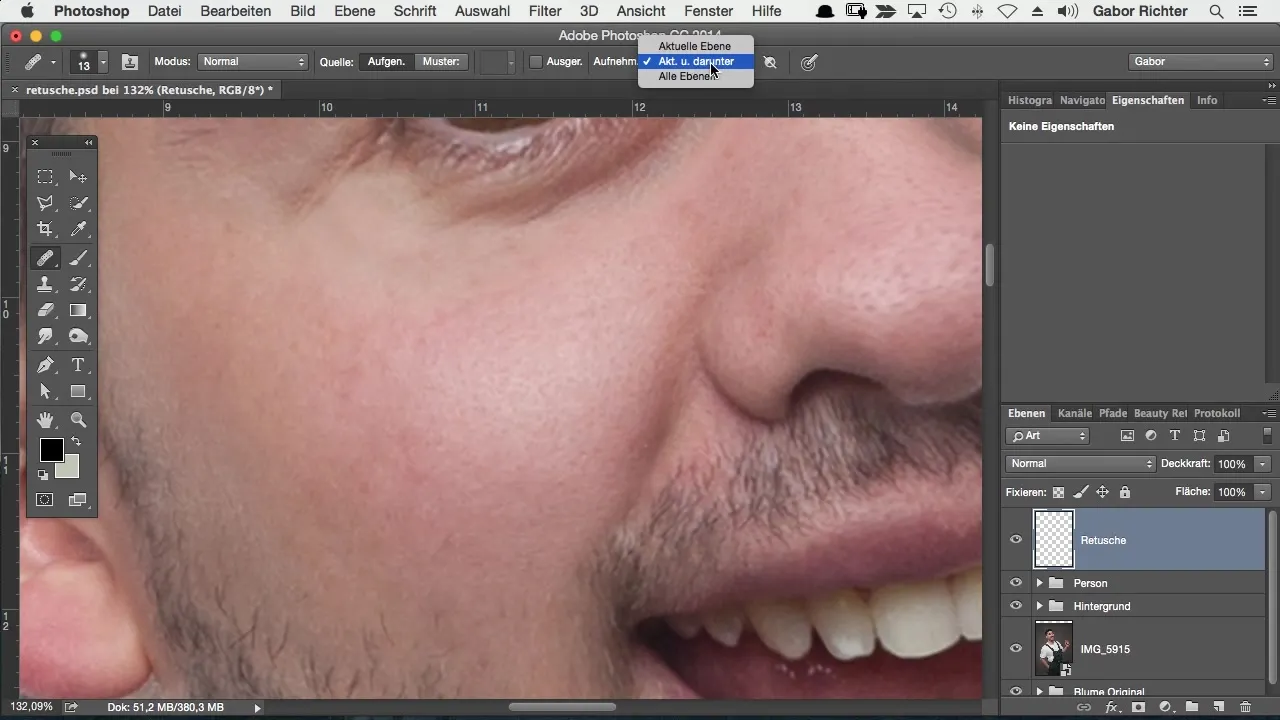
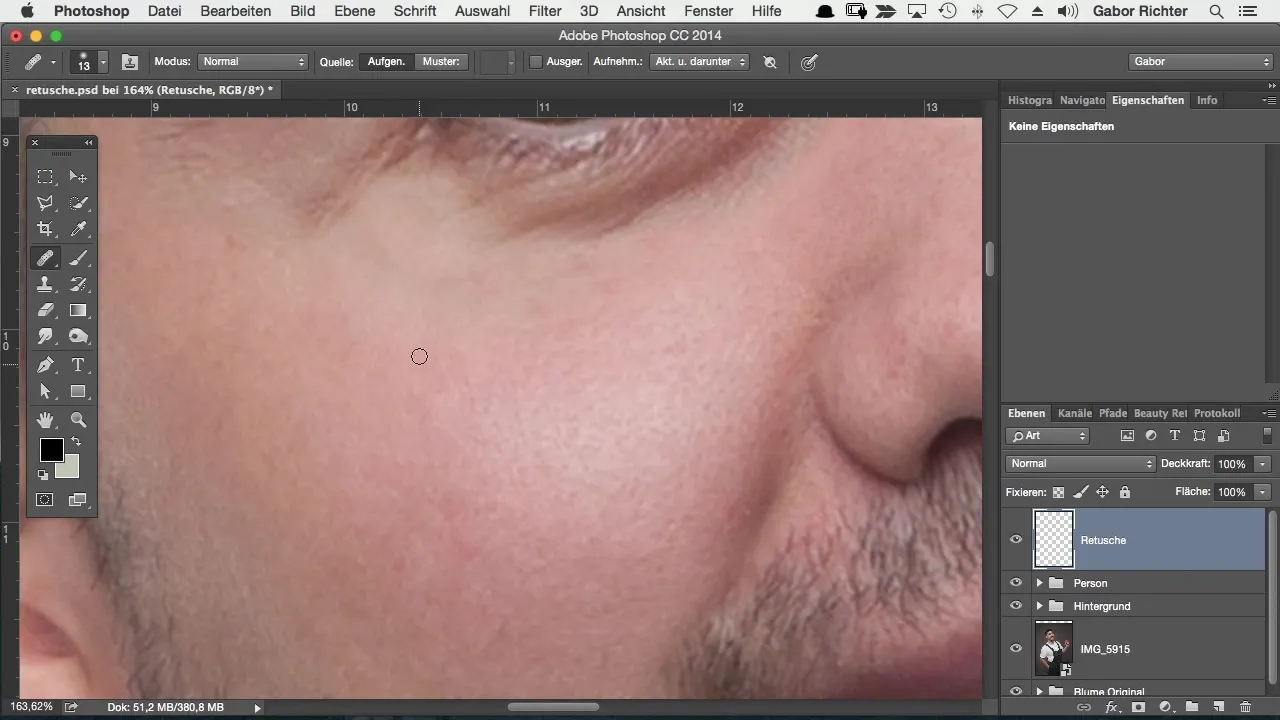
You select a distraction just like with the clone stamp to remove it. The healing brush works over the area to be retouched, with Photoshop automatically calculating the appropriate pixels and their color values. This often leads to a much better result.
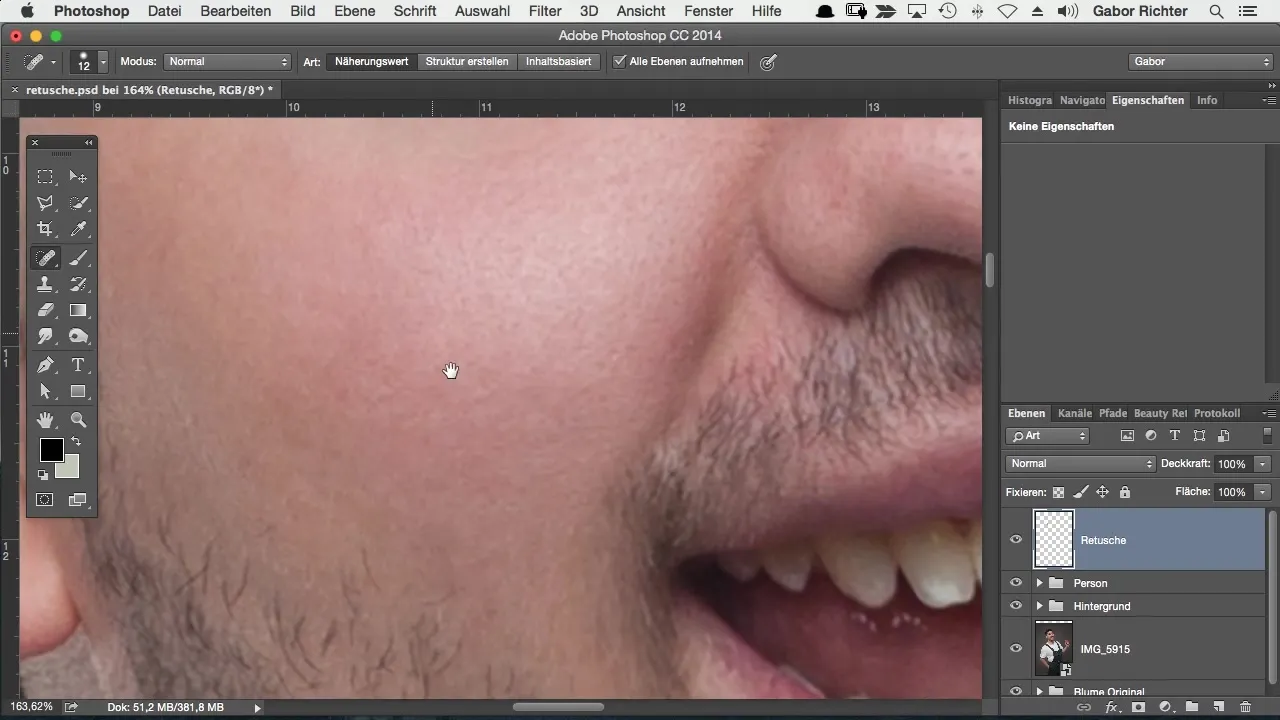
A special feature is the patch tool, which does not require a source. You just have to paint over the distracting area, and Photoshop takes care of the rest. This tool is particularly useful for quicker adjustments.
Despite the effective tools, there are areas where the clone stamp is the better choice, especially at contours or difficult spots. Where Photoshop struggles to blend the pixels harmoniously, you should use the clone stamp.
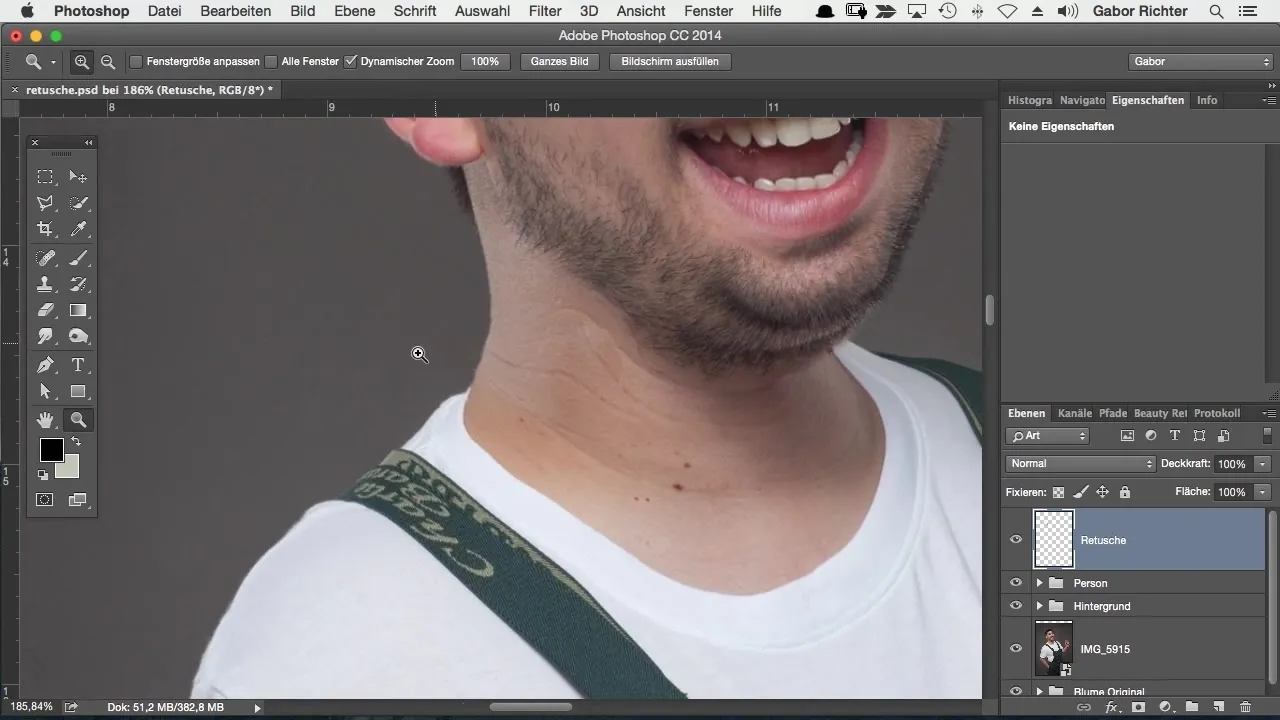
The correct opacity and the manual refinement of certain areas often lead to a cleaner result. Depending on the type of distraction, you should choose the tools and techniques that are most suitable.
Summary – Skin Retouching for Comic Styles in Photoshop
Skin retouching for comic styles in Photoshop requires a solid understanding of the right tools. From using the blank layer to the clone stamp to the healing tools – each technique has its own advantages and challenges. You should experiment and find which tools suit your specific needs best.
Frequently Asked Questions
How do I create a new blank layer in Photoshop?To create a new blank layer, click the "New Layer" icon in the Layers panel or press the shortcut Ctrl + Shift + N.
When should I use the clone stamp?The clone stamp is particularly suited for editing distracting contours or for detailed retouching.
How does the healing brush work?The healing brush analyzes the surrounding pixels and calculates how to best retouch the selected area without needing a specific source.
Why should I adjust the brush opacity?An adjusted opacity (30-50%) allows for more natural transitions and avoids hard edges that can occur during retouching.
What is the difference between the healing brush and the patch tool?The healing brush requires a source for retouching, while the patch tool can be used by simply painting over distracting areas without needing to select a source.


