If you want to refine your Photoshop skills, editing lips is a special area that ensures a plastic and vibrant look. Targeted lightening and darkening brings contours and depth to the image. This guide provides you with a step-by-step method to unleash the full potential of your image editing.
Key Insights
- Through targeted darkening and lightening, you can make the lips appear more three-dimensional.
- It is important to use the right brush size for a natural contour.
- The use of color selection and opacity optimizes the result and ensures a harmonious adjustment.
Step-by-Step Instructions
Step 1: Prepare the Workspace
Start Photoshop and open your image. Select the layer with the subject. For best results, it is advisable to also work with a new layer here, even if it is not absolutely necessary. You can make the changes on your existing layer or create a new layer for the lip editing.
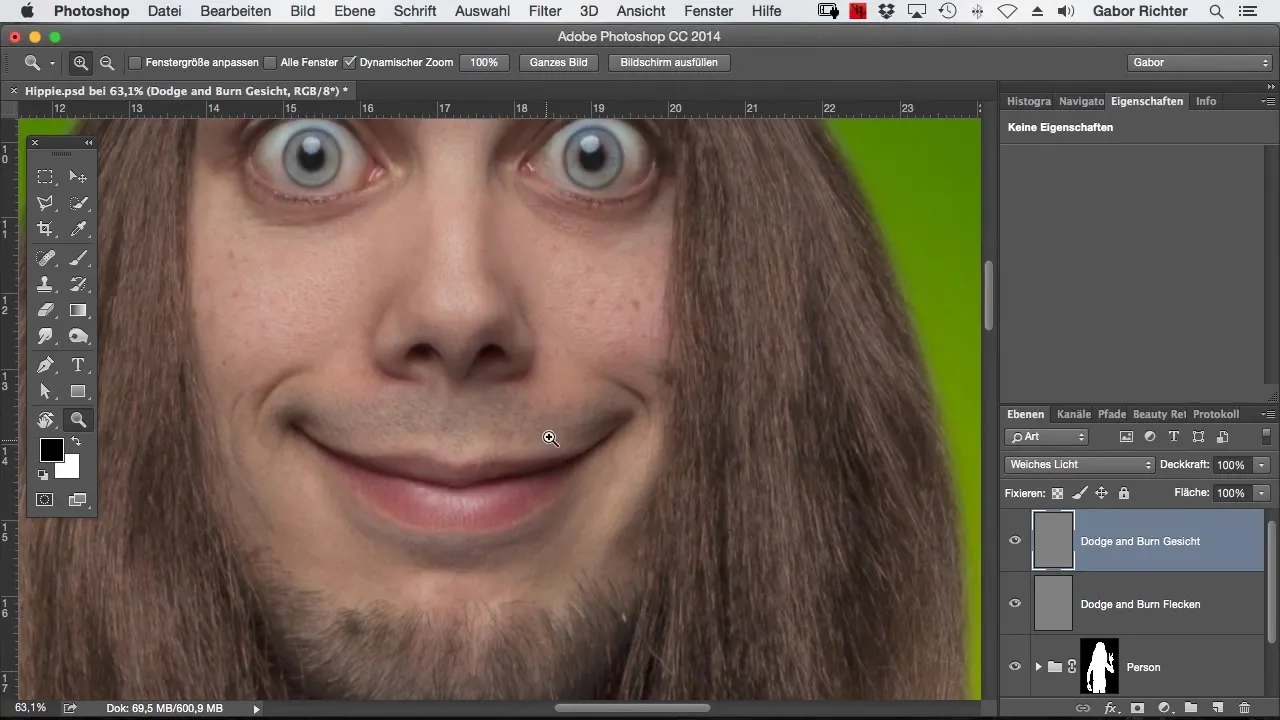
Step 2: Darkening the Corners of the Lips
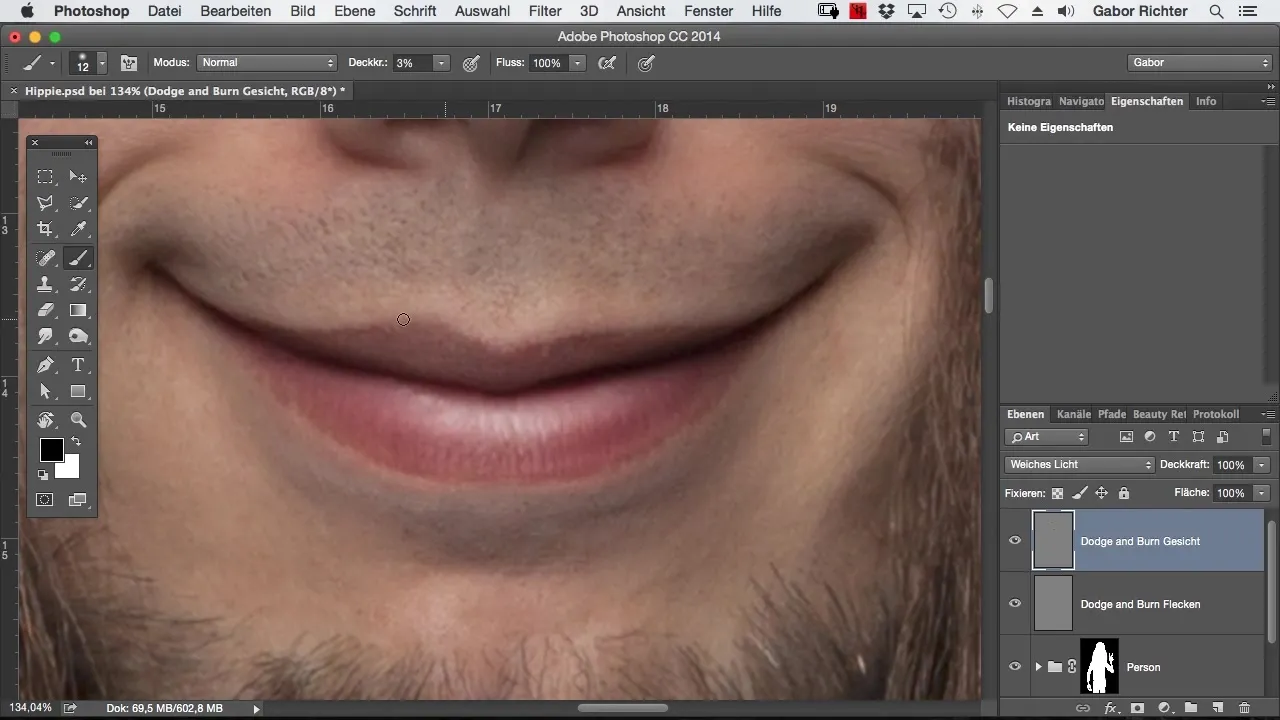
Start with the most important part, darkening the corners of the lips. Use the brush tool and choose an appropriate brush size. Make sure to set the brush so you can gently darken the corners of the lips. This gives the lips more three-dimensionality and depth. Check the change in the image to see how much more definition you can add.
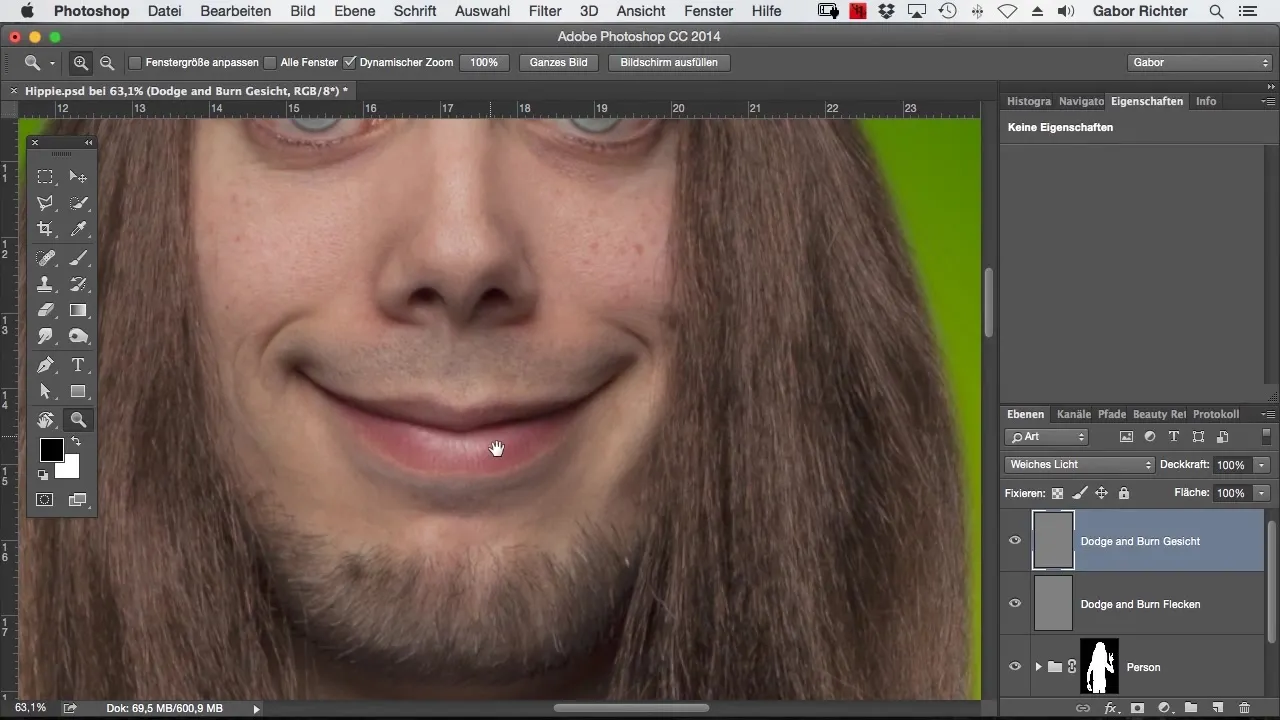
Step 3: Enhance the Contours
Enhance the contours of the lips by slightly reducing the brush size. Keep the pressure light and do not make lines too strong to maintain a natural look. Remember that artificial, clear lines can disturb the natural beauty of the lips. Use light movements to gently outline the contours and highlight them a bit more.
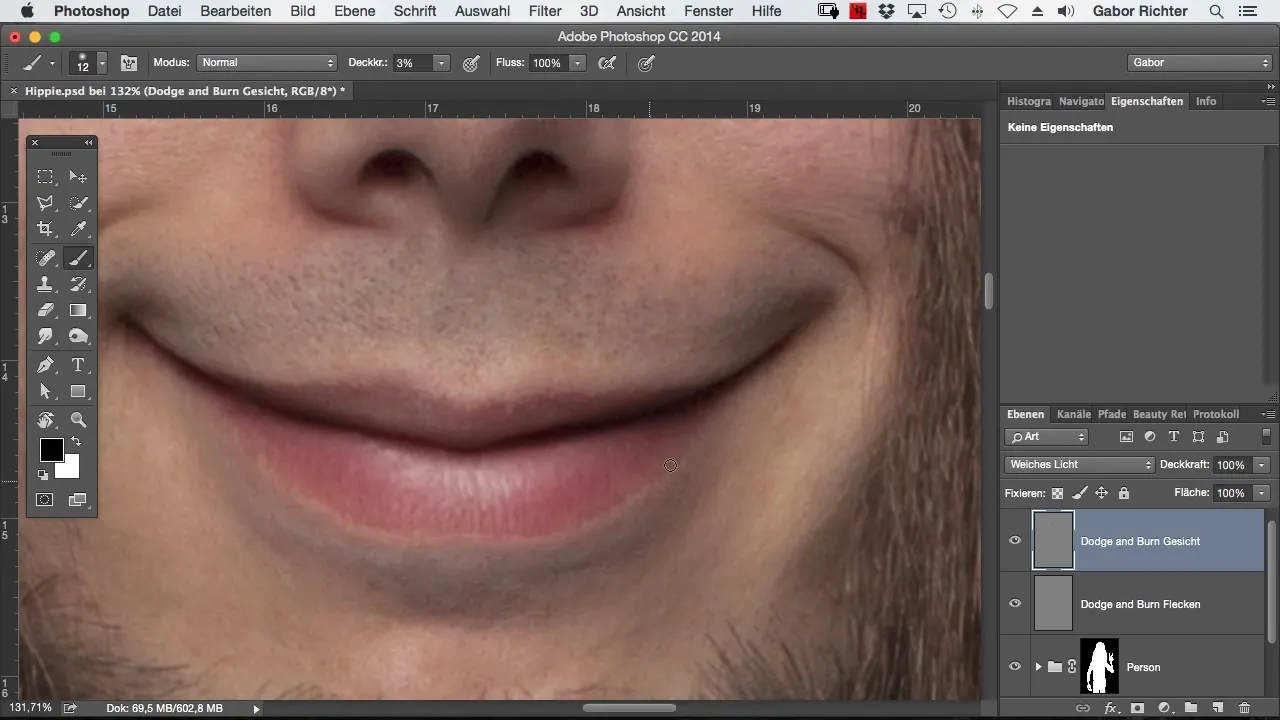
Step 4: Add Volume
Now switch to the color black and slightly increase the brush tip size. Darken the lower lip to make it a bit darker and create volume. Be careful not to darken the top of the lips too much, as this could affect the appearance of the highlights.
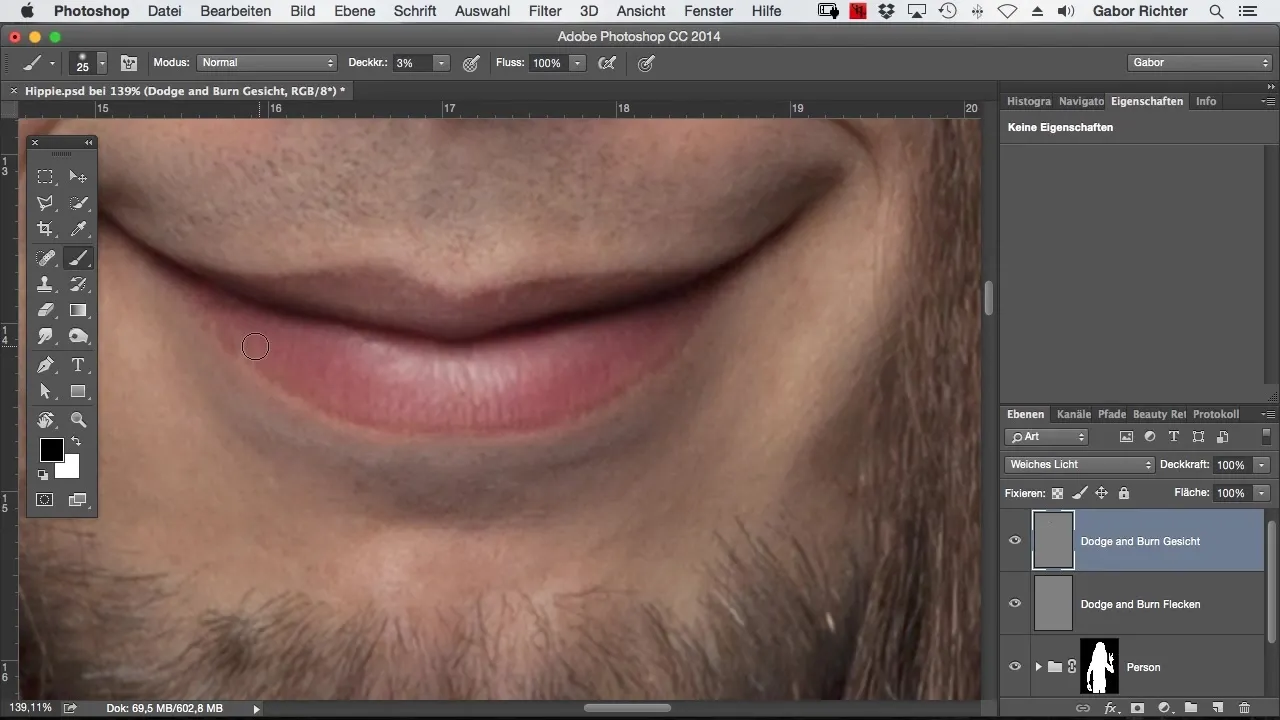
Step 5: Lighten the Highlights
Now it’s time to lighten the highlights. Choose a lighter shade and paint the highlights. You can adjust the size of the brush tool to ensure that the lightening effects blend harmoniously into the image. Often, it can be beneficial to make the highlights larger than they originally were to achieve a more appealing effect.
Step 6: Make Corrections
Go back to the areas that do not appear perfect to you. Sometimes it can be helpful to lighten or darken certain areas again to create a more balanced look. Pay attention to the transitions and ensure that the lines are smooth and blend harmoniously into the overall image.
Step 7: Final Review and Finalization
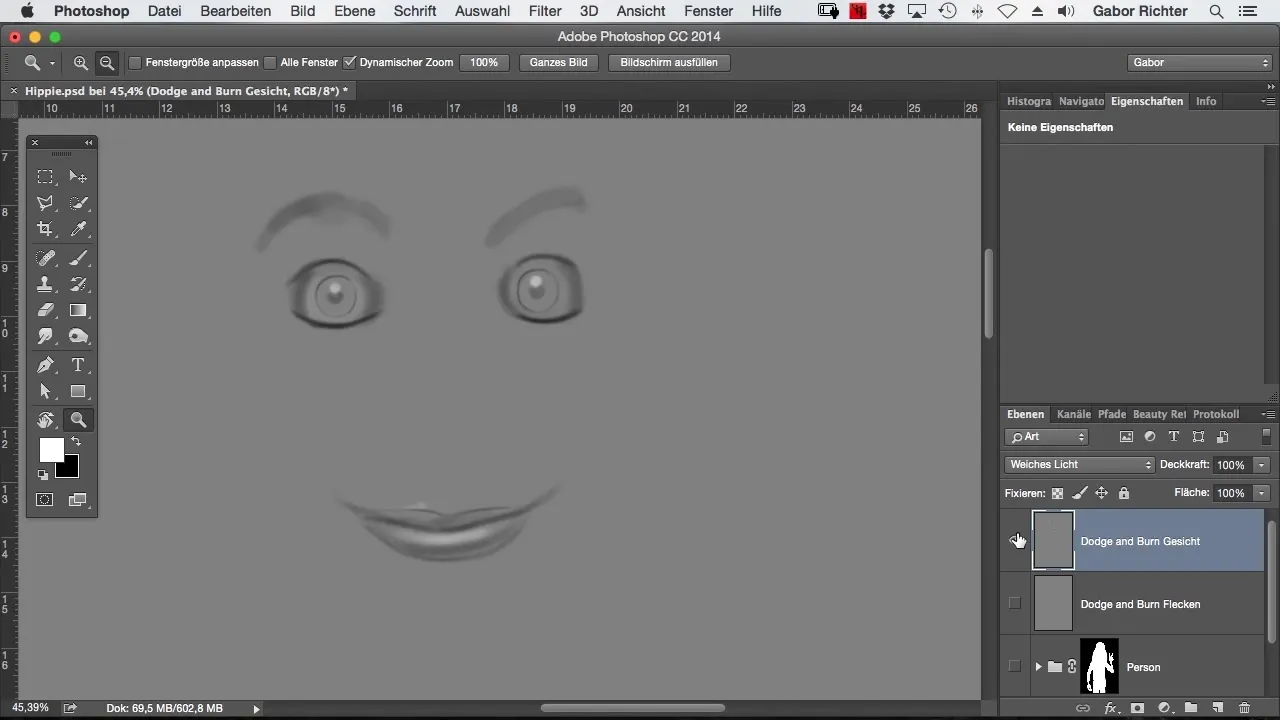
Enable the changes and take a look at the entire image. Often, it helps to switch between the original image and the edited image to get a better sense of the progress. Is the result even, and do the lips look vibrant? Make sure that the image appears harmonious overall.
Summary – Digitally Refining Lips in Photoshop
This guide has shown you how to improve your lip editing in Photoshop through targeted techniques. By darkening and lightening, you create a crispy, three-dimensional lip look that adds more attractiveness to the image and fits perfectly into your project.
Frequently Asked Questions
How can I create natural lip contours?Use a fine brush and apply gentle, subtly placed lines to maintain the natural look.
Which brush should I use for this technique?A soft, round brush is ideal for creating gentle transitions and avoiding excessive hardness.
Can I use these techniques on other parts of the face?Yes, these techniques are also excellent for other areas of the face such as cheeks or eyes.


