The digital editing of images allows for many creative freedoms, but often the representation of the skin of a figure falls short of expectations. In this guide, you will learn how to use the Camera Raw Filter in Photoshop to make the skin of your figure both more plastic and painterly. This is especially effective when many pixels have been damaged by prior editing steps such as liquifying.
Key Insights
- With the Camera Raw Filter, you can smooth the skin surface while adding structure.
- Noise reduction is helpful for achieving a flawless skin appearance.
- By using masks, you can specifically emphasize or recover areas of skin that have been lost through editing.
Step-by-Step Guide
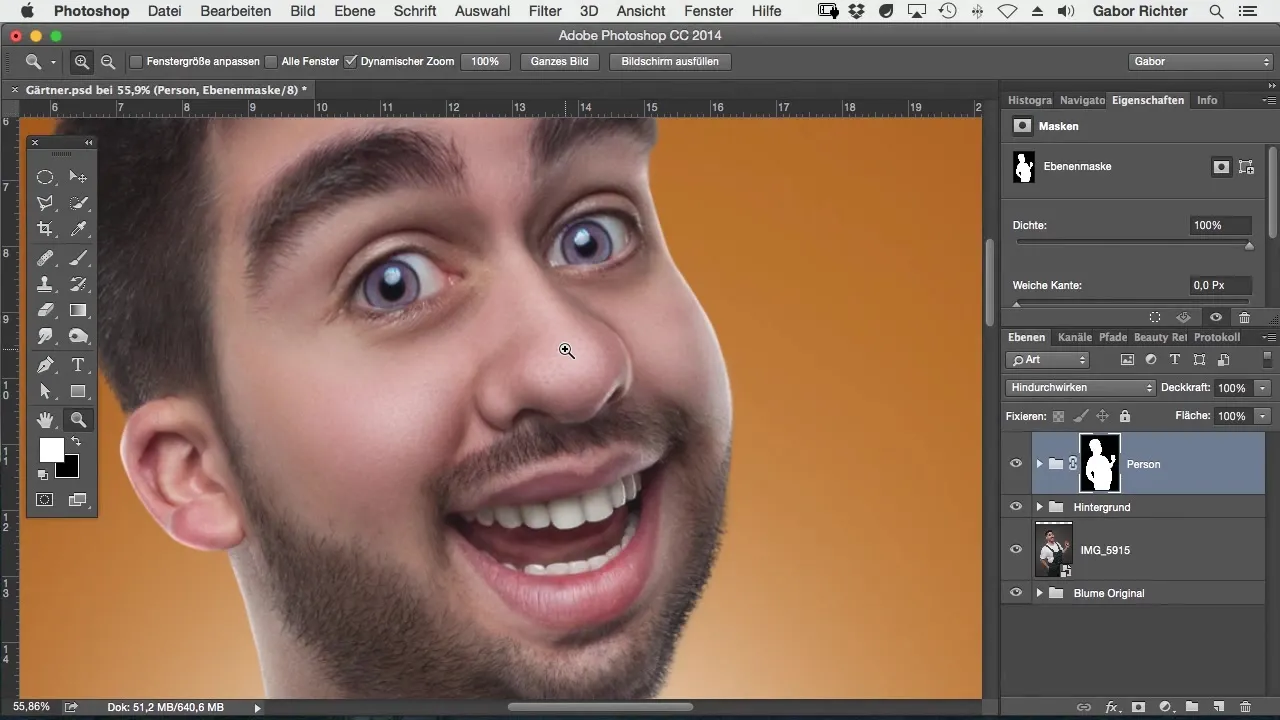
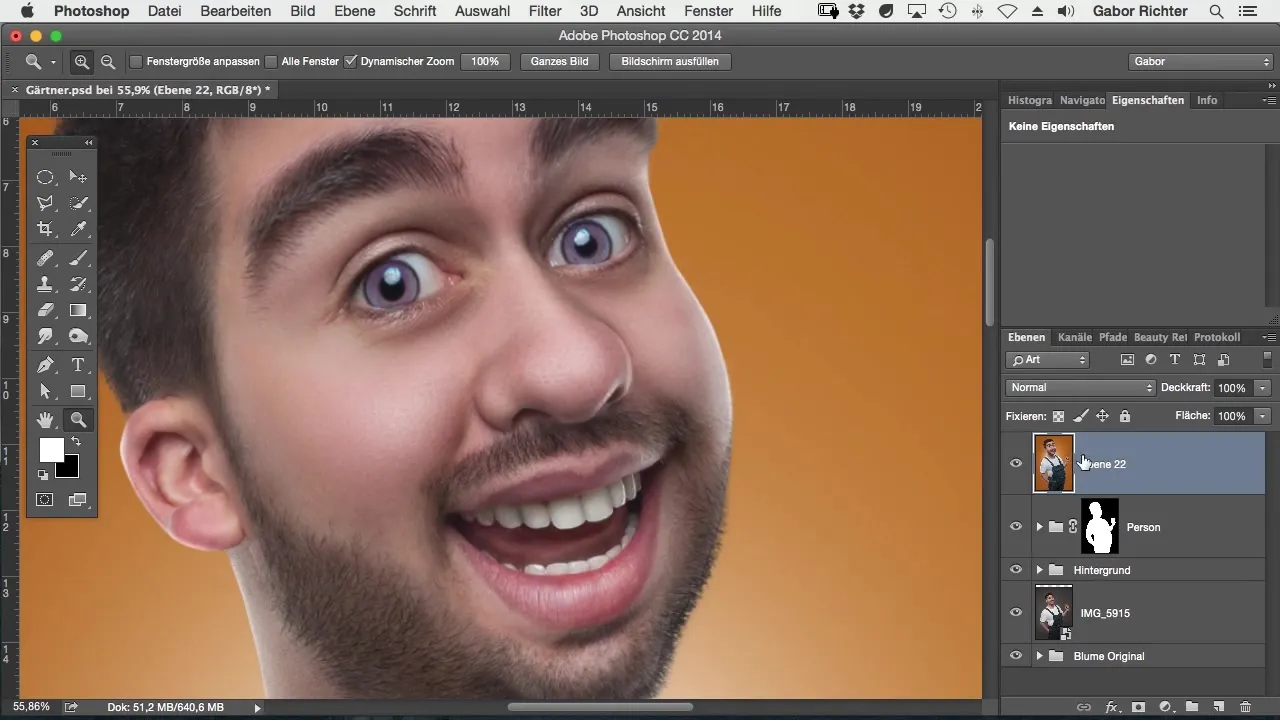
Start by creating a new layer to avoid applying the edits to the original image. You can use the shortcut Command + Alt + Shift + E (Mac) or Ctrl + Alt + Shift + E (Windows) to merge all visible layers into a new one.
Next, apply the Camera Raw Filter. You can find it under the "Filter" menu and then "Camera Raw". This opens the Camera Raw dialog box, where you can work with the various options.
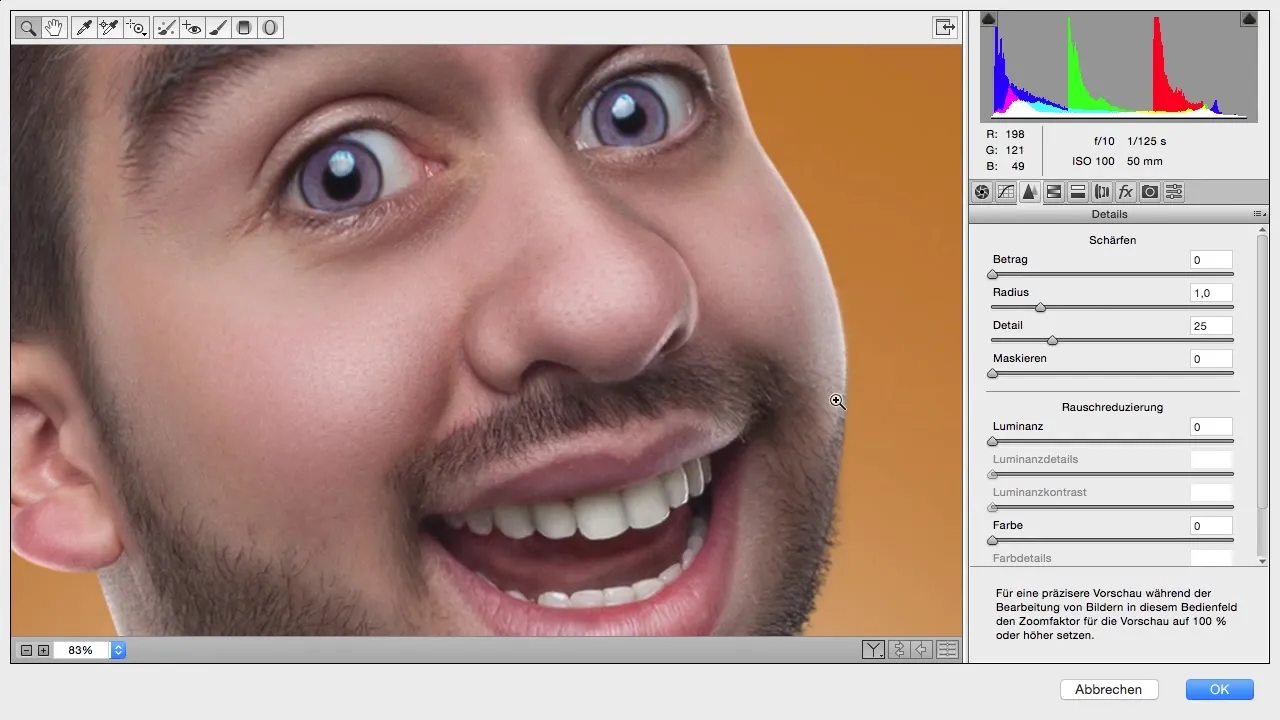
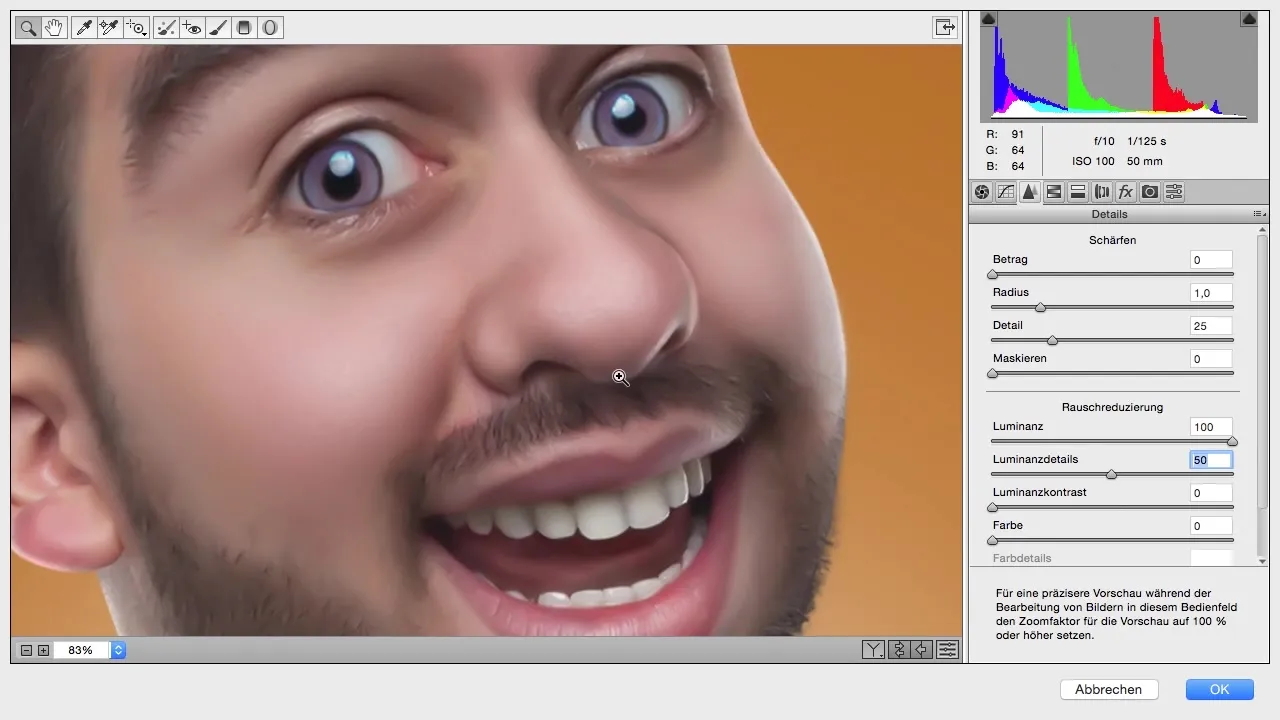
An important step is noise reduction, which you can see in the "Details" tab. To smooth the skin, slide the Luminance slider to the right to achieve a smooth skin surface. Be cautious with the intensity; extreme settings may make the skin texture appear unnatural.
It is advisable to apply this step particularly to images where the skin does not look optimal due to other editing techniques like retouching or compositing. Often, the skin structure changes negatively, and noise reduction can be very helpful here.
Set the Luminance slider to 100% for the best results. At the same time, you can experiment with the "Details" slider to balance the relationship between detail and smoothness.
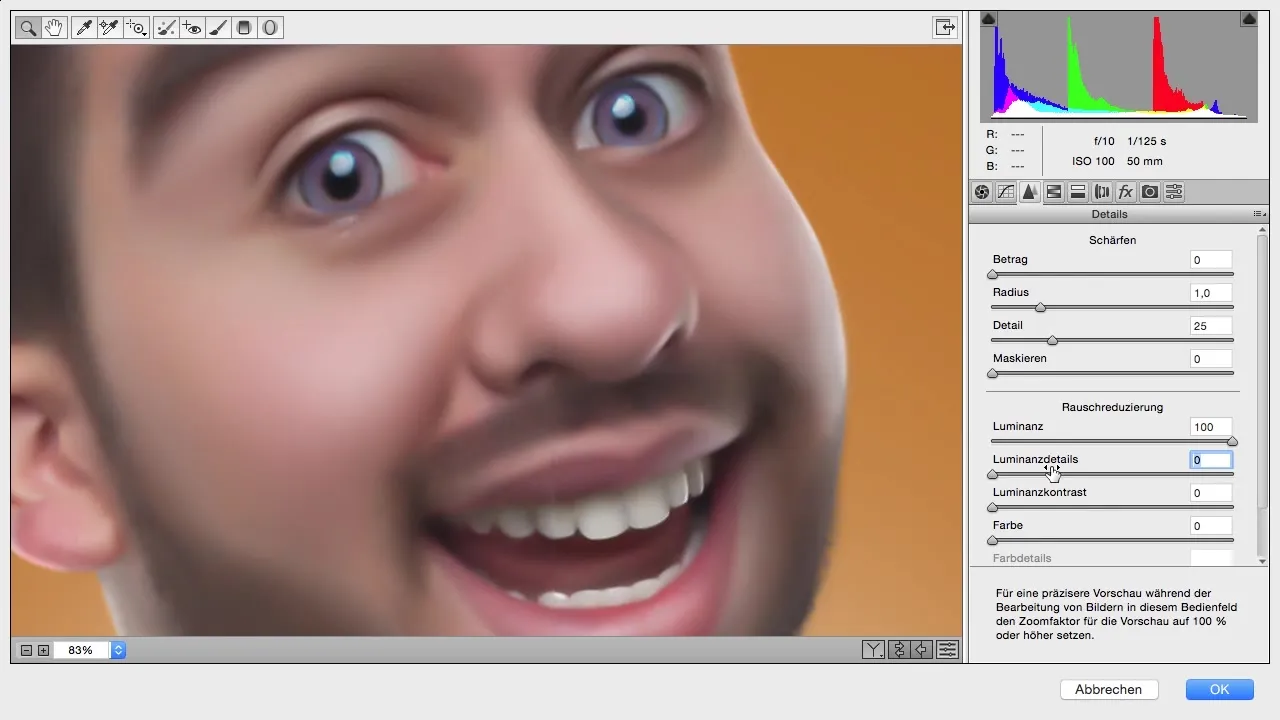
It is convenient that you can decide how much detail you want to bring back. You might want to start this slider at 50% to see what effect it achieves.
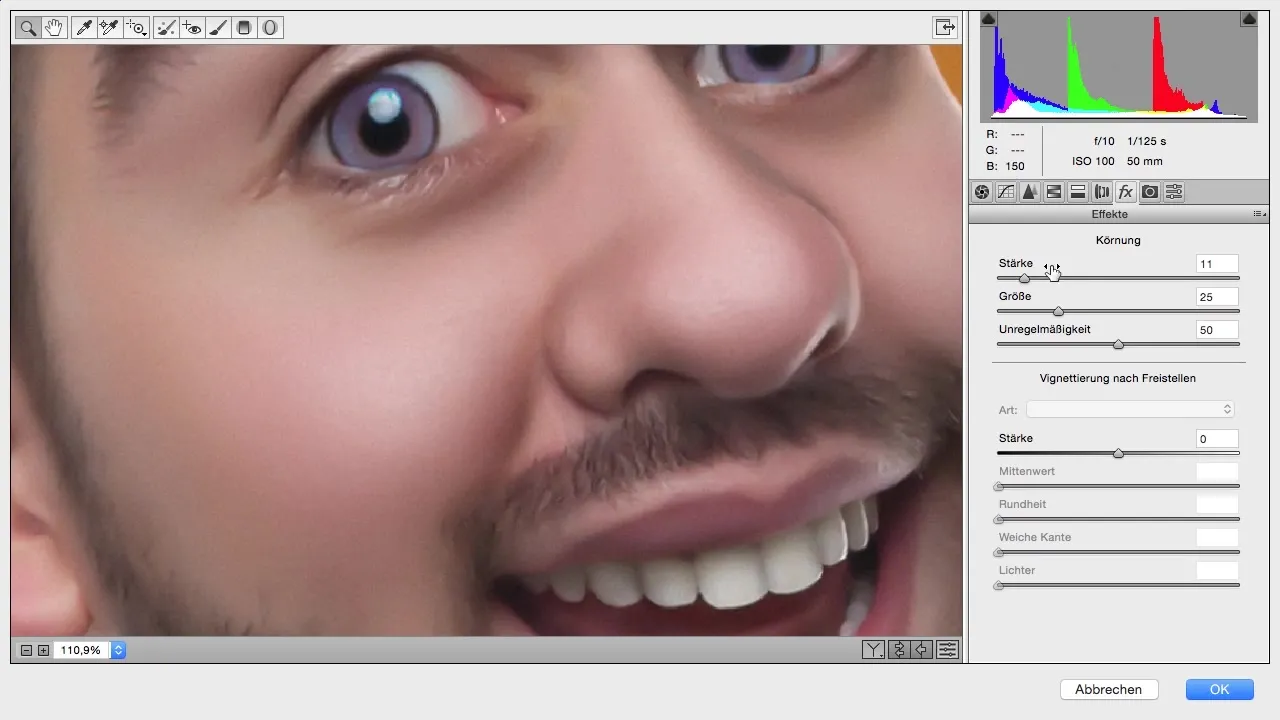
If you are not entirely satisfied with the smoothness and want a little more skin texture, you can adjust this using the Effects. Here, you can add a slight grain to give the skin more depth and character. Increase the strength a bit to achieve a subtle effect.
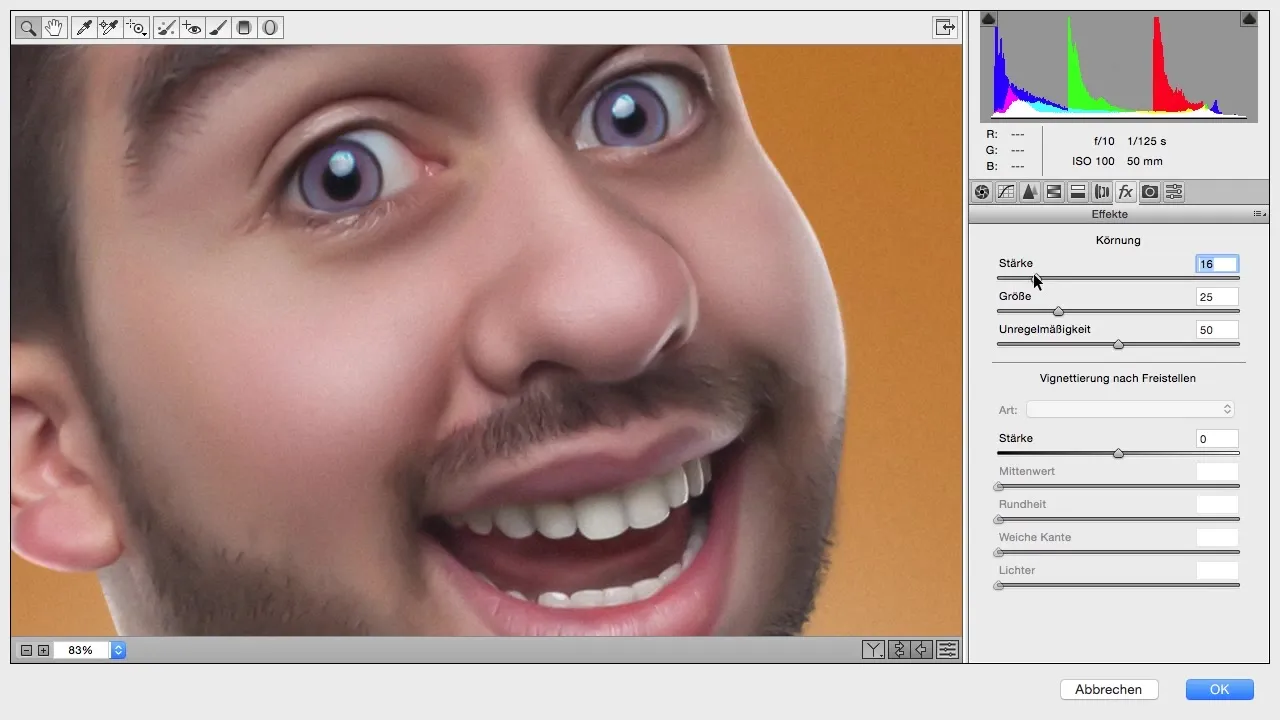
You have the option to vary the size of the grain to decide whether your image should appear soft or coarse. Depending on your preference, you can adjust the nuances here.
After making adjustments in the Camera Raw Filter, confirm the changes and return to Photoshop. Look at the image – you should already see a noticeable difference.
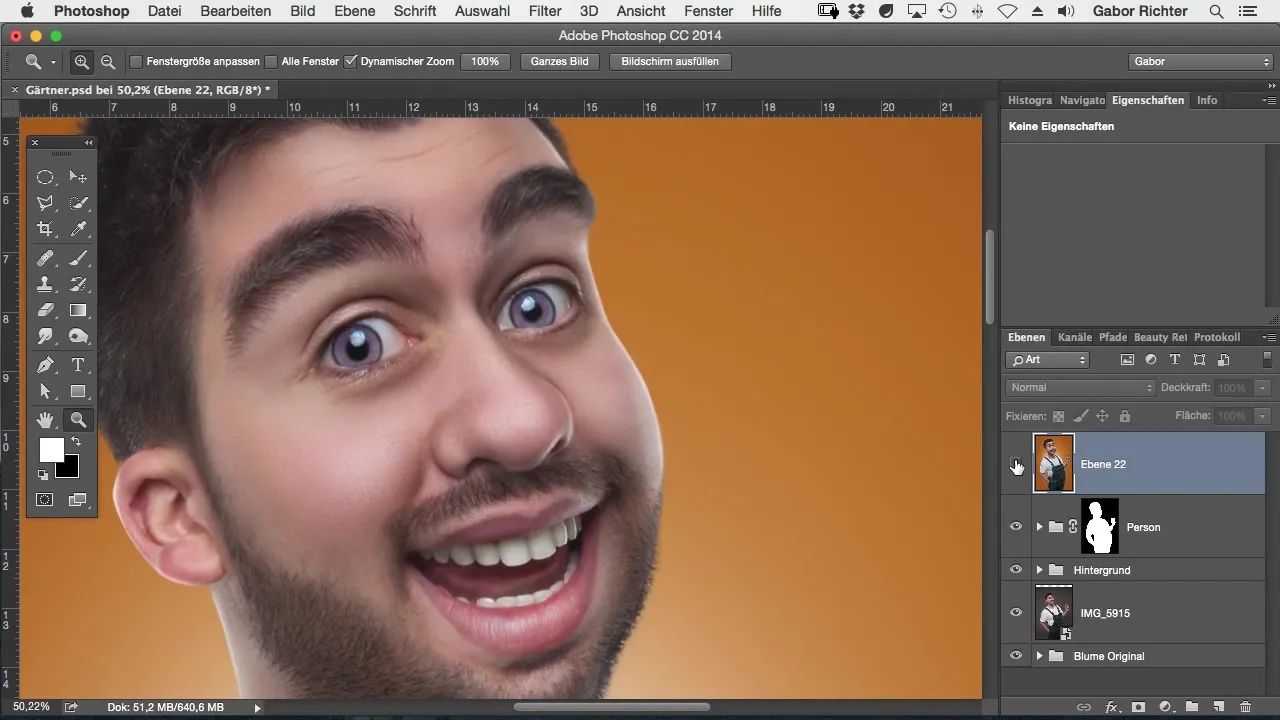
To selectively restore areas that have been overly affected by liquifying, you can add a mask. Invert the mask, and paint back the desired areas with white foreground color so that the new skin texture becomes visible there.
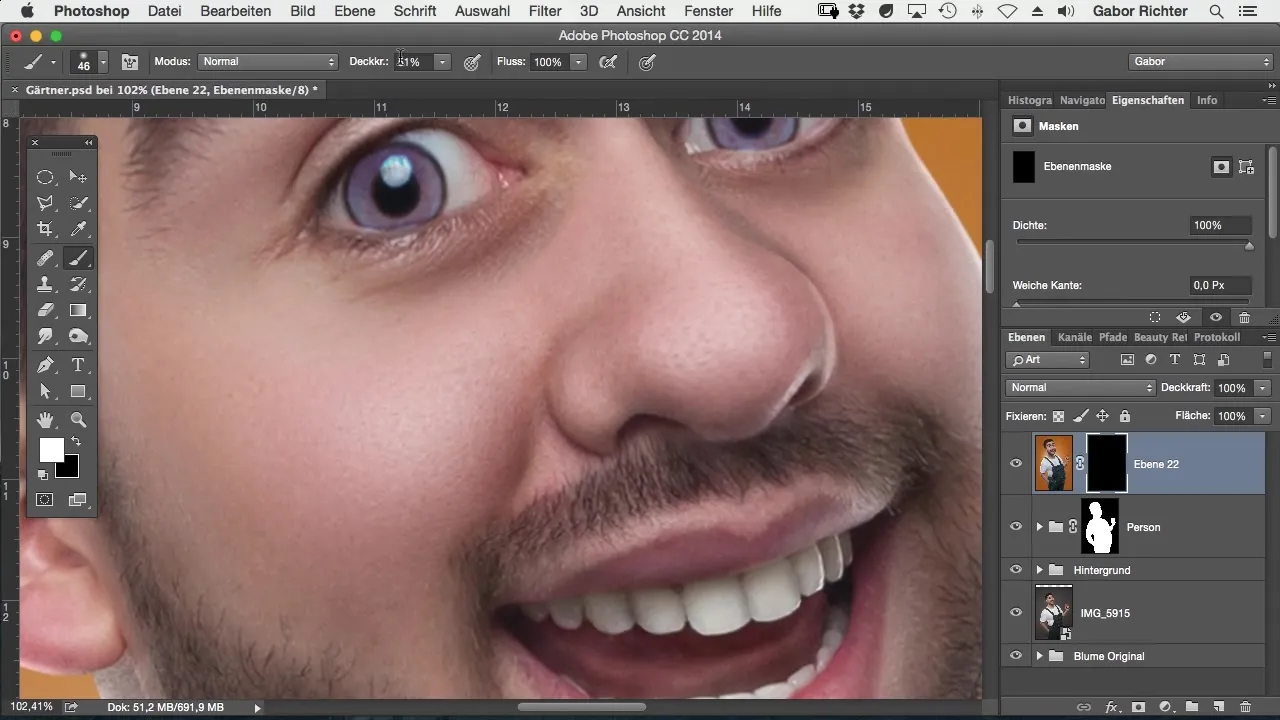
Use a hardness of 50% to create smooth transitions. Consider where you want the new skin texture and where you do not.
When you are done, it is important not to keep the effect too intense. Check parts of the neck or lip area that might be suffering from previous edits, and apply the same procedure to bring these back to an appealing state.
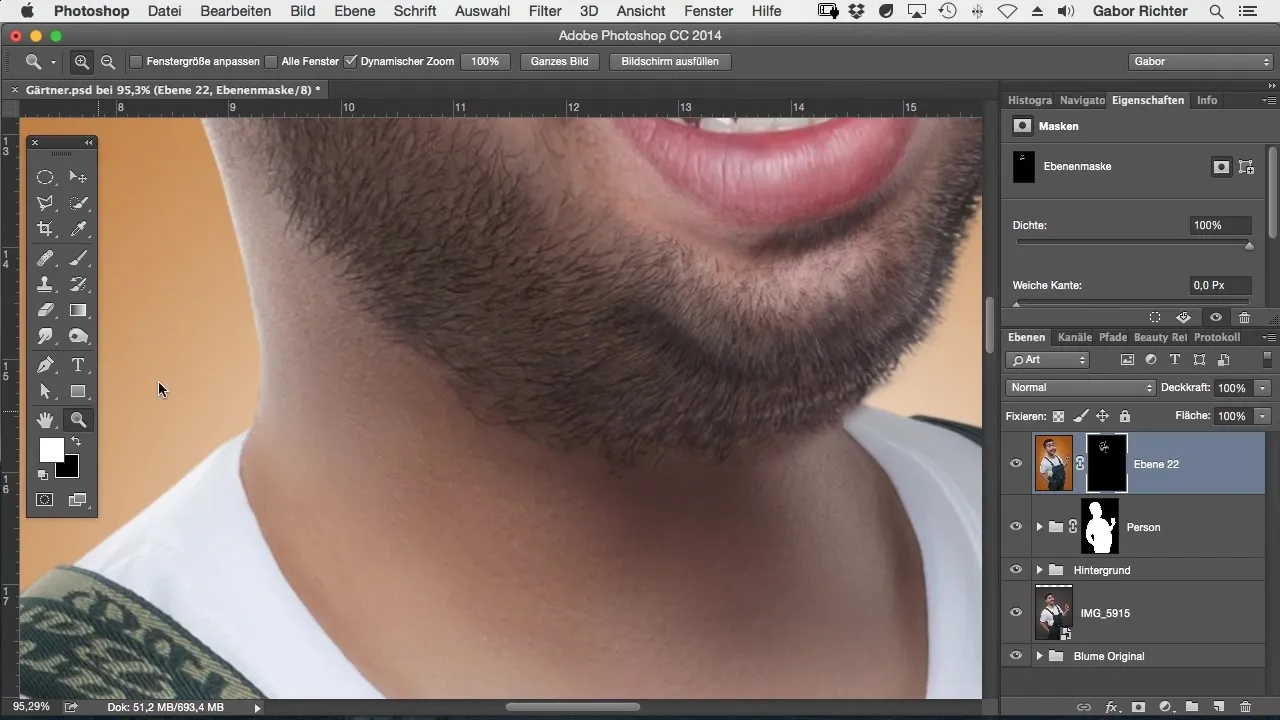
If you like the image, you can further adjust the mask and vary the intensity of your adjustments to achieve the best possible result.
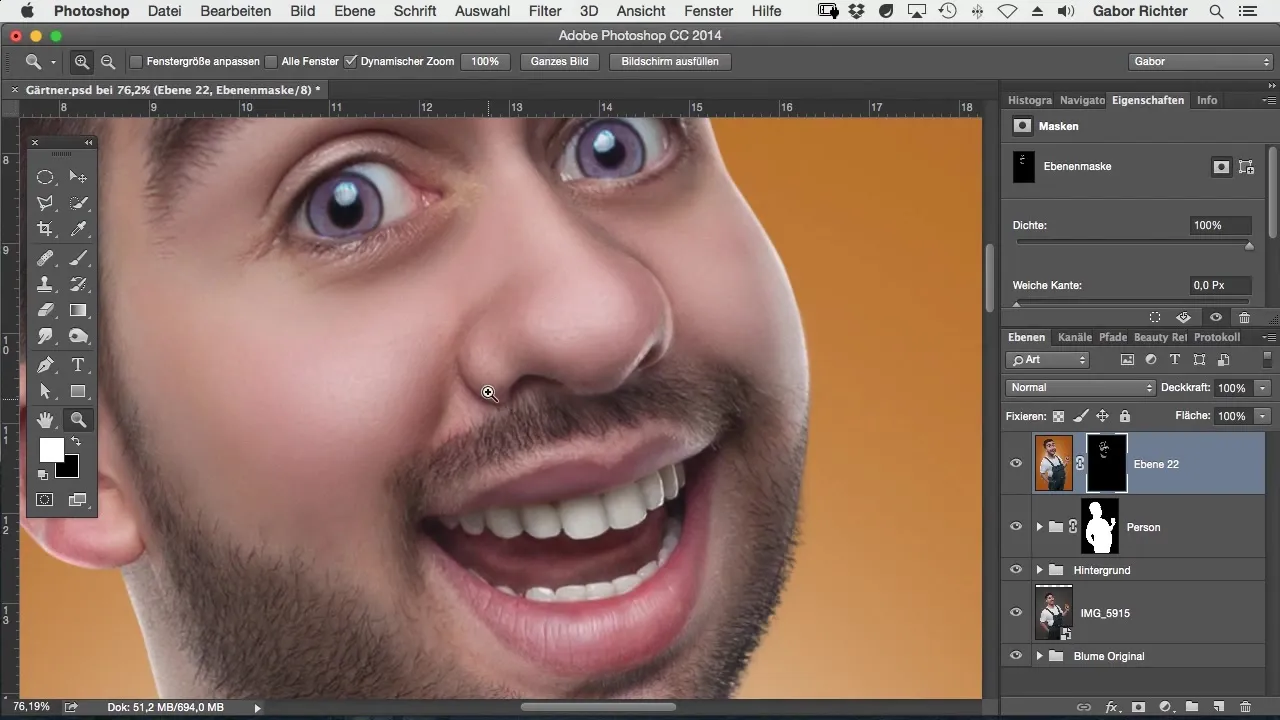
Summary – Skin Care in Comic Style with Photoshop: Effective Methods for Skin Representation
By utilizing the Camera Raw Filter or adding grain, you achieve a plastic skin representation that gives the desired finish when digitally editing images.
Frequently Asked Questions
How can I improve skin texture in Photoshop?Use the Camera Raw Filter to adjust the smoothness and texture of the skin.
What should I do if the skin looks too smooth?Add grain to make the skin look more lively.
How can I prevent areas from getting damaged while liquifying?Use masks to work selectively and compensate for damage in the affected areas.
How important is noise reduction for skin appearance?It is crucial for making the skin surface appear overall smoother and flawlessness.
Can I adjust the size of the grain?Yes, you can vary the strength and size of the grain to achieve the desired effect.


