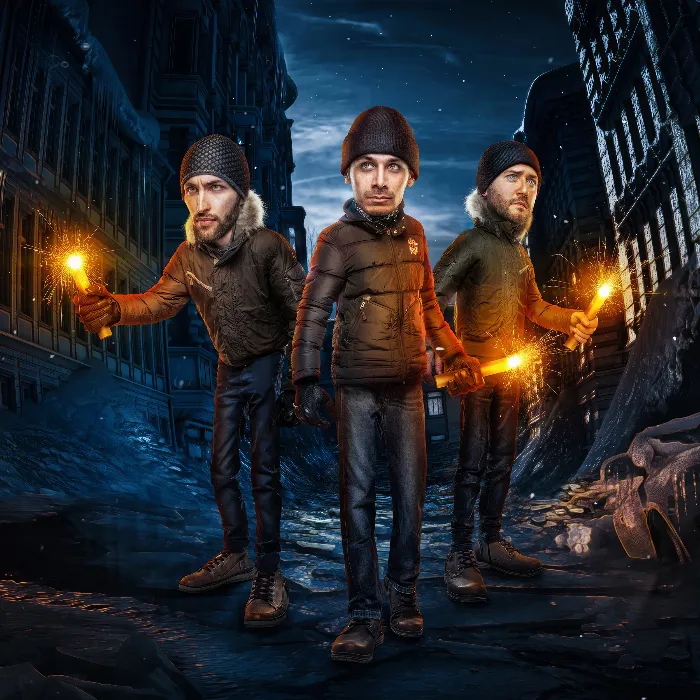
To make your comic characters more lively and interesting, it is essential to make the clothing appear more three-dimensional. Using the Dodge and Burn technique, you can add more shine and reflection to the garments. In this tutorial, I show you how to effectively apply this method and improve the look of your models.
Key takeaways
- The Dodge and Burn technique enhances the depth and shape of the clothing.
- The choice of blending mode has a significant impact on contrast and three-dimensionality.
- With targeted darkening and lightening, you create vibrant textures.
Step-by-Step Guide
Step 1: Create a new Dodge and Burn layer
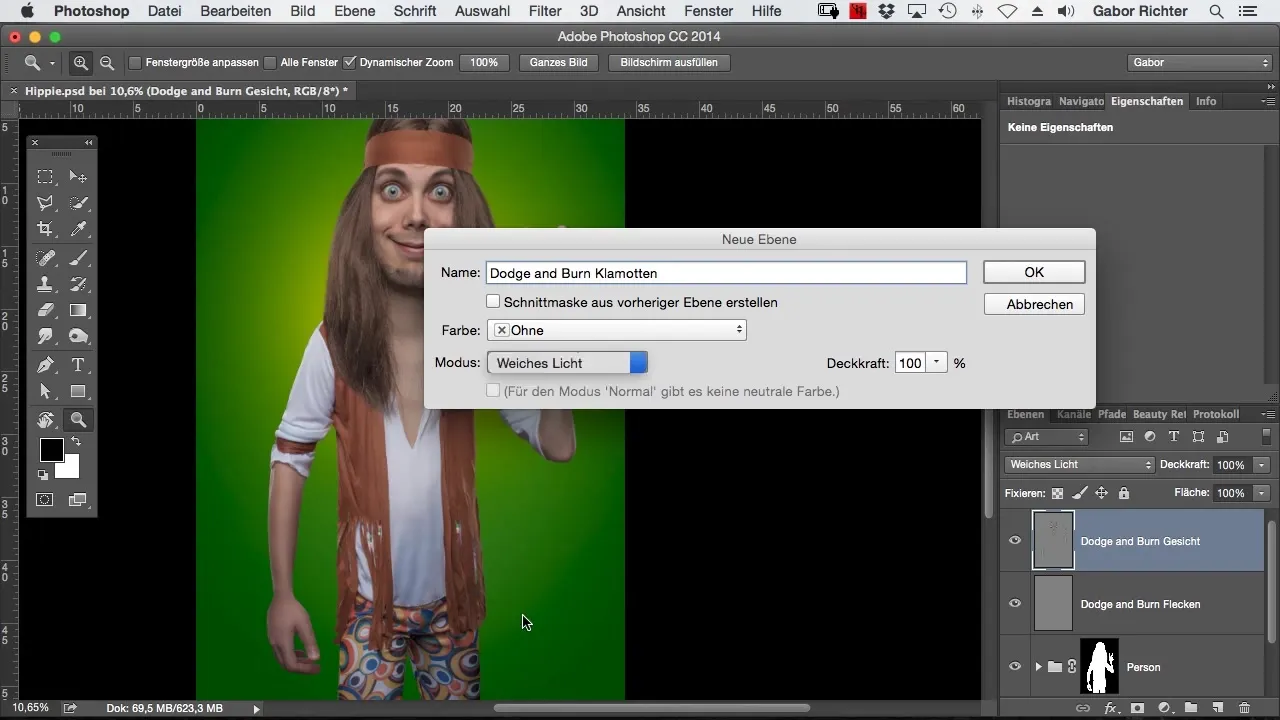
Start by creating a new Dodge and Burn layer. Click on the corresponding icon in the layers panel and hold down the ALT key before clicking to properly name the layer. Name the layer "Dodge and Burn Clothes".
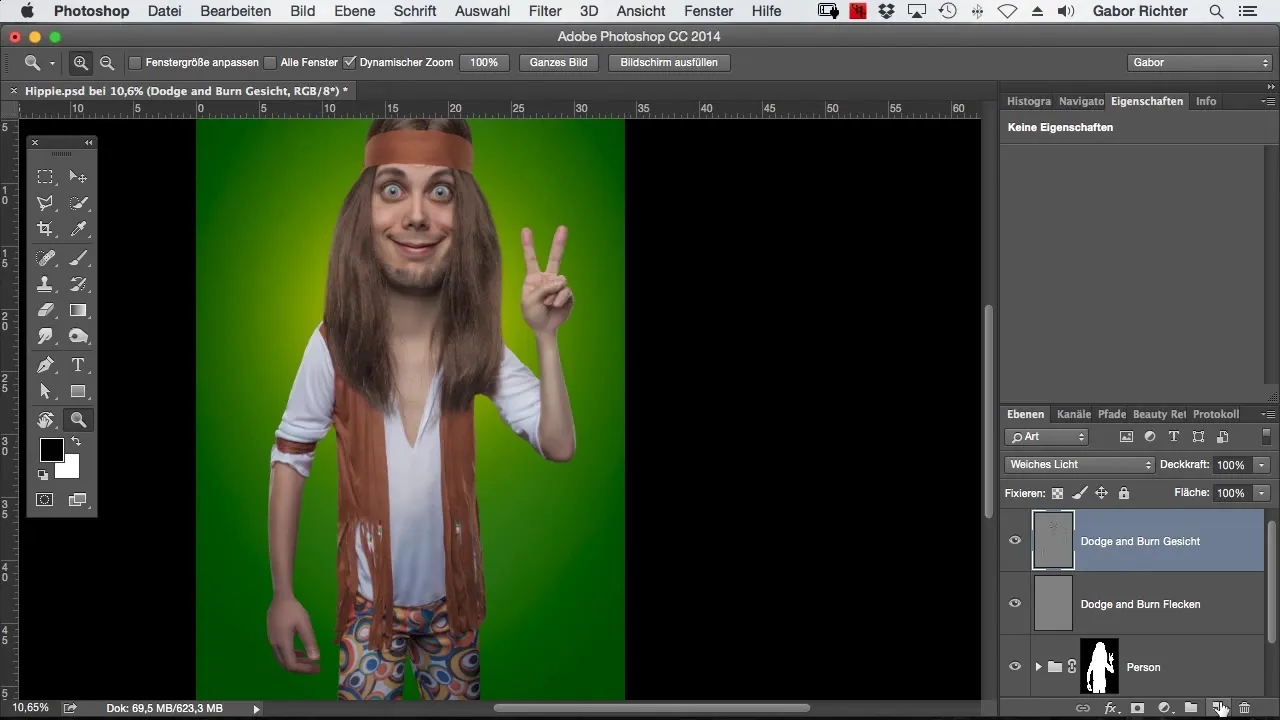
Step 2: Set blending mode
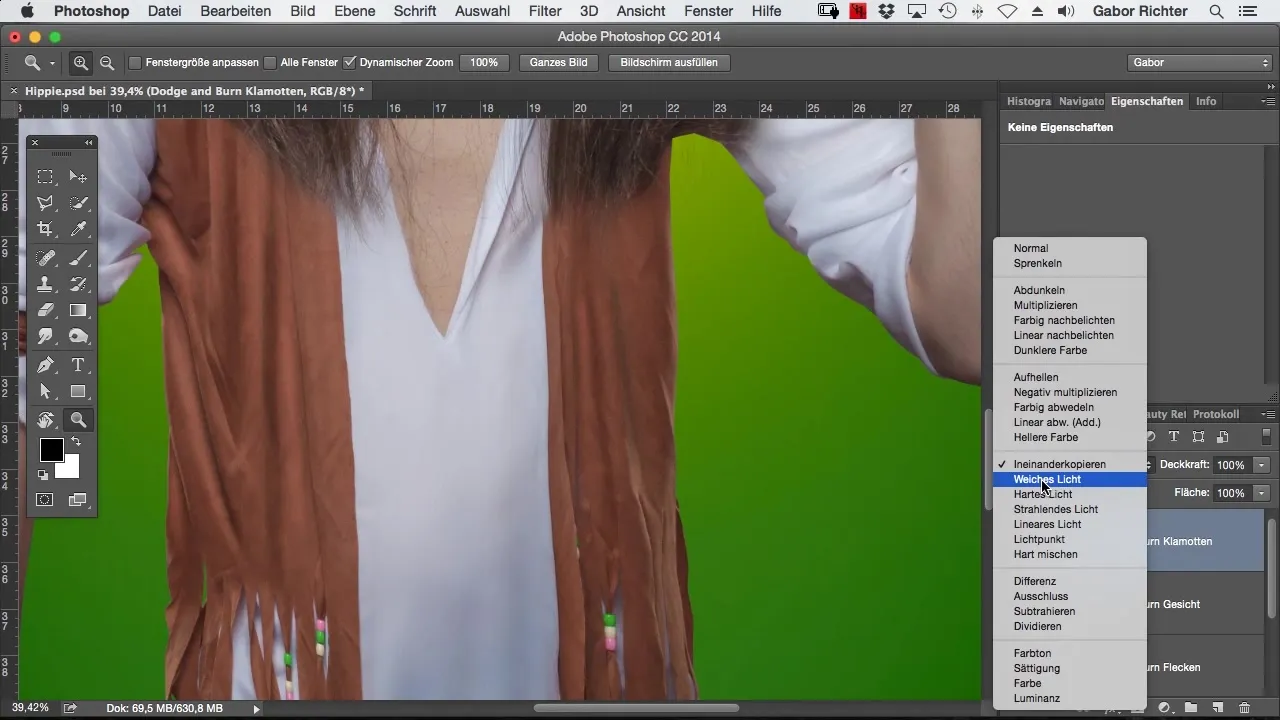
Set the blending mode of this layer to "Multiply" and choose the color 50% gray. This setting creates a more contrasting look, in contrast to the "Soft Light" method, which has a softer effect.
Step 3: Work with black and low opacity
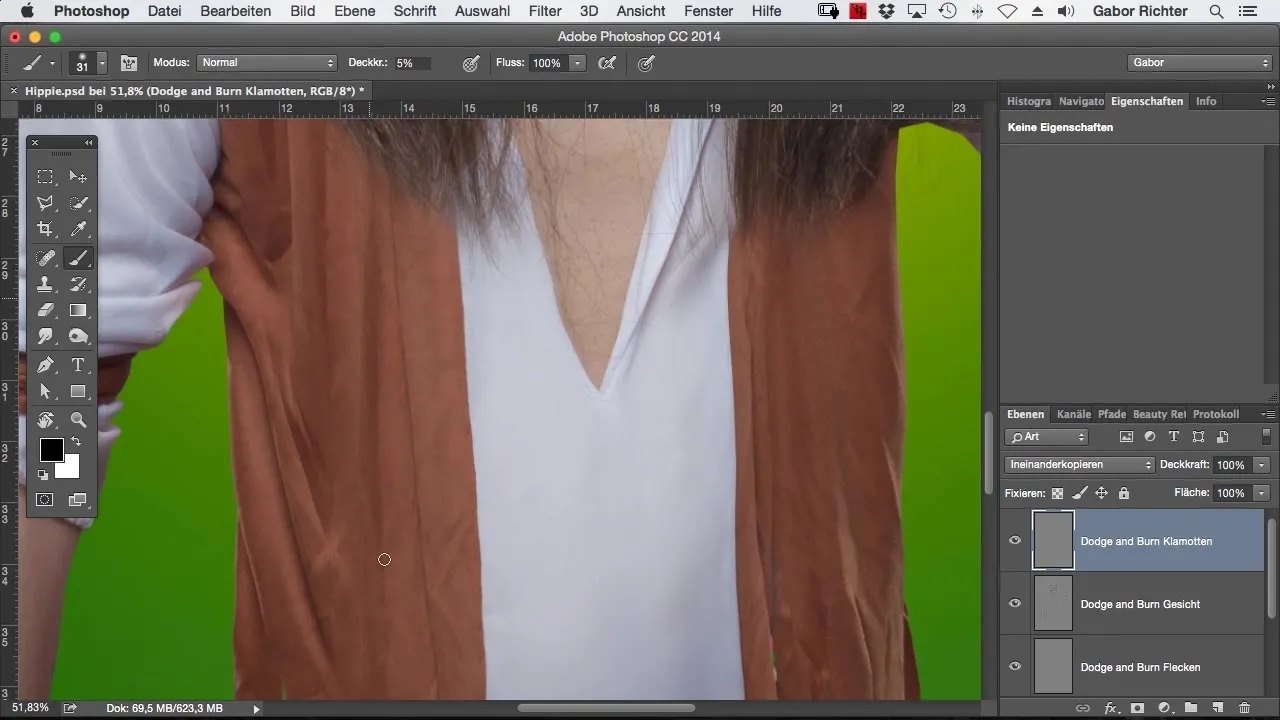
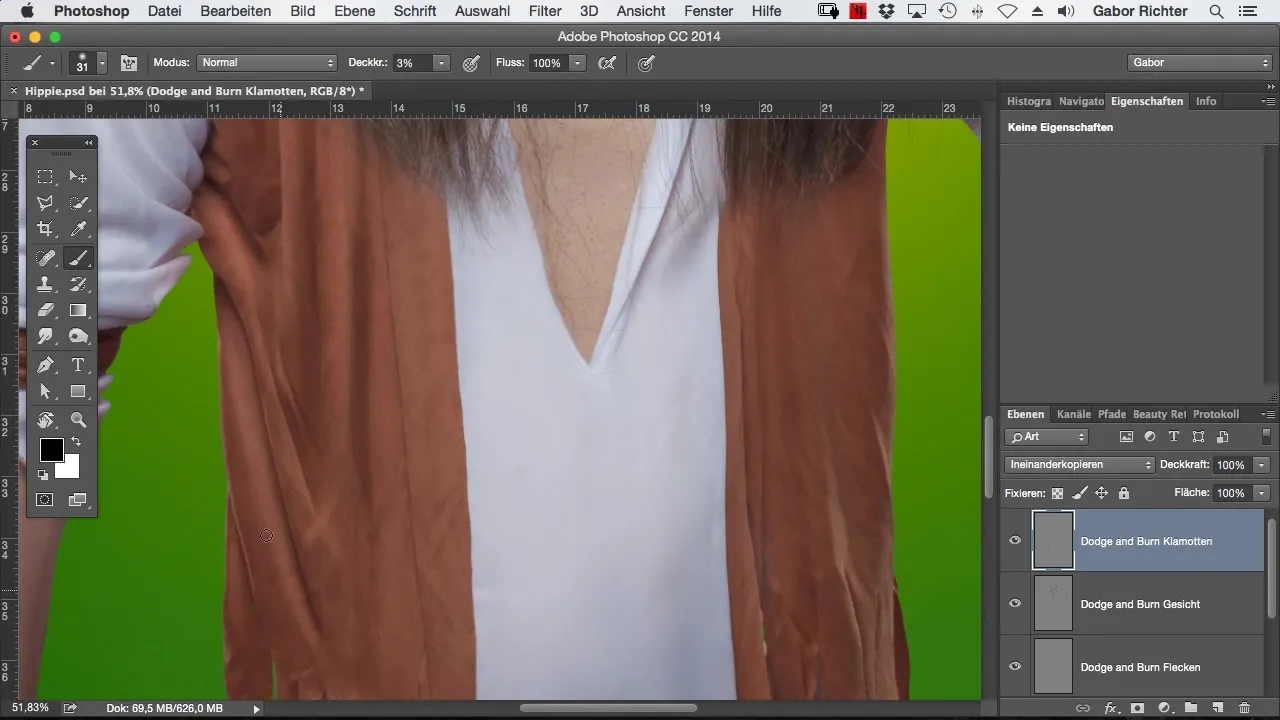
Now select the color black and set the opacity to about 5%. Carefully paint into the folds of the clothing to enhance the depths. You may reduce the opacity to 3% if the effect is too strong.
Step 4: Shape shadows and highlights
Focus on darkening the deep areas of the clothing and lightening the protruding parts. Work on the folds to highlight the structure. Take a few minutes to make the desired changes and regularly check the result.
Step 5: Compare settings
To check the impact of your edits, switch between the blending modes "Multiply" and "Soft Light". You will notice that the first method provides more intense contrasts, while the second is softer and more subtle.
Step 6: Emphasize folds and sleeves
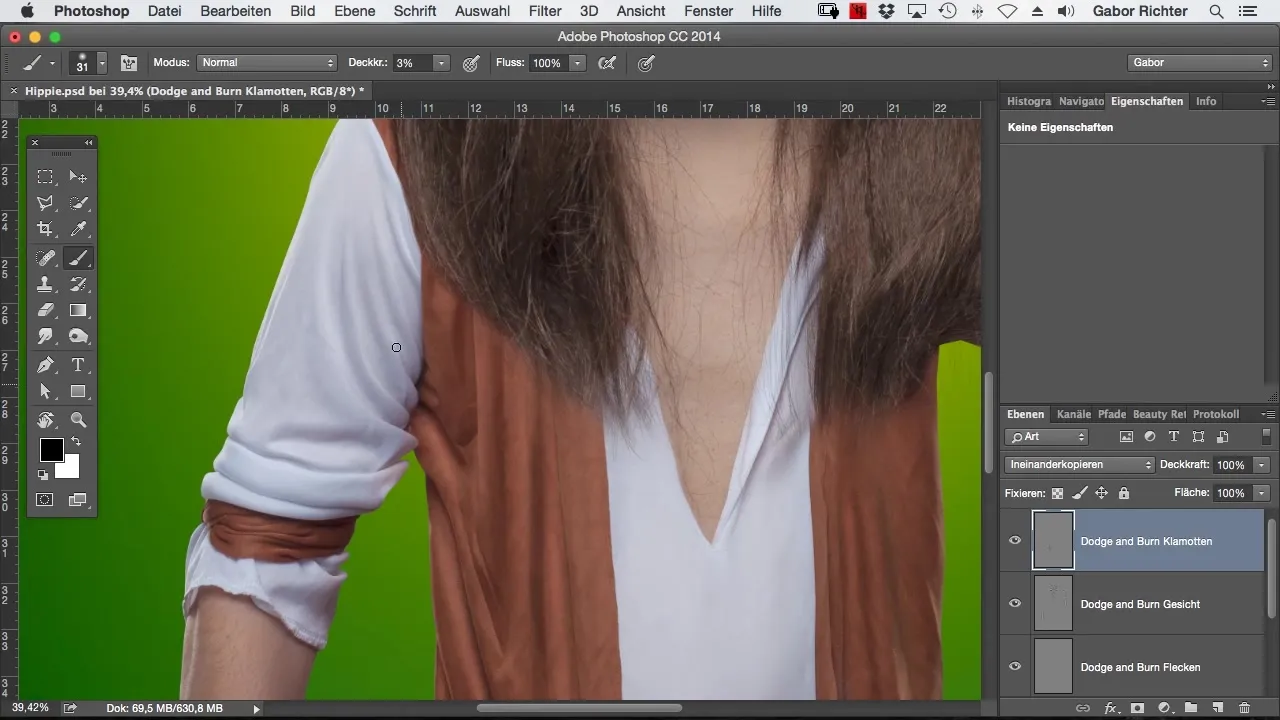
Before moving on to the sleeves of the clothing, focus on the current folds. Paint the deep areas again and highlight the lights to emphasize the shape. This gives the clothing a painterly and illustrative look.
Step 7: Intensively darken
Select critical areas of the clothing that need more definition, and approach the darkening with more intense opacity. Test how different opacity values affect the representation of the garment.
Step 8: Make the material more vibrant
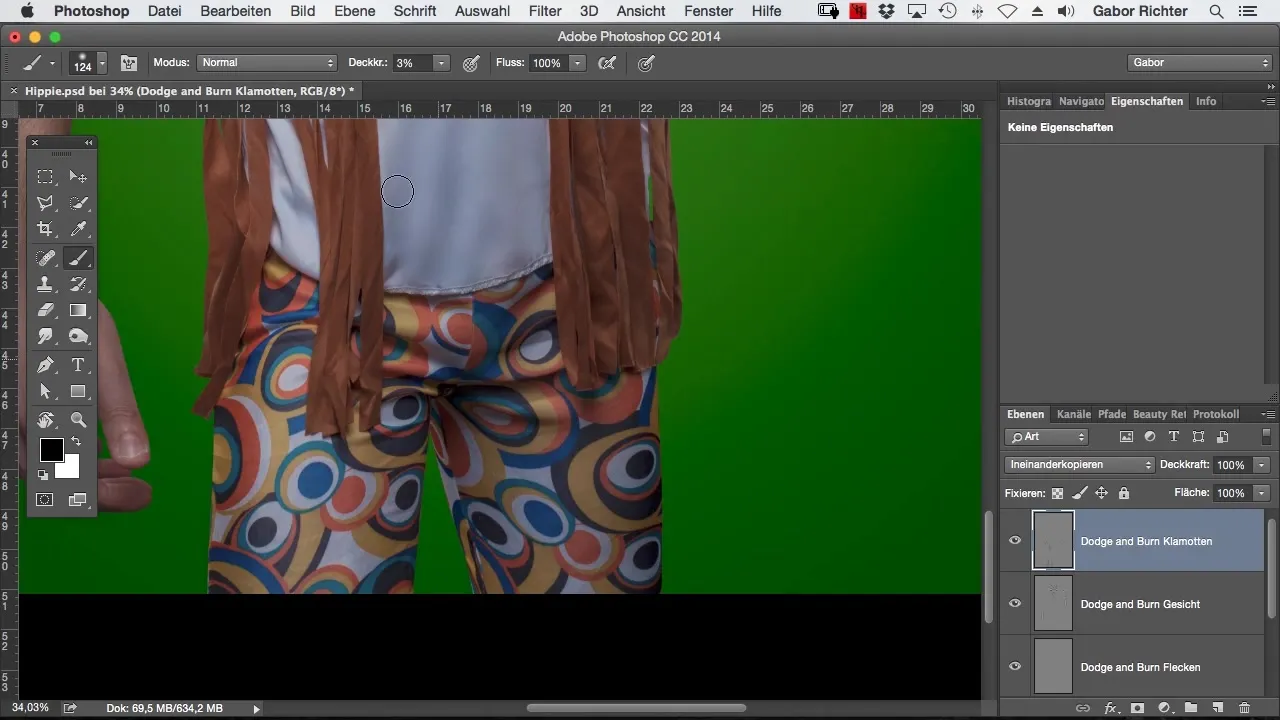
Look at the area of the pants and begin to work more intensively here. Darken the fabric and highlight the light reflections so that the texture appears more three-dimensional. Pay attention to the balance between the dark and light areas.
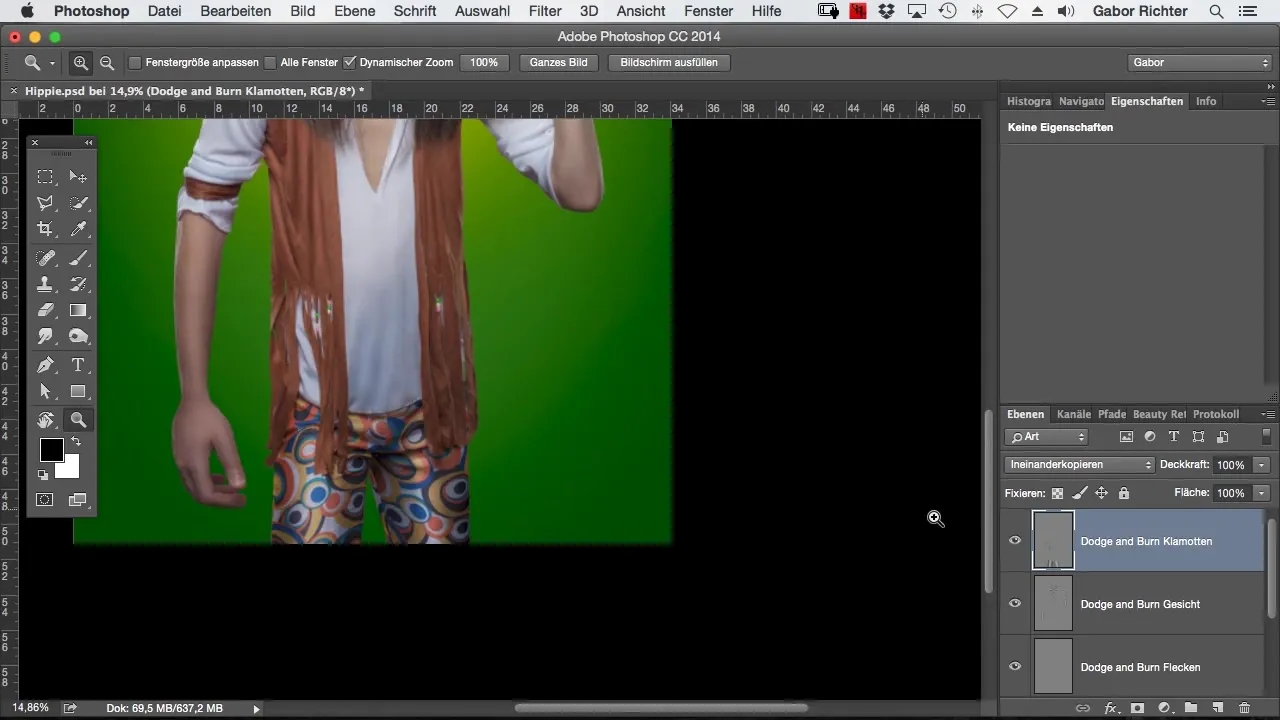
Step 9: Make targeted adjustments
Analyze the entire garment and make the final adjustments. Ensure that everything works harmoniously together and that the shape of the clothing is clearly defined. Refinement is important to achieve a convincing result.
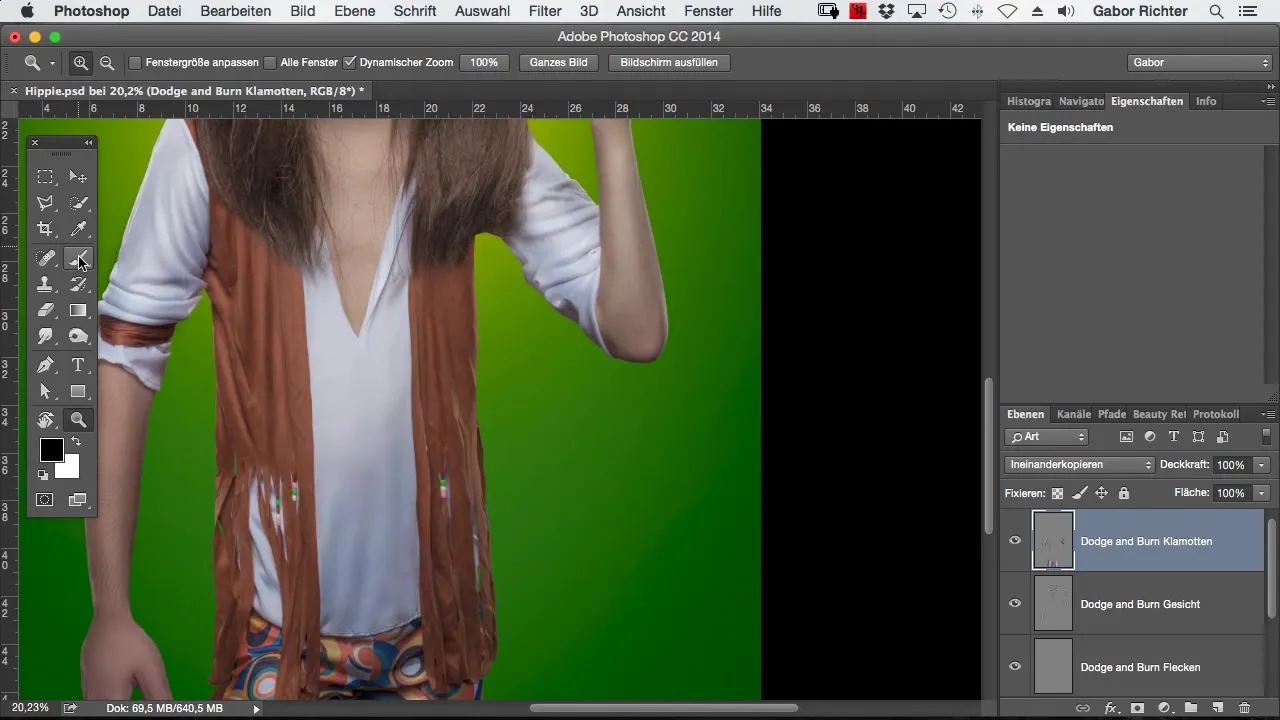
Step 10: Enhance folds
To further intensify the comic style, you can also incorporate new folds. Reduce the opacity of your brushes to about 30% to gently integrate the new folds into the existing design.
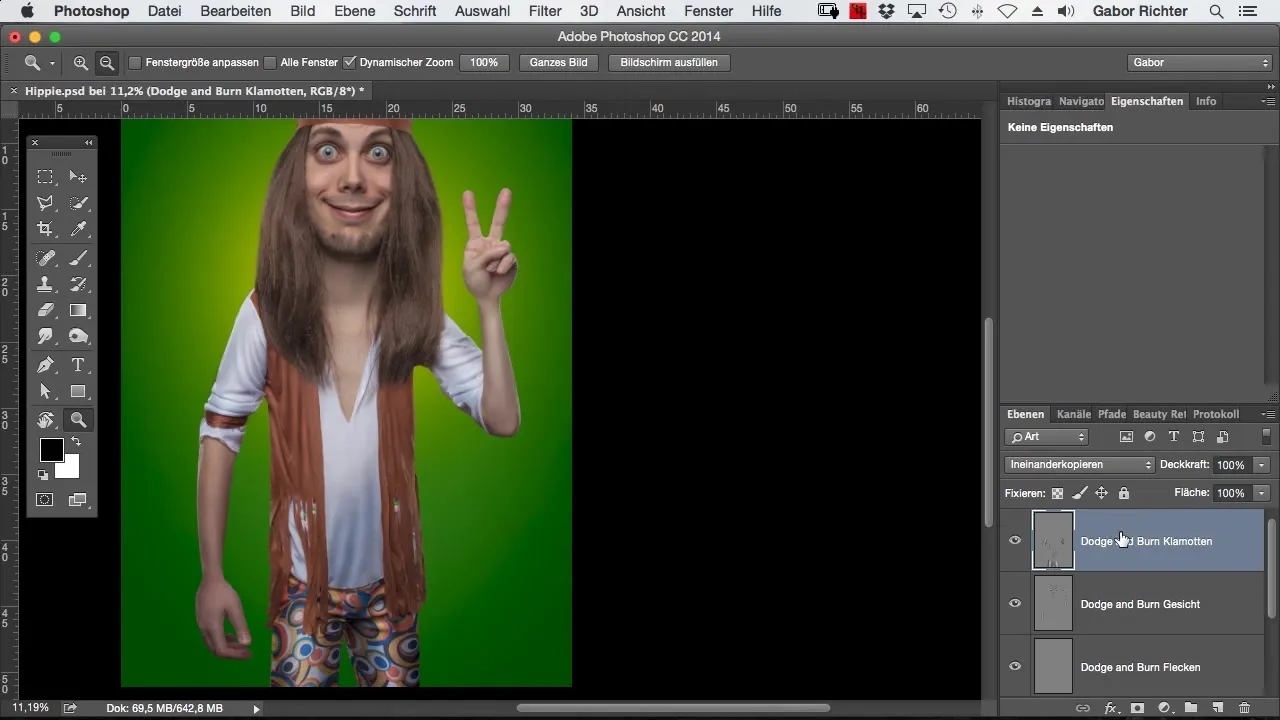
Summary – Comic Style Photoshop: Make Clothes Shine with Dodge and Burn
Applying the Dodge and Burn technique can give your clothing in comic styles more depth and texture. By specifically darkening and lightening, you create vibrant and expressive designs.
Frequently Asked Questions
What software do I need for Dodge and Burn?You need Adobe Photoshop.
How do I choose the right blending mode?The "Multiply" blending mode provides contrasting results, while "Soft Light" is softer and more subtle.
How intense should I set the opacity?Start with 5% and adjust it according to the desired effect.
Can I apply the Dodge and Burn techniques to other areas?Yes, you can also apply these techniques to skin or other materials to create depth.
How can I save the result?Save your image in the desired format via the "File" menu and then "Save As".
