Skin blemishes are often the stumbling block for high-quality portraits. However, with the technique of frequency separation, you can specifically eliminate these disturbances without affecting the color values. In this guide, I will show you how to achieve brilliant results using effective tools and techniques in Photoshop that will highlight you as a retoucher.
Key insights
- Frequency separation allows you to edit skin blemishes at the detail level without changing the color values.
- The clone stamp is one of the best tools for making targeted retouches.
- Time and patience are crucial for achieving optimal results.
Step-by-step guide
1. Preparing the image data
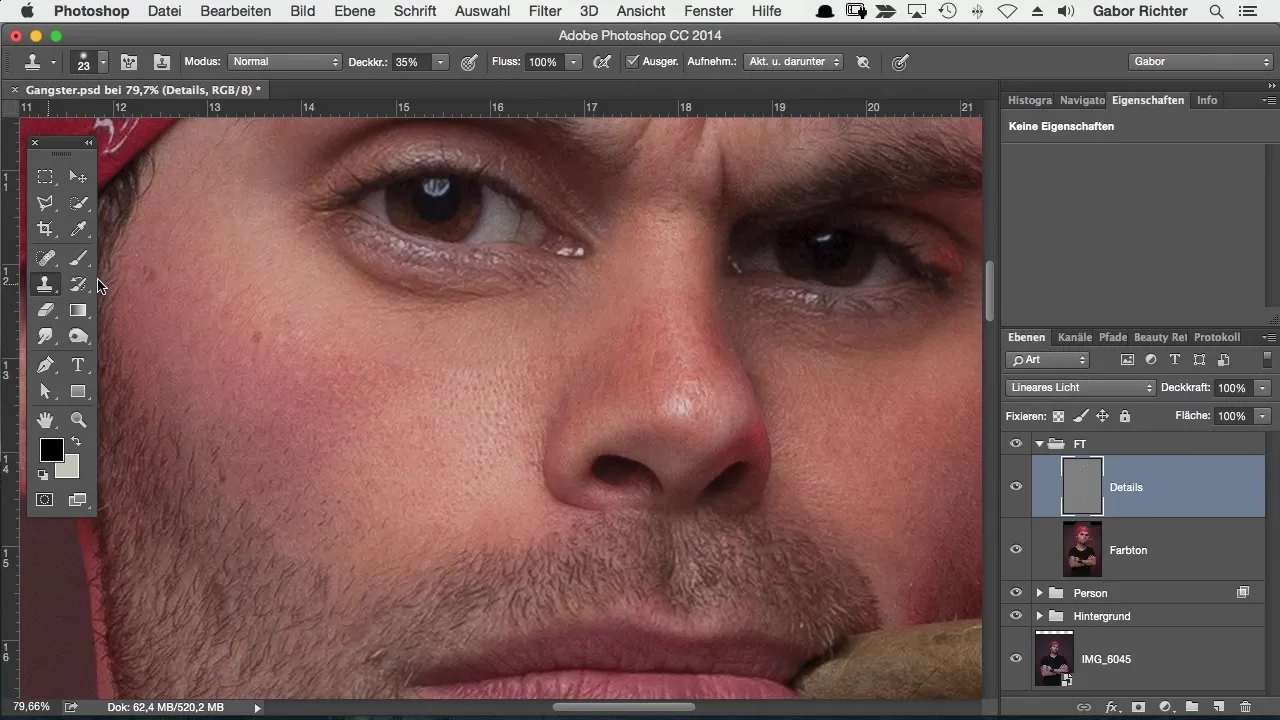
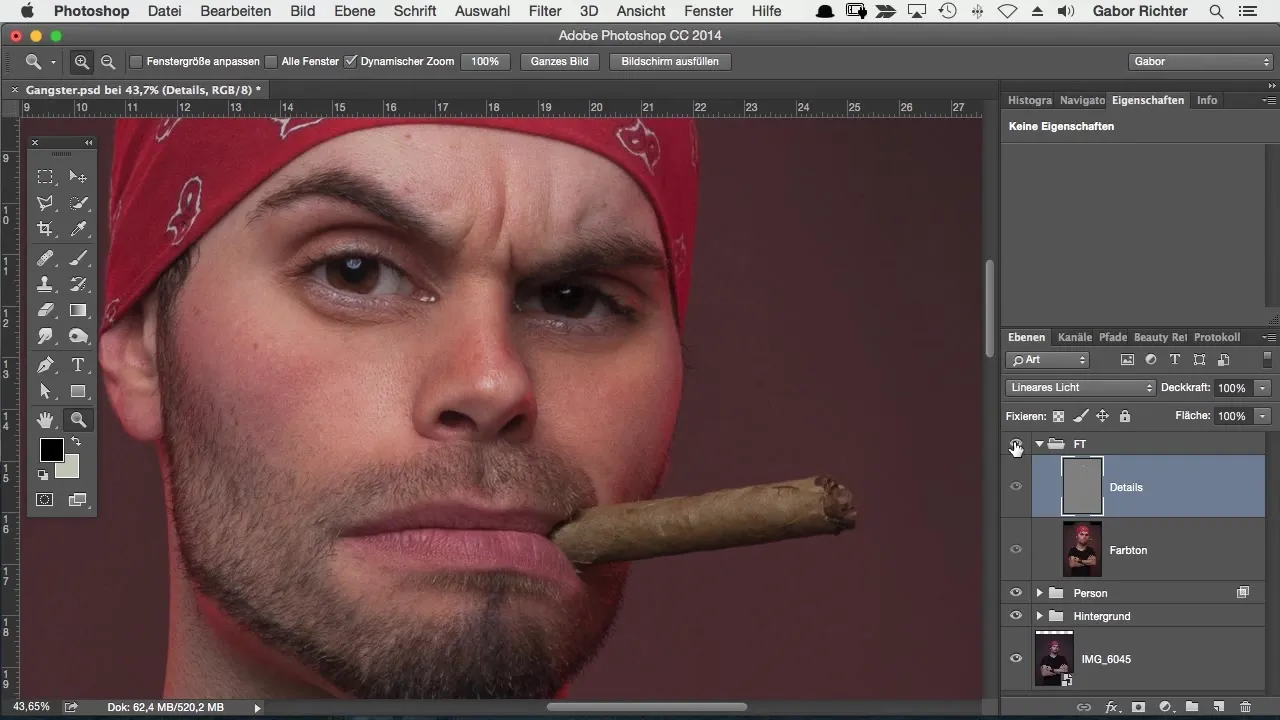
Before you start retouching, you need to ensure that you have the image in detail view. Simply activate the detail level to better recognize the disturbances. A look at the color values will show that the disturbing details are mainly found at the detail level.

2. Choosing the tool
The clone stamp is the perfect tool for this type of retouching. With it, you can specifically select the areas you want to edit. Make sure to activate the current layer while editing the detail level to achieve optimal results.
3. Retouching skin blemishes
To remove skin blemishes, hold down the Alt key to select the source from which you want to copy the details. Then, using the clone stamp, carefully paint over the disturbances to retouch the blemishes. If you see a gray area during this process, it's due to the gray layer of the high-pass filter.
4. Fine-tuning the retouch
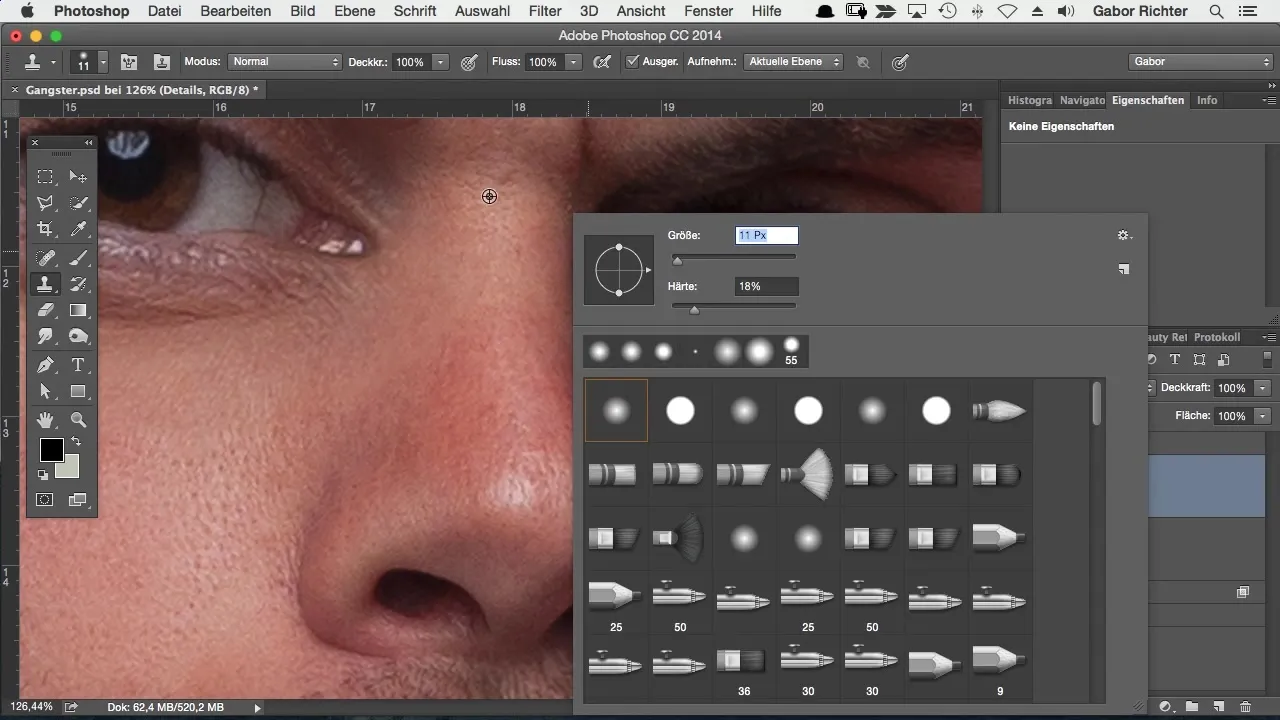
Use different brush sizes to remove even small disturbances. Make sure to always work at the detail level, so you can leave the color values untouched and achieve significantly better results.
5. Invest time for the perfect result
To achieve a truly professional result, you shouldn't rush the retouch. Take several minutes to carefully go over the disturbing areas. You'll see the difference immediately.

6. Check your result
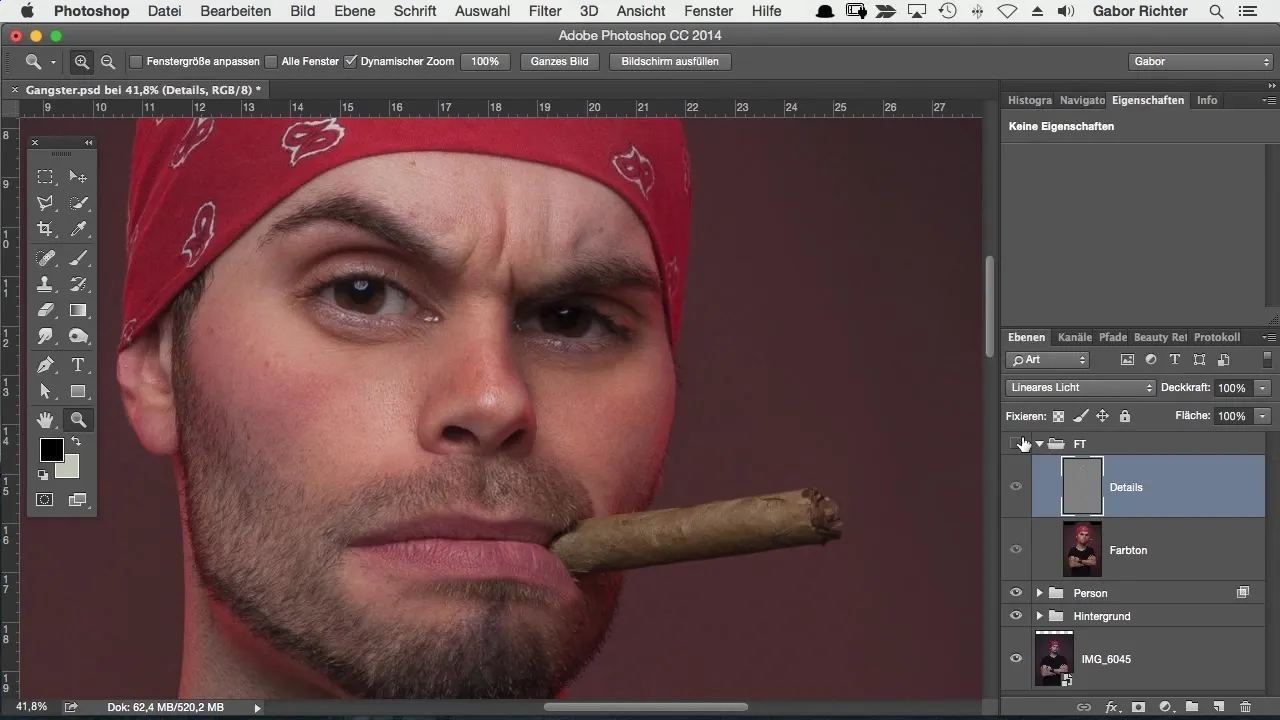
Once you've eliminated the main disturbances, you can toggle the entire image on and off. This allows you to better see the impact of your retouch on the overall picture. Often, unwanted details such as hairs or lines also become visible during retouching, which you may want to address as well.
7. Alternatives to the clone stamp
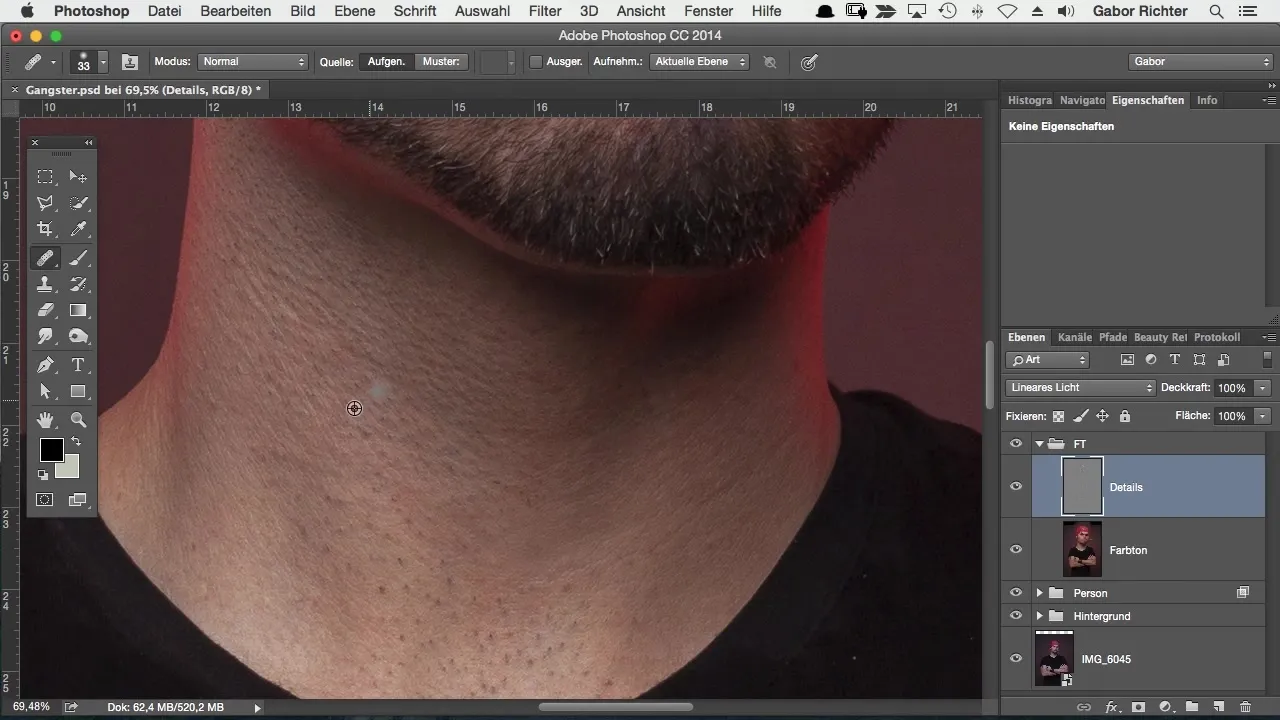
If you don't like the clone stamp, you can also try the healing brush tool, which often produces good results as well. Just select the current layer and let Photoshop automatically regenerate the pixels.
8. Refine your editing
If you want to invest more time, you can further refine the editing. This way, you'll get the best out of your image and achieve an almost perfect result that authentically represents the skin texture.
Summary – Effectively retouching skin blemishes with frequency separation in Photoshop
With the frequency separation technique, you have a powerful tool at your disposal to efficiently retouch skin blemishes. By working precisely and taking your time, you can achieve professional results.
Frequently Asked Questions
How does frequency separation work in Photoshop?Frequency separation separates the color and detail layers, allowing you to work specifically on details without affecting the color values.
Which tool is best for retouching?The clone stamp is particularly effective, as you can work precisely with it.
Do I always have to use the clone stamp?That's not necessarily required. You can also use the healing brush tool to let pixels adjust automatically.
How much time should I invest in retouching?It's worth planning at least 5 to 10 minutes for targeted retouches to achieve optimal results.
Could I have done something wrong if the result is poor?Yes, sometimes it can be because the wrong layers are activated. Check to see if you're working with the current layer.


