Editing portraits can be challenging, especially when you want to give your images a unique and creative look. In the current tutorial, we will show you how to efficiently warp the head and face shape of your model in Photoshop to create a comic-style that adds more depth and character to your image.
Main insights
- By using the Liquify tool in Photoshop, you can adjust facial features while also modifying the overall shape of the head.
- Make sure to emphasize the prominent features while applying softer traits to other parts of the face.
- Don't hesitate to try different shapes to achieve the desired effect.
- Take your time to reflect on the changes before making final decisions.
Step-by-step guide
Start by opening your image in Photoshop that shows the model whose head you want to warp. Assuming you have already edited the image using the Liquify tool, we will now discuss the specific adjustments of the head and face shape.
Adjusting head shape To refine the head shape of your model, activate the Liquify tool. Here, focus on the head area and slightly push the upper edge inward to create a softer contour. This helps to improve the head proportions and emphasize the character of the face.
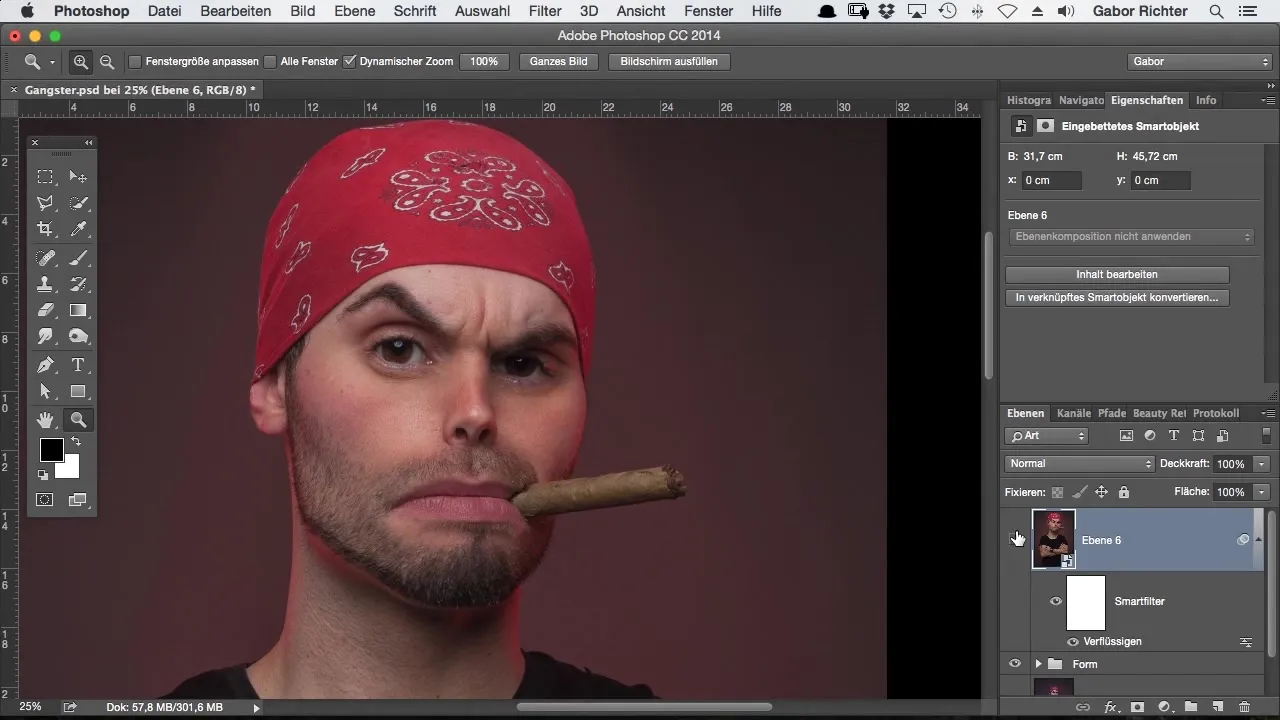
Take your time to check different views. Compare the original shape with the adjustments made to ensure that the changes look harmonious and appealing. It can be helpful to switch to a 20% view to get a better overview of the overall shape.
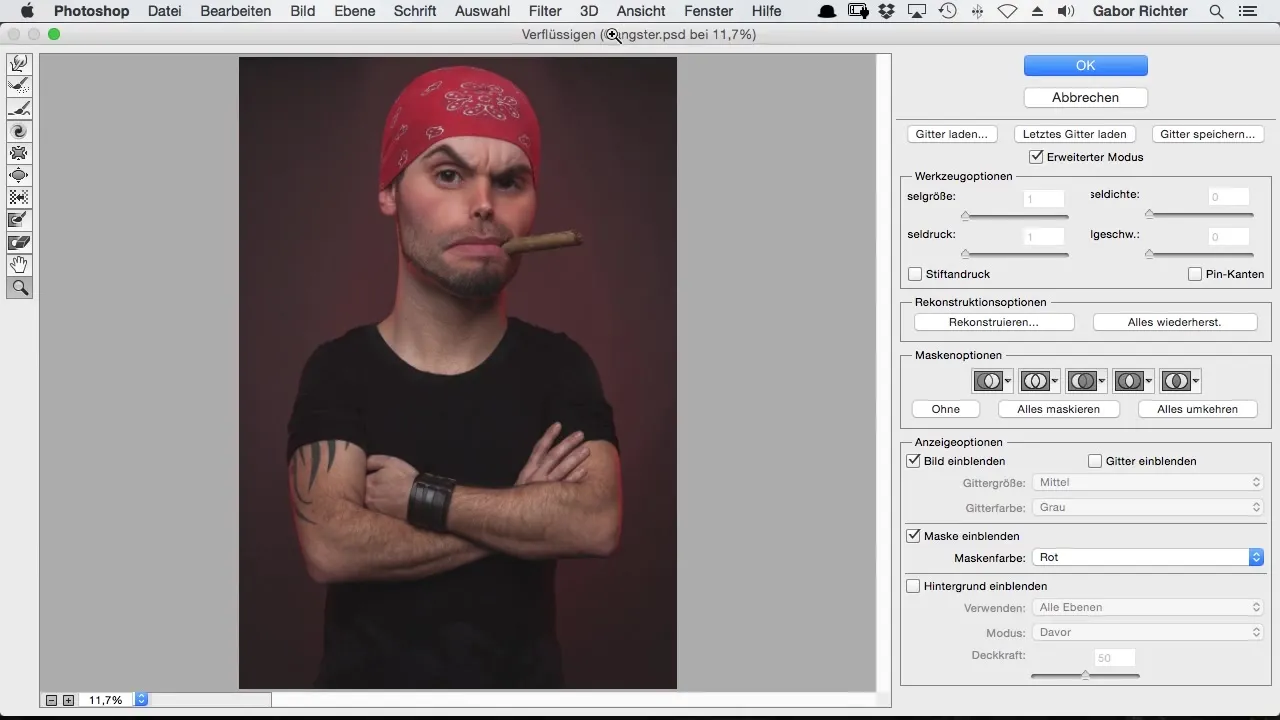
Optimize the roundness of the bandana If your model is wearing a bandana, you can also adjust the roundness. By using the Liquify tool, you can make the upper roundness of the bandana edge more even. This helps to keep the transition between the bandana and the head as harmonious as possible.
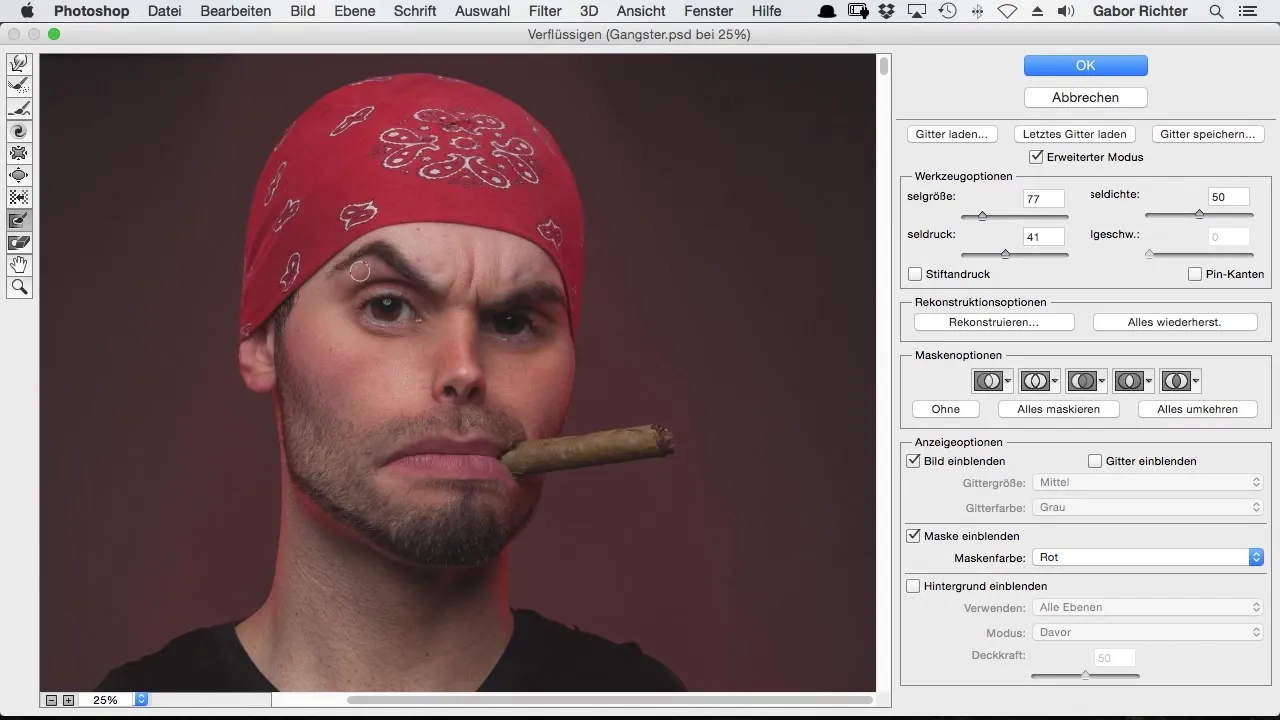
Refining eyebrows Now it's time to shape the eyebrows. Use the Liquify tool to gently modify the contours and give them a nicer, rounded shape. Be sure to adjust the size of the area to achieve a proportionate appearance.
Emphasizing the chin The chin plays a crucial role in defining the character of your model. To give the chin more volume and a more pronounced shape, push it out more with the Liquify tool. Ensure that while adjusting, the pixels at the contour and within the area are shifted evenly to avoid unnatural distortions.
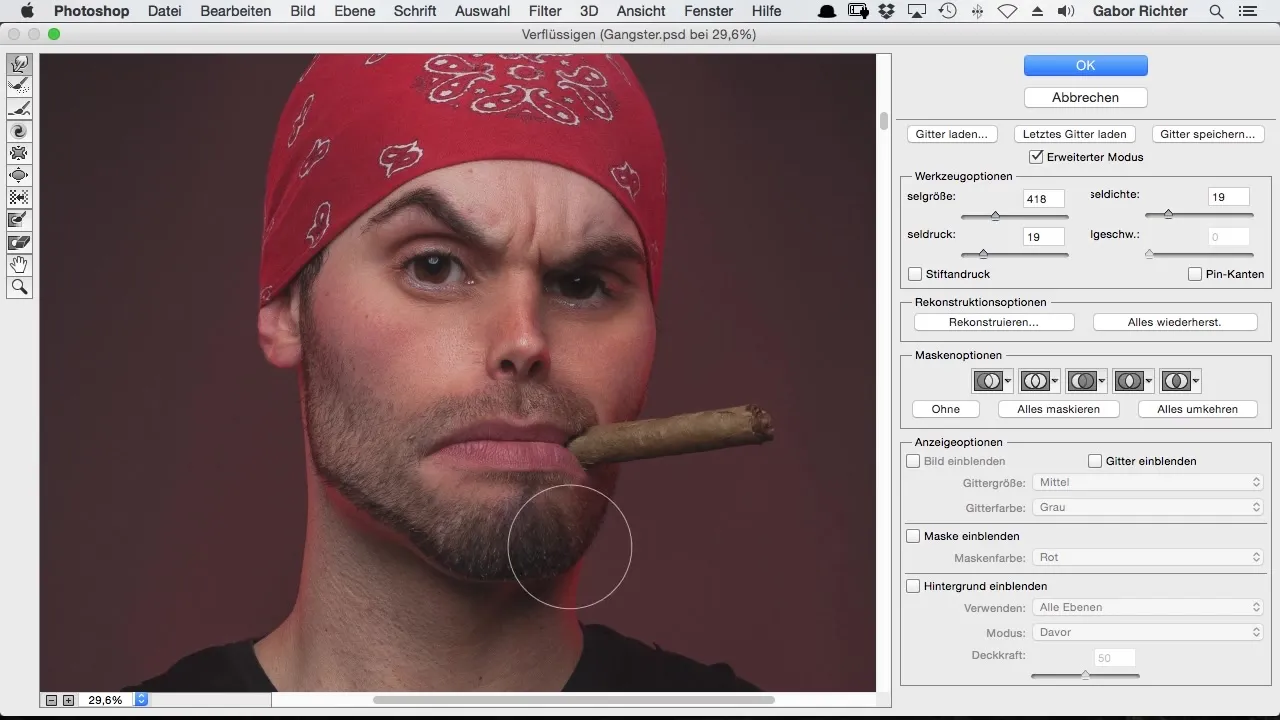
Once you are satisfied with the chin shape, check if any adjustments to the cheeks are necessary. While editing the cheeks, make sure that the transition to the jawline flows smoothly and seamlessly.
Final fine-tuning After working on the chin, you should keep an eye on the overall image. Take a moment to look at your image and possibly make further adjustments. A fresh pair of eyes can often help to spot details that can still be optimized.
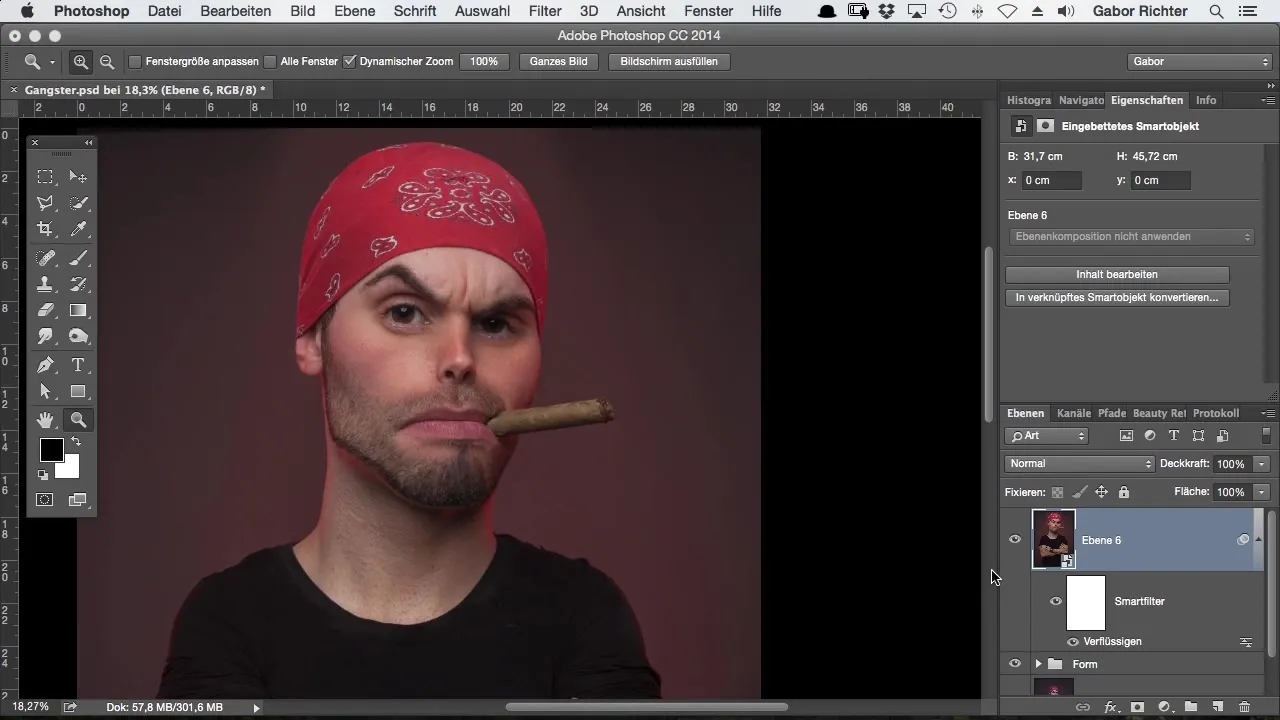
Look at the difference between the original image and your edited version. Ensure that the final image achieves the desired effect: a distinctive character with a fun and creative look that enhances the comic feeling.
Summary – Head Warping in Comic Style with Photoshop
Through the targeted use of the Liquify tool in Photoshop, you can creatively adjust your models' head and face shapes and achieve a unique comic style.
Frequently Asked Questions
How does the Liquify tool work in Photoshop?The Liquify tool allows you to deform different areas of an image by pushing, pulling, or stretching them.
Can I undo the changes?Yes, Photoshop offers the ability to undo changes. You can always return to the original version of the image.
How often should I check the image while editing?It is advisable to regularly take a look at previous steps to ensure consistent image editing.
What should I do if I am not satisfied with the result?Take a short break and look at the image again later. Often, a little distance can help to gain new perspectives.
Is it necessary to work with many layers?Working with layers can help track changes better and keep various edits separate.


