The digital manipulation of figures often requires creative techniques to adjust their body shape or posture. A particularly interesting method that you can use in Photoshop is the use of the Mesh Tool. This technique allows you to quickly and effectively change the position and shape of body parts. In this tutorial, I will show you step by step how to apply the Mesh Tool to optimize your designs and achieve the desired effects.
Key Insights
- With the Mesh Tool feature, you can alter the body shape of figures in Photoshop post-editing.
- By placing pins, you can fix specific body parts and move others flexibly.
- The Mesh Tool is great for quick adjustments but also has its limitations.
Step-by-Step Guide
Start by opening your image and isolating the figure. If you're already familiar with isolating, you can skip this step. If not, it will be covered in a separate video. In this tutorial, we will focus on shape modification.
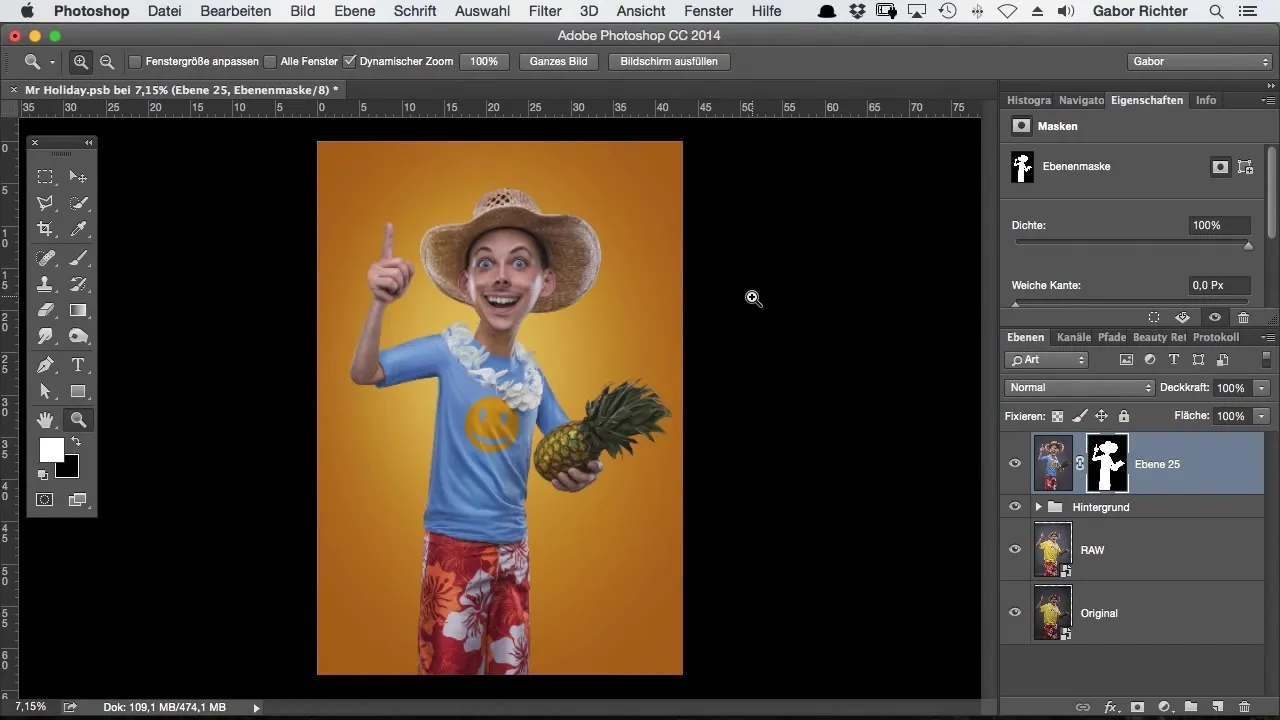
Once your image is isolated, go to the layer of the figure. Activate the isolation mask to make precise adjustments.
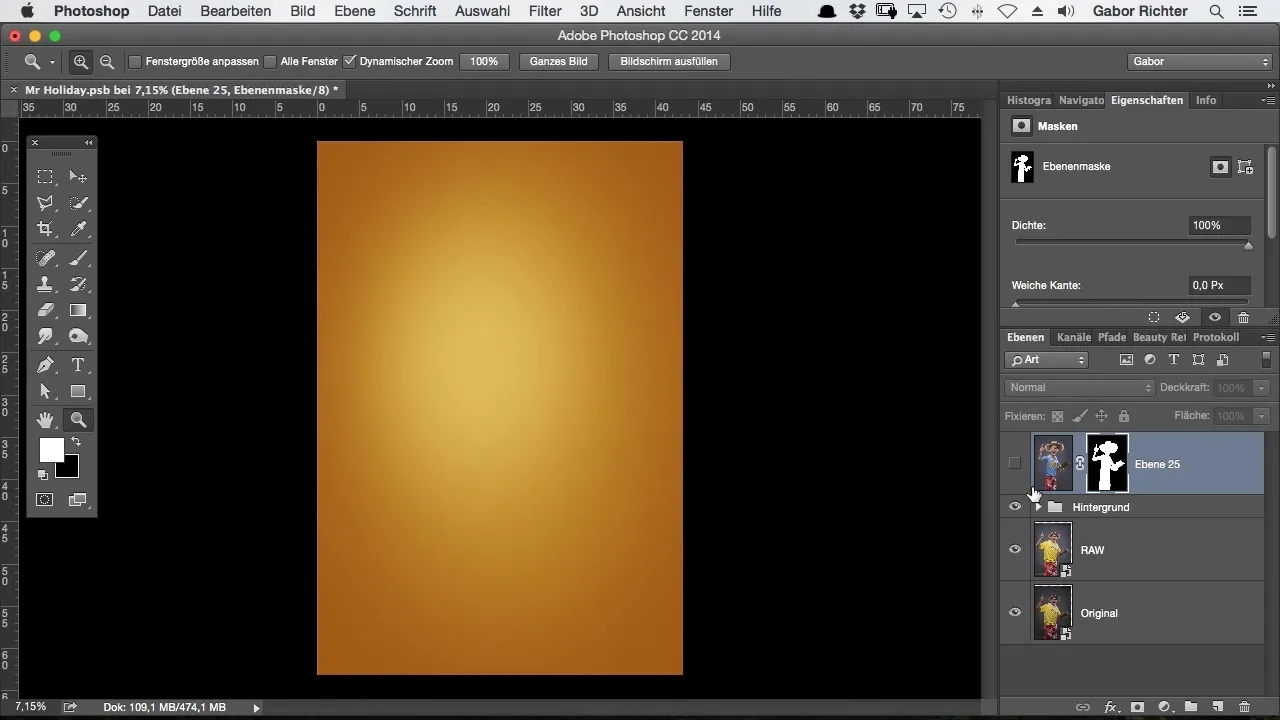
Now click on "Edit" and select the "Mesh Tool" option. This will open a grid that allows you to edit the shape of your figure. At this point, your image may still appear unchanged.
Once the Mesh Tool is active, you should see a series of points that you can adjust. Here, you can place pins to fix the areas you do not want to change.
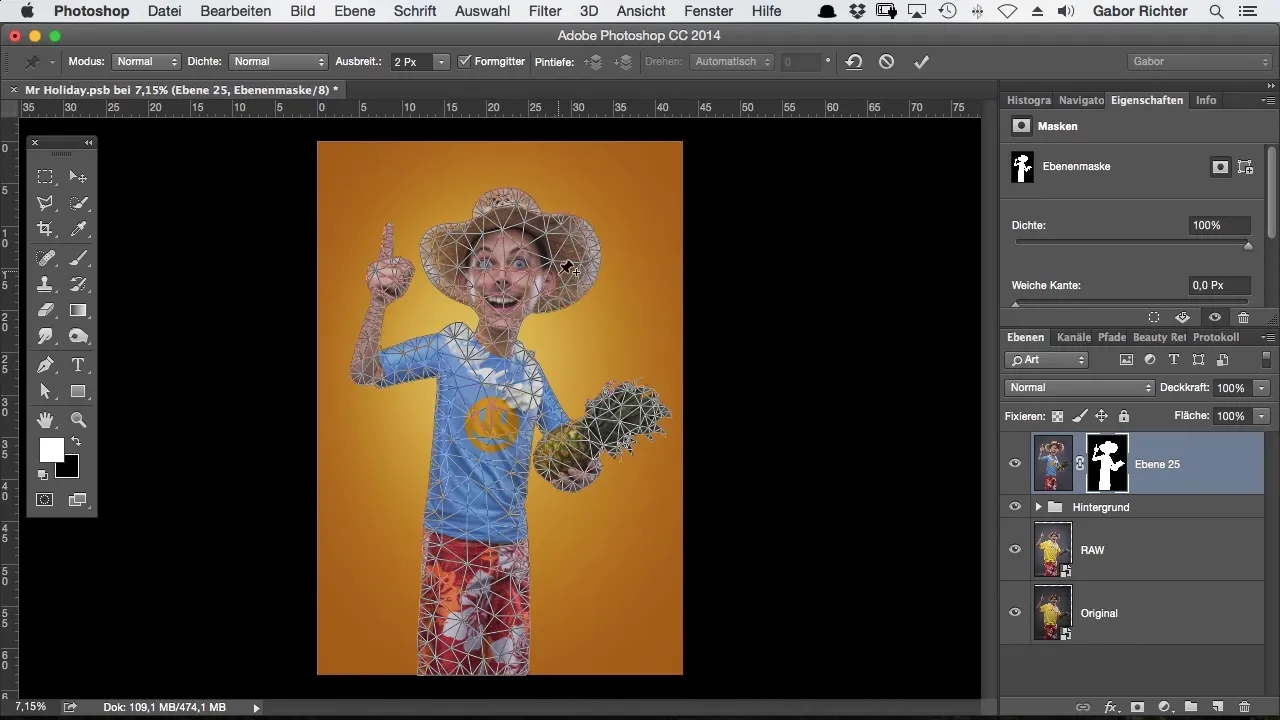
For example, I pin the knees of the figure to ensure that they do not move while I adjust other parts. You can easily drag the pins to the appropriate places and position them where you need them.
Take a look at the example of how I can pin the head. These pins allow you to manipulate the figure almost at the joints. You can then encompass the structure of the figure and pull it left or right.
A key feature of the Mesh Tool is that it allows you to simulate movement. By adding points and changing positions, the impression of joint movement is created.
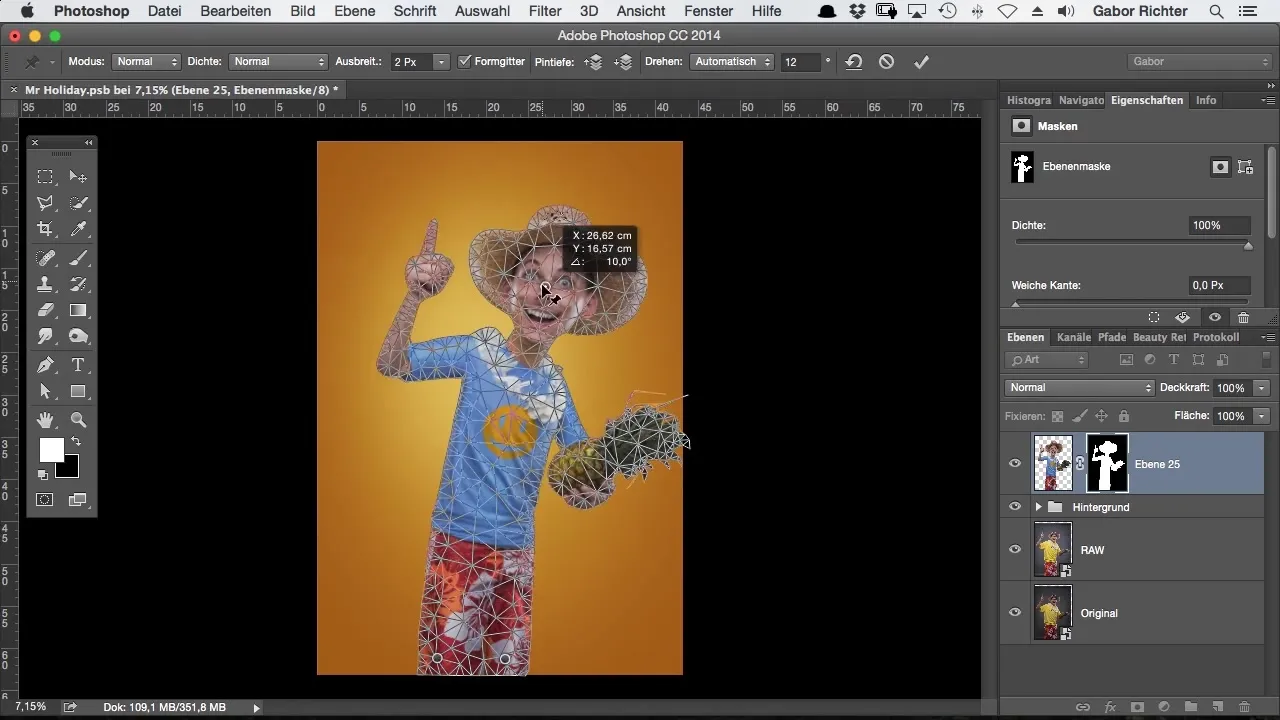
To now change the arm of the figure, fix the shoulders and neck with another pin. This is important so that the movement of the arm looks natural and not unnatural.
Now you can experiment with the Mesh Tool to modify the shoulder and arm to your liking. It is amazing how flexibly you can adapt the body shape, whether for a dynamic pose or a specific expression.
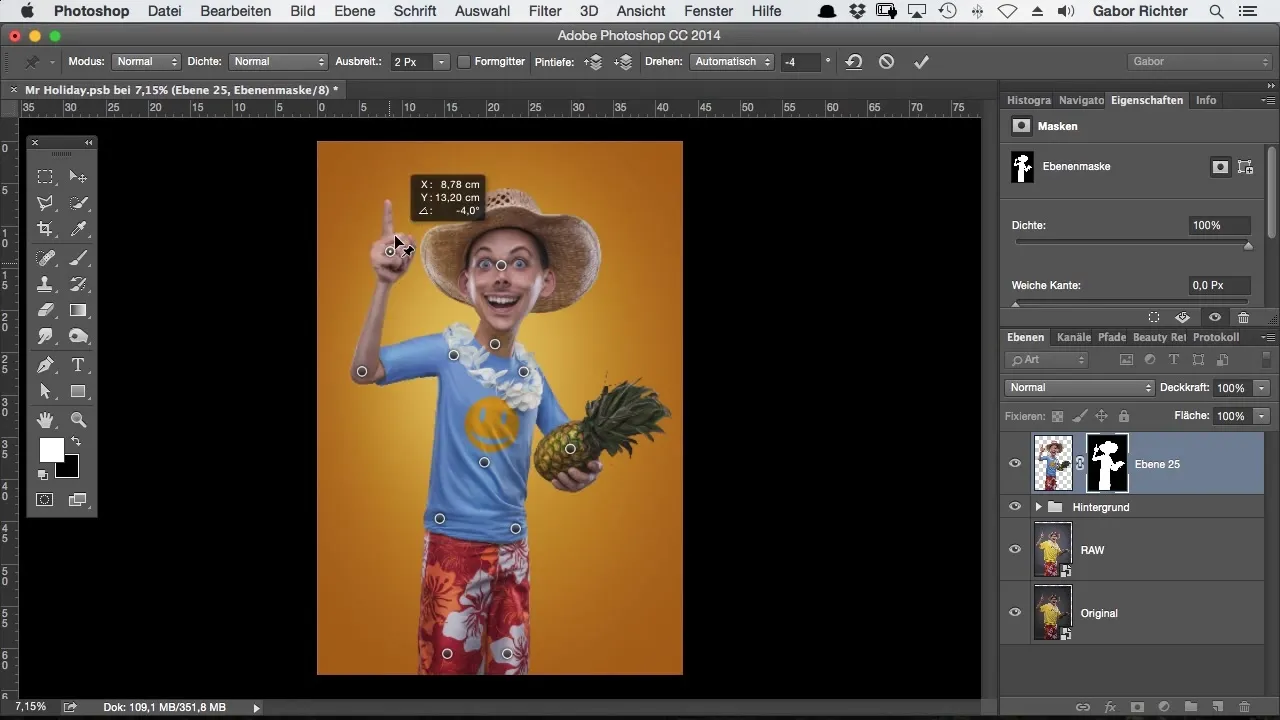
Also note that you can move other elements, such as the pineapple in the hand. This adds more dynamism to your design and makes it livelier.
However, there is a drawback: applying the Mesh Tool can cause parts of the mask to be erased when you deactivate the mask. This aspect is important to consider so that your result is not undesirably altered.
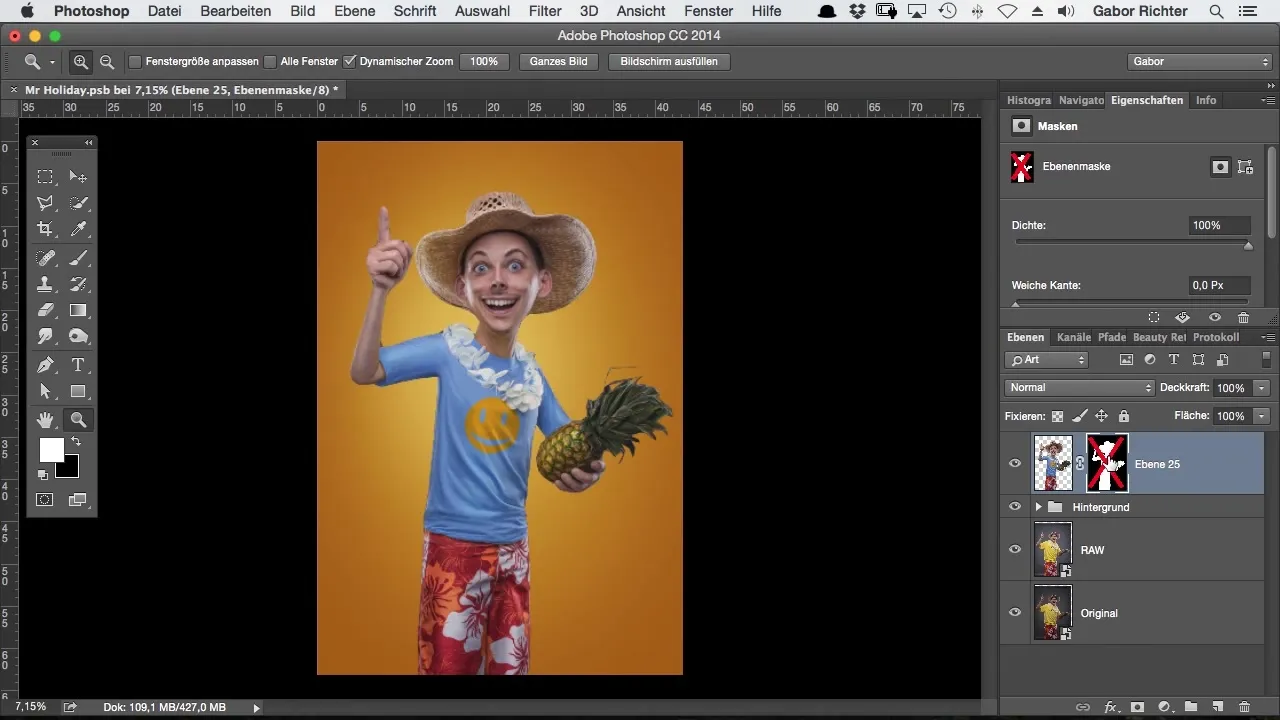
I recommend using the Mesh Tool technique only when you want to make quick adjustments. It is excellent when you need a fast solution for changing body shape, but it does not offer perfect results in every scenario.
Despite these limitations, the Mesh Tool allows you to create a kind of "grid skeleton" with which you can impressively deform and animate your figures.
Now that you understand all the steps, it is time to try this technique in your own projects. Experiment with different facial expressions and body postures to make the most of Photoshop's versatility for your designs.
Summary - Comic-Style Photoshop: Adjusting Body Shape with the Mesh Tool
Throughout this tutorial, you learned how to adjust the body shape of figures in Photoshop using the Mesh Tool feature. By placing pins, you were able to fix various body parts and change them flexibly. It is an effective method to give your designs more life and quickly respond to changes. However, be mindful of the limitations of this technique and use it strategically for the best results.
Frequently Asked Questions
How do I activate the Mesh Tool in Photoshop?You activate the Mesh Tool by clicking on "Edit" and then "Mesh Tool".
What are pins in the Mesh Tool?Pins are fixation points that allow you to keep certain areas unchanged during editing.
Can I use the Mesh Tool for other graphics?Yes, the Mesh Tool can be used for all types of graphics in Photoshop, as long as they are isolated.
What happens to the background mask when I apply the Mesh Tool?When you apply the Mesh Tool and deactivate the mask, parts of the image may be erased.
Is the Mesh Tool technique suitable for detailed work?The technique is more suitable for quick adjustments and can be limited in detailed works.


