In digital design, there is a wealth of tools to facilitate and optimize image editing. One of these techniques is Liquify in Photoshop, which allows you to change specific parts of an image while leaving other areas unchanged. In this guide, I will show you an effective method for Liquify that particularly involves using a freeze mask to avoid unwanted distortions.
Key Insights
- The use of smart objects is essential.
- The freeze tool can protect certain areas.
- This keeps the overall image intact when editing eyebrows or other facial features.
Step-by-Step Guide
To effectively apply the Liquify technique, it is important to follow a structured approach. Start by opening your image in Photoshop, which is already a smart object.
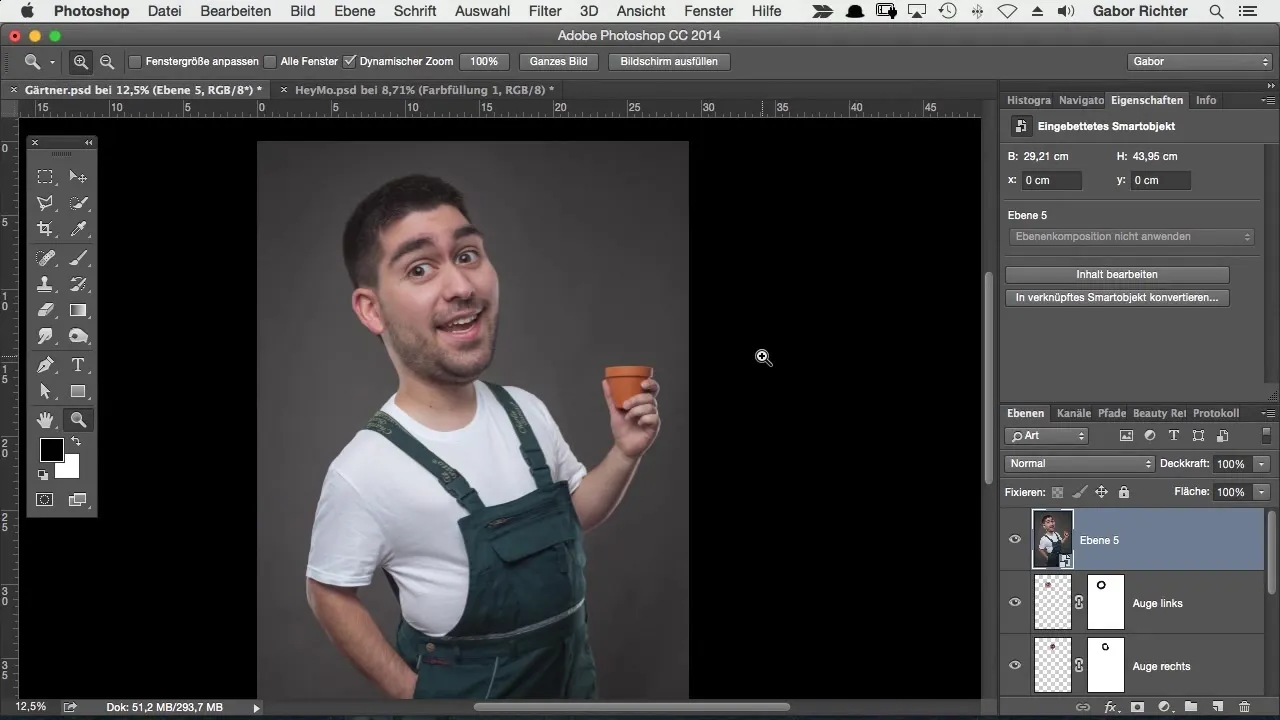
The first step is to access the Liquify filter. To do this, go to "Filter" in the top menu and then select "Liquify."
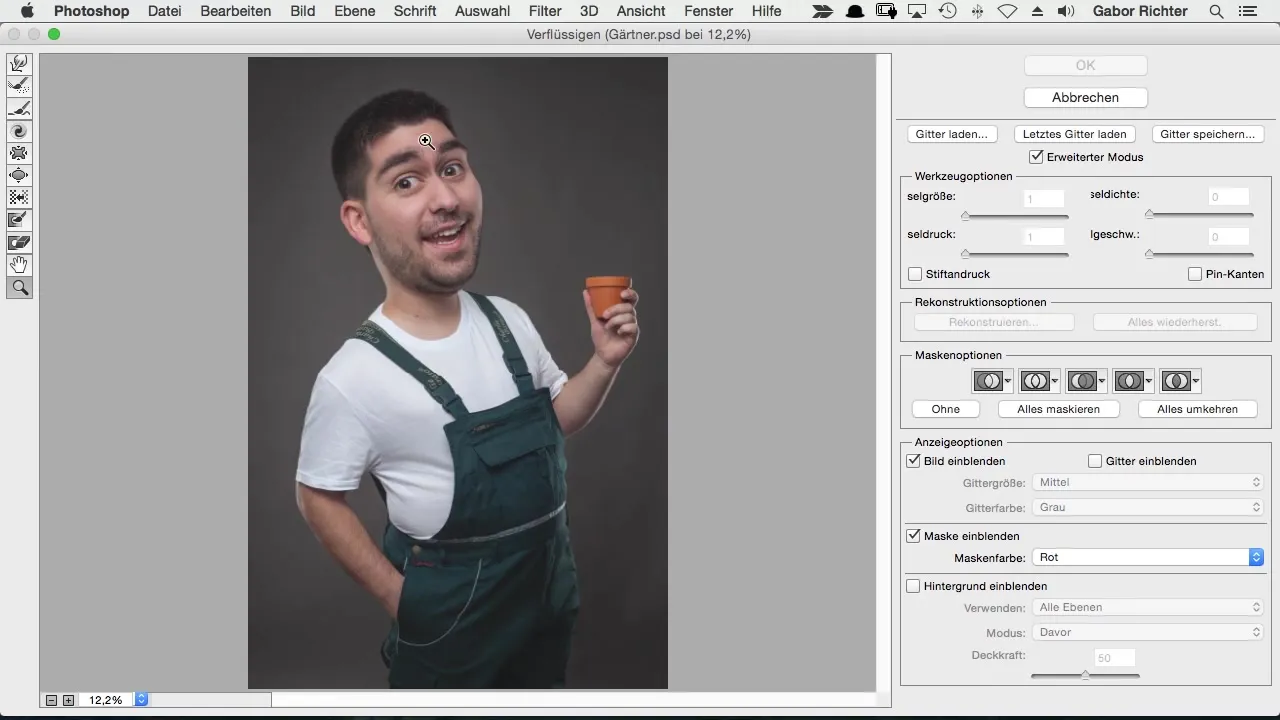
Now you should adjust the eyebrows. For this, select the Forward Warp Tool and set the brush size accordingly. Gently pull up the eyebrows to create a bushier and more arched look.
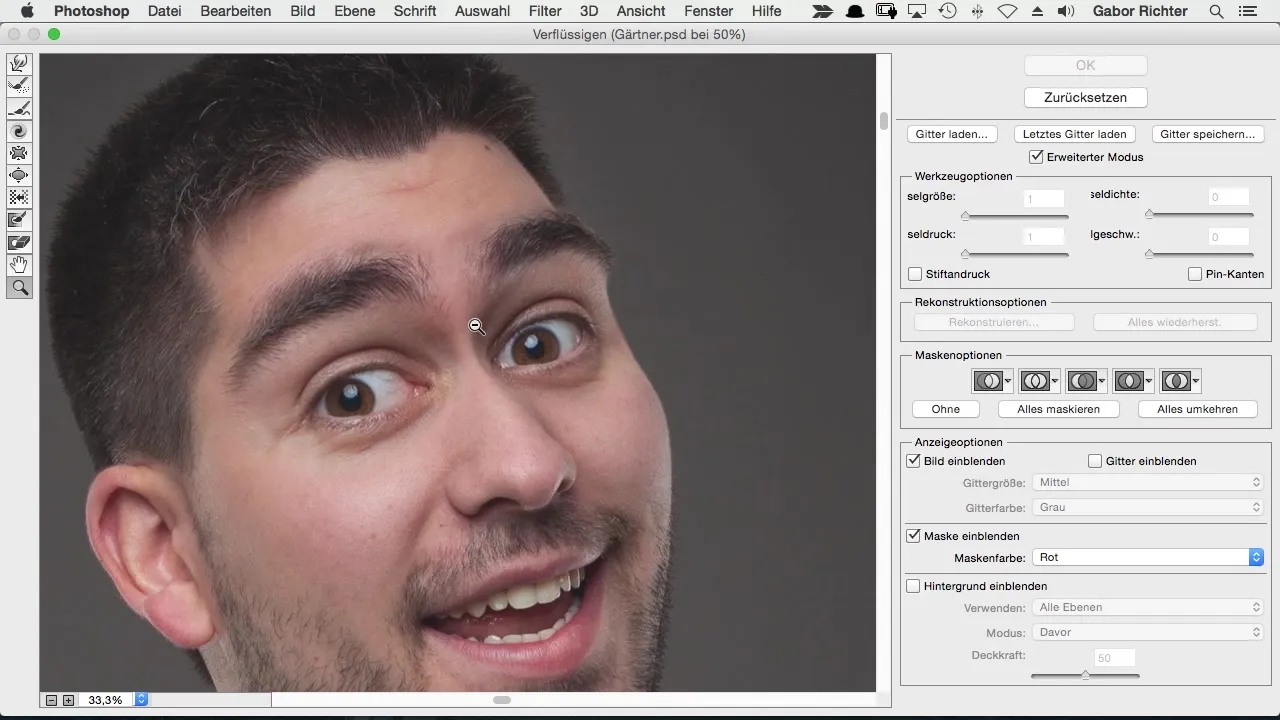
Be careful not to distort the eyes while liquifying. It is crucial to keep this in mind during the first attempt. Once you are satisfied with the eyebrows, click "OK."
When you look at the result, you may notice that the eyes have unintentionally changed. To correct this, zoom in on the eyes and use the Liquify mode to restore them to their original shape.
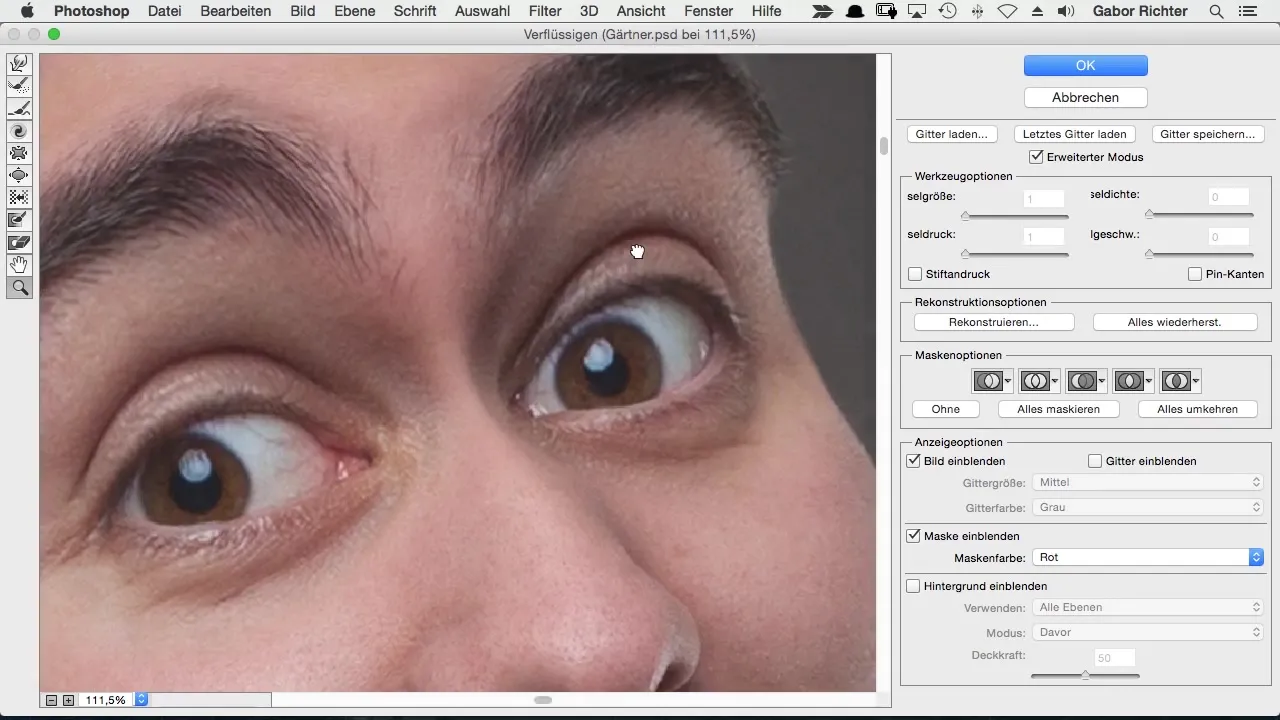
If you want to remove the filter, you can do this by clicking on the filter mask icon in the layers and deleting it. This will keep your image as a smart object.
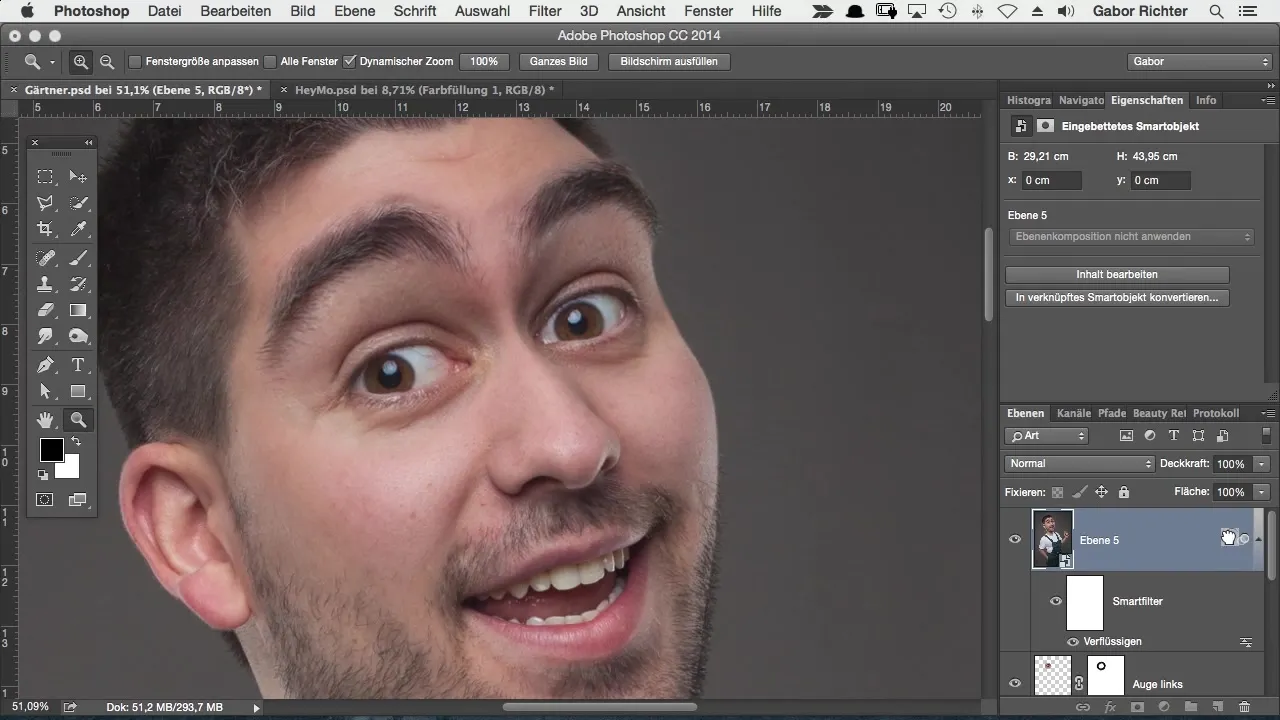
Then return to the Liquify filter and start again with the Forward Warp Tool to modify the eyebrows. Now comes the crucial step: use the freeze mask. This mask helps you define areas that should not be affected.
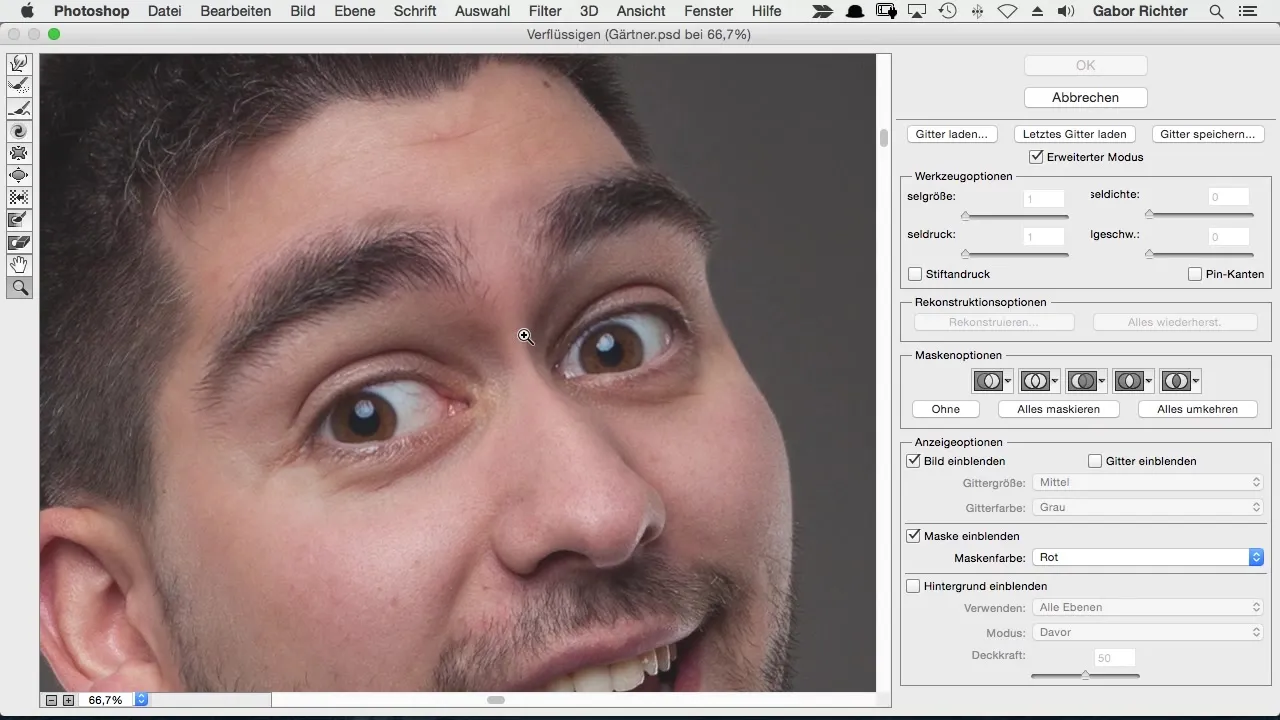
Every region marked in red is protected. With this freeze mask, you can now pull the eyebrows further up without affecting the eyes.
If the marking is distracting, you can simply hide the mask by unchecking the mask checkbox.
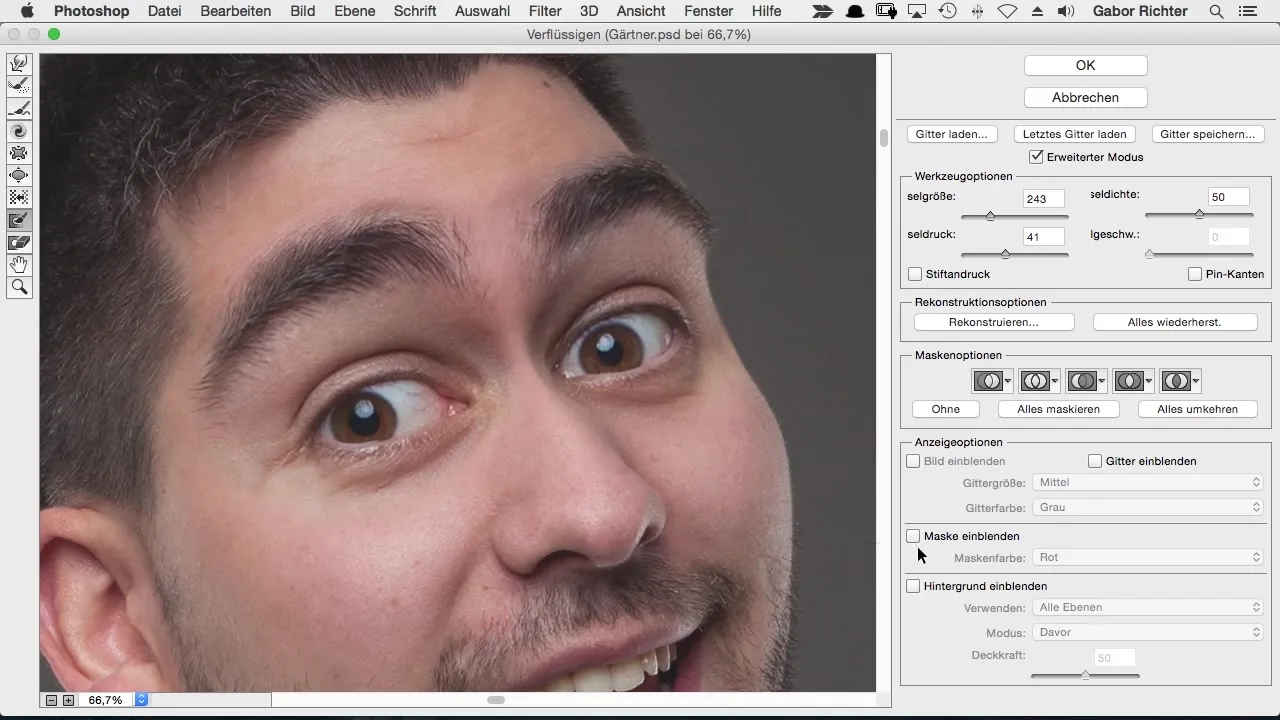
Now you can double-check what happens when you try to smudge an area around the eyes. However, since you have chosen the right tool, this area remains protected while you can still adjust the eyebrows.
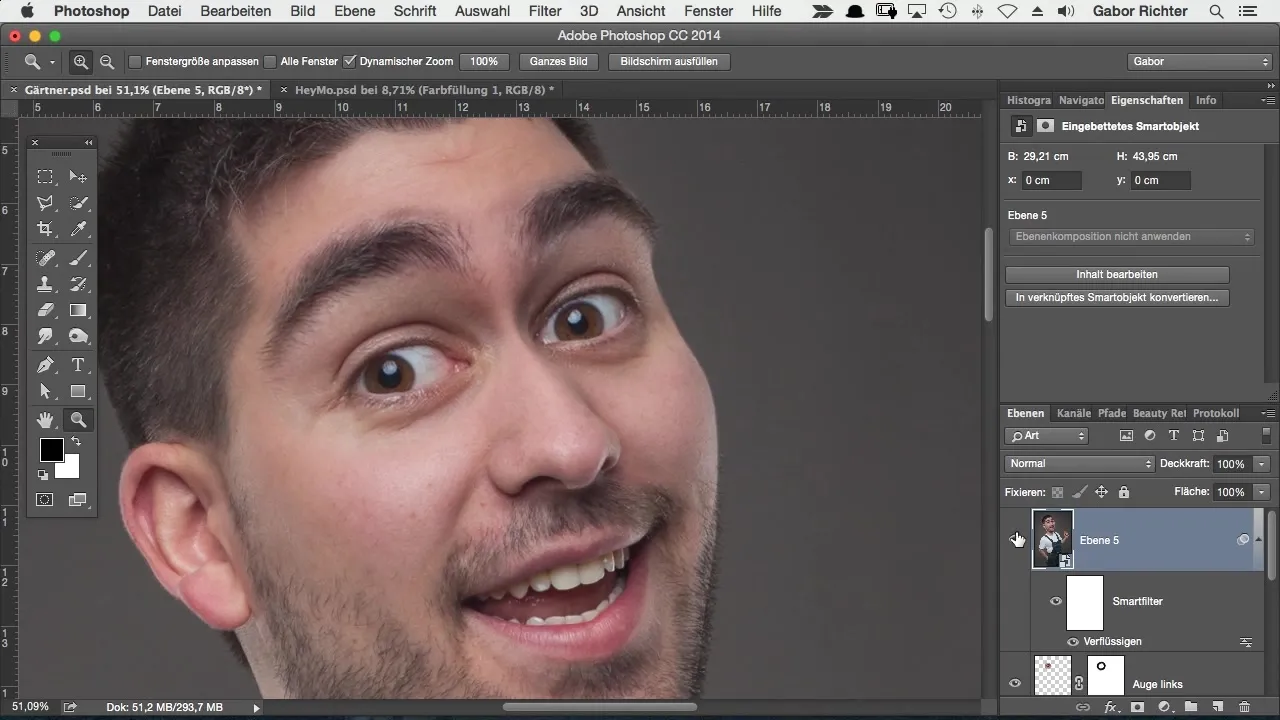
When you finally click "OK," you will see the end result. The eyebrows have been successfully altered while the eyes have remained in their original form.
You should always be aware of what needs to be considered when working in this mode. Think in advance about which parts of the face you want to edit without disturbing other critical areas such as the eyes, mouth, or contours.
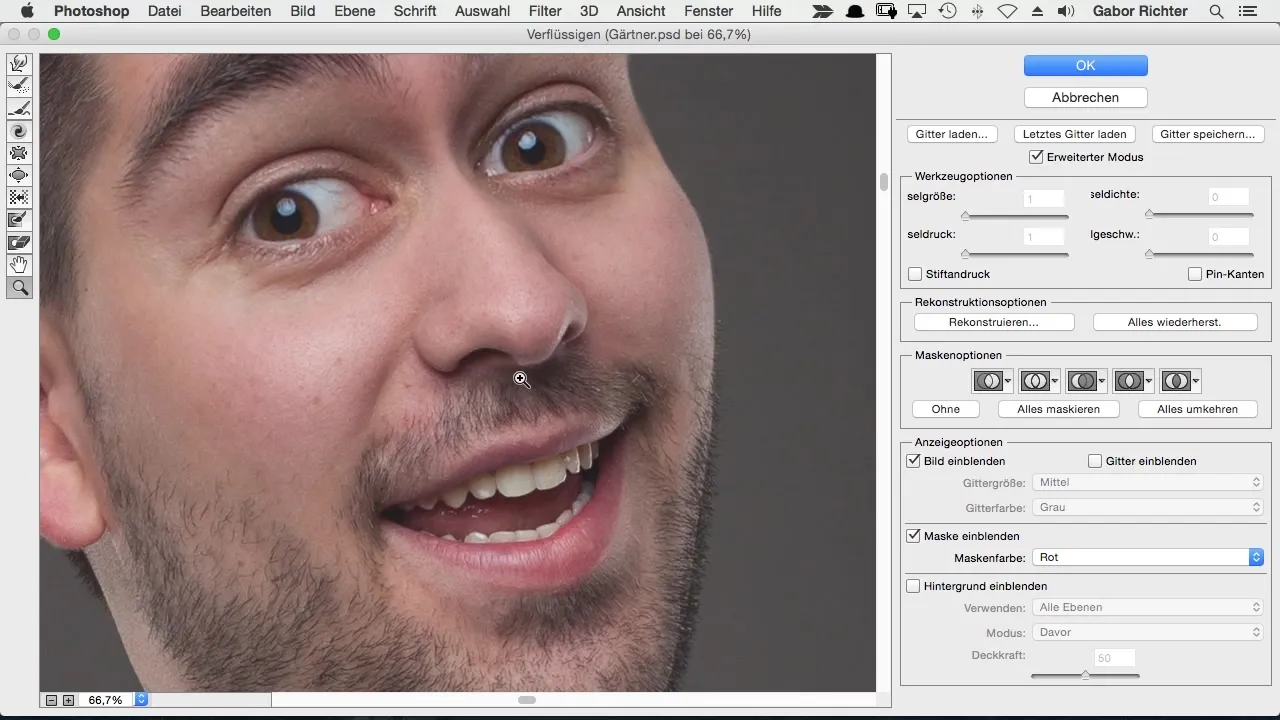
If you change something unwanted somewhere, you can work with the freeze mask to protect other areas. This makes working in Liquify mode much more precise.
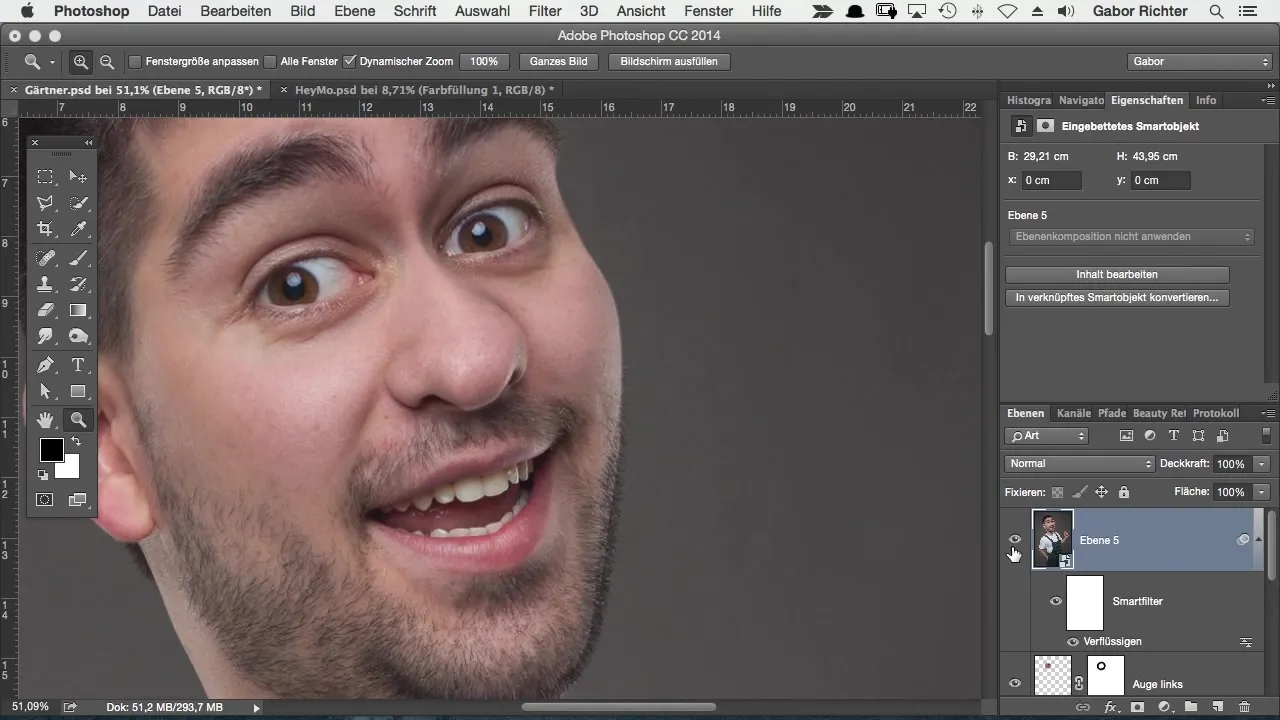
Remember to focus on the parts you want to change and freeze the other areas. This will result in a higher quality outcome.
Summary – Liquify in Photoshop: Achieve Better Results
Liquify in Photoshop can be simple and effective when the freeze mask is applied correctly. This technical guide provides you with the necessary steps to ensure safe working and avoid unwanted distortions.
Frequently Asked Questions
What is the Liquify filter in Photoshop?The Liquify filter allows you to change areas of an image without affecting the entire image.
How do I protect certain areas when liquifying?Use the freeze mask to select regions that should not be altered.
Can I undo changes?Yes, you can remove the Liquify filter at any time without affecting the smart object.
Why should I use smart objects?Smart objects enable non-destructive editing, so you can always revert changes.
How can I show or hide masks?You can toggle the mask checkbox in the layers panel to show or hide the marking.


