Are you looking for a technique to design your characters in Photoshop more effectively? In this tutorial, I will show you how to optimize your comic characters using the Liquify filter. You will learn how to work with Smart Objects to make your editing process more flexible and how to reshape your characters step by step with various tools. Let's dive right into the topic!
Key Insights
Smart Objects allow for post-editing without losing the original pixels. By taking a step-by-step approach, you maintain control and feel for your image.
Step-by-Step Instructions
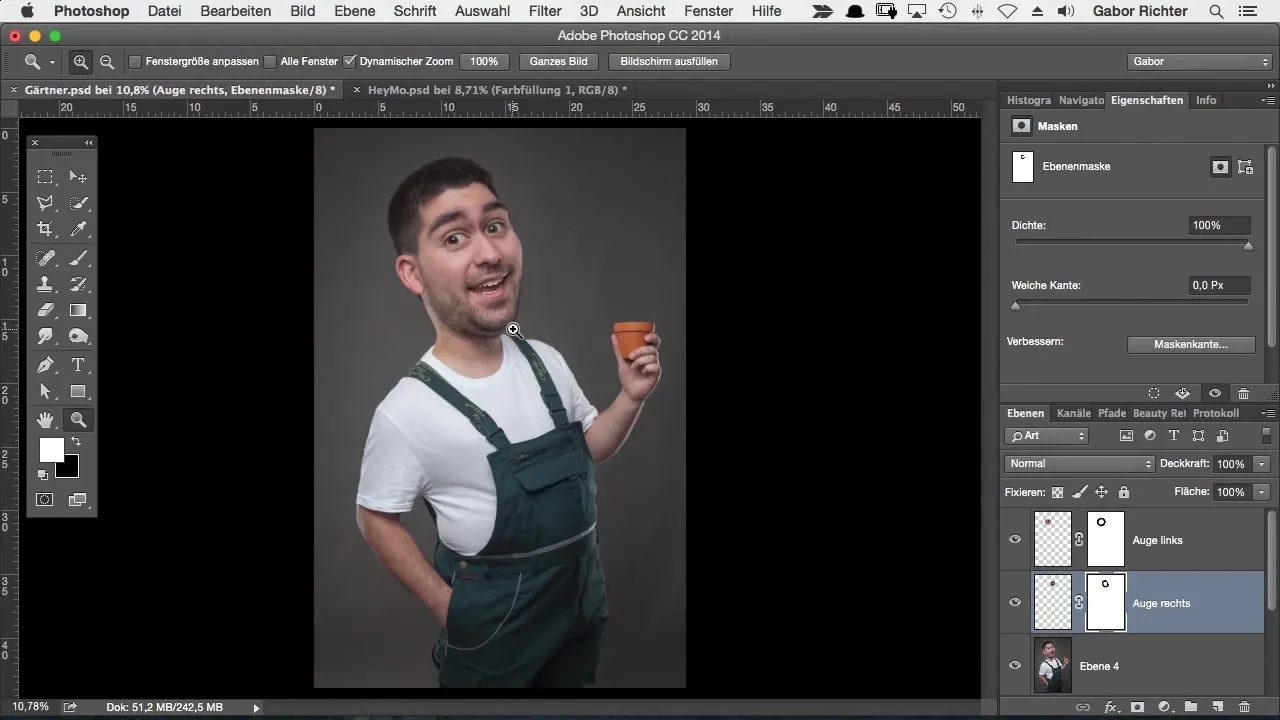
First, your image needs a solid foundation. Convert all layers into a new layer. You do this by selecting the top layer and pressing the combination "Command + Alt + Shift + E" (Windows users: "Ctrl + Alt + Shift + E"). Now I’ve consolidated everything onto one layer, making your work easier.
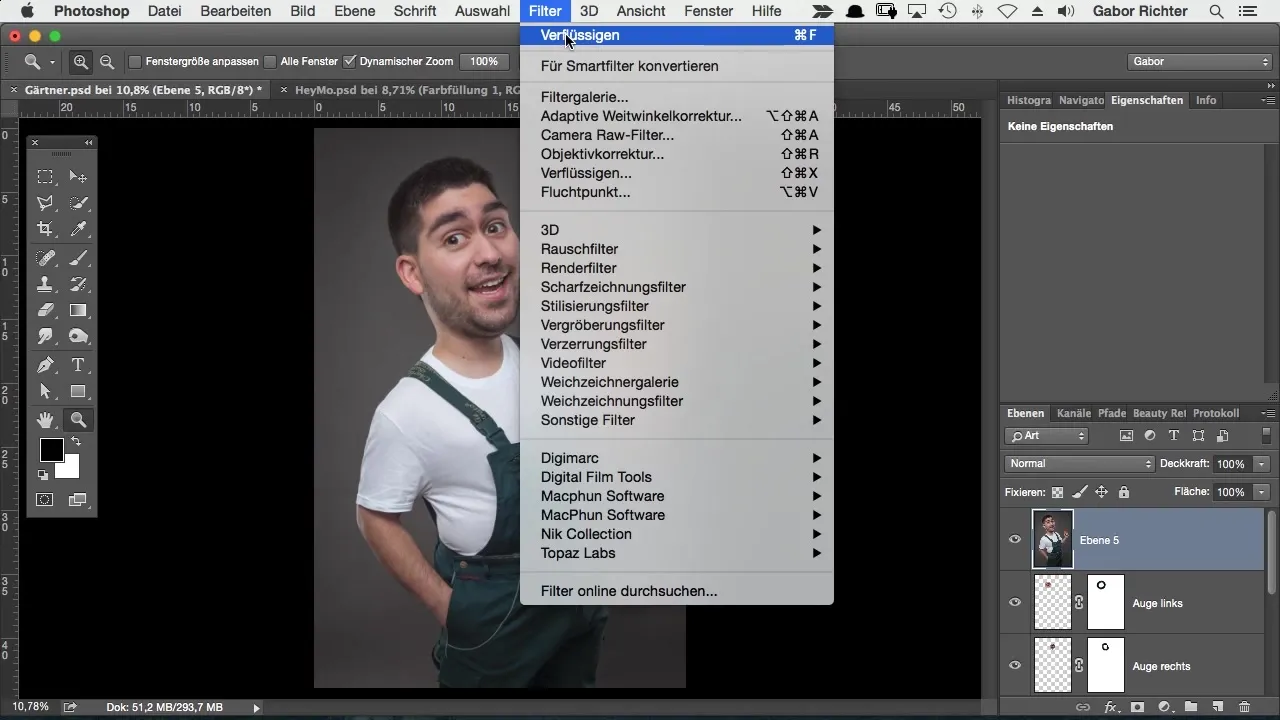
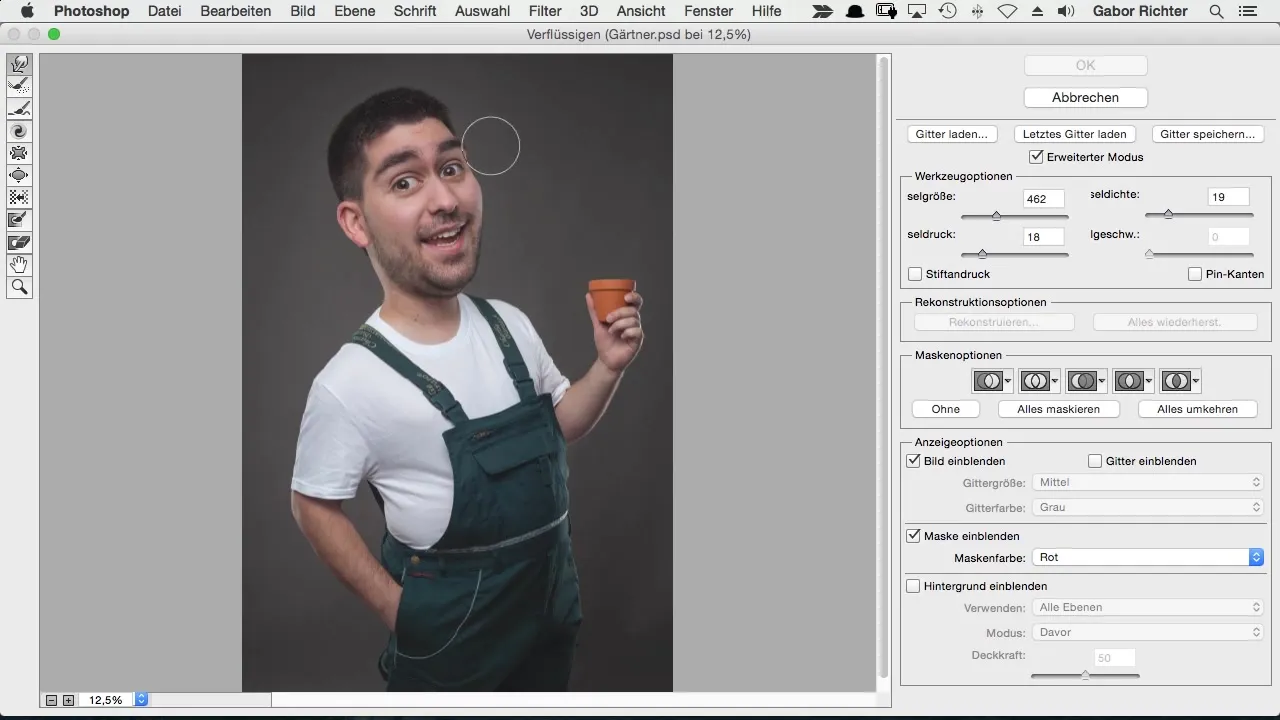
Now it’s time to open the Liquify filter. Go to the top menu bar and select "Filter," then choose "Liquify." I want to start by making some basic changes. I begin with the Push Tool to slightly reshape the figure. For example, I can make the neck appear slightly narrower by pulling it upwards.
Another way to adjust character traits is to lift the eyebrows. This often gives the character a funny effect and contributes to the overall impression. Be careful not to make too drastic changes; it should still look natural.
If you don’t like the changes, you may find that after a break, the result doesn’t align with your original plan. The challenge with the traditional method is that you can no longer make adjustments afterwards without going through the entire process again.
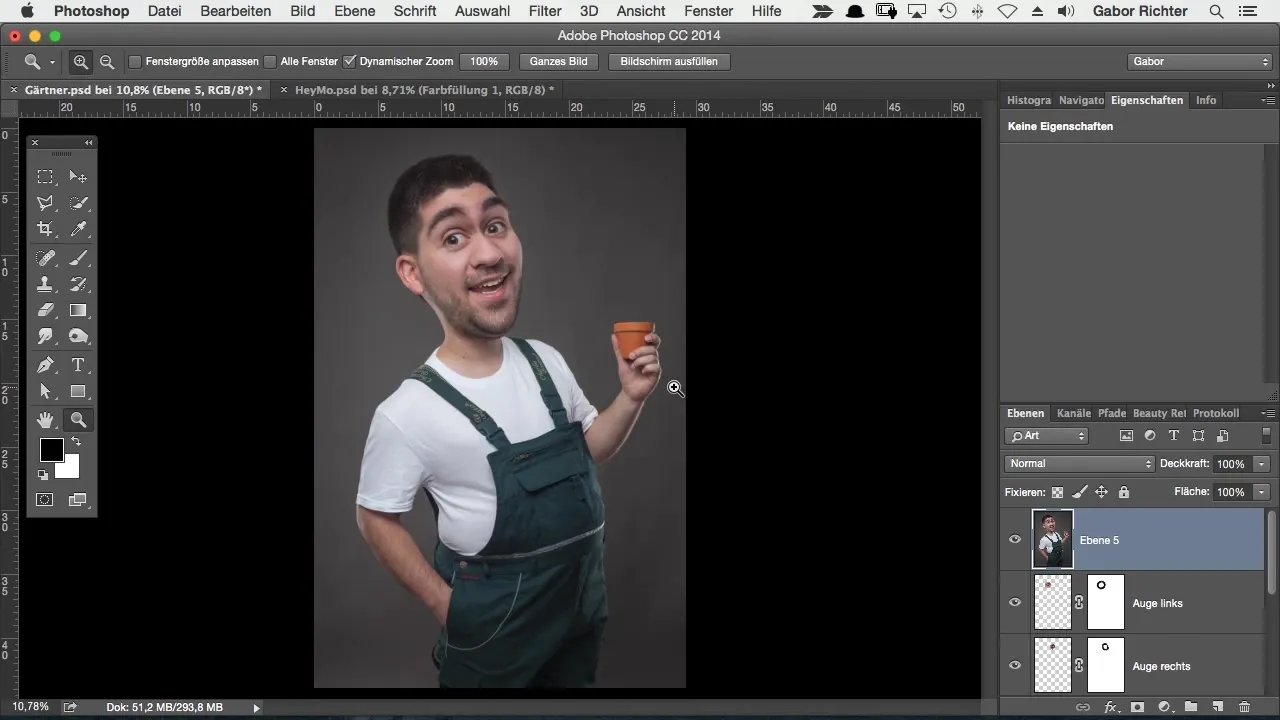
To increase flexibility, I recommend using Smart Objects. Delete your current layer and start the process again with the combination "Command + Alt + Shift + E" (Windows users: "Ctrl + Alt + Shift + E"). Right-click on the newly created layer and select "Convert to Smart Object."
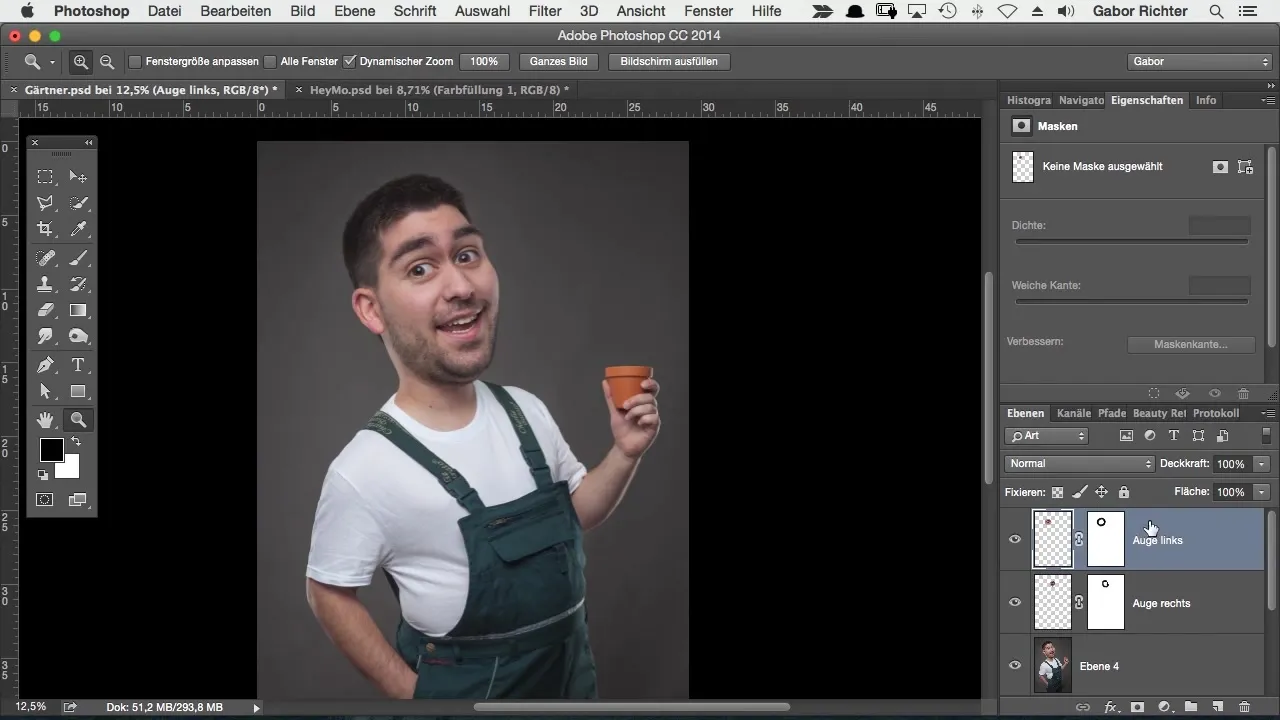
Now go back into the "Liquify" filter to make your adjustments. You now have the option to access your Smart Object at any time with a double-click and make adjustments to your previous changes. This means, for example, if you don’t like the thickness of a cheek, you can selectively change just that area.
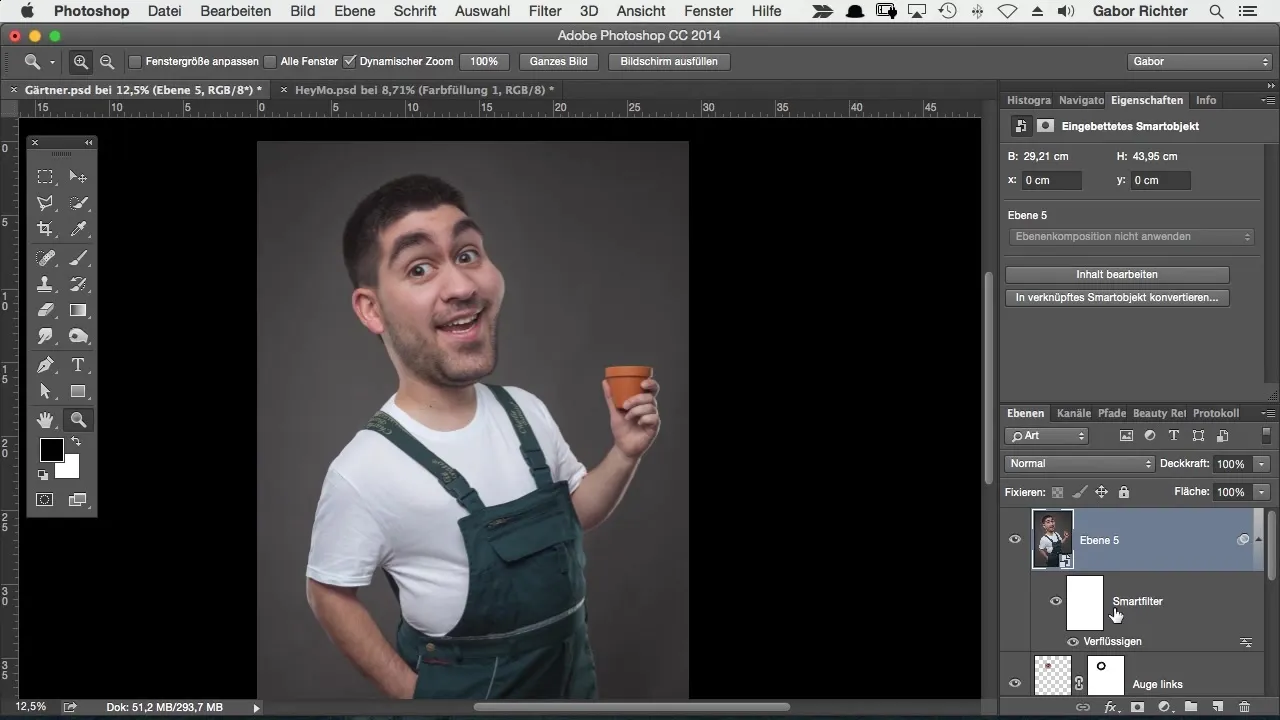
Use the Reconstruct Tool for this purpose. With it, you can restore areas that you no longer like. Simply run the Reconstruct Tool over the corresponding area, and it will revert to its original state.
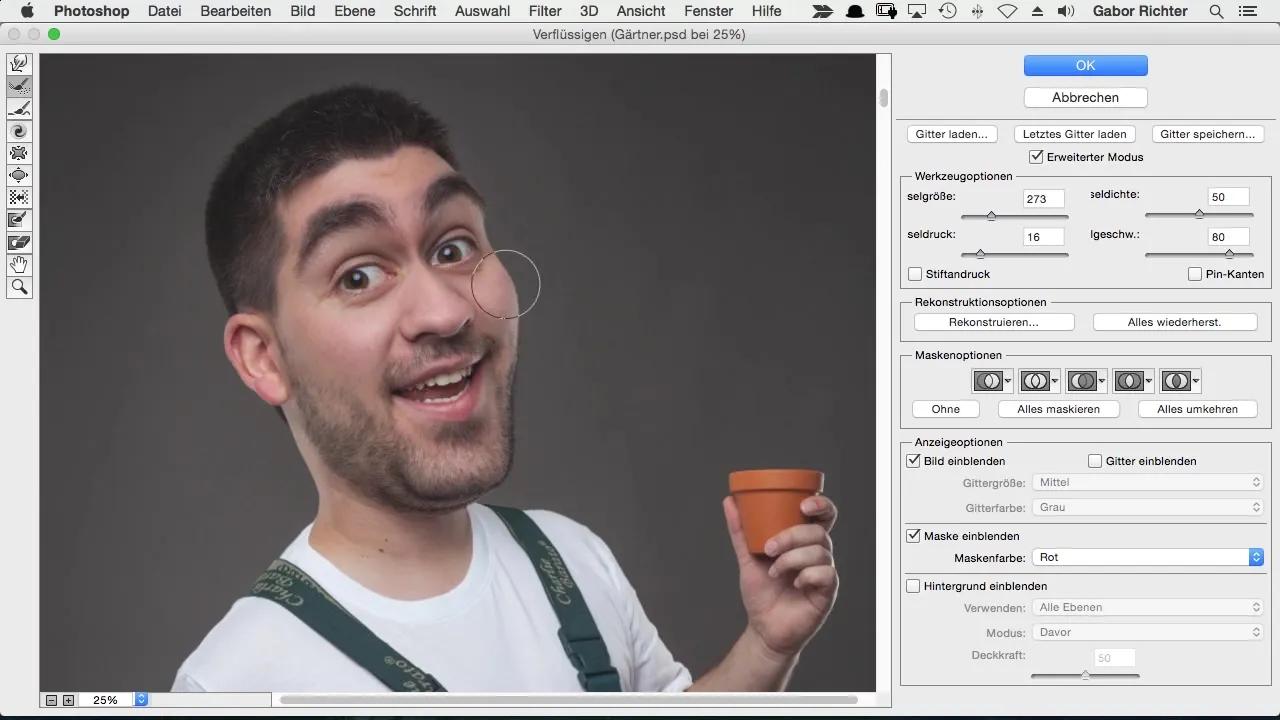
Now you should apply the Liquify filter step by step instead of editing the entire image at once. Start with the first task: the eyebrows. Here you can lift them higher and make them bushier, which often adds extra charm to the character.

If the eyebrows are to your liking, move on to the nose. Make sure to adjust the size and shape to achieve a harmonious look. It may be helpful to adjust the brush size while working so that you can work effectively and precisely.
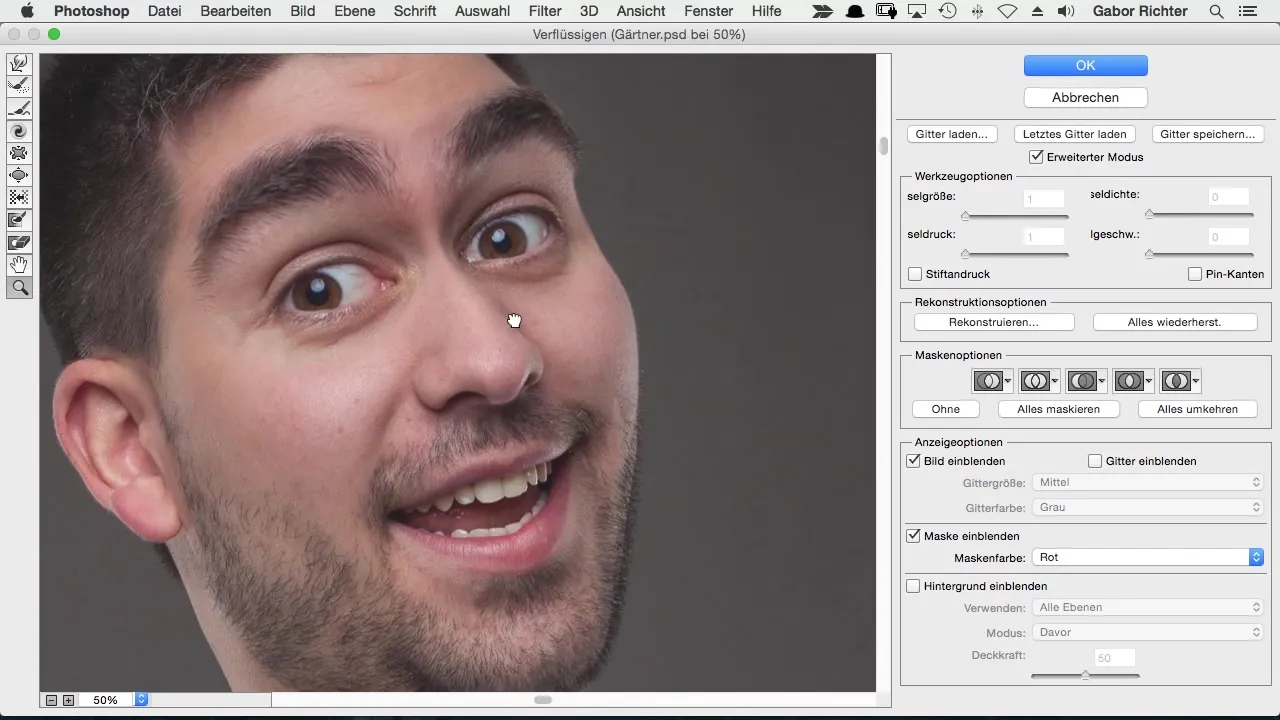
After adjusting the nose, move on to the ears. Here you can also shape them smaller and rounder according to your taste. Make sure that the changes fit the overall picture.
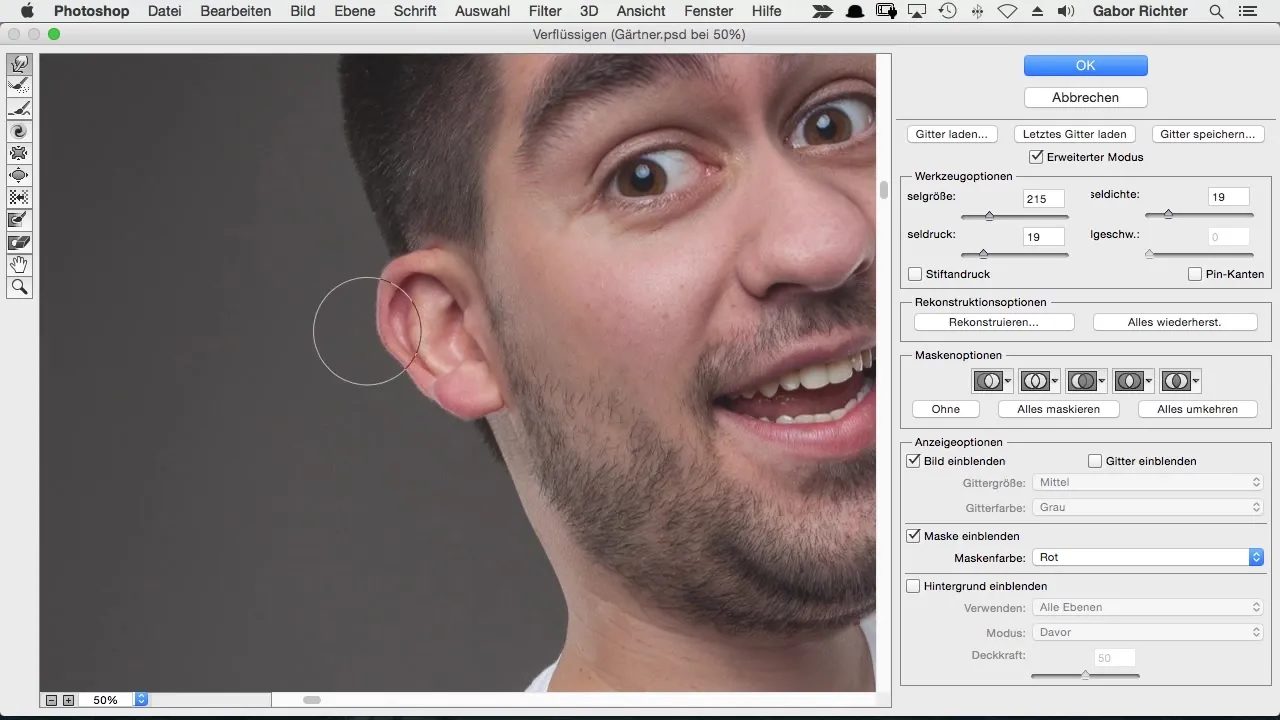
In summary: Work in small steps. Assess each adjustment before moving on to the next. This way, you maintain control and can ensure that each change benefits the image.
Summary – Liquify in Photoshop: Step by Step to Your Comic Character
In this tutorial, I have shown you how to efficiently revise your comic characters using the Liquify filter and Smart Objects. From the initial adjustments to the eyebrows to details like the nose and ears, you can refine your image step by step.
Frequently Asked Questions
What is the advantage of Smart Objects?Smart Objects allow you to revert changes at any time without losing the original image.
Can I liquify other areas as well?Yes, you can adjust any areas of your image; however, it’s important to proceed in small steps.
How can I adjust the size of the Push Tool?You can adjust the size in the Liquify interface to specifically edit the areas you want.
Do I always have to work with the Reconstruct Tool?It’s not strictly necessary, but it provides a good means of undoing unwanted changes.
How long will it take for me to become familiar with this technique?With some practice, you'll quickly be able to apply the technique and continuously improve your skills.


