The design of backgrounds in Photoshop can quickly become a time-consuming task. But once you have successfully cut out a figure, new possibilities open up for you to design the background. In this tutorial, you will learn how to create a clean and appealing background with a spot, where you can optimally adjust color and lighting.
Key Insights
- A clean background is possible without distracting structures.
- The colors can be adjusted at any time.
- A spot can be added with simple steps.
- You can darken the background with a soft edge and an adjustment layer.
Step-by-Step Guide
To create an effective background with a spot, follow these steps:
Cut Out and Prepare the Background
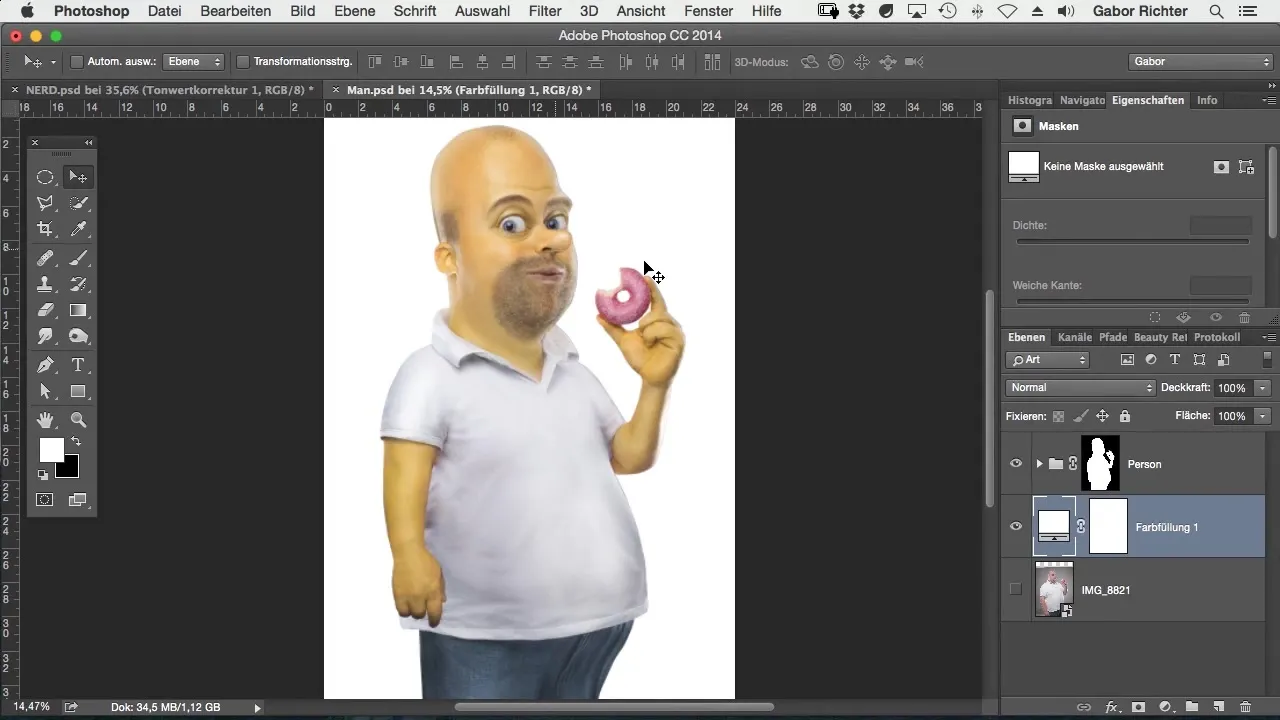
Once you have cut out your figure, you have created the foundation for a clean background. A clear, unstructured background without distracting pixels allows you to focus on color and light design.
Apply Color
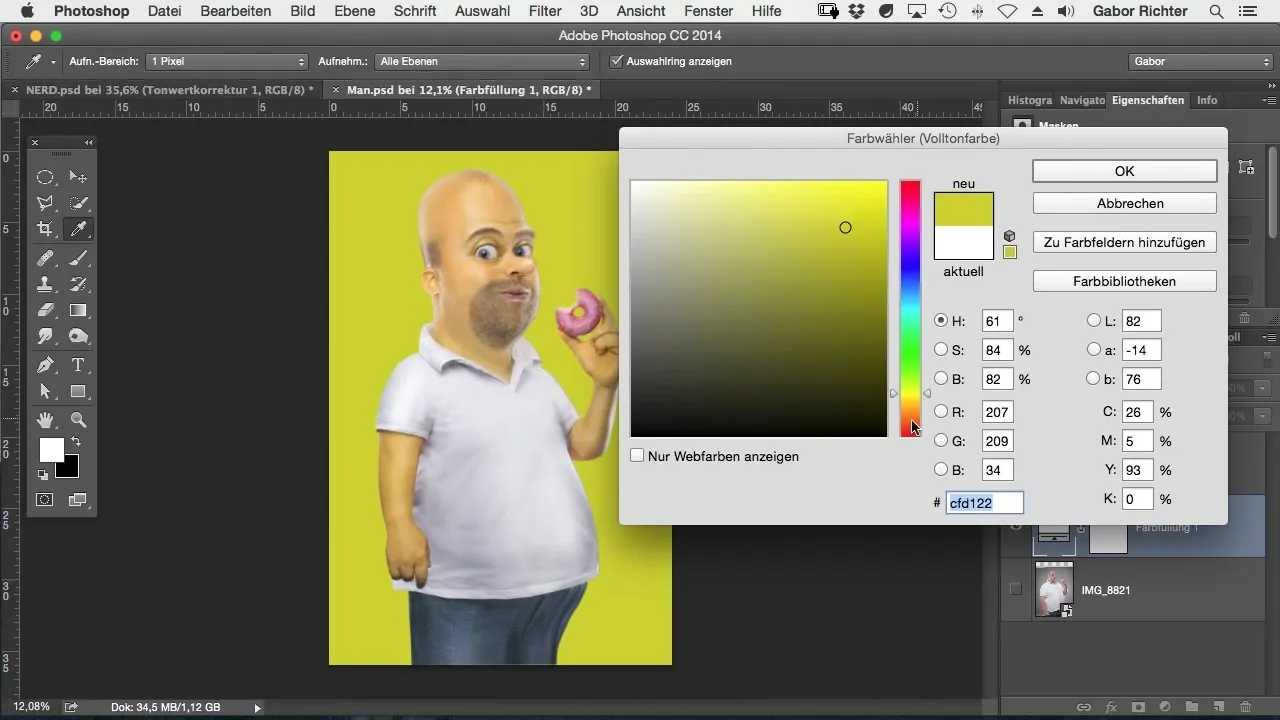
Now you can start selecting colors. Try out different tones – for instance, I had a lot of fun choosing a bright yellow. Let your creativity flow and experiment with different shades until you find the ideal look.
Add a Spot
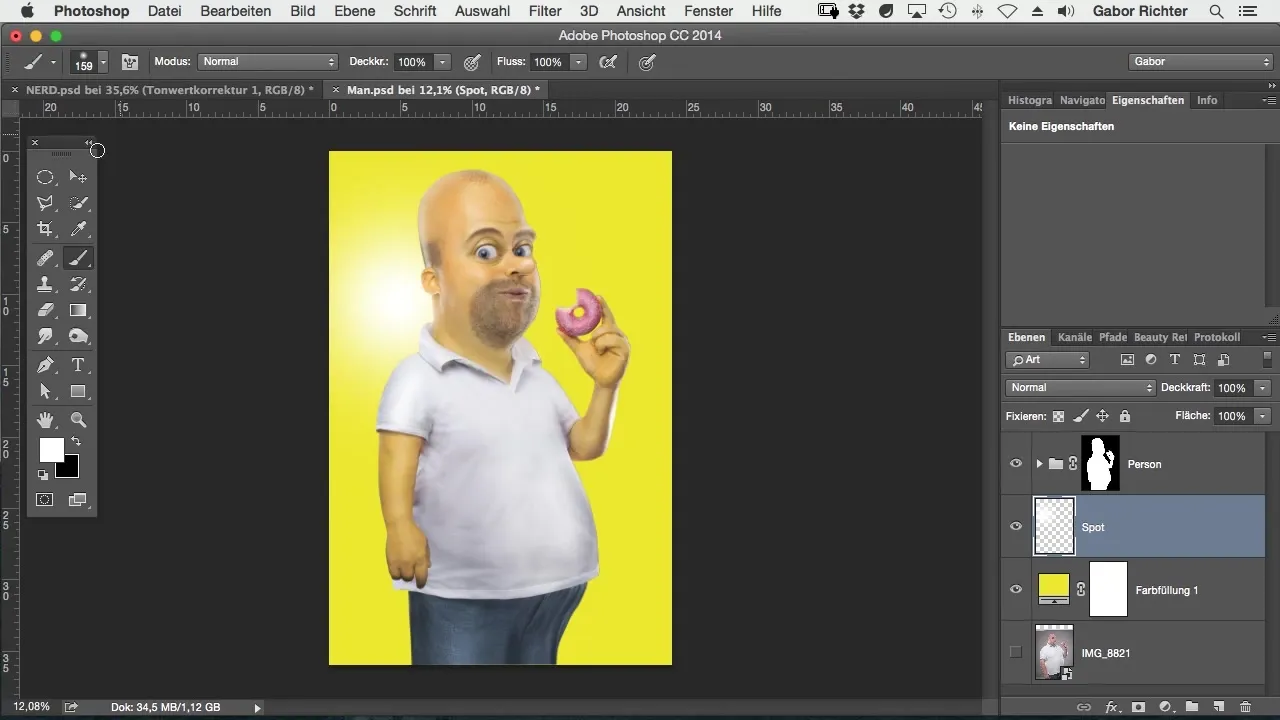
To add a spot, you need the brush tool. Simply place a white dot that you can transform in any way you like. Position it ideally where you think it has the best effect – for example, at the neck of your figure.
Make a Selection
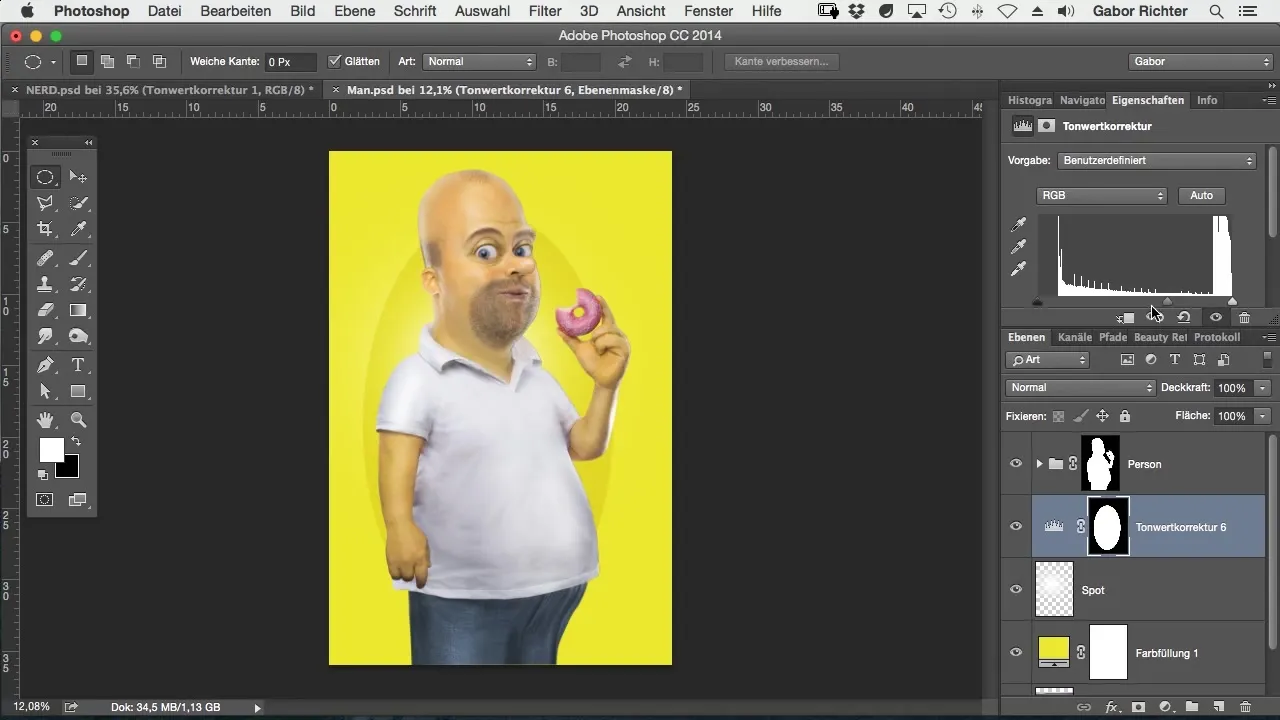
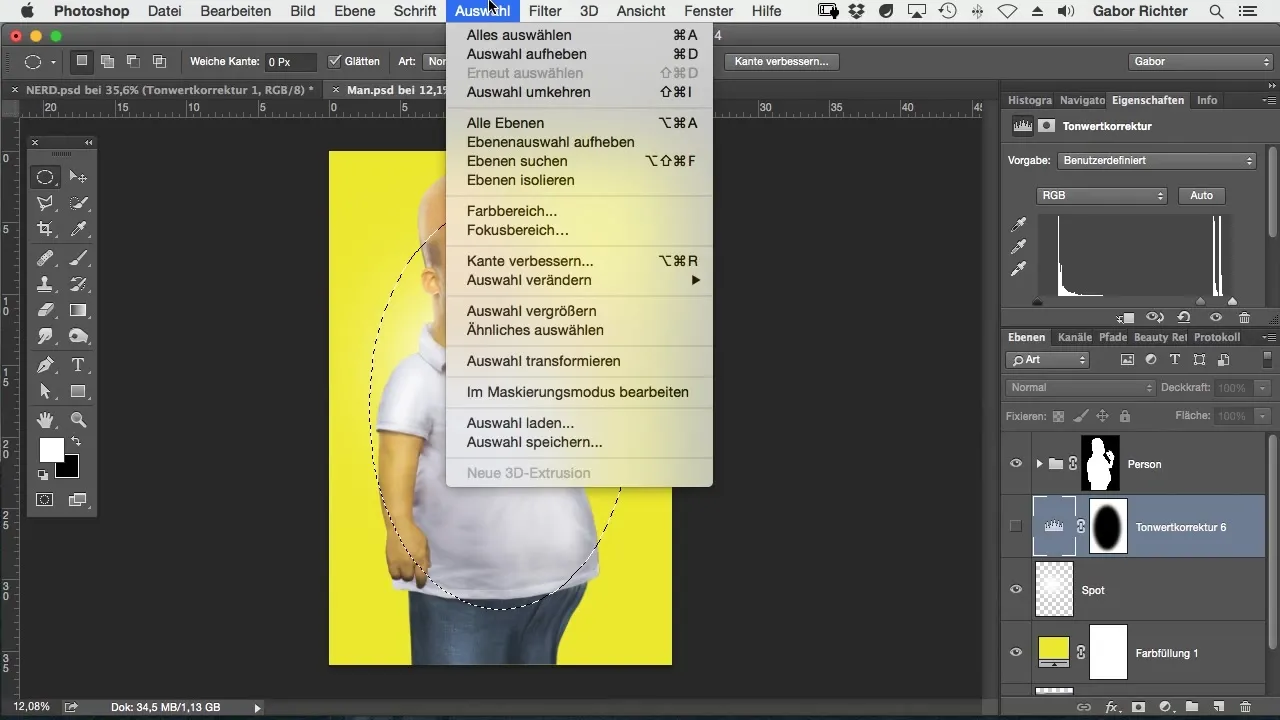
Now select the elliptical selection tool and create an oval selection around the spot. This will help you edit the background precisely. Make sure that the selection fits neatly, as this is crucial for the later effect.
Add an Adjustment Layer
Now choose an adjustment layer for tonal correction. This step allows you to darken the background, which makes the spot stand out even more. Adjusting the brightness is a critical step that influences the overall impression of the image.
Invert the Mask
To darken only the area around the spot, invert the mask. This will make the spot appear bright and radiant, while the rest of the background recedes.
Softer Edge
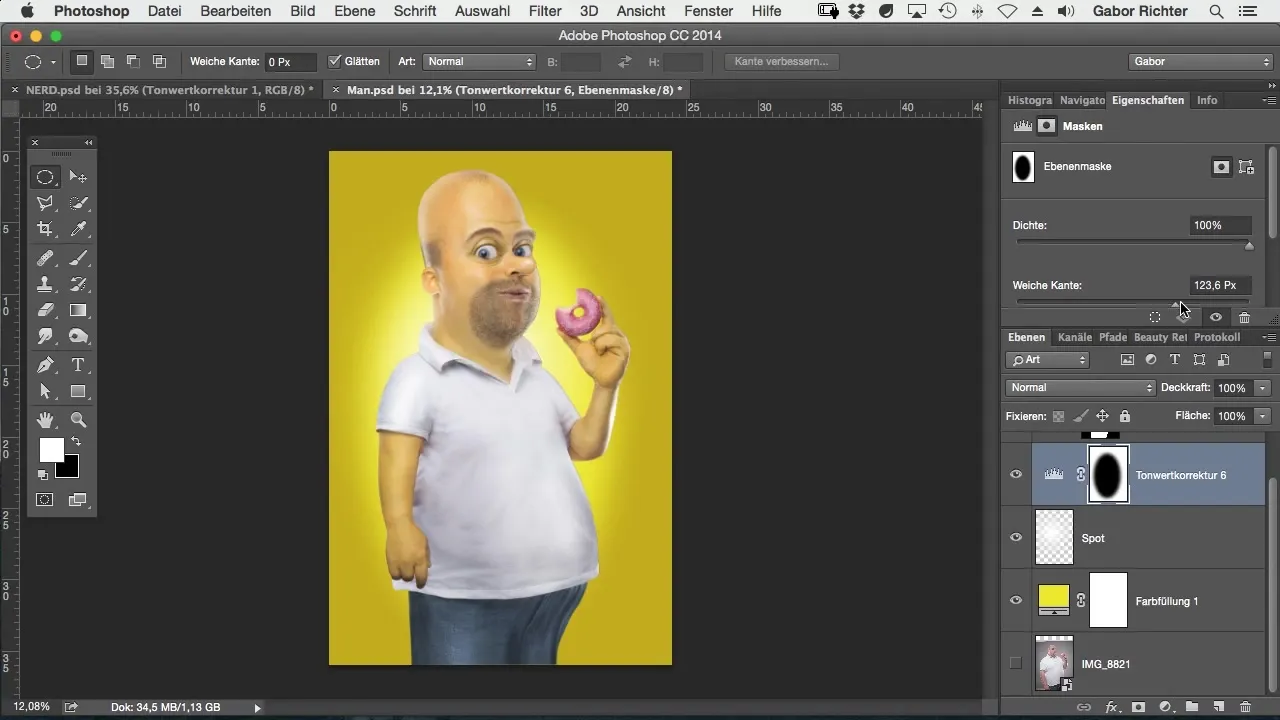
Now it is necessary to soften the edge. Choose a value of about 400 pixels to achieve a gentle edge. This ensures that the transition between the spot and the background appears harmonious.
Invert Selection
To ensure that all changes are applied correctly, invert the selection. This gives you the opportunity to make changes in the right place without accidentally affecting your figure.
Final Adjustments
Now you can adjust the adjustment layer for tonal correction to achieve the desired darkening effect. It is important to pay attention to how you enhance the image during this step. Additionally, you can introduce a vignette, which rounds off the overall image in an elegant way.
Adjustment of Softness
Finally, it is particularly useful to be able to control and change the softness of the effect at any time later. This flexibility is one of the main features of this technique and makes it particularly user-friendly.
Summary – Comic Style Photoshop: Creating a Background with a Spot
In this tutorial, you learned how to create a clear and appealing background with a spot in Photoshop. This technique allows you to optimally control both color and lighting, elevating your work to a new level. Experiment with these steps to bring your artistic visions to life.
Frequently Asked Questions
How can I cut out my figure?Use the selection tool in Photoshop to precisely select the figure and then cut it out.
Why is a clean background important?A clean background ensures that the figure is the focal point and does not distract.
How can I change the color selection?You can adjust the color at any time via the adjustment layers.
What does softening the edges do?It creates a smooth transition between the spot and the background, making the image appear more harmonious.
Are the settings permanent?Yes, the adjustments can be changed at any time as long as the layers are edited.


