Filling in a beard in Photoshop can be crucial for a realistic appearance. This technique can be applied not only to the beard but also to other details in the image. In this tutorial, I focus on the steps to fill in a beard using frequency separation more effectively and add the necessary details.
Key Insights
- Frequency separation helps to separate details from color.
- Empty masks are crucial for making precise adjustments.
- By duplicating layers, missing details can be filled in.
Step-by-Step Guide
First, you need an image with a beard that needs to be filled in. Start by opening your image in Photoshop. This is the starting point for your editing.
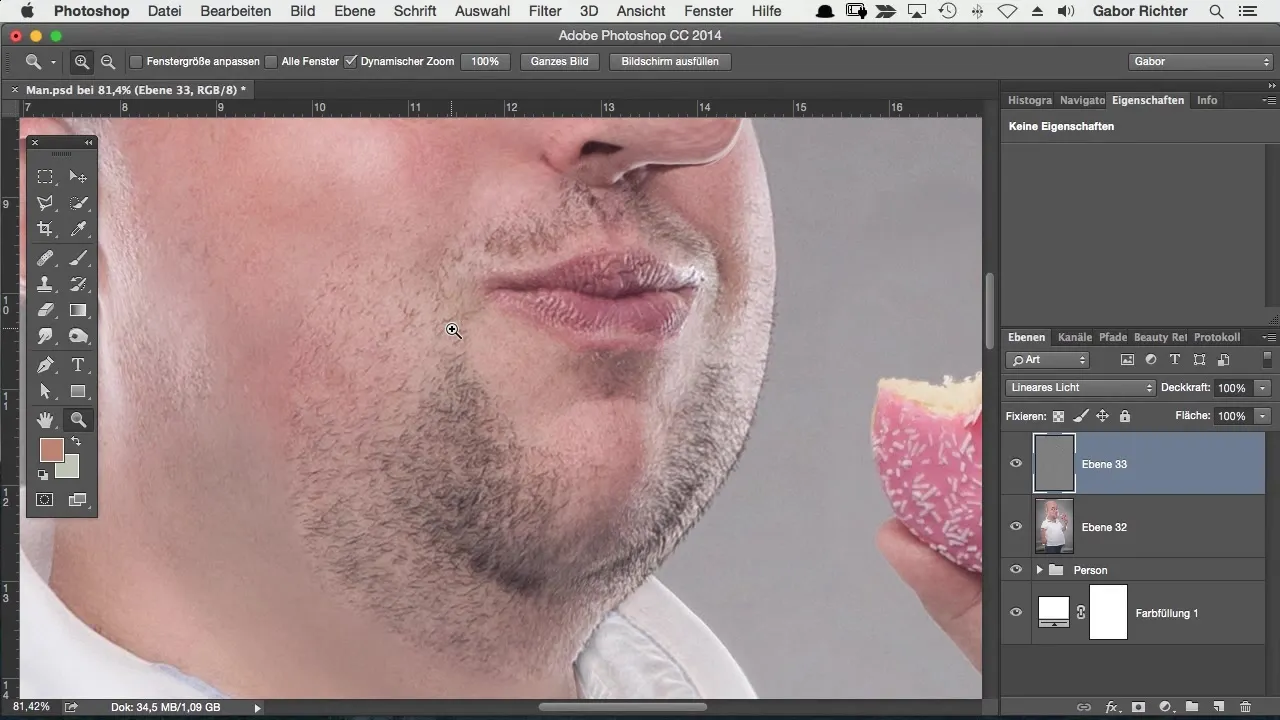
The first step is to analyze the existing beard. You already have a base, but the details are often incomplete or appear inappropriate. The goal is to reproduce these details and make the beard look fuller.
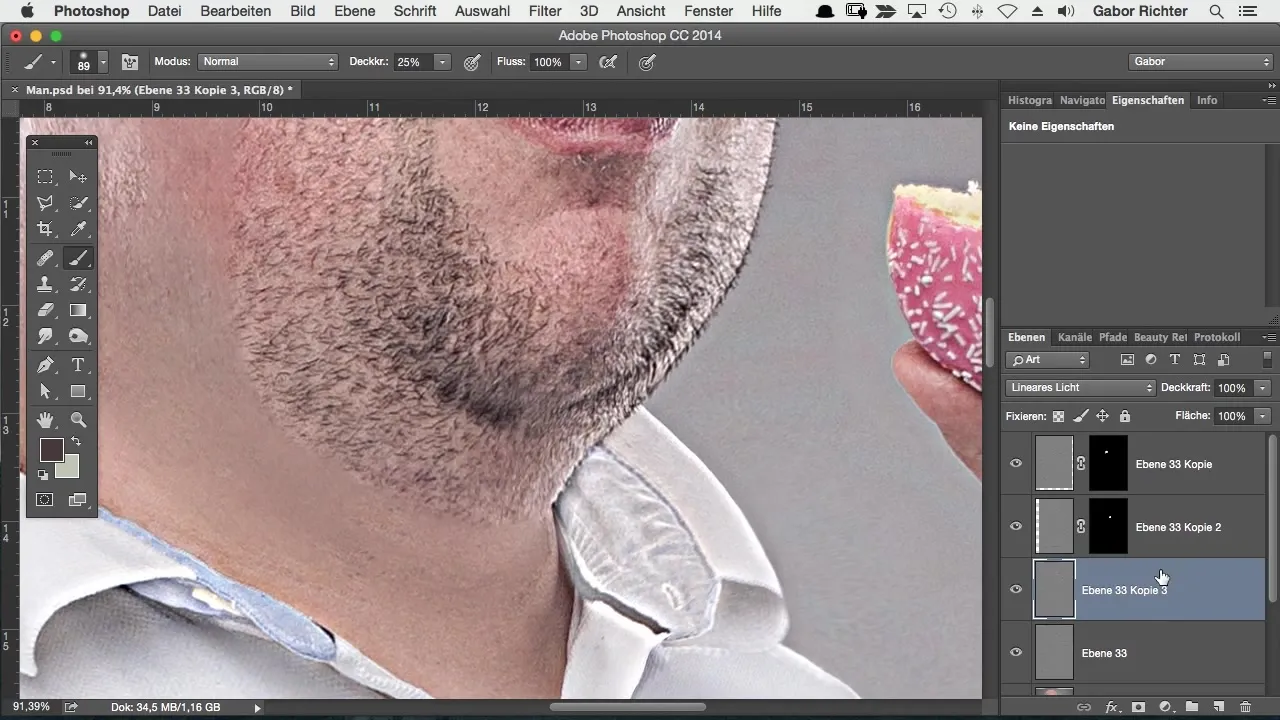
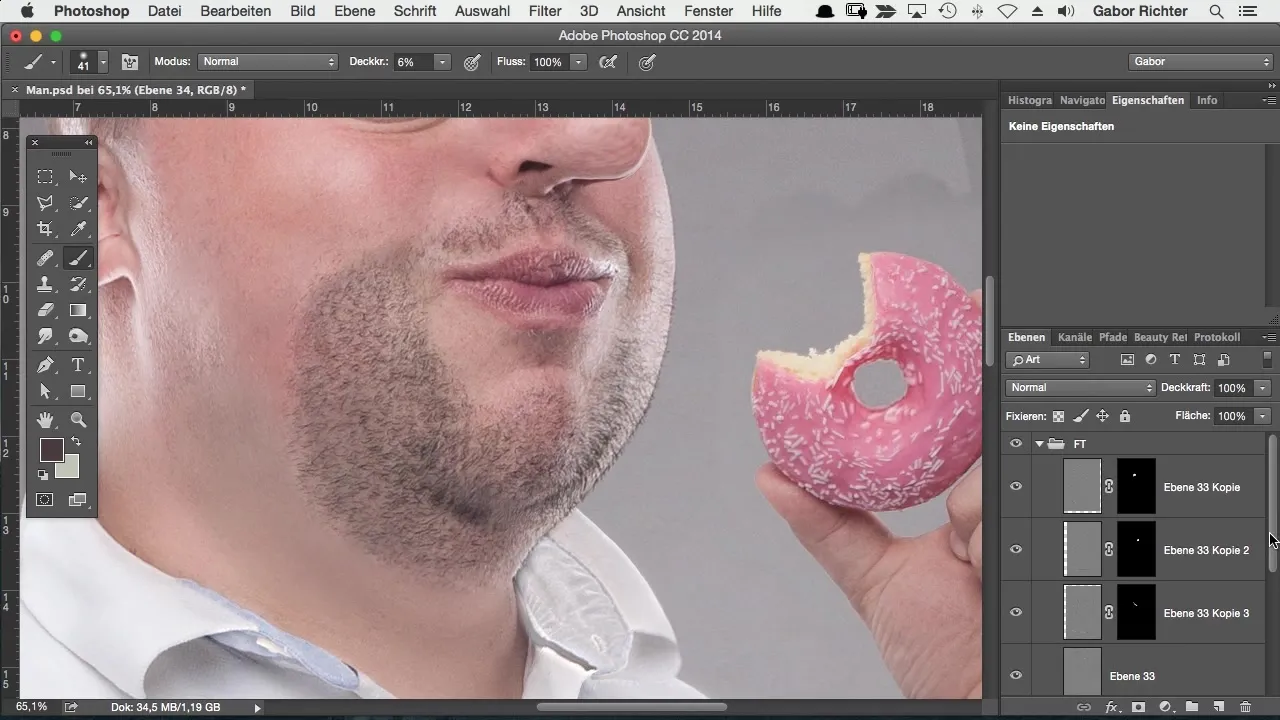
Now select the existing beard stubble. It’s best to duplicate the layer that shows this stubble. This way, you preserve the original and can edit the duplicates as desired. The duplication allows you to work on the details specifically while keeping the original image unchanged.
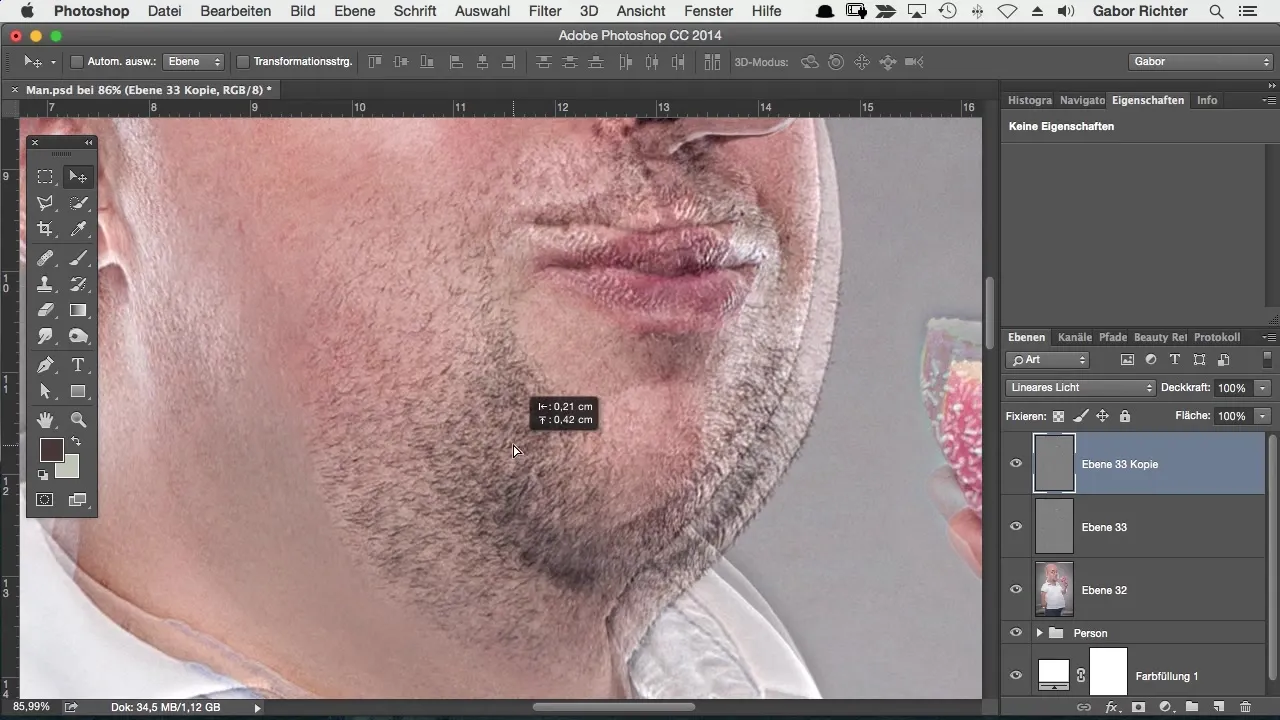
Now apply a mask to the duplicated layer and invert it. Inverting the mask is crucial so you can specifically edit the areas where the beard should be filled in. With a brush tool, you can then repaint the beard stubble to fill in the gaps.
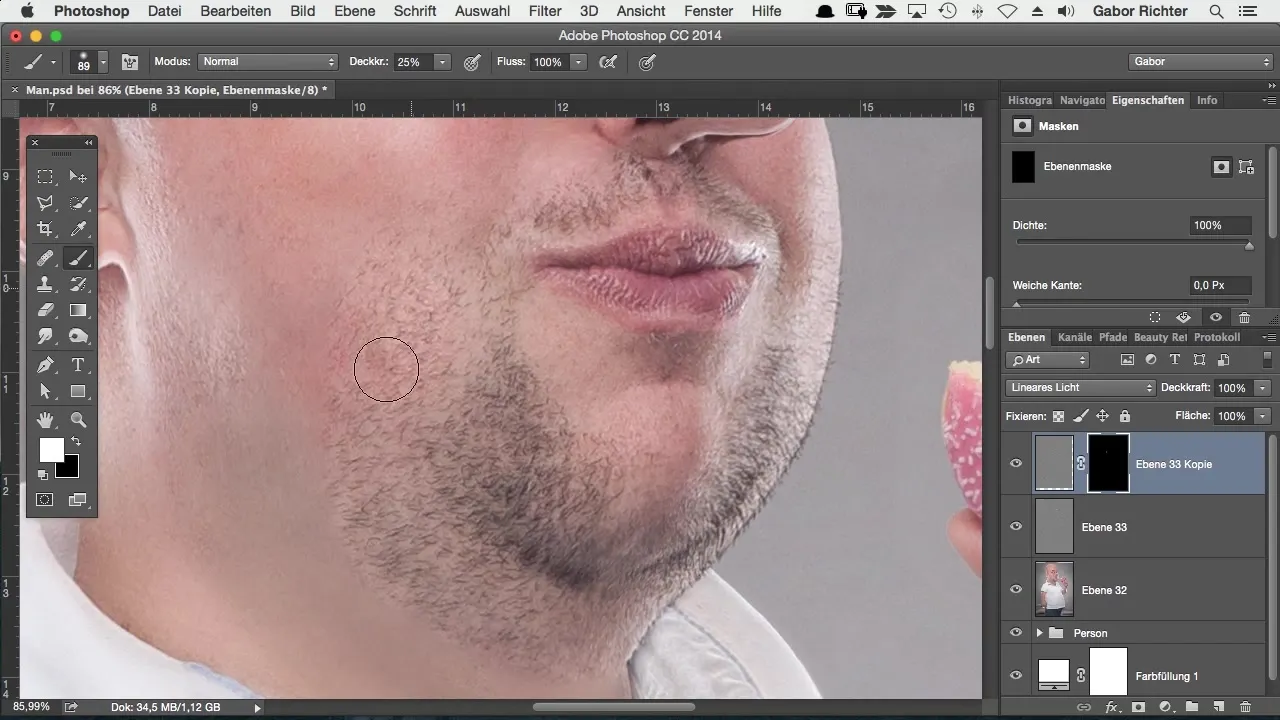
Be careful not to overshoot. Start carefully repainting the stubble. At some point, you will find that the result already matches your expectations. If you want even more fullness, you can create additional duplicates and adjust them accordingly.
Another area that is often overlooked is the chin area. Duplicate the layer here as well and move it slightly to get a different perspective of the beard stubble. Again, apply an inverted mask to realistically fill in the stubble in this area.
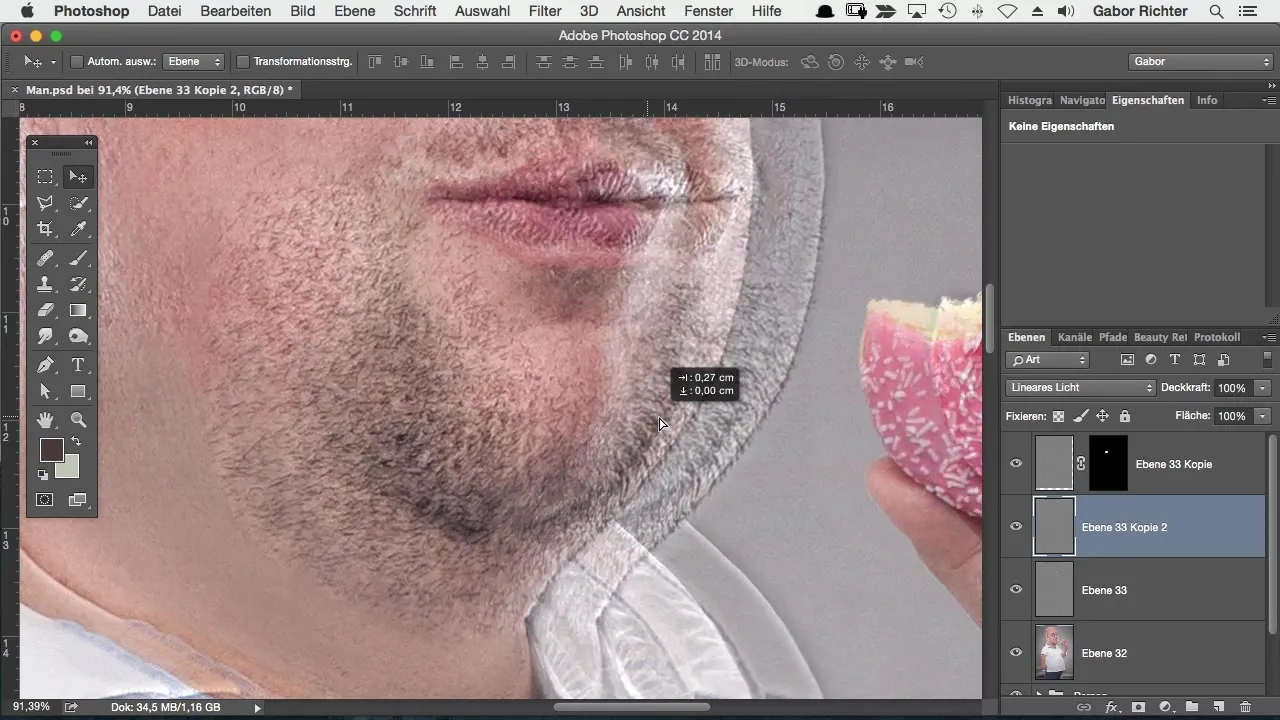
The neck area is the next step. You can also duplicate and adjust this area. In general, you will likely need several passes to ensure that the beard stubble is well balanced.
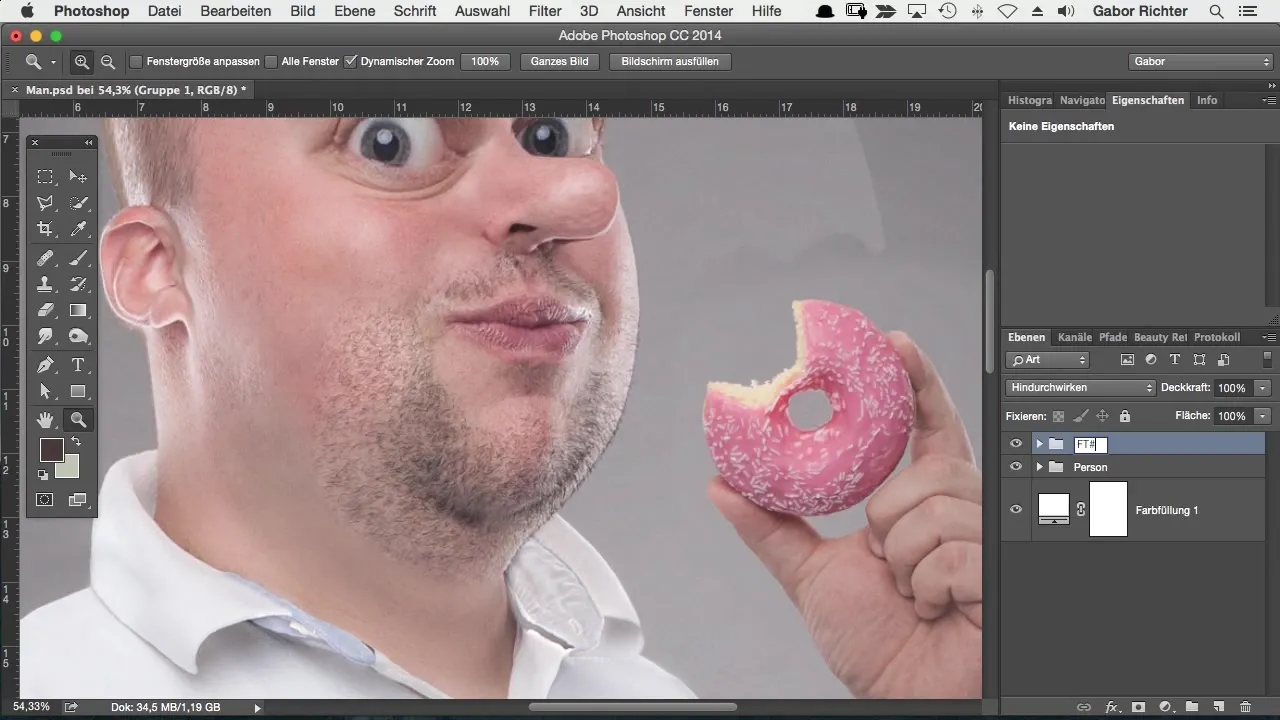
Once you have filled in all the areas, group the edited layers for better organization. Grouping helps you better manage and organize the changes.
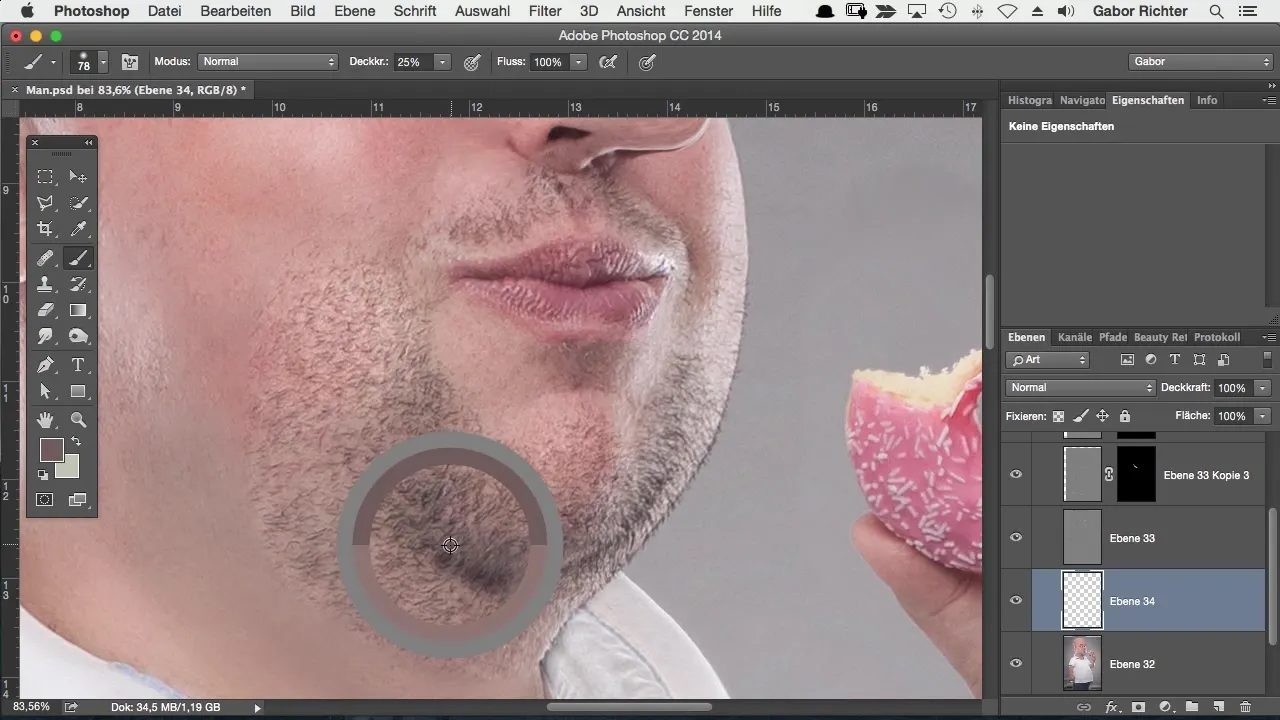
Now it’s time to work between the color and detail layers. Create an empty layer to further refine the beard in its color. Lower the opacity of the layer. This will allow you to give the beard the desired depth later.
After experimenting with the opacity, the beard will appear in a more realistic light. It is important that each adjustment is made gradually so that you maintain control over the entire process.
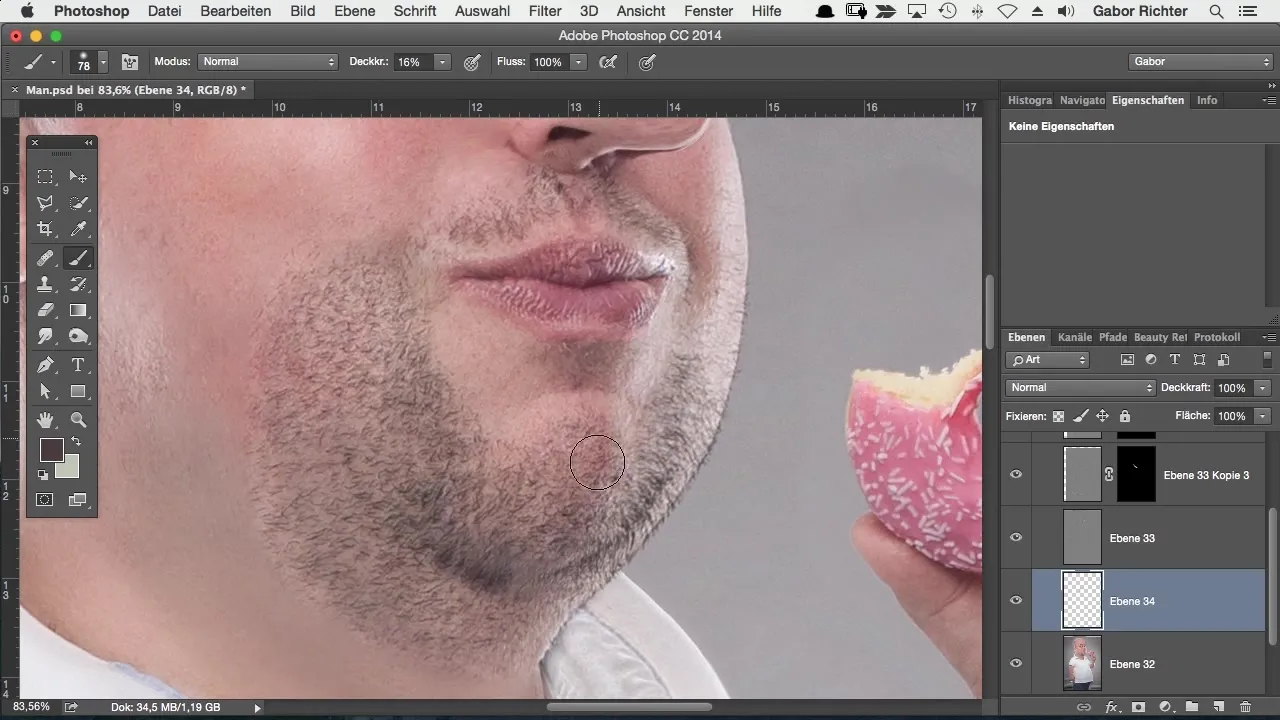
Once you are satisfied with your result, take the time to review the overall image. You can go through the edited areas once more and make any final adjustments if necessary.
Summary – Effectively Filling in a Beard in Photoshop
Filling in a beard in Photoshop is a creative way to enhance your image. By utilizing frequency separation, working with layers and masks, and precisely applying details, you can achieve impressive results.
Frequently Asked Questions
How can I create an empty mask?Go to the layer, right-click, and select “Add Mask”.
Why should I adjust the opacity?The opacity helps make the color less dominant, so it appears more natural.
Can I use this technique on other facial hair as well?Yes, this technique can be applied to all types of facial hair to achieve more fullness and realism.
What tool is best for painting?The brush tool is excellent for drawing fine details in Photoshop.
Can I duplicate multiple layers?Yes, you can duplicate as many layers as you need to achieve the desired details.


