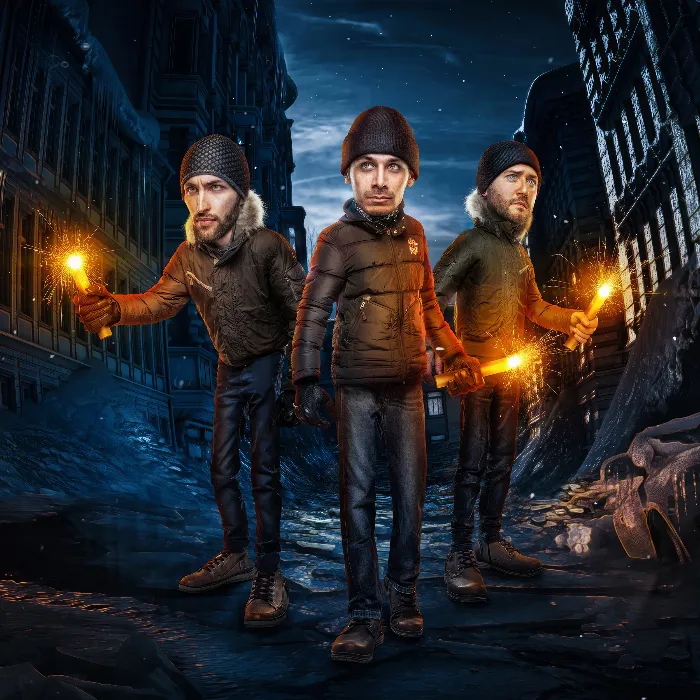
An impressive comic-style image can indeed be created without a studio and expensive lighting equipment. In this guide, I will show you how to create a unique comic look using natural lighting conditions and appropriate Photoshop techniques. You will gain valuable insights into the process, including photographic fundamentals and subsequent editing in Photoshop. Let's get started!
Key Takeaways
- You can also create impressive comic-style images without artificial light.
- The choice of background and time of day is crucial for image quality.
- Photoshop offers numerous tools for refining portraits and achieving a comic look.
Step-by-Step Guide
Step 1: Capture the Right Moment
Start with the necessary photography. Make sure to photograph in a shaded area to avoid harsh shadows. Use a fast lens to create a blurred background and draw attention to the subject. Choose a wide aperture to achieve nice bokeh effects. I often use a 50mm lens with an aperture of 1.8 to create soft transitions between the subject and background.
Step 2: Selecting the Best Shot
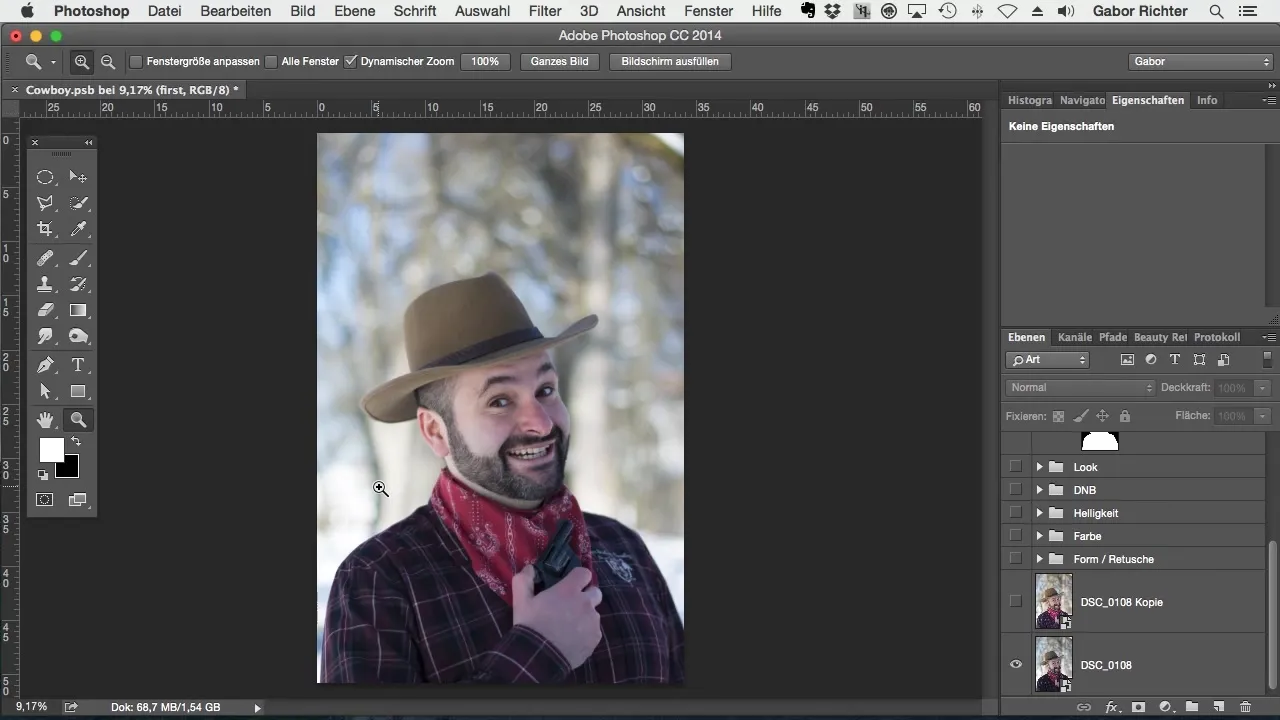
Begin by selecting and reviewing the best shots. Ideally, you have taken several pictures during the shoot to find the best pose and optimal expression. Ensure that the light falls evenly and advantageously on the face.
Step 3: Camera RAW Editing
Import the image into Adobe Camera RAW for initial corrections. Pay attention to brightness, contrast, and color saturation settings. It can often be helpful to raise the shadows and lower the highlights to achieve a harmonious overall image.
Step 4: Initial Cutout
Use the selection tools in Photoshop to separate the motivating portrait from the background. Ensure to create soft transitions so that the cutout looks natural. The most important thing is to avoid leaving hard edges.
Step 5: Enlarging the Head
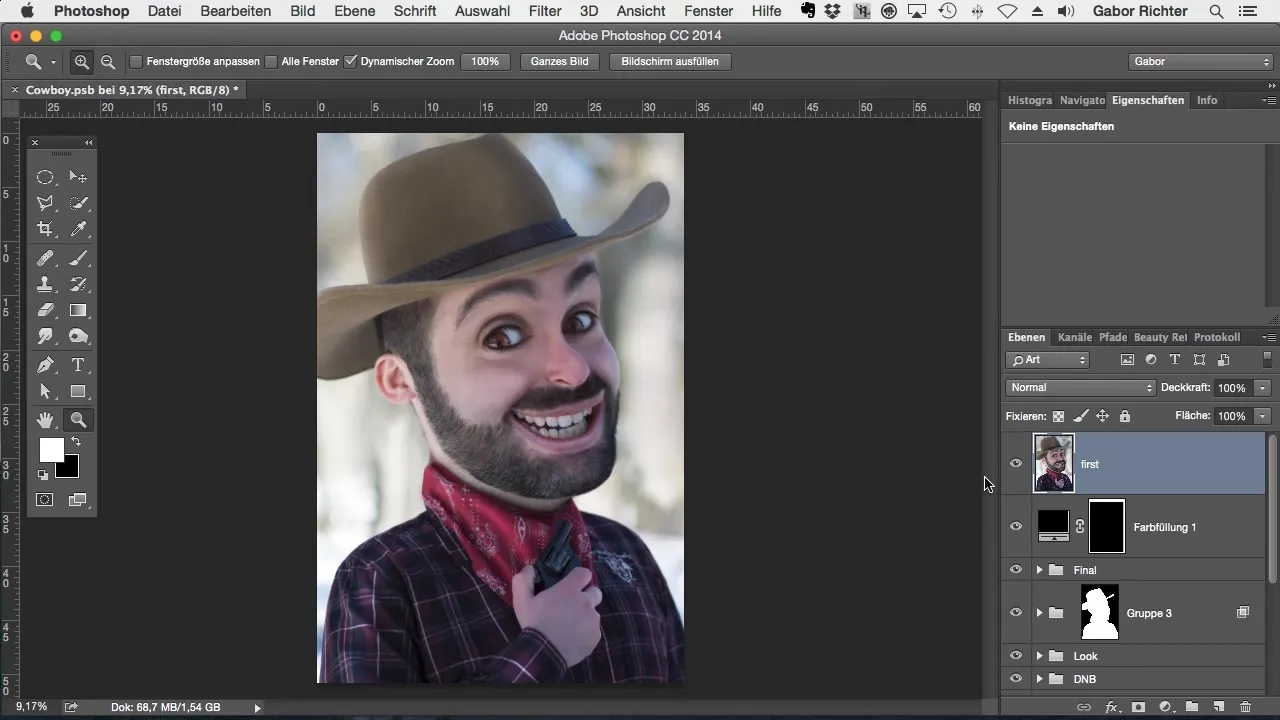
If you are not satisfied with the size of the head, you can enlarge it selectively. Use the transformation tool and be careful not to distort the proportions too much.
Step 6: Liquifying for the Comic Look
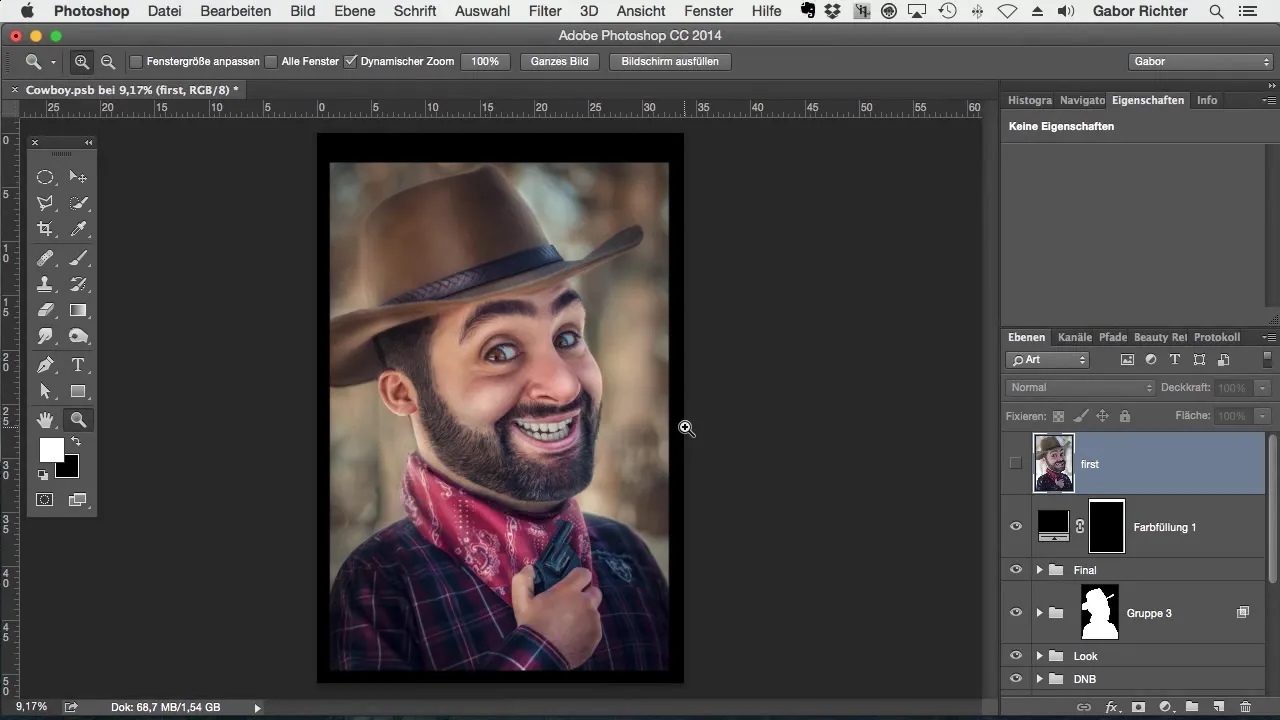
The liquify tool is essential for creating the comic style. Adjust facial features to exaggerate them. Enlarge the eyes and give the face an expressive smile. Ensure that the changes do not appear too exaggerated to preserve the character of the subject.
Step 7: Refining Details
Further enhance the details of the image. Retouch blemishes, highlight lip color, and ensure a harmonious skin tone through subtle adjustments. The eyes, teeth, and eyebrows should also be emphasized to promote a special comic impression.
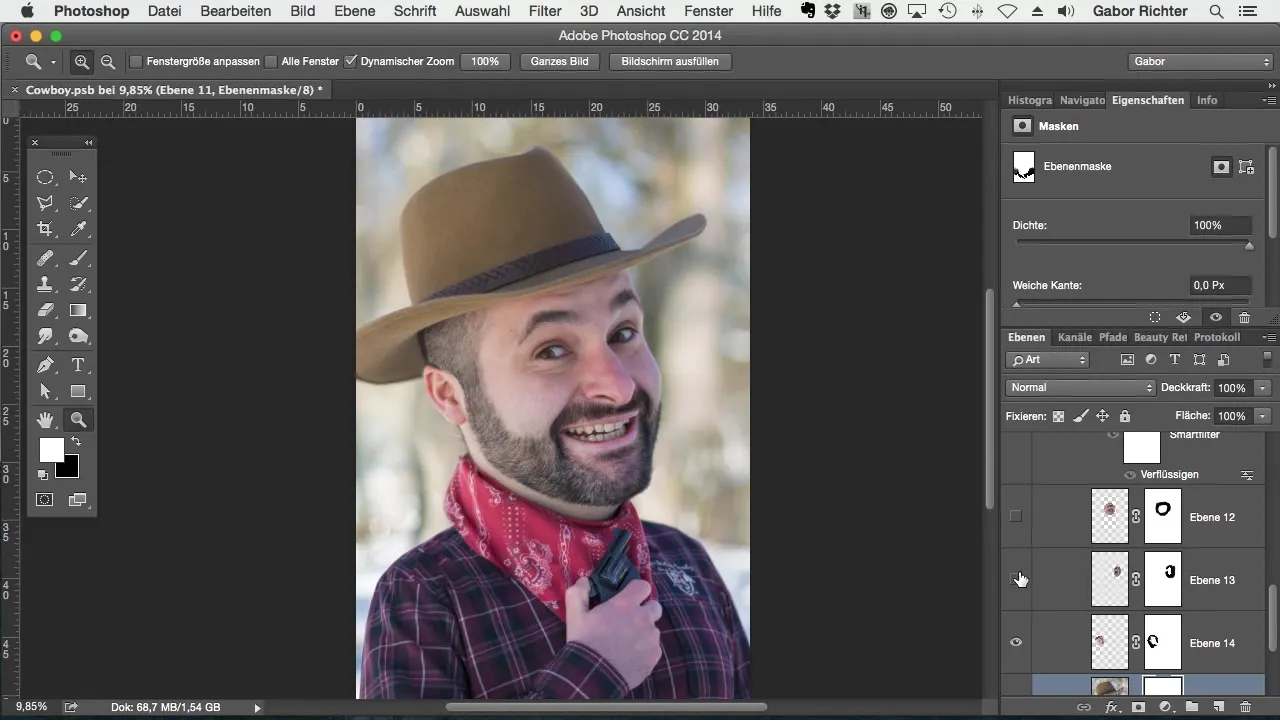
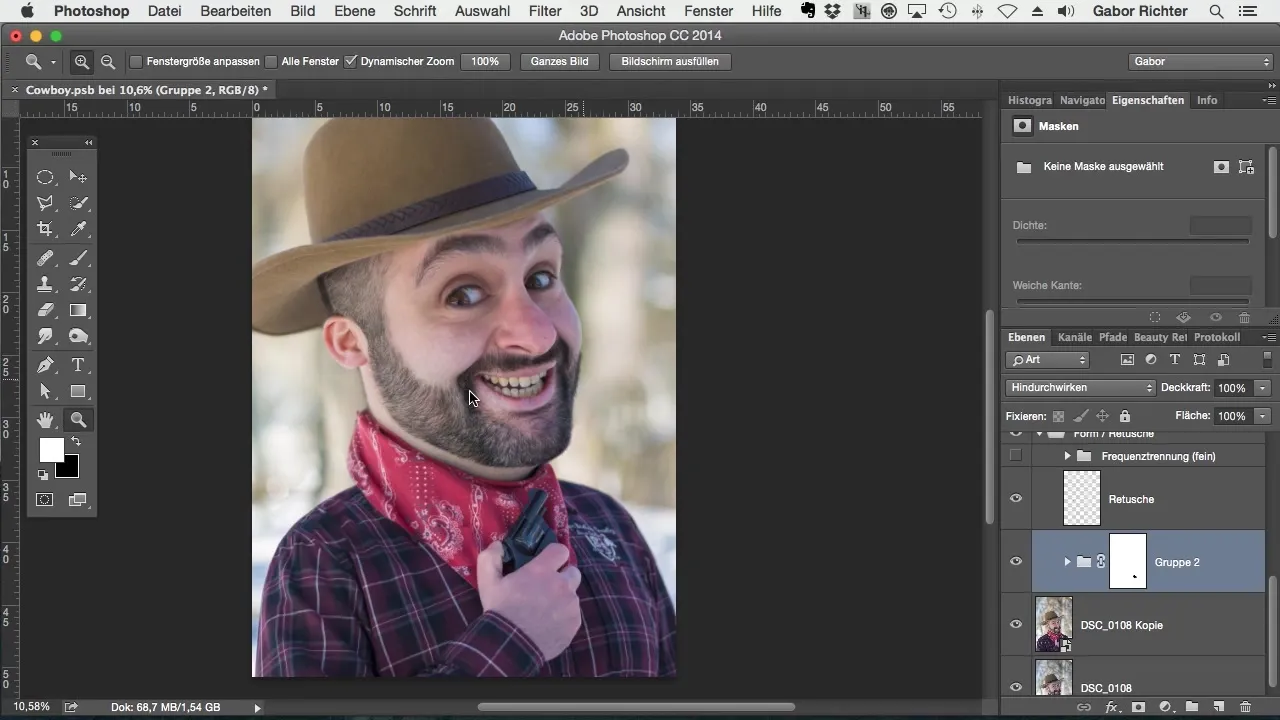
Step 8: Adding Shadows and Light
To enhance the comic look, apply dodging and burning techniques. This method helps to selectively enhance shadows and highlights, creating more depth and contrast. Implement this mainly in facial features and clothing to make the look more vibrant.
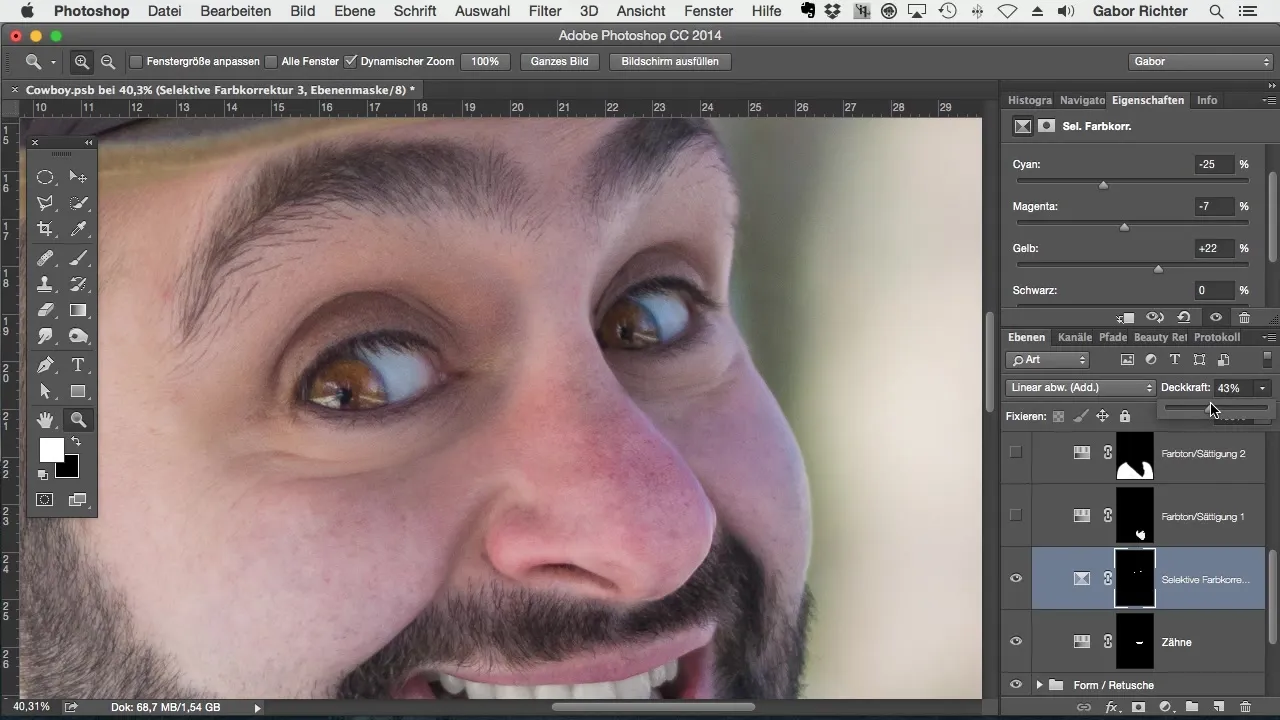
Step 9: Adjusting Colors
Coloring is crucial for the comic style. Experiment with the hue and saturation values of skin tones, hair, and clothing. Ensure that the colors are vibrant but not exaggerated. The goal is a mix of realistic and fantastic color tones.
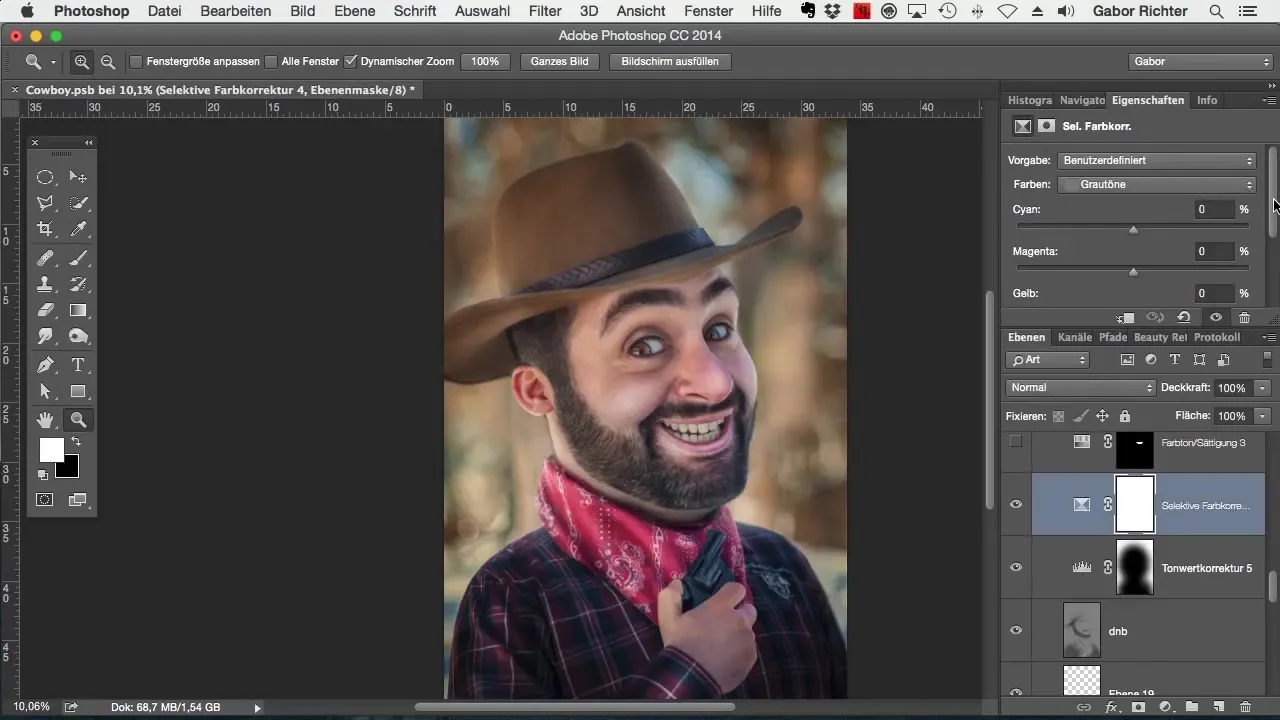
Step 10: Final Adjustments and Final Review
Before saving the image, critically review all elements once more. Make sure that the contrasts harmonize and that the image has an appealing light and color scheme. Refresh the edges with a final layer of dodging to optimize the image effect.
Summary – Comic-Style Image Editing with Photoshop
In this guide, you have learned how to create impressive comic-style images using simple tools and Photoshop techniques. By utilizing natural light sources and mastering your image editing skills, you can achieve talented results that are far from traditional studio shots.
Frequently Asked Questions
What do I need for capturing a comic-style image?A camera, a fast lens, and good natural light are required.
How can I improve image quality?Use Adobe Camera RAW to adjust exposure and colors and optimize the image.
Which tools in Photoshop are essential for the comic look?The liquify tool, dodging/burning, and color corrections are very important.
How important are the details in image editing?Details are crucial to breathe life into the image and enhance the comic representation.
Can I create an image without a studio?Yes, the ideal lighting conditions can also be found outdoors without needing a studio.
