If you want to spice up your images in a comic style, the color of the teeth often plays a significant role. Teeth with a slight yellow tint are common in reality, but they can detract from the desired comic look. In this guide, I will show you how to efficiently whiten teeth in Photoshop to achieve a brighter result. Let's get started with the first step.
Main Insights
- Teeth often appear snow-white in comic images.
- A targeted color correction is crucial for the desired look.
- With specific tools in Photoshop, you can efficiently adjust the color of the teeth.
Step-by-Step Guide
To efficiently whiten teeth, follow these steps:
Select and Analyze Image
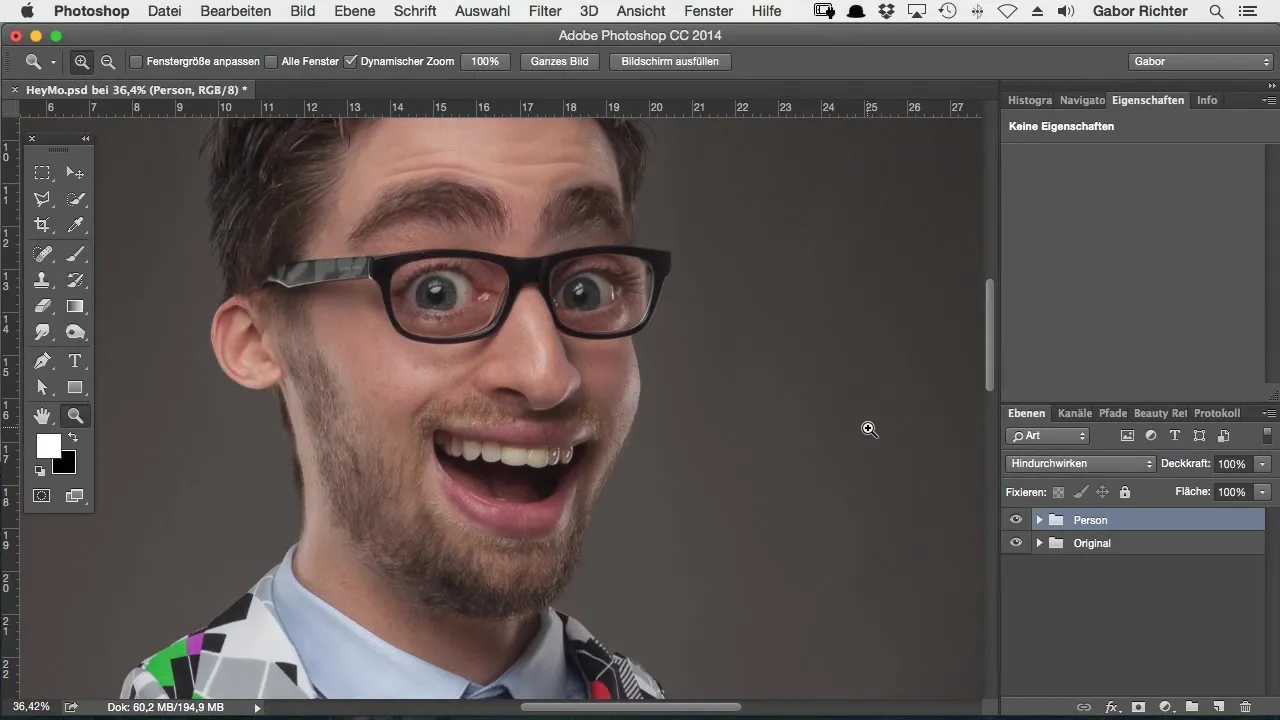
Select the image you want to edit. Pay attention to the teeth of the person in the image. In many cases, they have a natural but slightly yellowish tint. This is common in reality, but it can be distracting in a comic style.
Create Teeth Selection
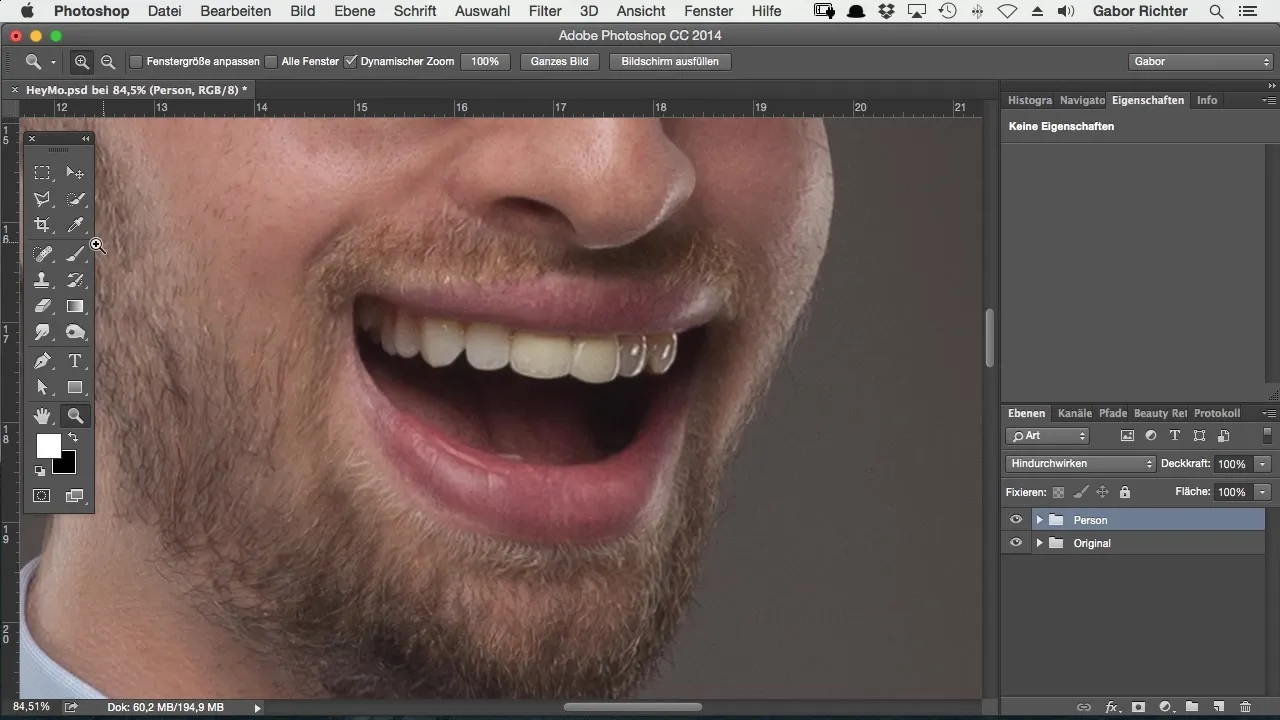
Now it's time to make a precise selection of the teeth. Work with the brush tool. Make sure to set the opacity to 100%. Then, with the masking option, you can specifically select the teeth. Click on the mask option and ensure that the selection is enabled.
Visualize the Selection
To ensure that the selection is correct, first color the selected area with a different color, such as red. Don't worry, this won't turn the teeth red; it's just for visibility.
Refine Selection
If you painted outside of the teeth, you can correct that with the X key. Just tap it to reduce the selection, and use the same key to restore it if you've removed too much.
Apply Color Correction
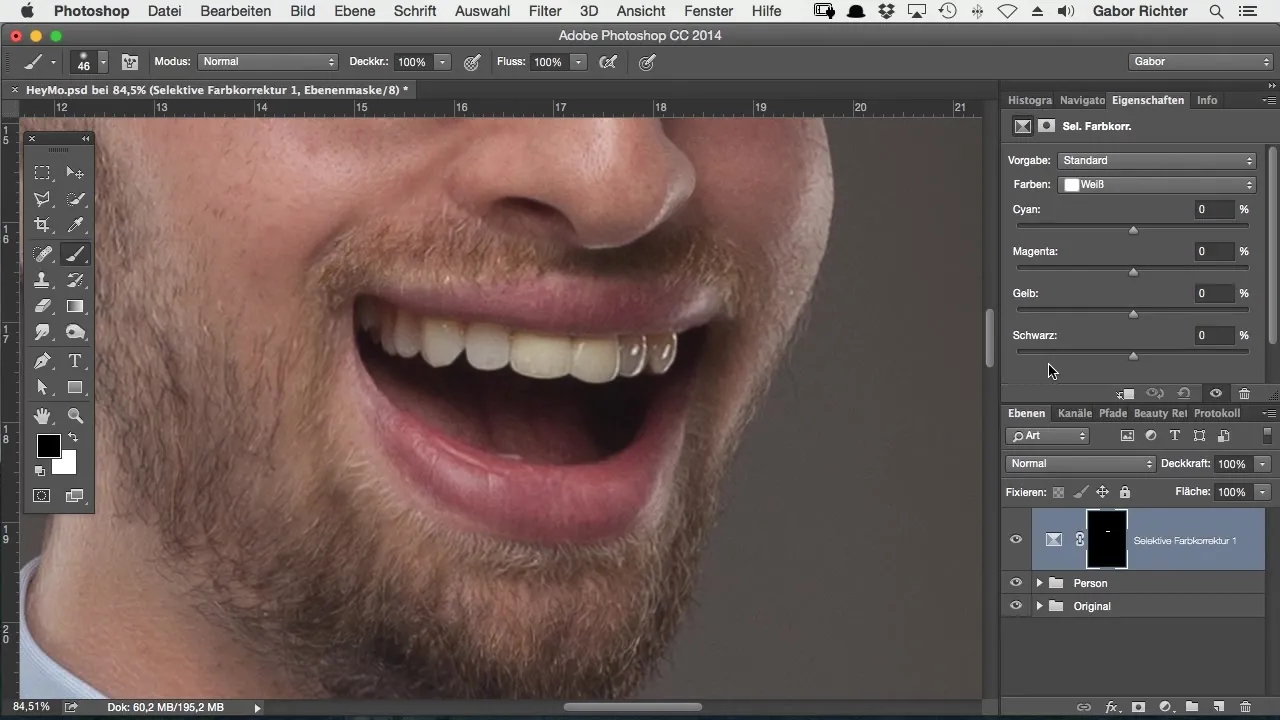
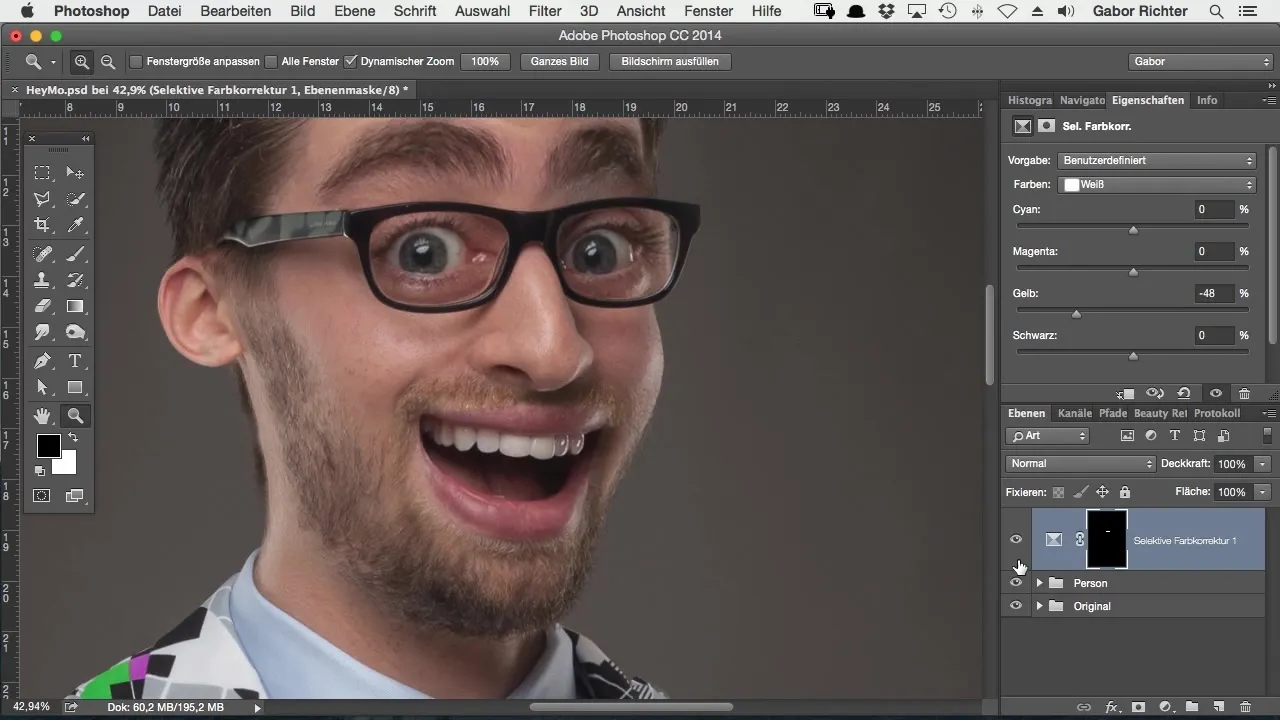
To adjust the color of the teeth, use an adjustment layer for selective color correction. This is ideal for specifically editing certain colors. In the menu, select the yellows, as this is the color you want to reduce.
Adjust Yellows
Move the yellow slider to the left to reduce the yellow in the teeth. Test different values to achieve the optimal result. As you move the yellows further to the left, you will see the teeth becoming brighter.
Refine Whites
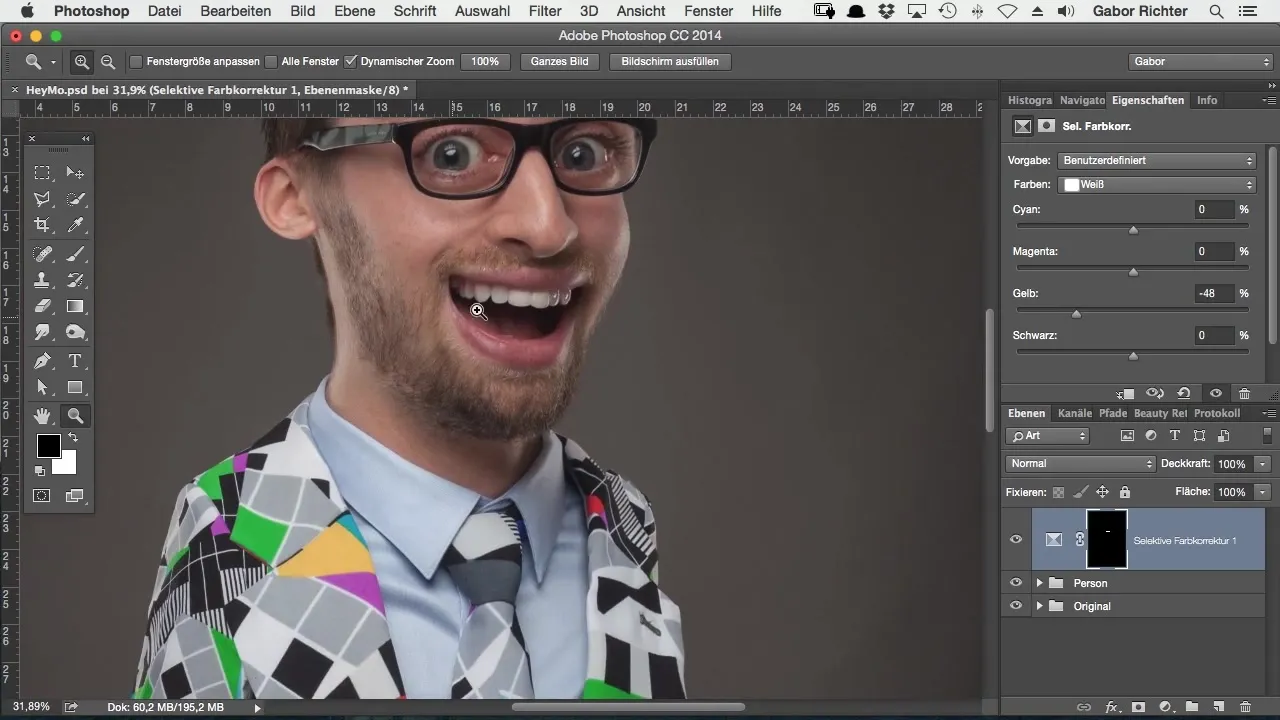
Now switch to the whites and also reduce the yellow here to achieve the perfect tooth color. A setting between 40 and 50% has proven to be ideal. The result should be a rich, snow-white smile.
Check Final Result
Now you can compare the preliminary result with the original image. You will see what a huge difference the teeth whitening makes. Ensure that the teeth are now bright white, which especially benefits the comic look.
Final Touches
If you are satisfied with the result, you can make final adjustments to ensure that everything looks harmonious. Remember that snow-white teeth are a common representation in comic images.
Summary – Whitening Teeth in Comic Style with Photoshop
In this guide, you learned how to whiten teeth in a comic style. By creating a precise selection and using selective color correction, you can effectively remove unwanted yellow tones and create a bright white smile that enhances your comic images.
Frequently Asked Questions
How can I properly select the teeth?Use the brush tool and make sure to set the opacity to 100%.
What can I do if I painted outside of the selection?Press the X key to retract or restore the selection.
What is the best value for reducing yellows?A value of 40 to 50% has proven to be ideal.
How will I know if the selection was successful?Temporarily color the selection red to increase visibility.
Why are snow-white teeth important for comic images?They provide a clear, appealing look and correspond to the typical appearance of comic characters.


