You didn’t get the desired rim lights during a shooting or want to add more plasticity to your image afterward? This guide shows you step by step how to effectively paint rim lights into images in Adobe Photoshop.
Key insights
- With the right technique, rim light can be generated efficiently.
- The use of layers and masks increases control over the painting process.
- A slow and precise application of the technique yields appealing results.
Step-by-step guide
Start by opening your project in Photoshop.
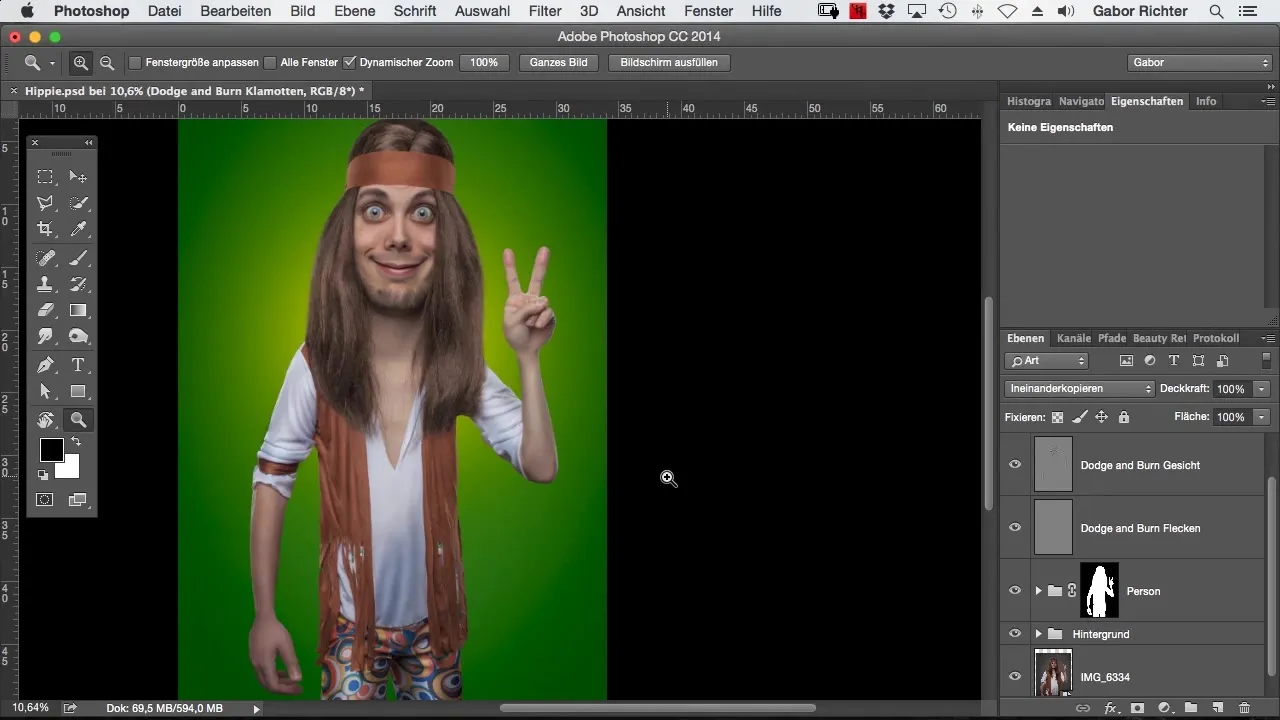
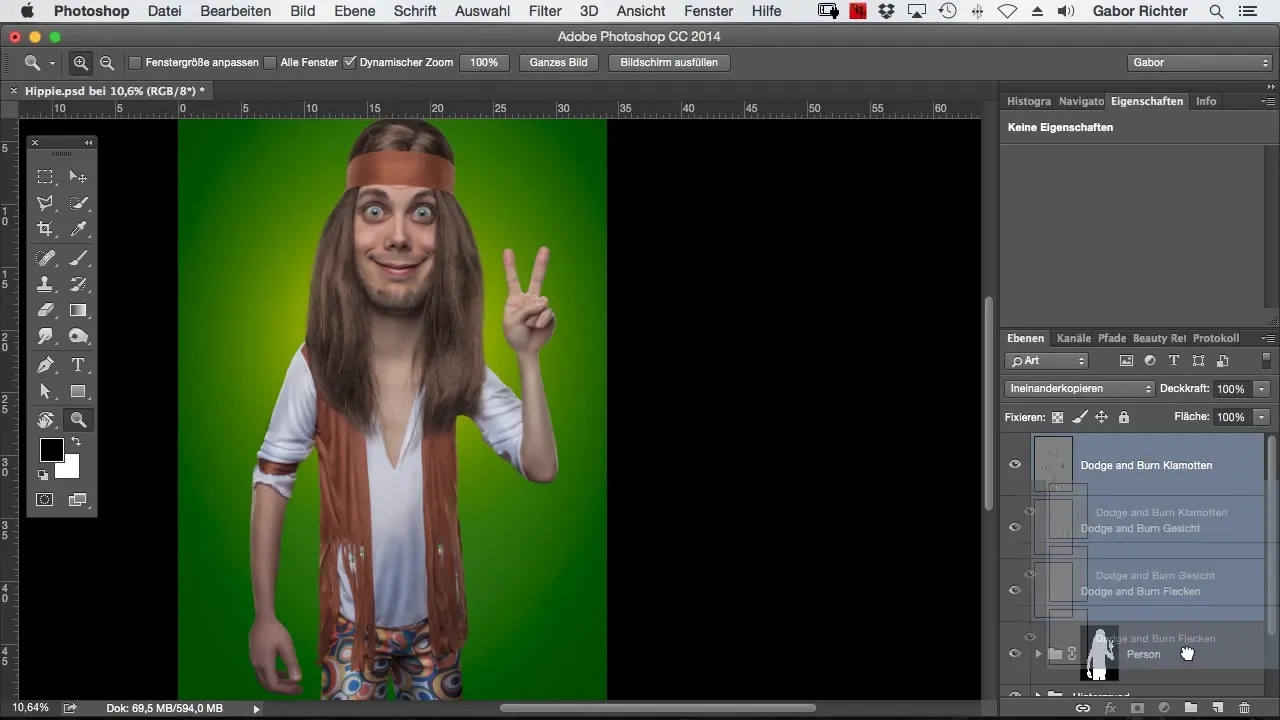
First, you should group all relevant dodge and burn layers. This provides better clarity in your workspace. Name this group accordingly to keep track of it.
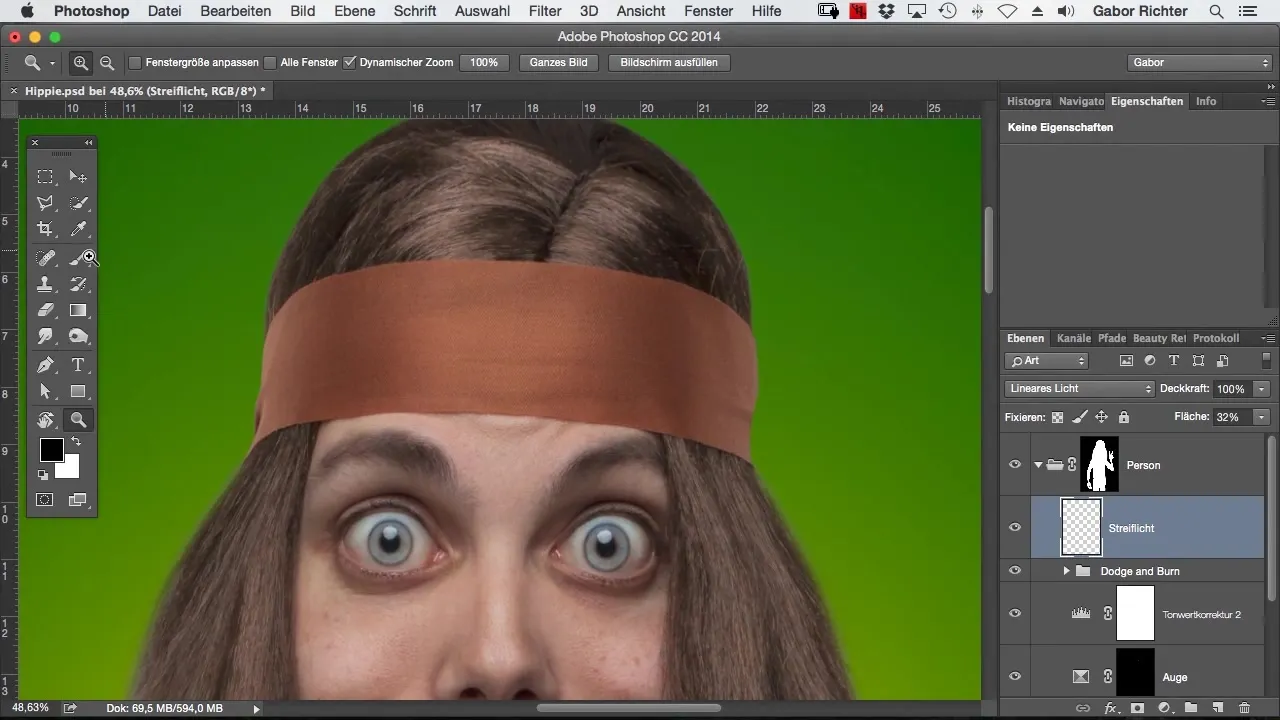
Once that's done, create a new empty layer, which you name “rim light”. This layer serves as the base for your later paintings. Set the blending mode to “linear light” and adjust the opacity to about 30 to 40%. This ensures that the rim lights do not appear too dominant.
Now take a brush and set the color to white. You should reduce the opacity of the brush to about 5%. We start applying the rim light along the contour of the person. Paint gently along the contour to create a subtle glow.
If you are in the flow, you can add light rim accents anywhere you think more light is needed. This significantly affects the perception of depth in the image.
Take a look at your previous progress. An additional light source can work wonders and give your image more dimension. I recommend comparing the light applications before and after painting to take advantage of the difference.
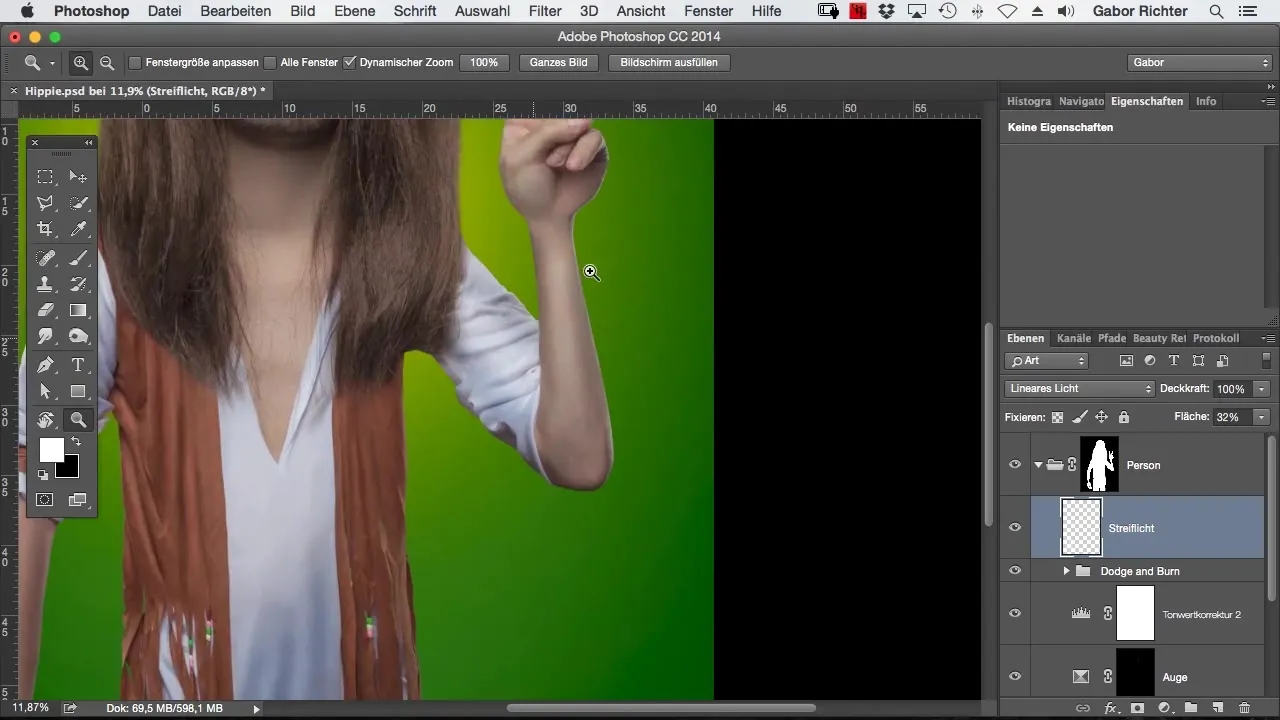
Continue and bring light into play, especially in dark areas. For example, if the arm or hand looks too dark, you should add some rim lights. This makes the contours appear rounder, and the image gains more naturalness.
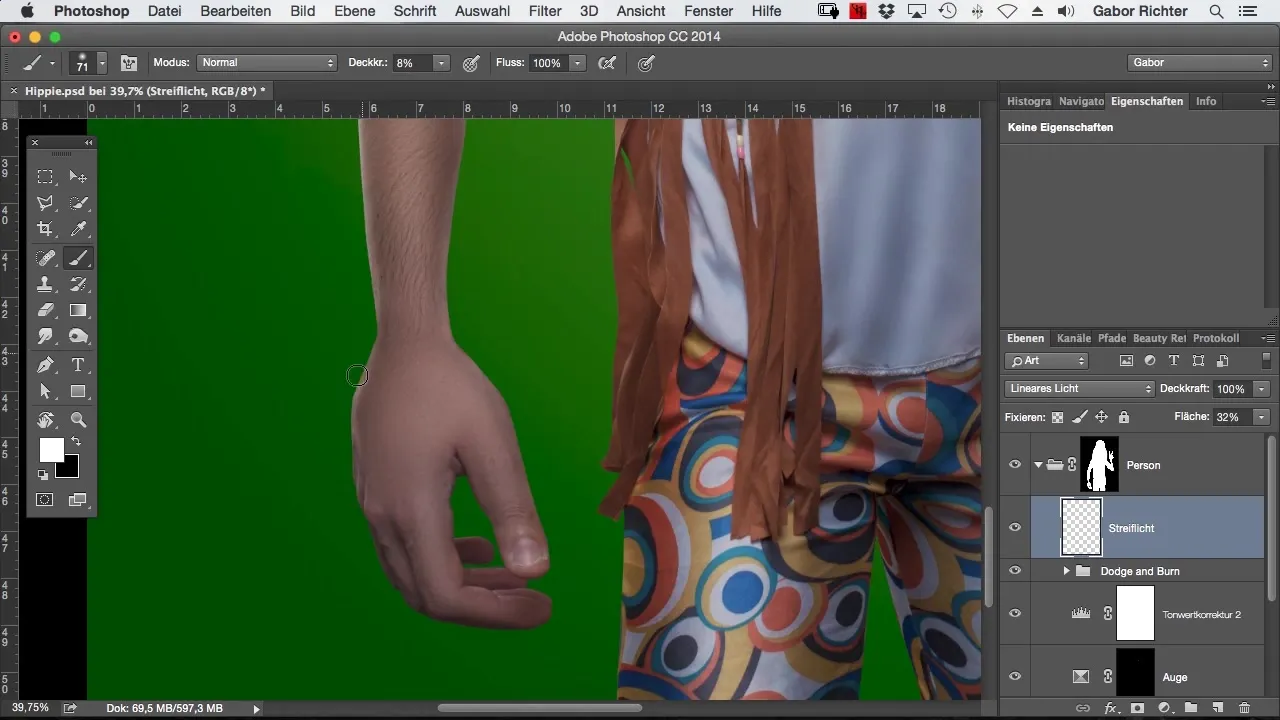
Be sure to always question your decision regarding light additions. Some areas may not require additional lighting as they are already well lit. Experiment and see what feels best.
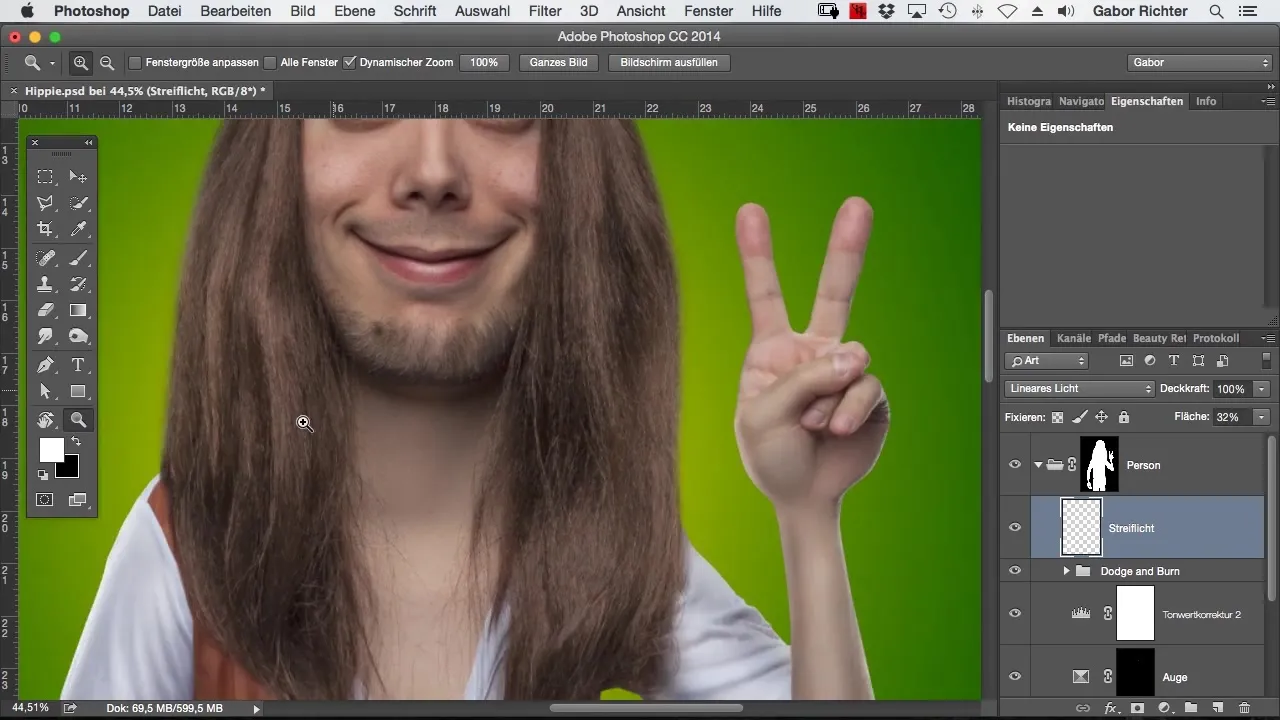
The brush size should vary depending on the area you are working on. For larger areas, like the torso, you can use a larger brush size to achieve a uniform result, while you choose a more delicate approach on edges and smaller areas.
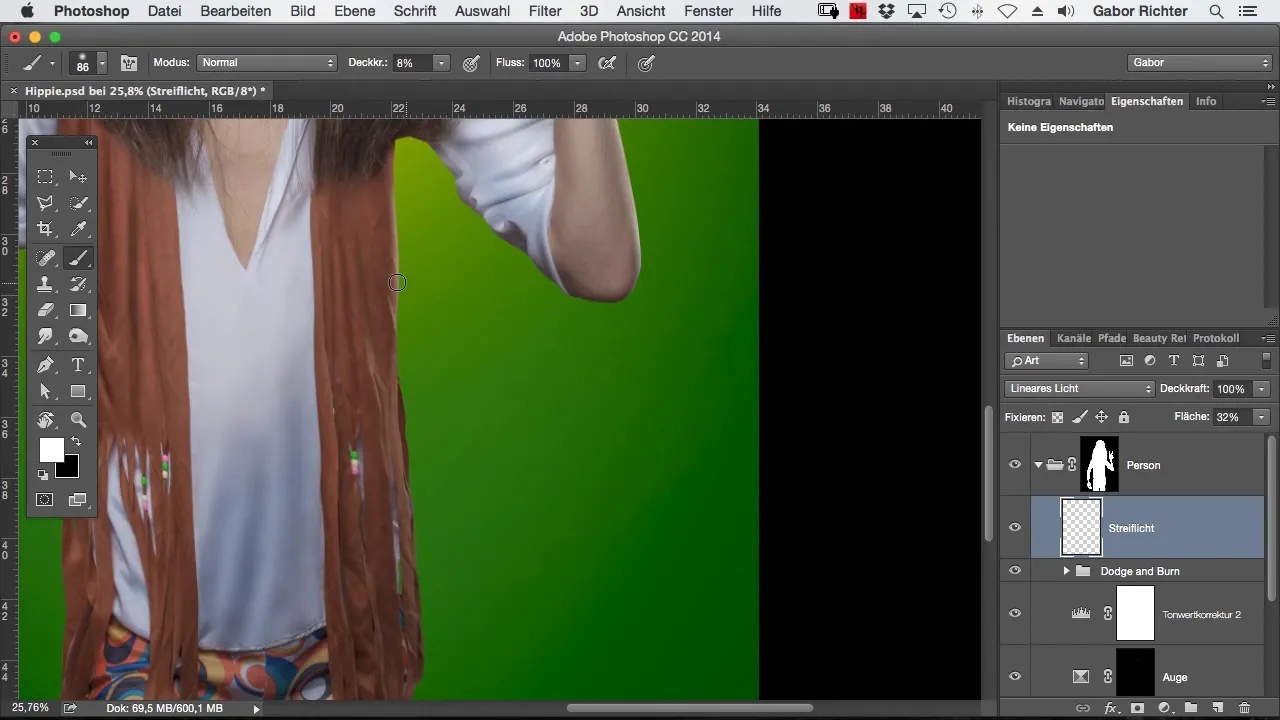
Don’t hesitate to paint over a spot several times. This creates a softer and more even light effect, which you can achieve quickly with just a few overpaints.
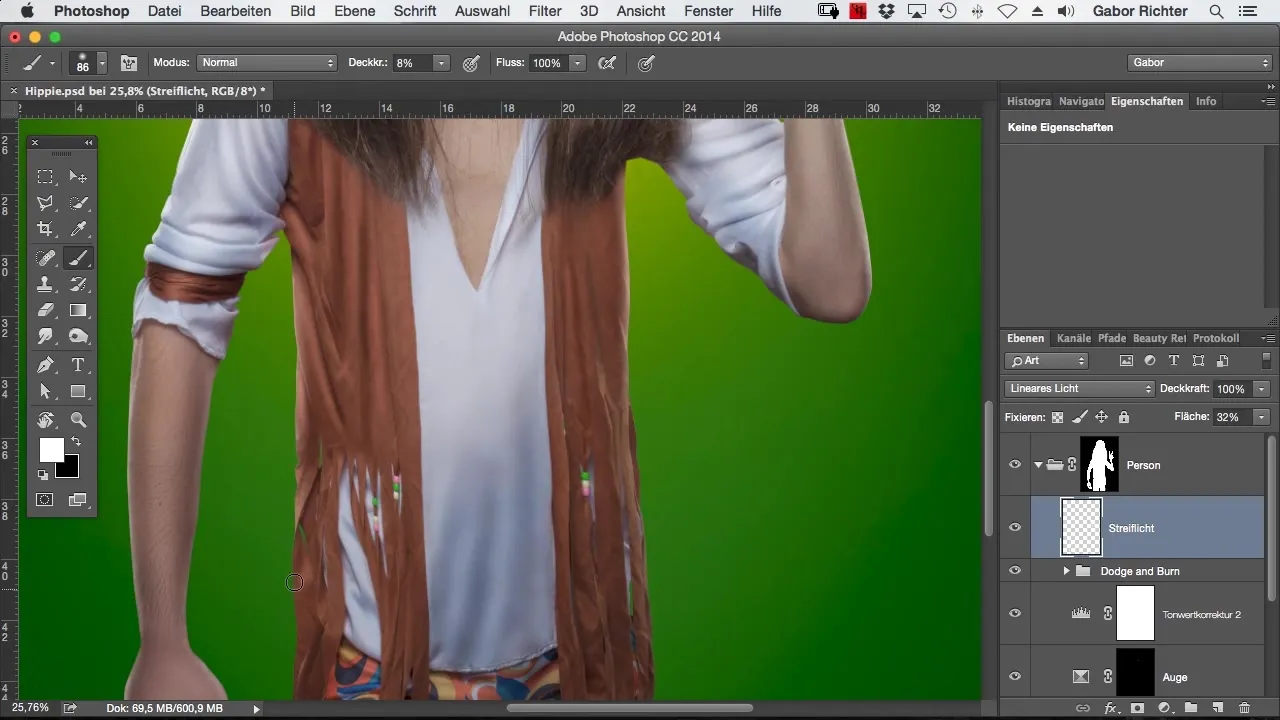
If you are satisfied with your result, you can check the settings. The rim lights should be subtle so that they do not overwhelm the overall impression.
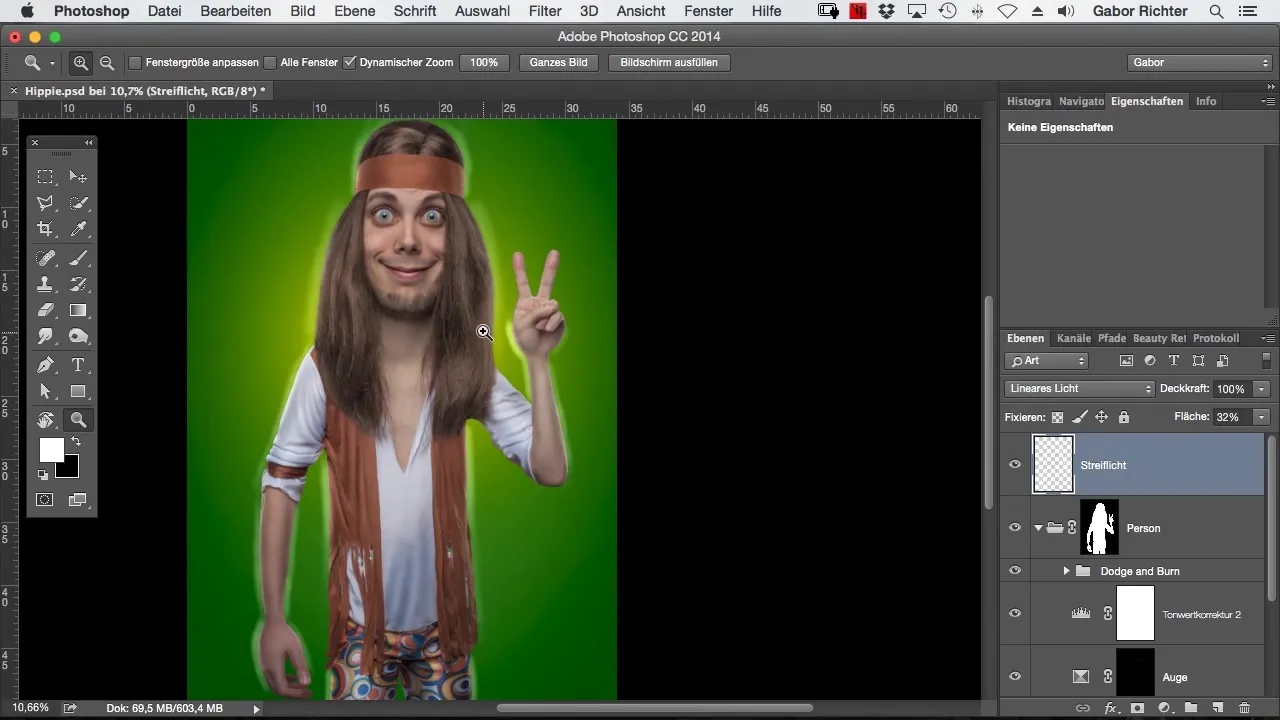
To perfect the interplay between the cut-out person and the rim light, make sure that the rim lights are in the already created group for the best effect. This will help you achieve the optimal result and bring depth back into your image.
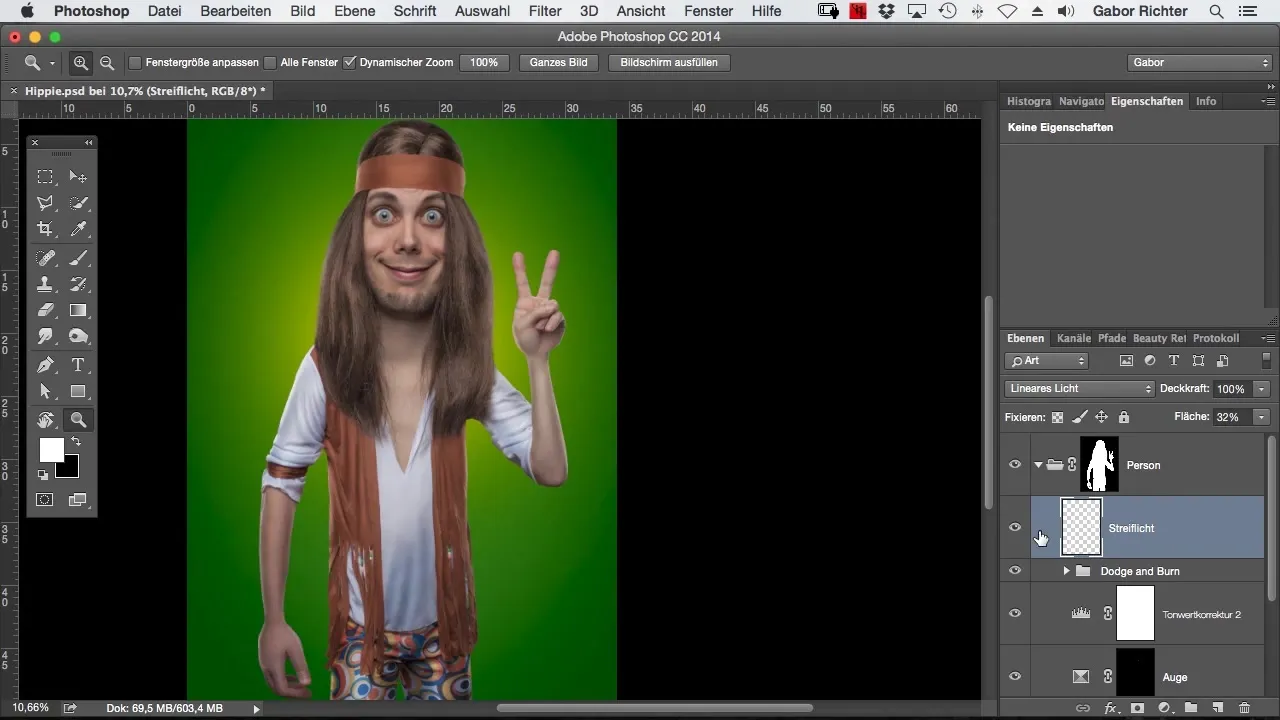
Summary – Painting rim lights in Photoshop – this is how you bring more depth to your image
In this step-by-step guide, you learned how to achieve rim lights through targeted painting techniques in Photoshop. With some practice, you can significantly enhance the plasticity of the image and make it more beautiful.
Frequently Asked Questions
How long does it take to paint rim lights?The duration depends on the complexity of the image, but with this technique, you should be able to work relatively quickly.
What tool do I need in Photoshop?A simple brush with low opacity is completely sufficient.
Can I use this technique for other image types as well?Yes, the technique works well for portraits, landscapes, and many other image types where depth is required.


