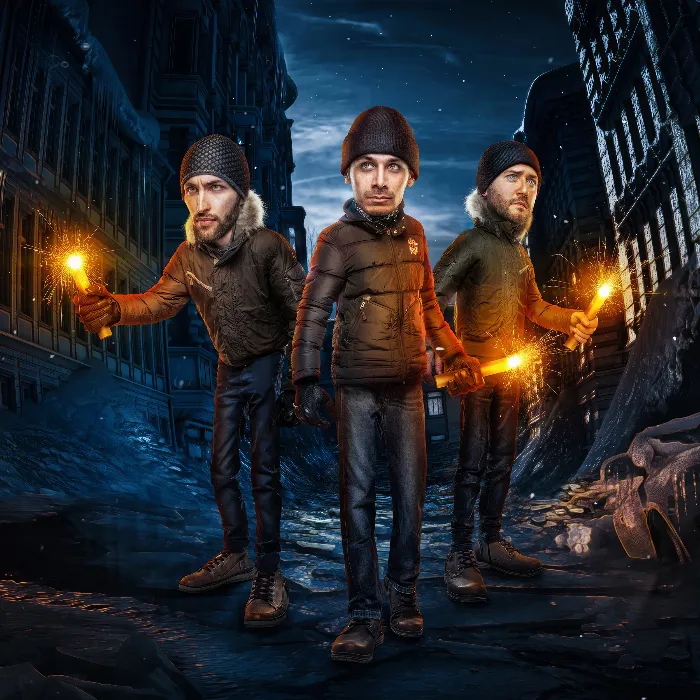
Do you want to give your images a unique comic style? The first step begins in Camera Raw – a powerful tool for digital image editing. Here I will introduce you to my detailed workflow to effectively optimize your RAW images and prepare them for the desired comic look. Let's go through this exciting process, step by step.
Main Insights
- Opening RAW files in Camera Raw allows for more flexibility in image editing.
- The sRGB color space is ideal for most applications as it is widely used.
- The combination of shadows, highlights, and clarity is crucial for comic sharpness.
- The sharpening settings can vary to achieve the desired effect for different subjects.
Step-by-Step Guide
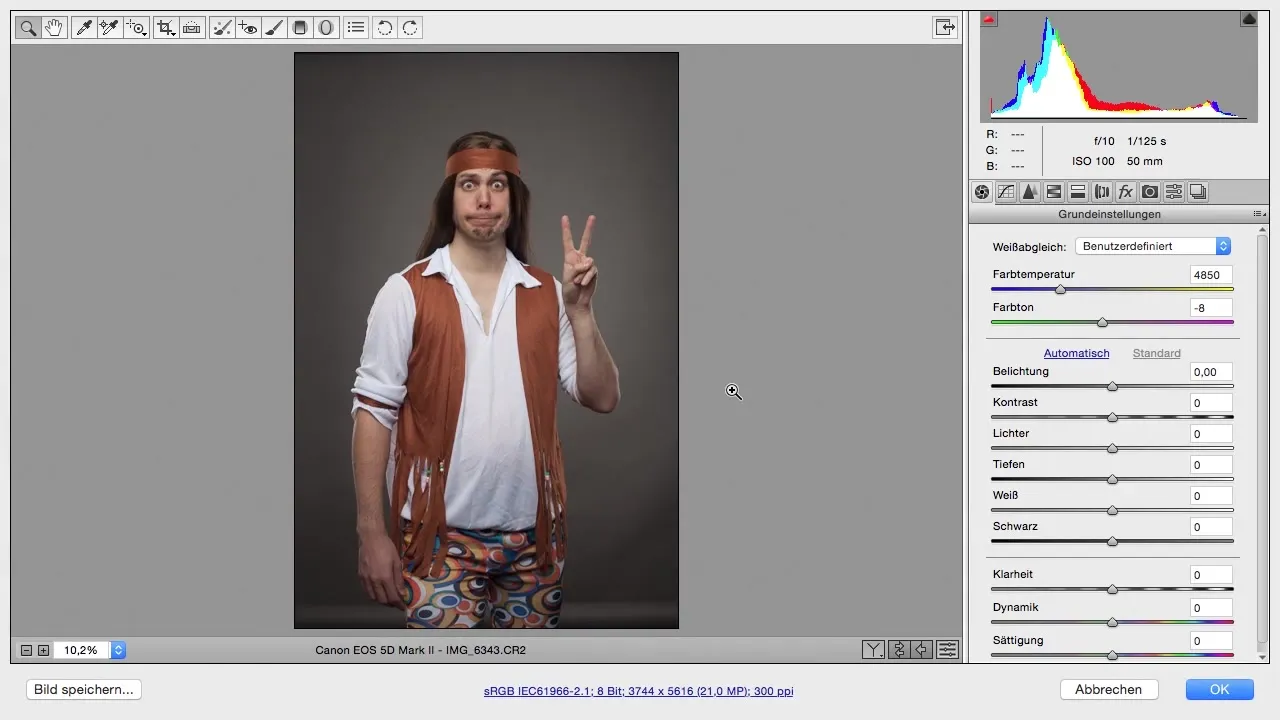
The process begins with opening your RAW image in Camera Raw. However, before working with the sliders, it is crucial to make a few basic settings.
Open RAW image in Camera Raw To edit the image effectively, first open it in Camera Raw. This way, you can take advantage of the format, as you will have more details and adjustment options.
Settings in workflow options Click on the workflow options to make basic settings such as color space and color depth. The sRGB color space is usually sufficient and ensures that your images are consistently displayed across different devices. Avoid complex settings unless you have a specific need for them.
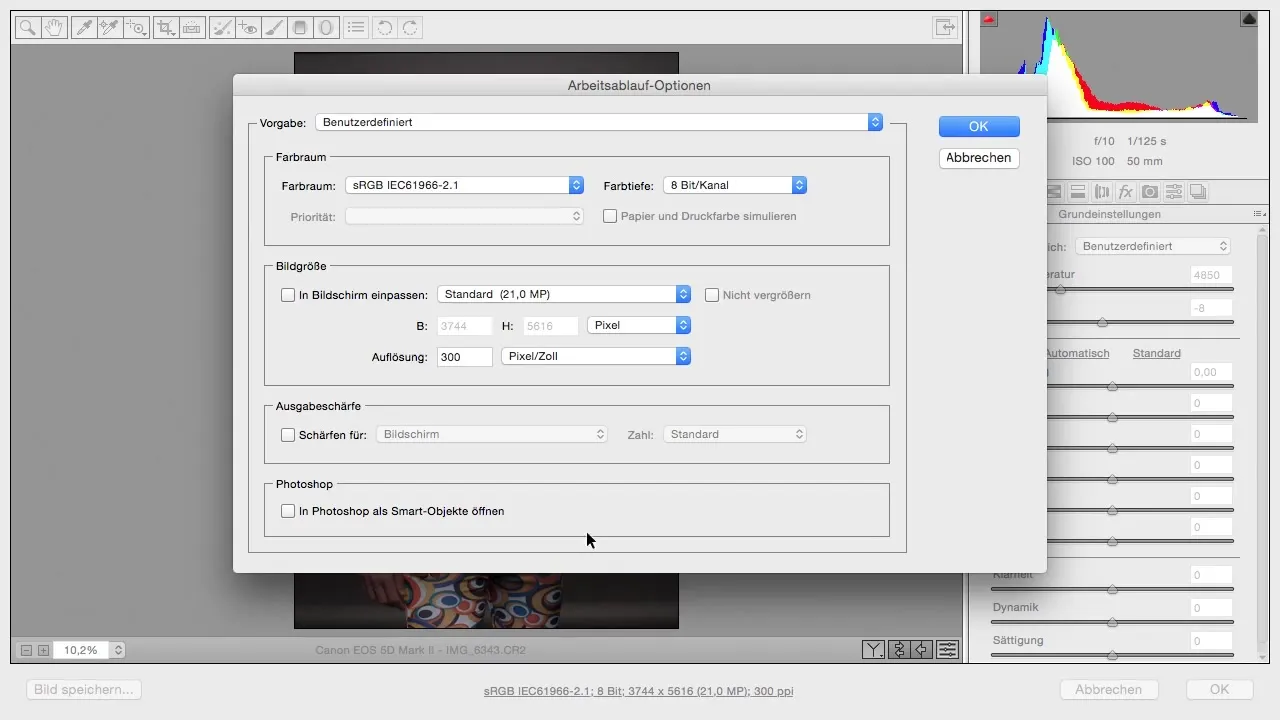
Color depth and image size Ideally, set the color depth to 8 bits to optimize performance in Photoshop. Higher color depths increase file size, which can slow down editing. Keep the resolution at 300 pixels unless you have specific requirements.
Enable Smart Object Activate the option "Open in Photoshop as Smart Object." This allows you to return to Camera Raw at any time to make adjustments. This is particularly beneficial if you want to continuously refine the image editing.
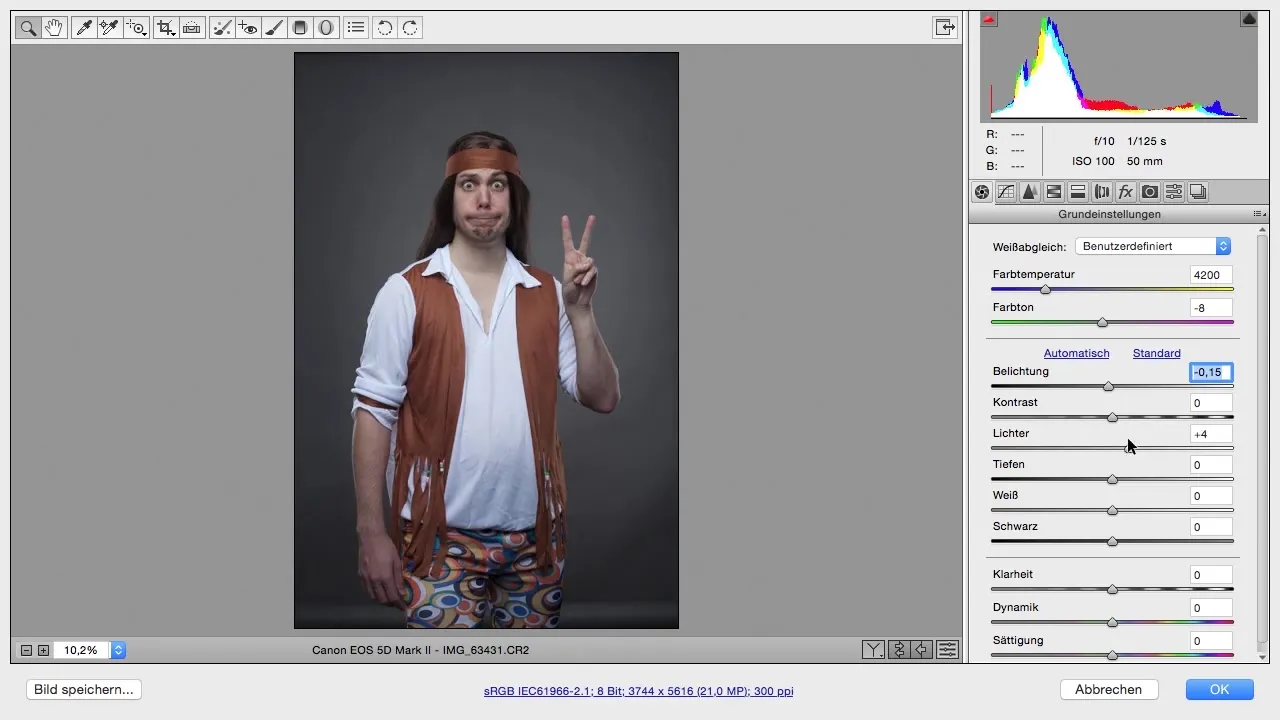
Adjust color temperature Start by adjusting the color temperature. For a cool comic style, I recommend a temperature of around 4200 Kelvin. Make sure the background remains neutral so that later overlay techniques can stand out well.
Exposure correction Check the exposure and make slight adjustments if necessary. If the image is too dark or too bright, slide the slider accordingly. In this case, the exposure already seems good, so leave it as is.
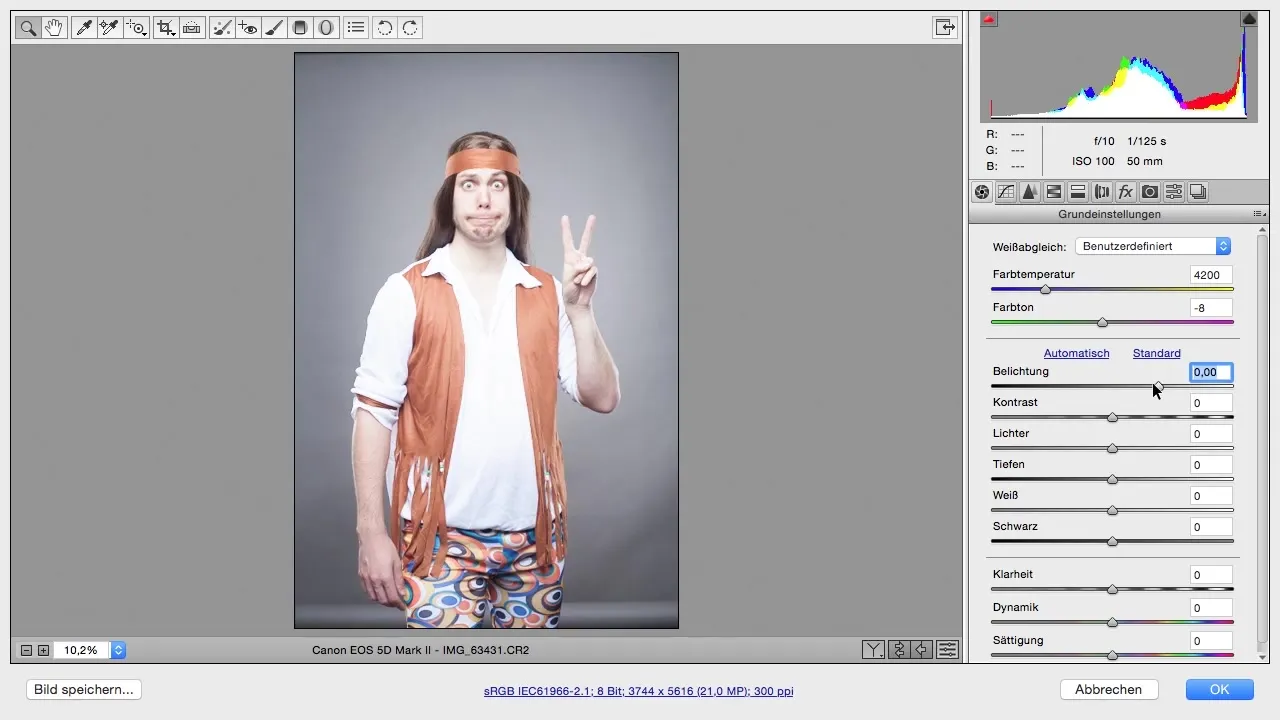
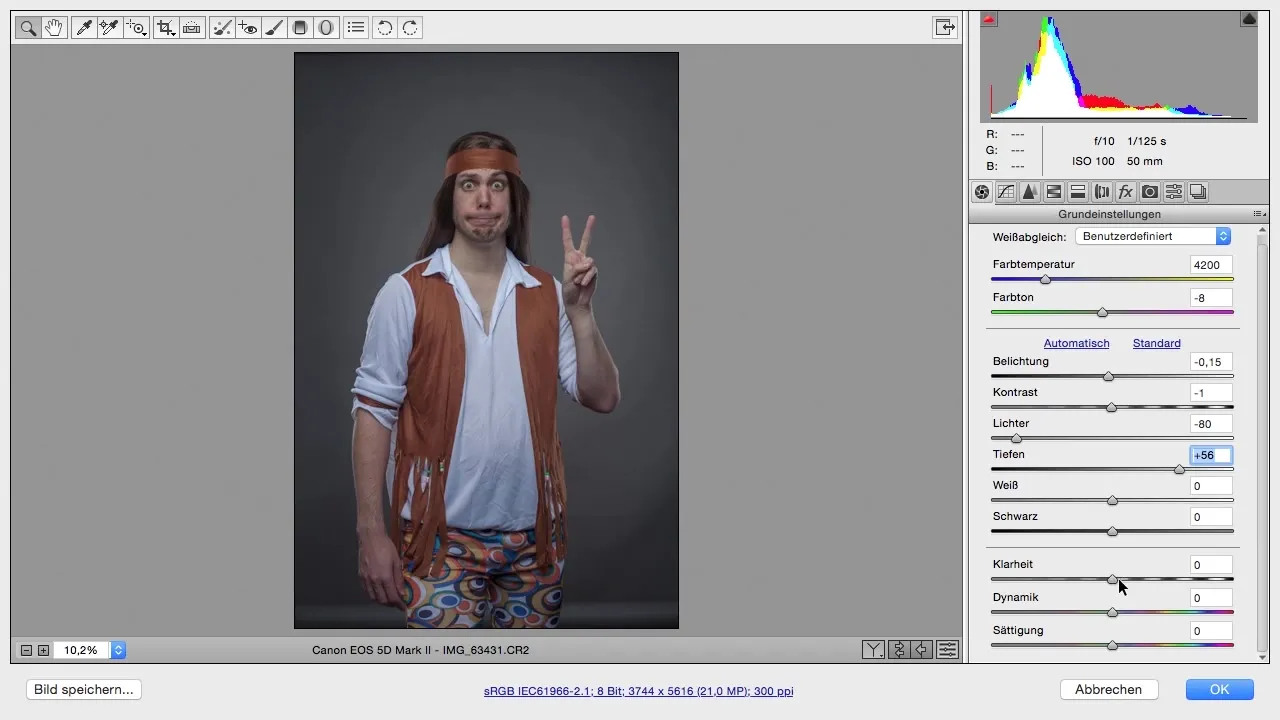
Edit shadows and highlights To give the image more depth and detail, adjust the highlights and shadows. Slide the highlights slider to the left to bring out details in the bright areas while pushing the shadows slider to the right to gain more information in the dark areas. Experiment with values that seem appealing to you, typically between +50 and +60 is a good starting point.
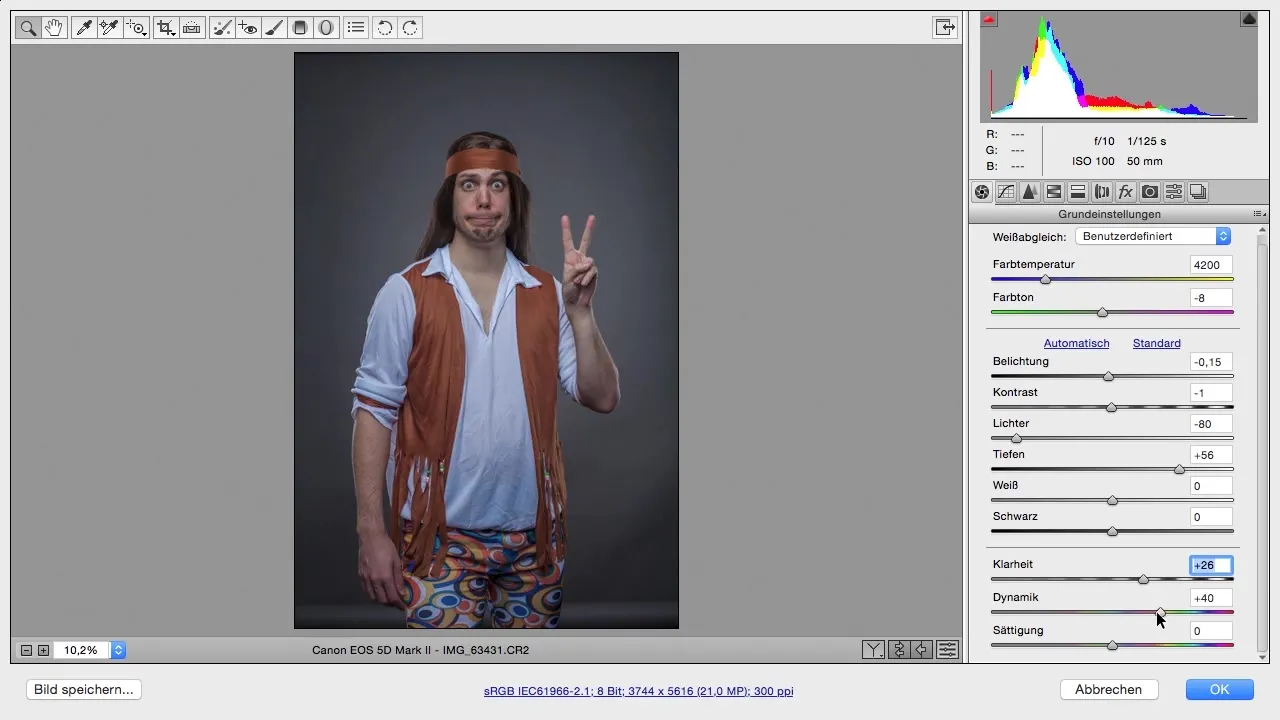
Add clarity The clarity slider amplifies contrasts and makes the image appear more dynamic. Set the value to around +20 to +30 to strengthen the contours without overdoing it. This gives the image an illustration-like look.
Adjust vibrance and saturation To increase color intensity, you should raise the vibrance while slightly reducing the saturation. A vibrance of +30 and a saturation of -8 can work well here. This helps bring out less saturated colors in the image while ensuring that the more saturated colors do not appear exaggerated.
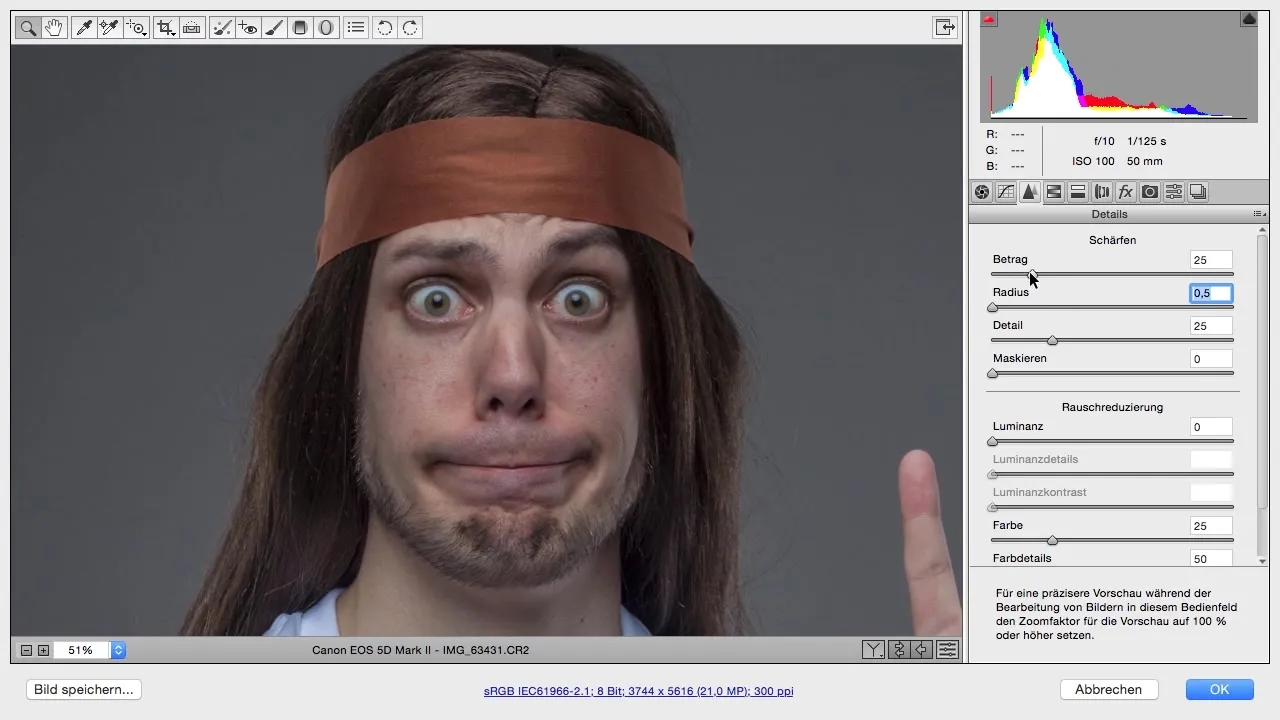
Add sharpening For a crisp representation, it is important to effectively use the sharpening slider in Camera Raw. Focus particularly on the eyes of the subject. A value between 80 and 100 can provide additional details for comic images.
Compare original vs. edited Click "Okay" to save your changes and return to Photoshop. Compare the edited image with the original. You will see how much better the details and the comic style stand out now.
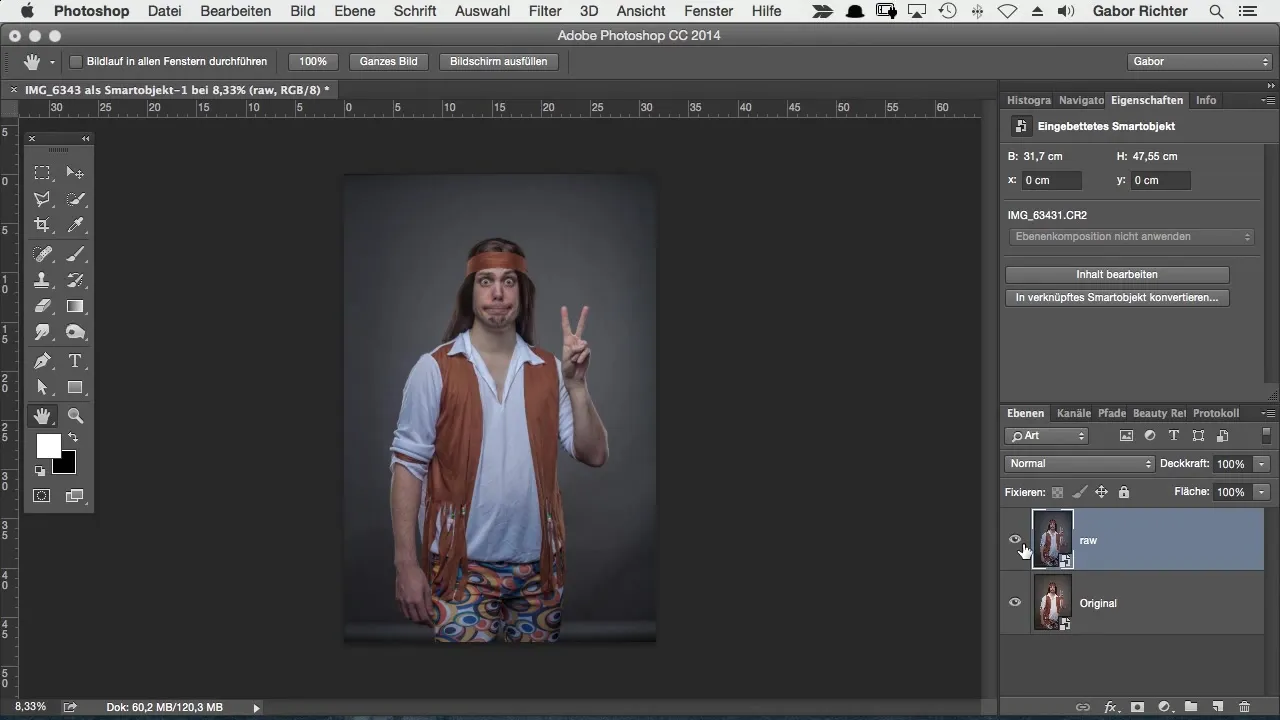
Summary – Step-by-Step Optimization of a Comic Style in Photoshop
By following these steps in Camera Raw, starting from the basic color settings to fine-tuning in sharpness and clarity, you are well-equipped to transform your images into an impressive comic style. Feel free to experiment with the values and find out what works best for your individual style.
Frequently Asked Questions
How do I open an image in Camera Raw?You can open an image in Camera Raw by simply loading it in RAW format in Photoshop.
Which color space should I choose?The sRGB color space is suitable for most digital applications as it has the widest distribution and compatibility.
What is the difference between vibrance and saturation?Vibrance enhances weaker colors, while saturation uniformly boosts all existing colors.
How important is sharpness in comic styles?Sharpness is crucial to highlight details and give the image more structure.
What are Smart Objects and why are they useful?Smart Objects allow you to make non-destructive edits, so you can always revert to your original settings.
