Have you created an image in comic style and now want to subtly enhance the play of light in your background? A glow can help make your image appear more lively and harmoniously connect the elements. In this guide, I will show you how to add a glow using simple tools in Photoshop to optimize the overall image. Let's dive right in!
Key Takeaways
- The glow adds a dynamic light source and makes your image shine.
- By painting on a new layer, you maintain control over the outcome.
- You can adjust the opacity to regulate the intensity of the glow.
Step-by-Step Guide
First, you should ensure that your image contains the desired elements and you are ready to work with the glow. The first step you need to take is to create a new empty layer.

Name this layer “Glow.” This way, you keep things organized and know exactly where you are making changes. With this new layer, you have the flexibility to make adjustments without affecting your main image.
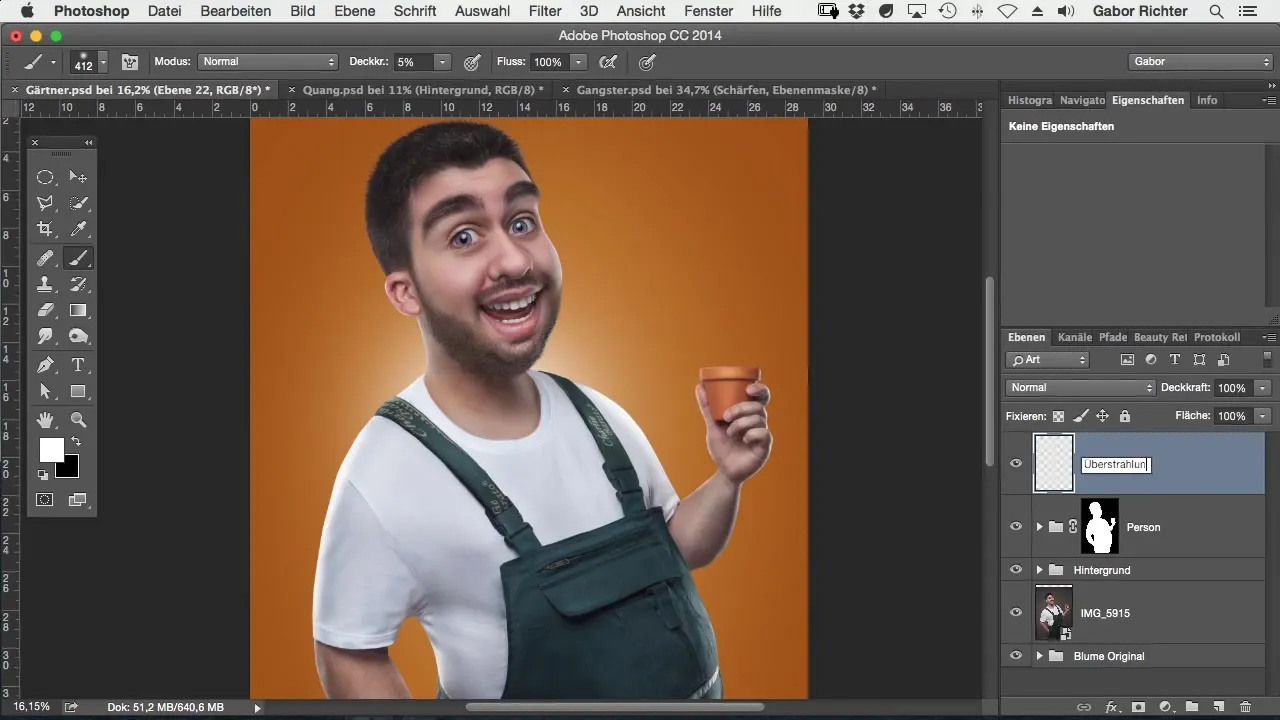
Now you are ready for the next step. Select the brush tool. To achieve a soft glow, you should set the brush opacity to 5%. This setting allows you to build up the glow gradually and control how much light you bring into the image.
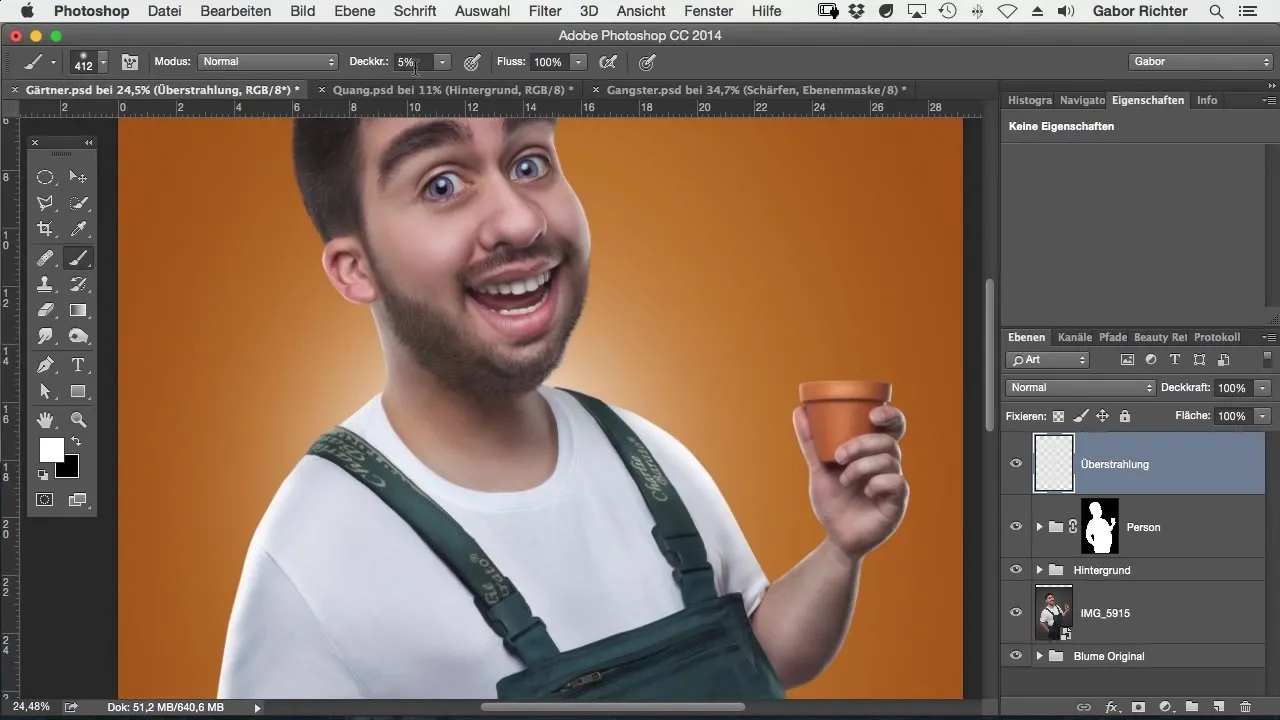
To make your glow look good, choose white as the foreground color. With this hue, you can create effective light effects. Now start painting small dots variably onto the new layer. Focus especially on key areas like the neck or chin of the figure in the image. These areas capture and reflect light particularly well.
Make sure the glow doesn’t become too strong. If you feel it’s too much, you can reduce the layer's opacity. Set it to about 50% for a more subtle effect that doesn't overwhelm the image.
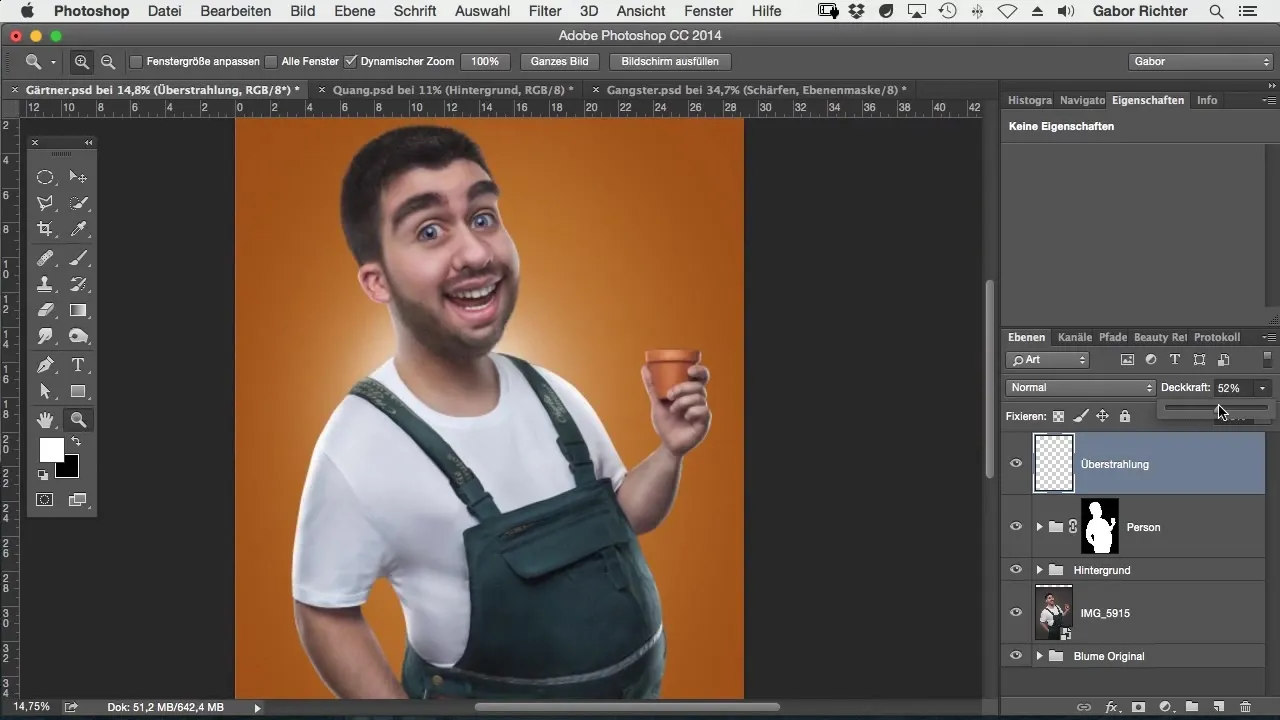
You can also take the liberty to enhance other areas of the image by adding glow here and there. Perhaps you've noticed that I’m also painting over the back. A slight play of light there can make the image radiant and make it appear more lively.
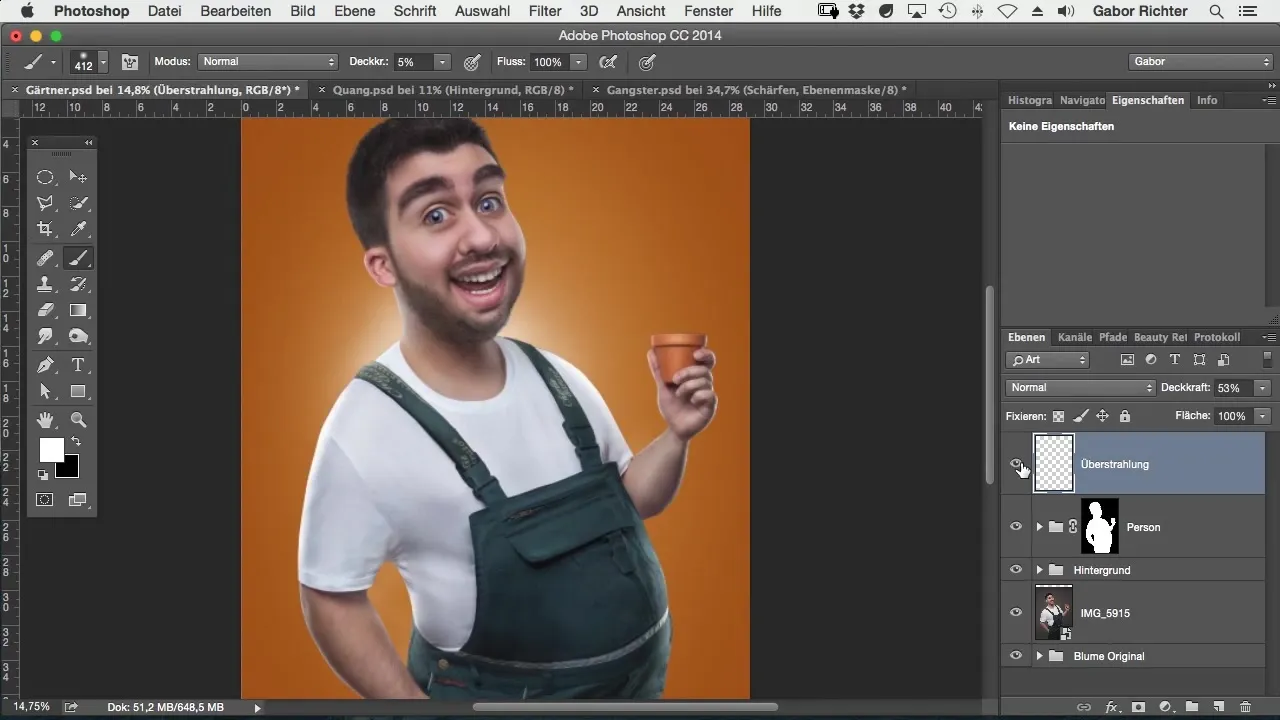
Remember, less is more. However, these small details contribute enormously to the overall effect of the image, giving it more depth and life. Even though it’s a small step, this technique makes your image more exciting and engaging.
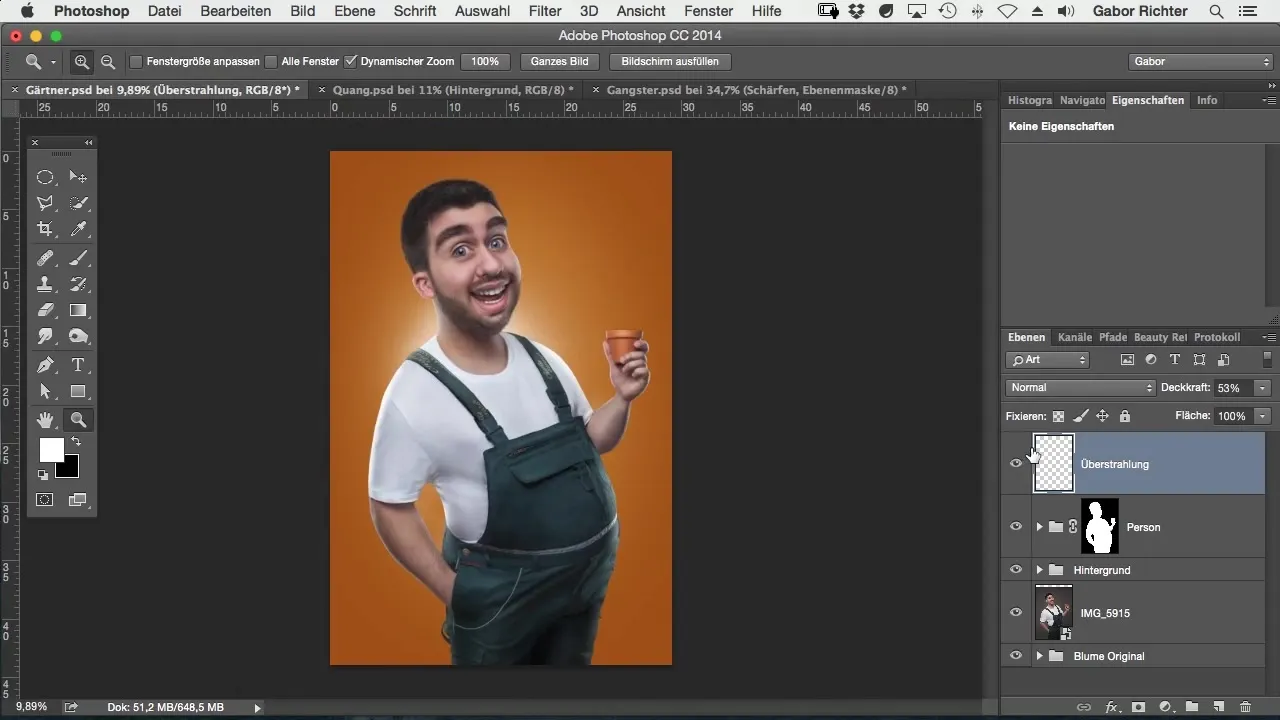
If the glow seems too intense, you can always go back and reduce the opacity or erase some of the dots to find the desired balance. It’s important that you are satisfied with the result and that the image has the right aura.
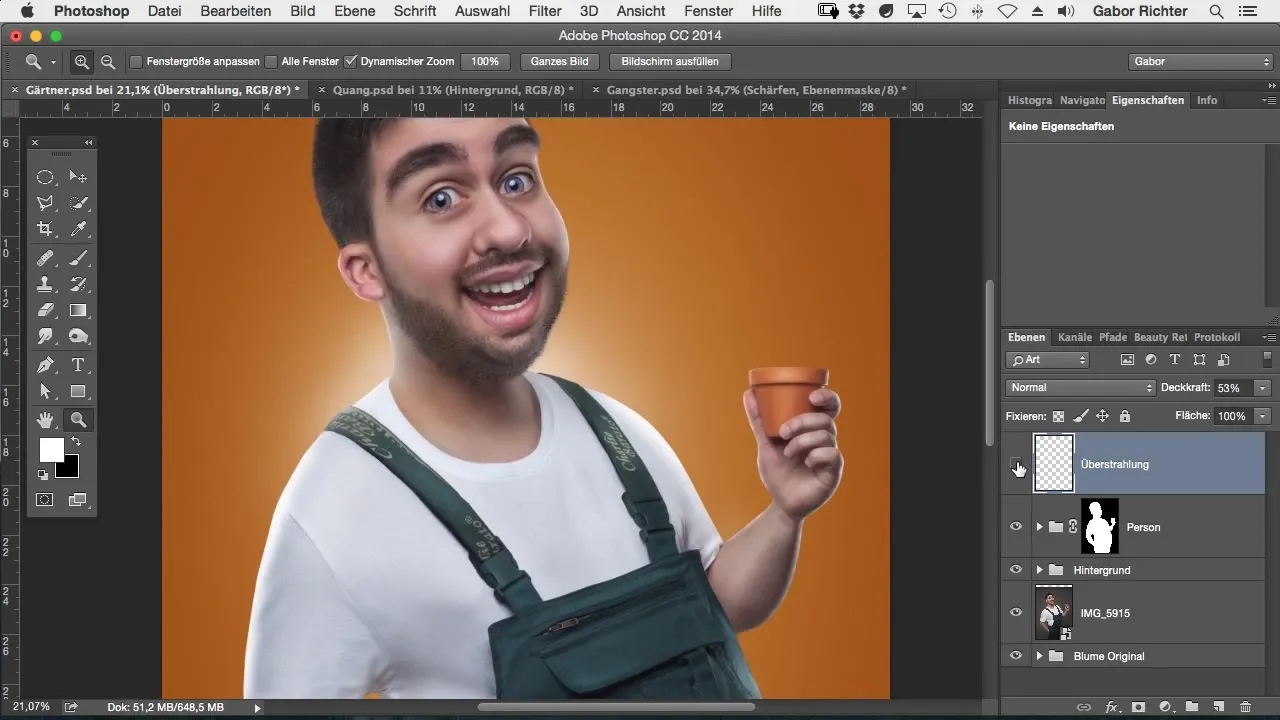
A great way to enhance your glow is to use it in combination with existing light streaks in the image. Make sure the light glow harmonizes with the light already present in your image.
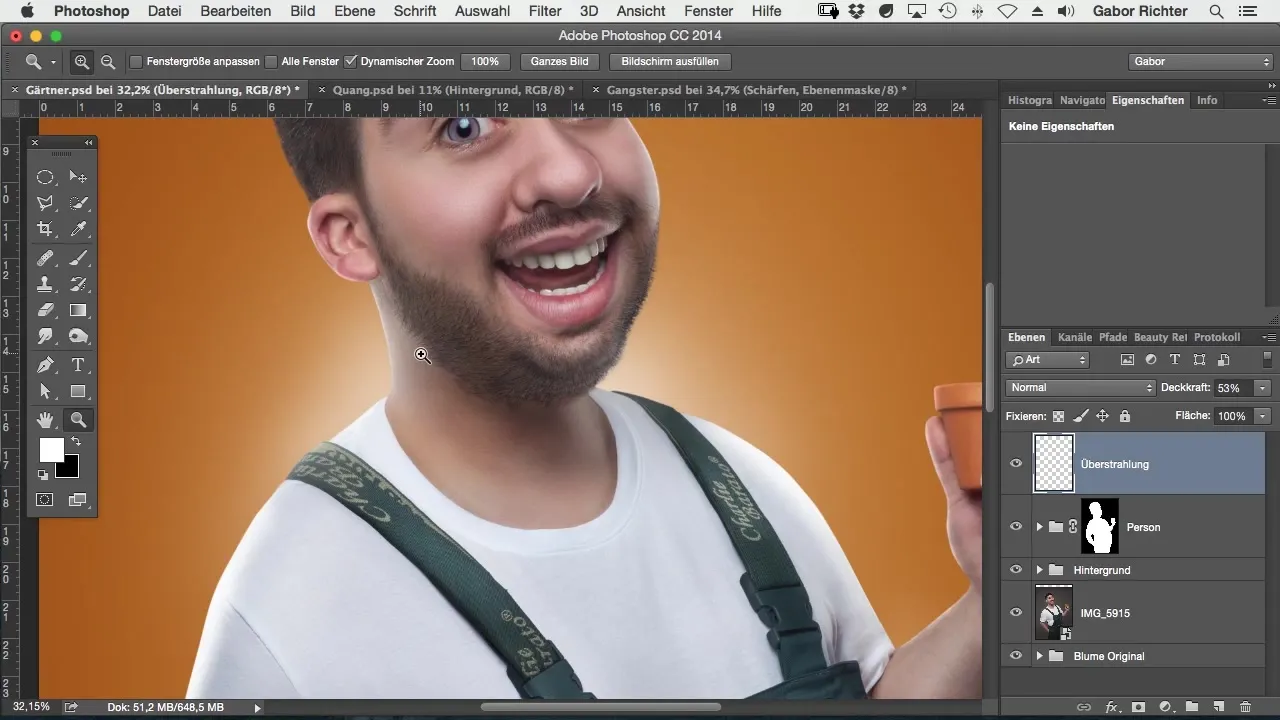
Summary – Glow Techniques for Comic Style in Photoshop
Adding a glow in Photoshop can transform your comic image into a new dimension of light. With the right tools and techniques, you can create subtle yet impactful bright effects that bring your art to life.
Frequently Asked Questions
How can I change the opacity of the brush?Go to the brush options and set the opacity to the desired percentage.
Can I create the glow in other colors?Yes, you can use any color, but white provides the best light reflection effect.
What do I do if I'm dissatisfied with the result?You can adjust the opacity of the glow or remove the dots with the eraser tool and repaint them.


