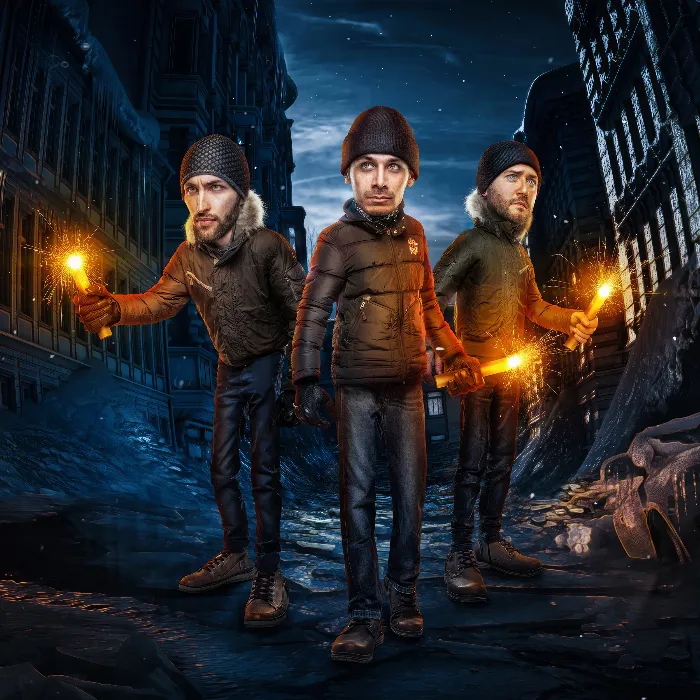
Are you looking for creative ways to create characteristic comic-style images? Here you will not only receive the basic techniques you are already familiar with from other tutorials, but also useful tips on applying these methods to complete figures. In this guide, I will share my workflow and show you step by step how to implement an entire scenario in comic style.
Key insights Understanding the different techniques in Photoshop is crucial for creating impressive comic-style illustrations. The following steps are highlighted: isolating characters, adjusting light and color effects, and adding realistic shadows.
Step-by-Step Guide
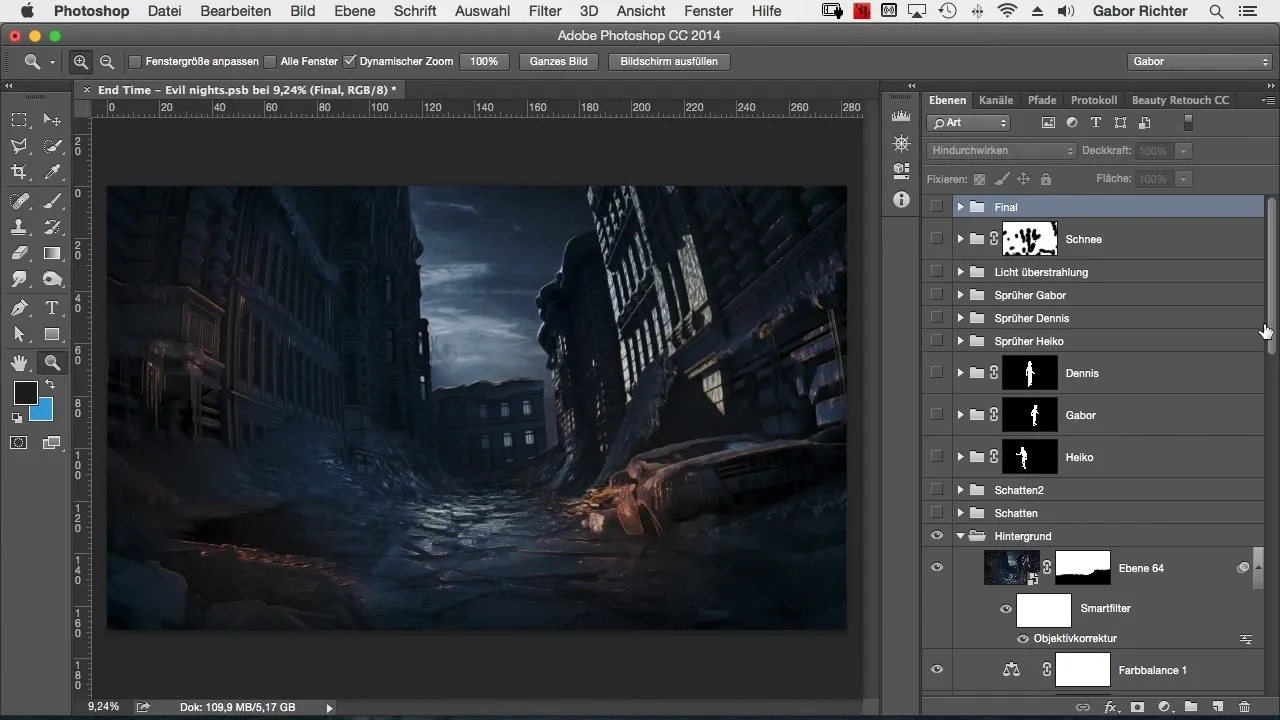
First, I will address the background, which represents one of the most important elements of your image. For this project, I used a background that I had to adjust to create the right mood. The original image shows an ordinary night scene, which I then edited to make it appear more dynamic.
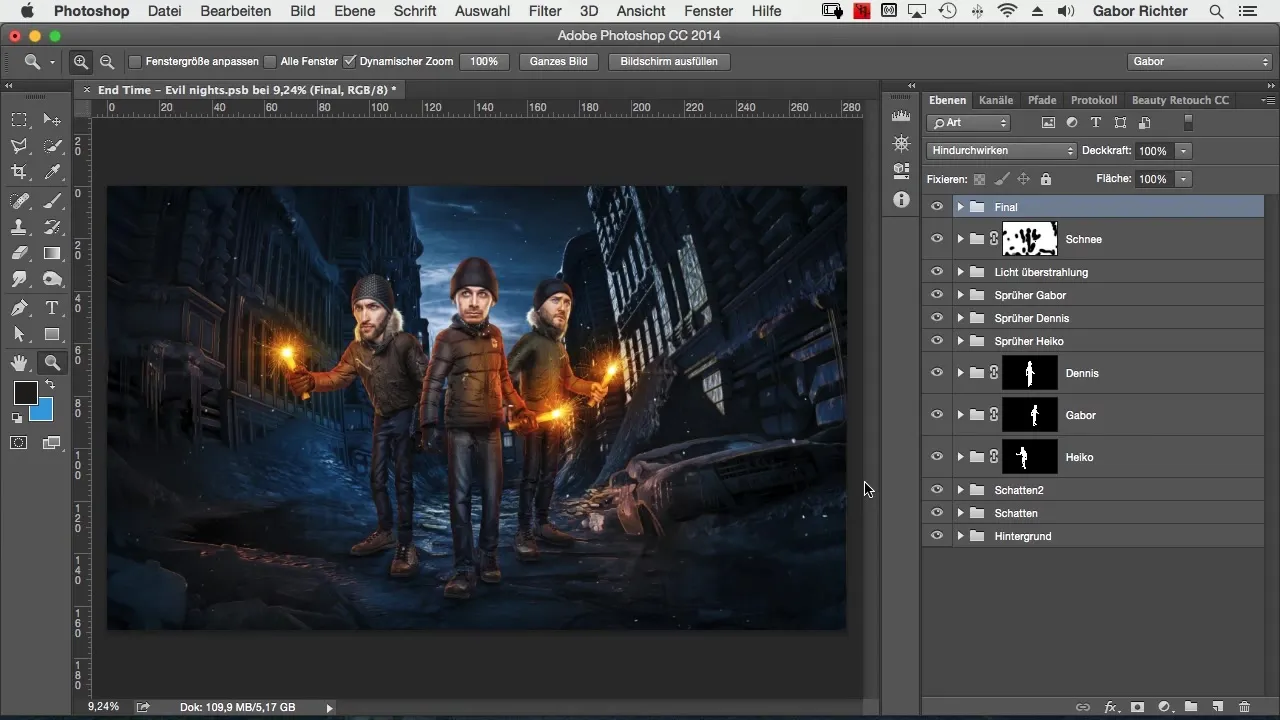
Next, the characters come into play. I added several people to the image instead of cropping them out, which was typically the case. This time, I wanted to include the full body of each figure to provide viewers with a more comprehensive experience.
Let’s start with my representation. I took a photo of myself in the studio, where I created an interesting lighting atmosphere using side light. It is important to adjust the perspective accordingly to ensure that the figure integrates well into the scene.
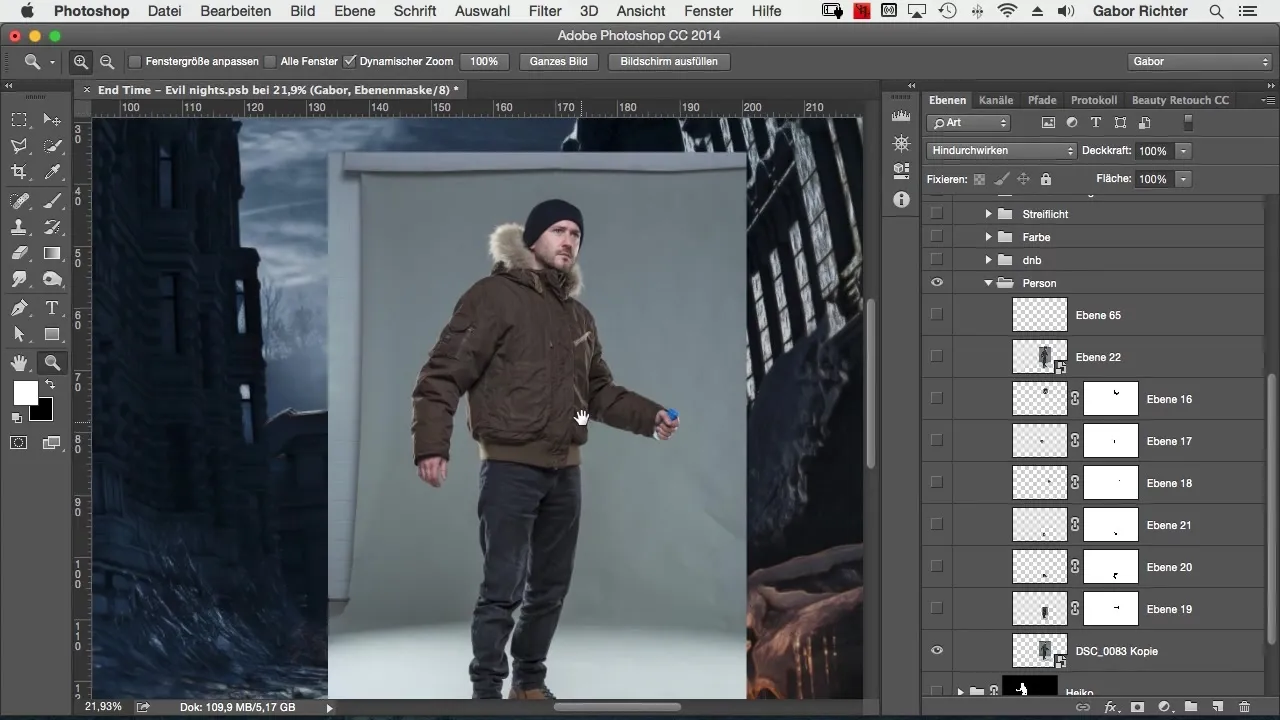
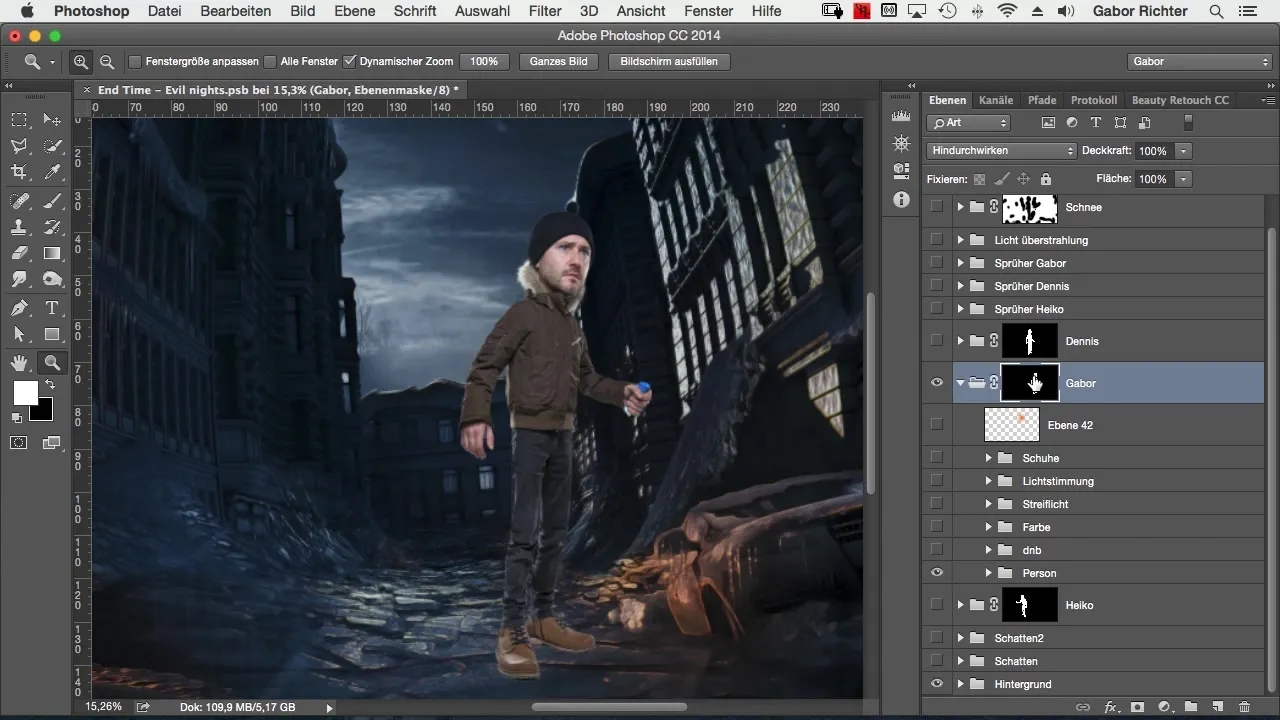
I then modified the shape of my figure. Notably, I elongated the legs, which emphasizes the animalistic aspect of comic design. I should also elongate the arms to stay true to this style, while the feet were additionally enlarged to harmonize the proportions.
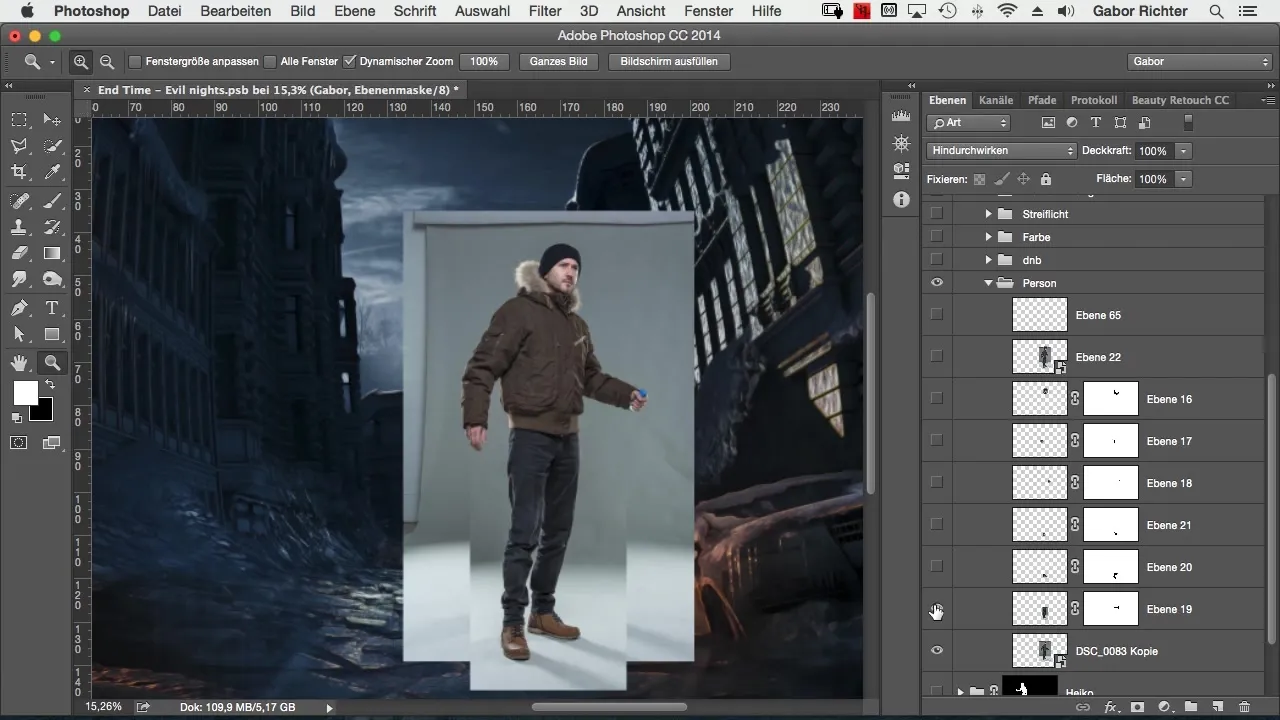
The next step involved editing the face and body. I adjusted the figure and "refined" it through smooth adjustments. Adobe Photoshop offers you numerous tools to make these adjustments precisely.
Once the basic adjustments are complete, you should ensure that your character is isolated. This technique allows you to perform the remaining steps more easily later on.
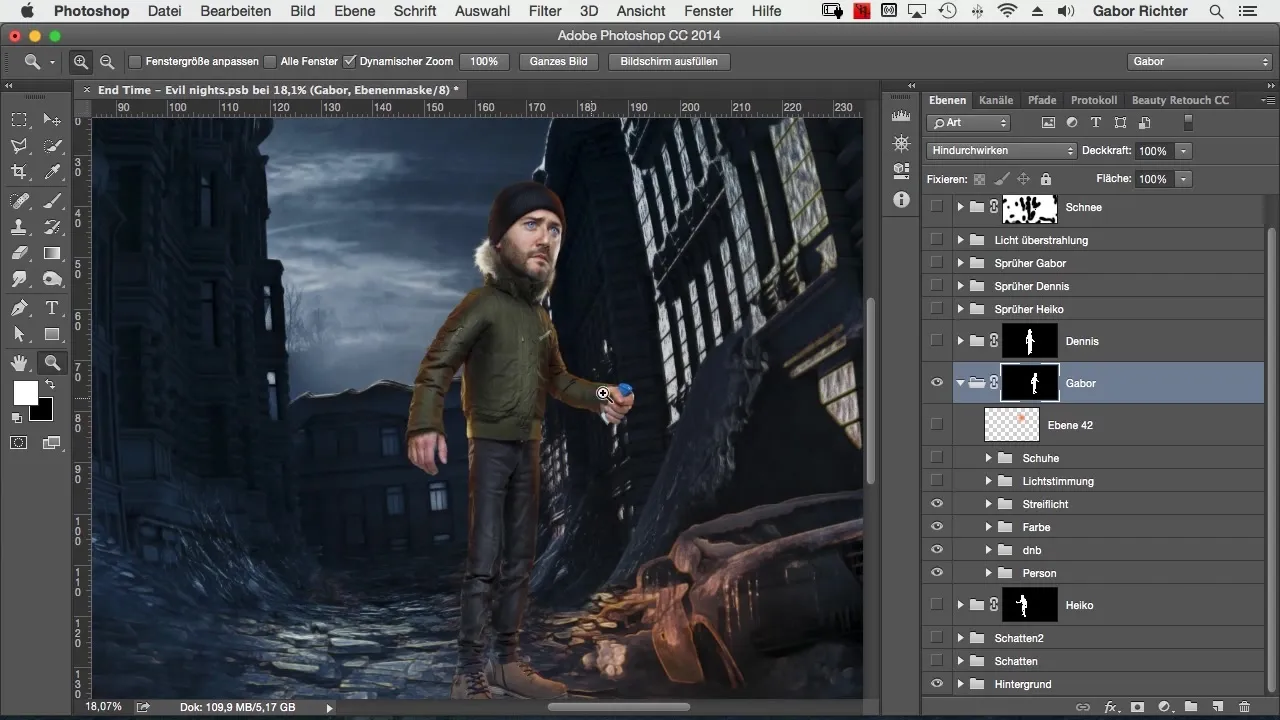
Next came the "Dodge and Burn" technique to make the light and shadow on the character more dynamic and add depth. I worked particularly carefully on the clothing to give it a painterly effect.
Adjusting the colors plays a crucial role in comic style. I changed the color of the jacket from brown to a vibrant green to enhance the visual impact. I made the eyes extremely bright blue to highlight them.

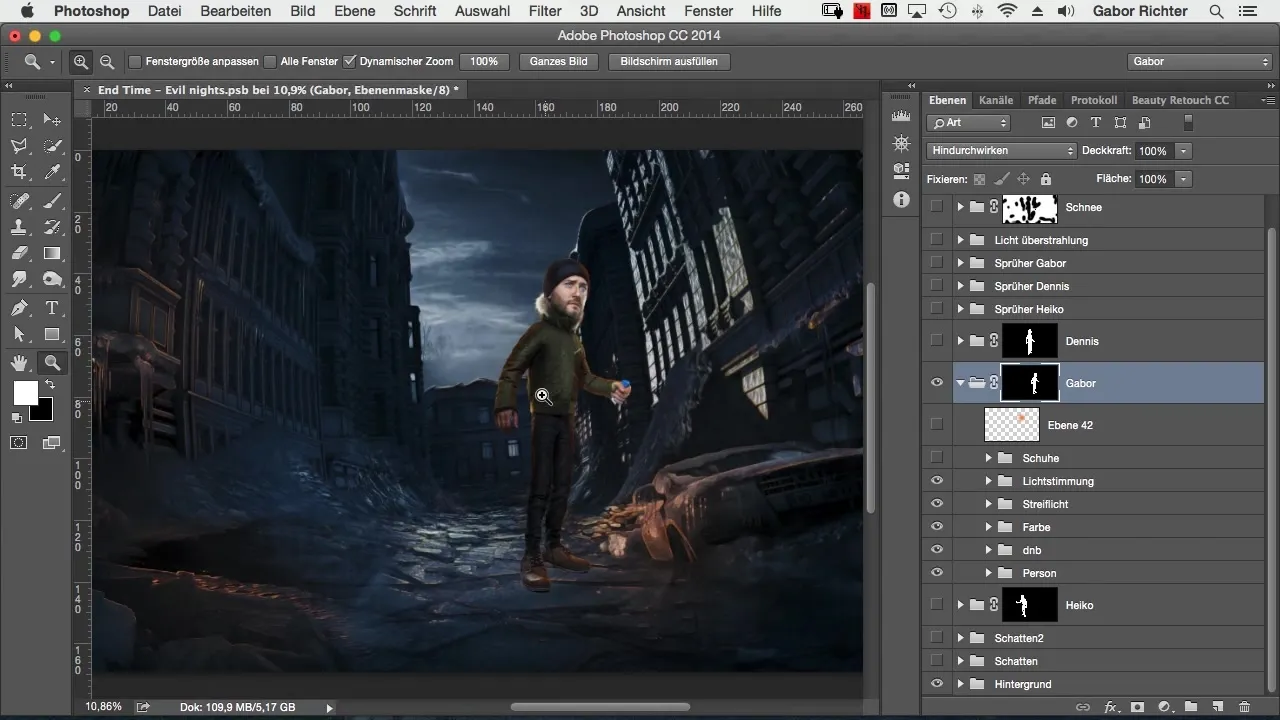
As I showed in the tutorial, side light is another important tool that I added later. This time, I opted for a warm yellow or orange to make the scene appear more lively.
Since the character stands in a scene, I adjusted the light according to the ambient mood. I darkened the side light sources to give the image more contrast and depth.
Another step was adding a light source in the character's hand. This technique highlights certain elements of the image and makes them appear more dynamic.
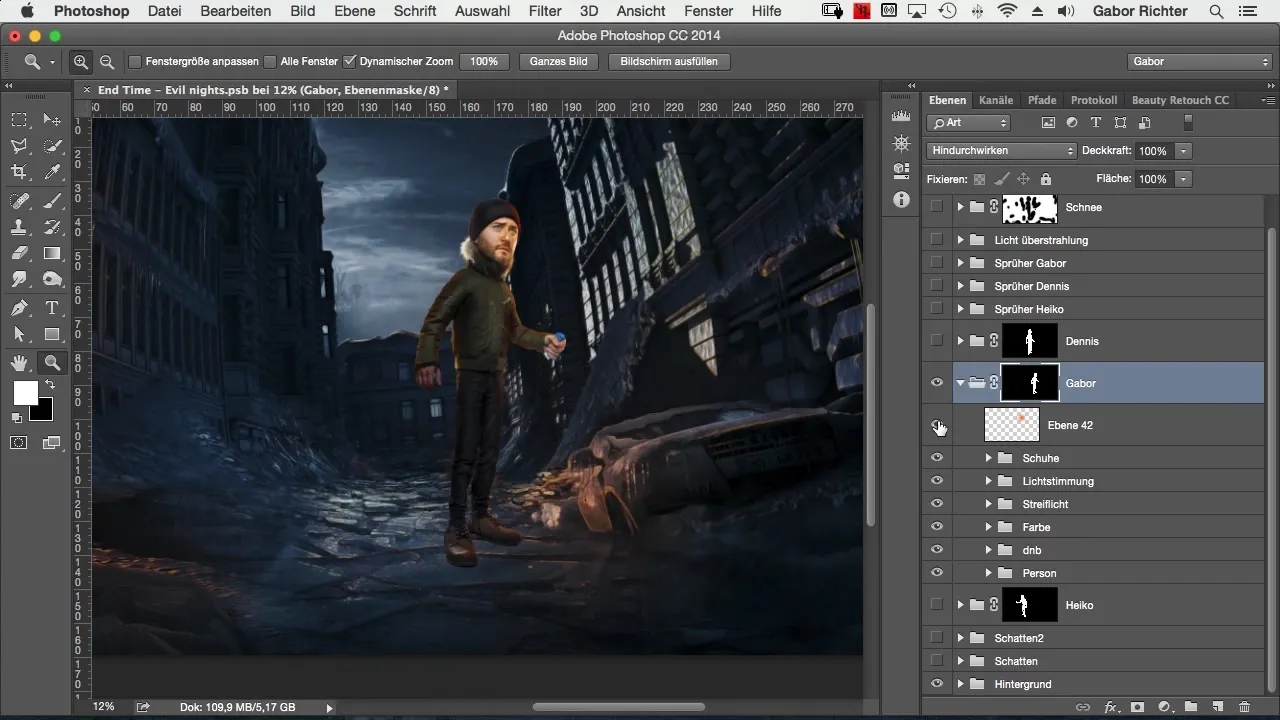
Finally, I added a third person to the scene using the same techniques. Adding objects like a spray can in the hands of figures can increase interest and give the characters more depth.
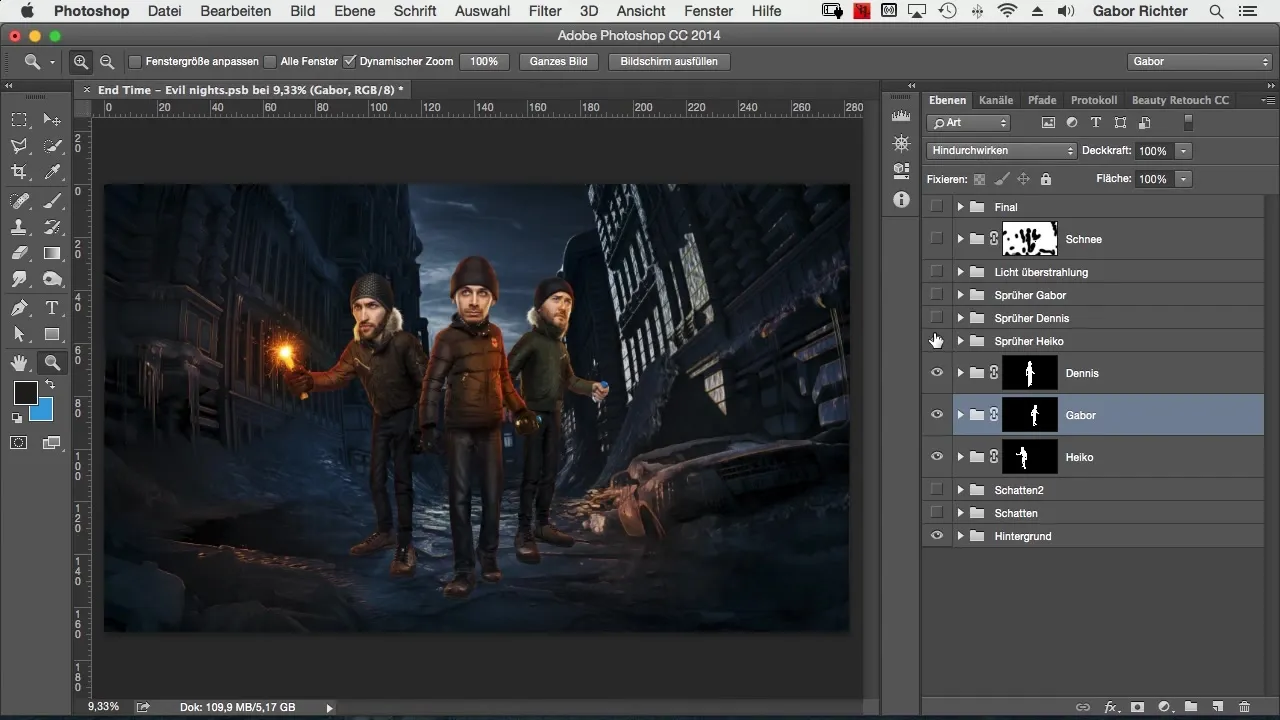
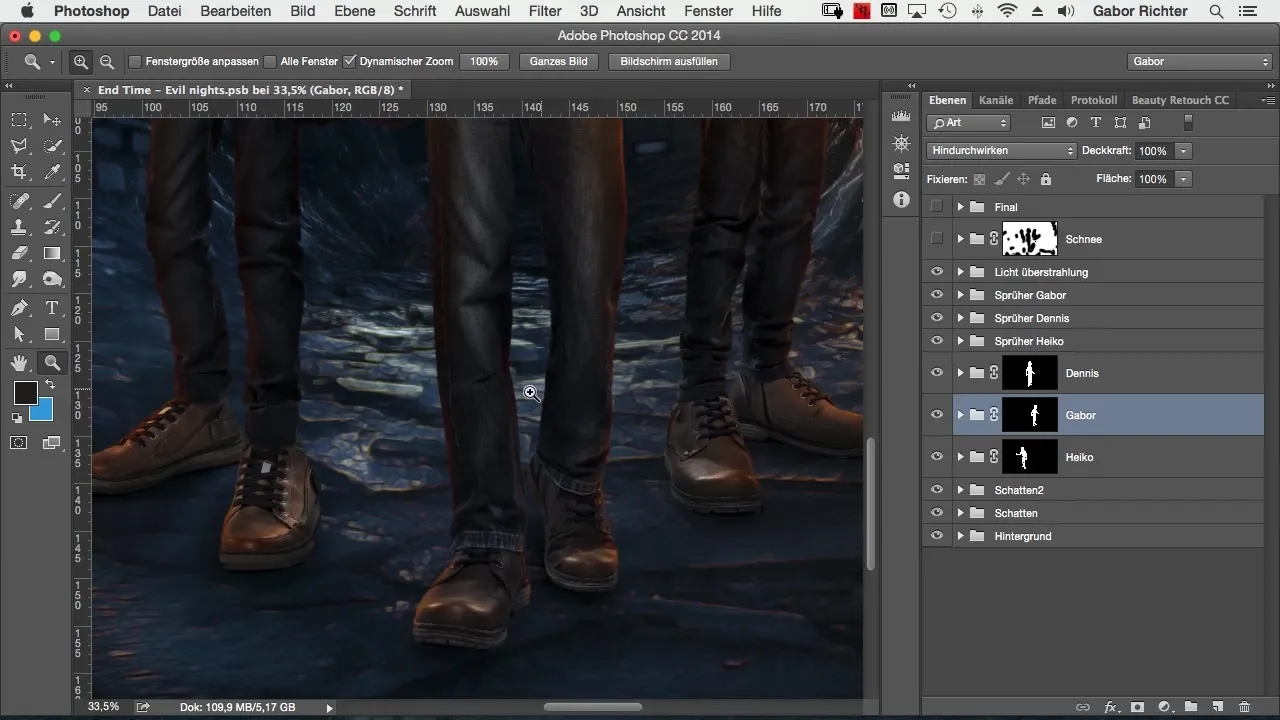
To make the scene look realistic, I introduced a shadow created from a new layer. Painted black and edited with a soft light method, this creates a harmonious overall image.
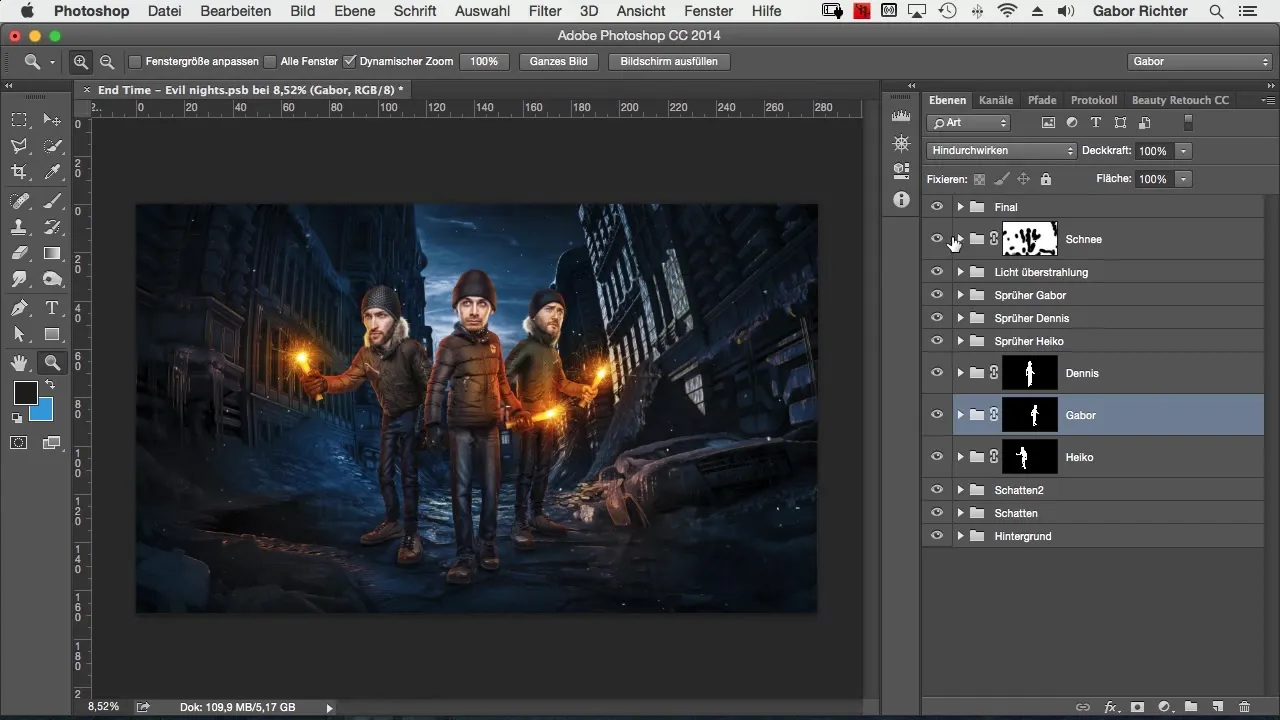
In conclusion, I added a few details, like snow, to further refine the look. The steps I went through here are the same as in the video training, aimed at taking the editing of my figures to the next level.
Summary – Comic Style Photoshop: Creating Full-Body Illustrations
In summary, by applying these steps, you can create characteristic comic-style illustrations. It is important that you creatively handle the techniques and apply them in your own work so that you can create unique scenarios as well.
Frequently Asked Questions
How can I adapt a background?By using layers and adjustment layers in Photoshop, you can customize the background to your style.
How important are perspectives in comic images?The perspective influences how realistic and dynamic a scene appears. Make sure to set this correctly.
What techniques are most effective for color changes?For color changes, you can use adjustment layers like hue/saturation to achieve the desired color mood.
How can I integrate realistic shadows into my images?By using new layers and the brush tool, you can manually add shading and refine it with the blur function.
Why should I use Dodge and Burn?These techniques help you manipulate light and shadow selectively and enhance the three-dimensionality of your figures.
