Adding a comic style to portraits can be an exciting challenge. Skin editing plays a central role in this. In particular, removing skin blemishes and smoothing the skin are essential steps to achieve the desired effect. This guide will show you step by step how to effectively remove spots and give the skin a smoother look using frequency separation in Photoshop. Let's get started!
Main Insights
- Frequency separation is a technique that allows you to edit textures and colors independently.
- Using smart objects gives you the flexibility to adjust filters at any time.
- By using the Camera Raw filter, you can effectively perform noise reduction and hue adjustments.
Step-by-Step Guide
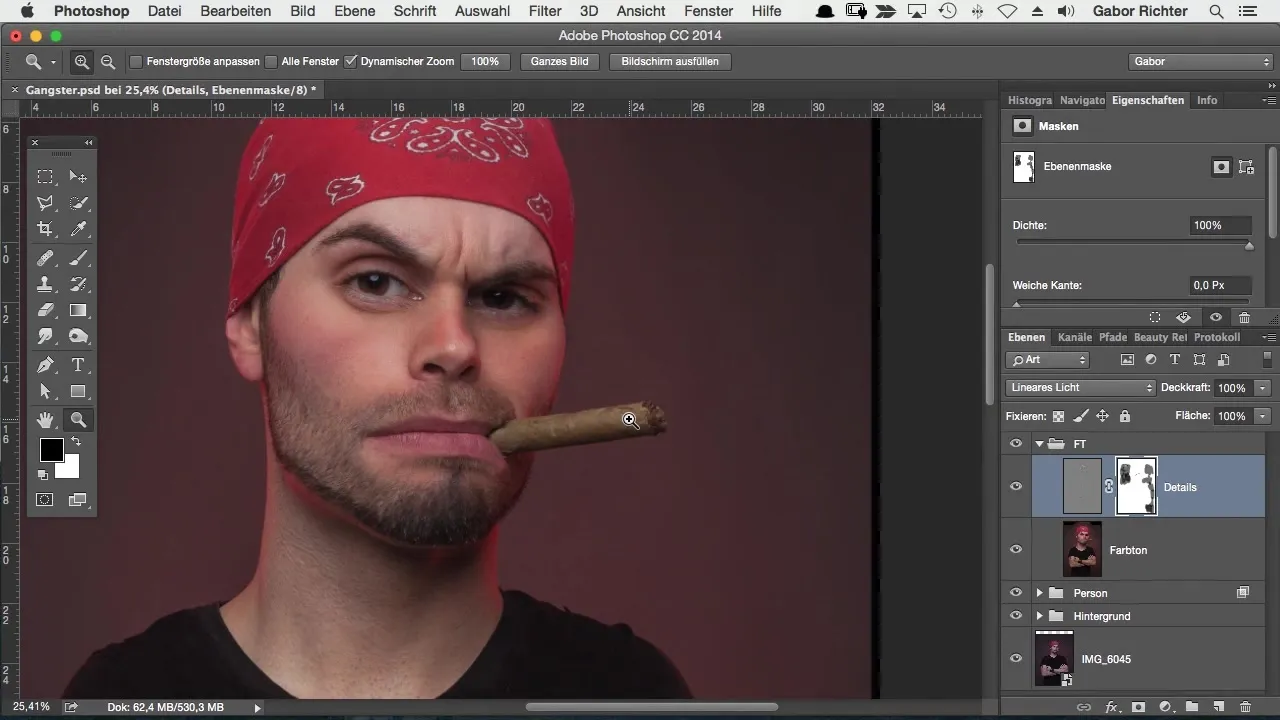
First, open your image in Photoshop. To apply frequency separation, start by converting your color tone layer into a smart object. This allows for flexible editing, as all filters will be applied on a separate layer.
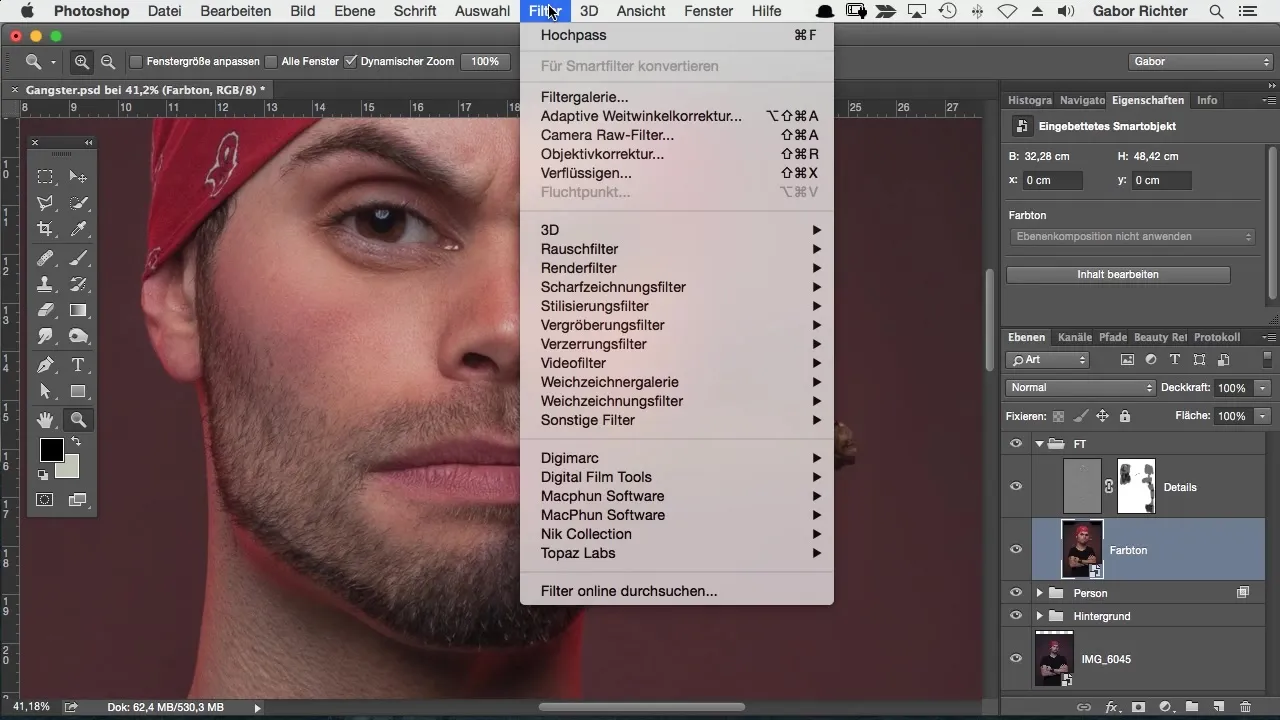
Next, apply the Camera Raw filter to your smart object. This is done through the "Filter" menu. Many users are familiar with the Camera Raw filter, as it is frequently used when opening RAW files. However, you can also apply the filter afterward to optimize your image.
In the Camera Raw filter, you'll find numerous settings to edit the skin. First, focus on noise reduction. On the third tab, you can adjust the sliders for luminance. Move the slider to the left to make the skin area appear smoother and less rough.

To minimize the red spots on the skin, go to the hue, saturation, and brightness sliders in the HSL area. Reduce the saturation of the reds to make the distracting spots less visible. This adjustment provides an immediate improvement in skin appearance.
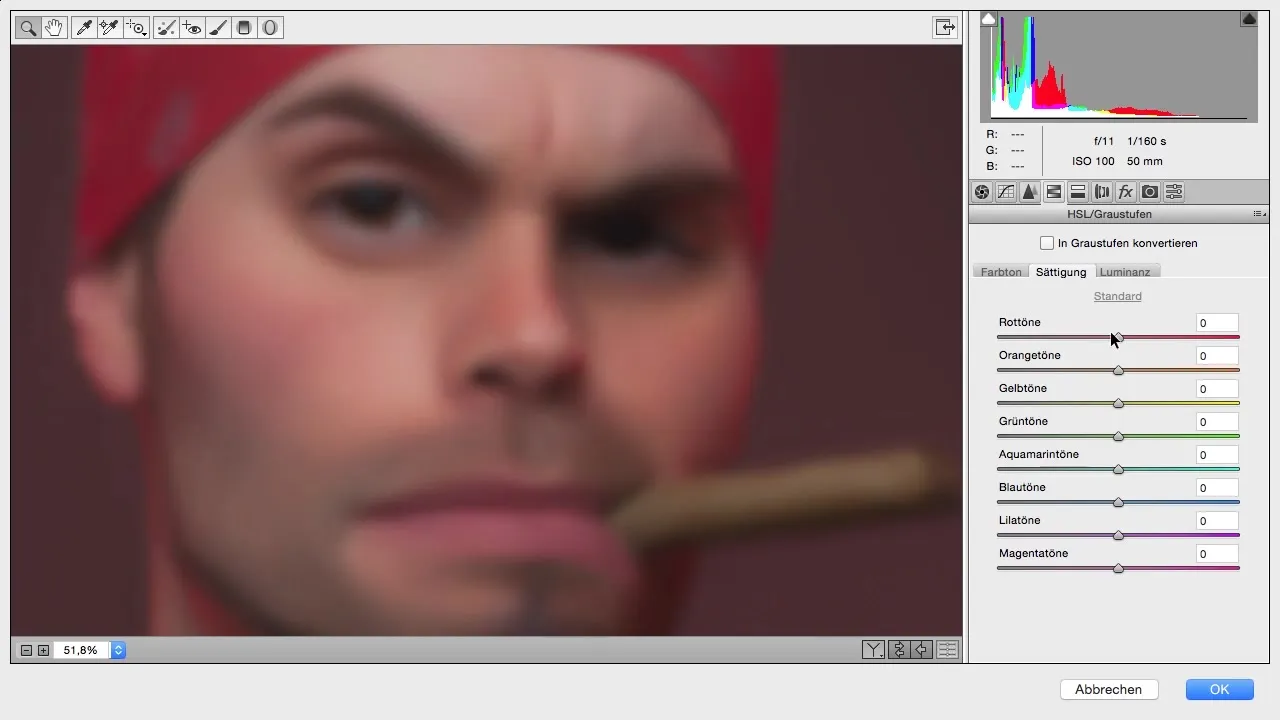
Another step is to shift the hue of the reds. By moving the hue slider to the right, you shift the red towards orange, creating a more harmonious adjustment to natural skin tones.

Next, head to the luminance values and you can slightly reduce the bright areas if necessary. This helps minimize shiny spots and gives a more uniform appearance to the skin.
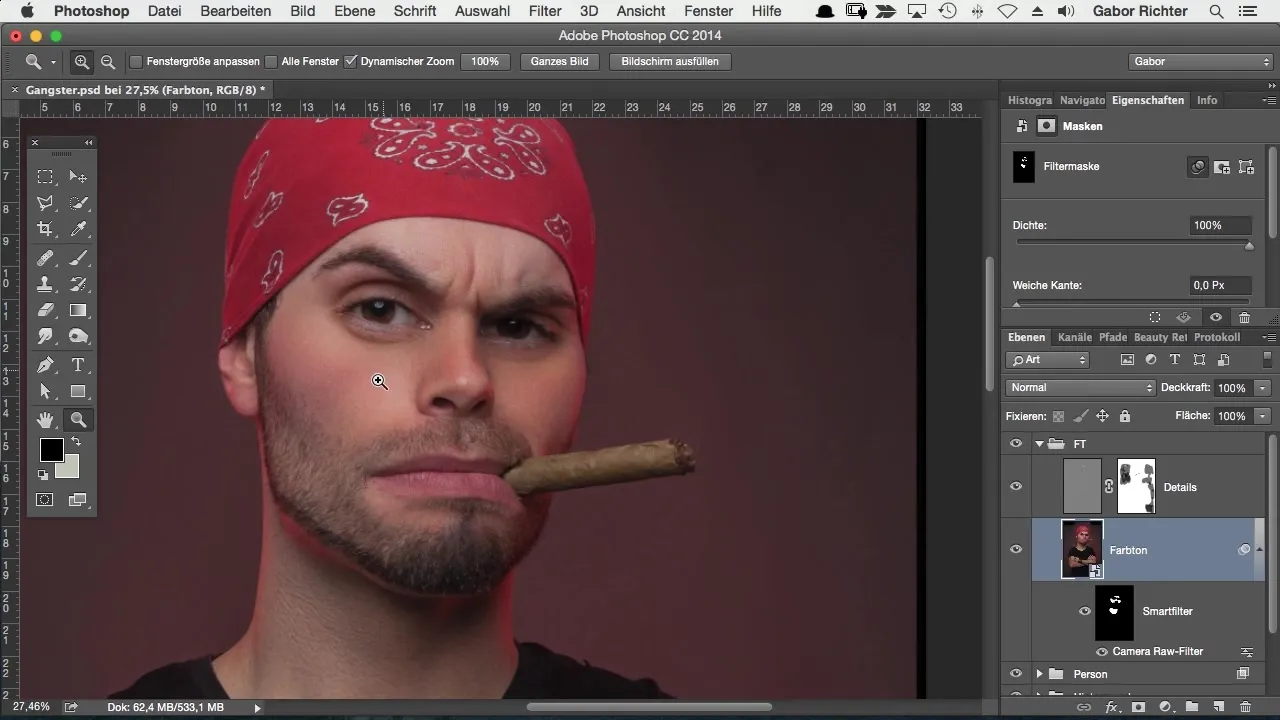
Once you're satisfied with the adjustments, confirm the settings and return to Photoshop. Now you can see how much your image has already improved. Since you are working with a smart object, you can reset or change the filter adjustments at any time by double-clicking on the filter text.

In this step, you invert the mask of the smart object to hide all adjustments. This is done using the keyboard shortcut Command+I (Mac) or Ctrl+I (Windows). Your image will now be completely unrecognizable since the mask is active.

Using a brush tool, you can paint back the areas of the skin that you want to be smoother. Set the brush strength initially to 50%. If this does not damage the comic-style image, you can also increase it to 100%.

Make sure the edges remain clean. This is not a problem since you do not need to blur too many details to achieve the desired comic look. This way, the skin blemishes disappear, and the image gains smoothness.

You should continuously check the results. Paint over the small blotchy areas on the neck to achieve a uniform skin appearance here as well. This technique allows you to not only achieve soft skin but also improve the overall aesthetics of your image.
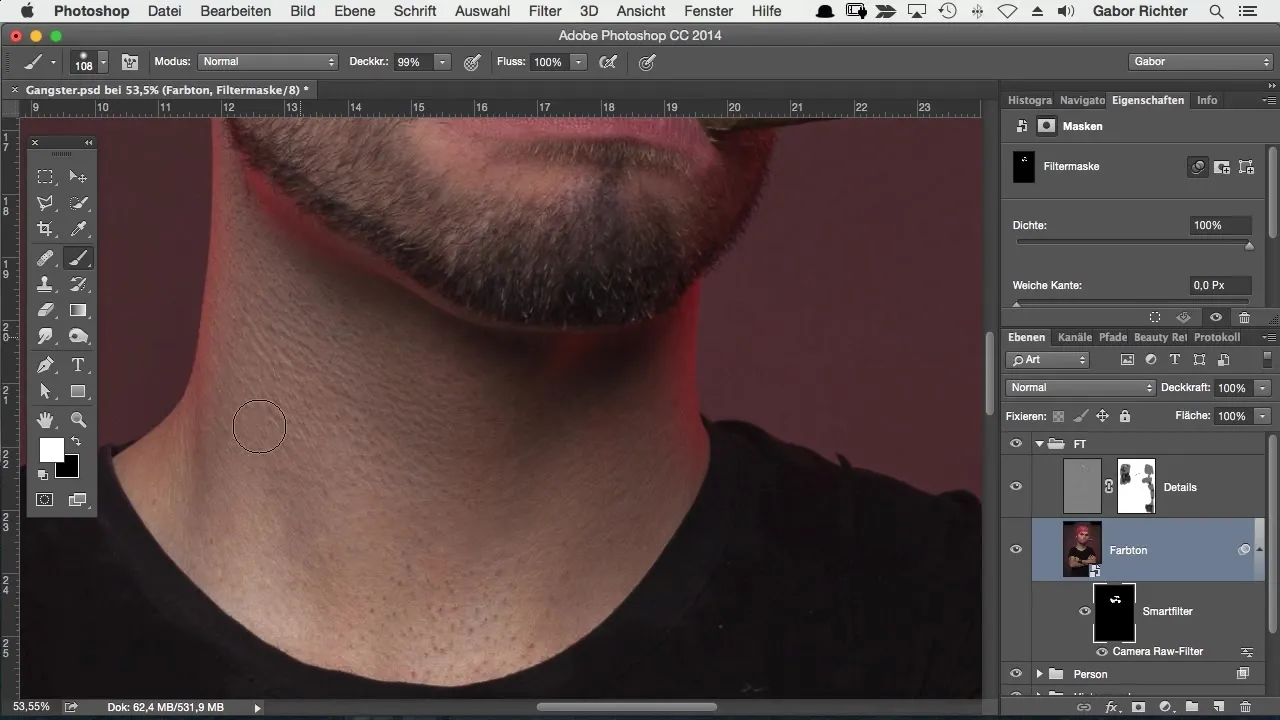
The result will soon be visible – the spots will disappear and the skin will appear more even. This technique is extremely helpful for both comic images and regular beauty edits where a smoother complexion is desired.
Summary – Guide to Frequency Separation in Photoshop for a Comic Style
Removing skin blemishes and achieving a smooth look in Photoshop is easily achievable with frequency separation and effective tools like the Camera Raw filter. With these techniques, you can achieve the desired comic aesthetic in your images and precisely adjust both textures and colors.
Frequently Asked Questions
How can I activate frequency separation in Photoshop?You can activate frequency separation by converting the color tone layer into a smart object and applying the Camera Raw filter.
What is the advantage of smart objects in editing?Smart objects allow you to apply filters non-destructively and adjust them later at any time.
How do I reduce unwanted red tones in the skin?Reduce the saturation of the red tones in the HSL area and shift the hue slider towards orange to emphasize the natural skin tones.
Which tool do I use to remove spots selectively?The brush tool on the mask of the smart object allows you to selectively bring back areas and remove spots.
Is this method also suitable for regular portraits?Yes, this technique is suitable for all types of images where a smoother skin tone is desired.


