The clipping of images is an essential skill in photo editing, especially when it comes to placing people or objects against new backgrounds. One of the most effective methods for this is the Pen Tool in Photoshop. In this guide, you will learn how to make precise selections with this tool and optimally clip your images.
Main Insights
- The Pen Tool allows for precise clipping.
- Patience and practice are crucial to effectively utilizing this tool.
- Setting path points and creating curves are central aspects.
- Post-processing steps help to smooth edges and achieve a clean result.
Step-by-Step Guide
Step 1: Select and Open Image
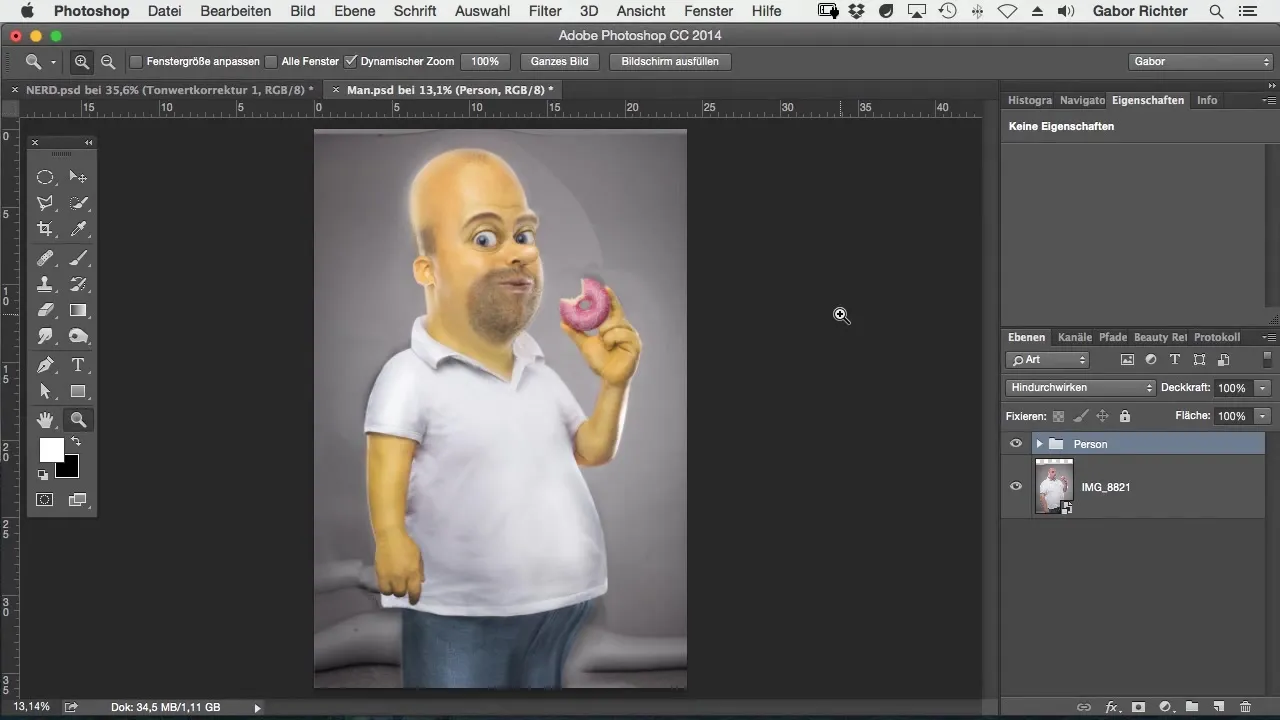
To begin, open the image in Photoshop that you want to clip. If the background is heavily damaged or no longer usable, it's advisable to perform a classic clipping. This allows you to later place the subject against a pleasing background.
Step 2: Activate the Pen Tool
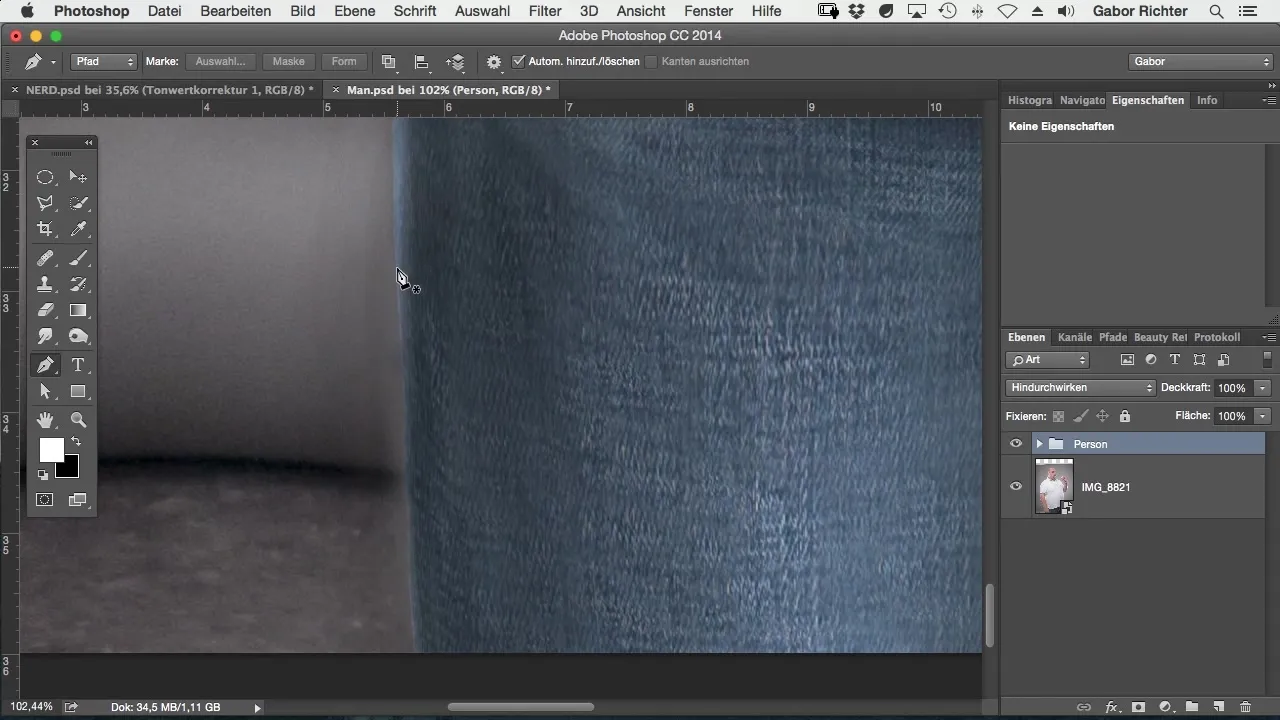
Select the Pen Tool from the toolbar. It may feel a bit awkward at first, as you need to place precise points. Don't worry, with a little practice, you'll get better quickly. As you use the tool, you will find that it gives you many options to shape your selection.
Step 3: Set the First Path Point
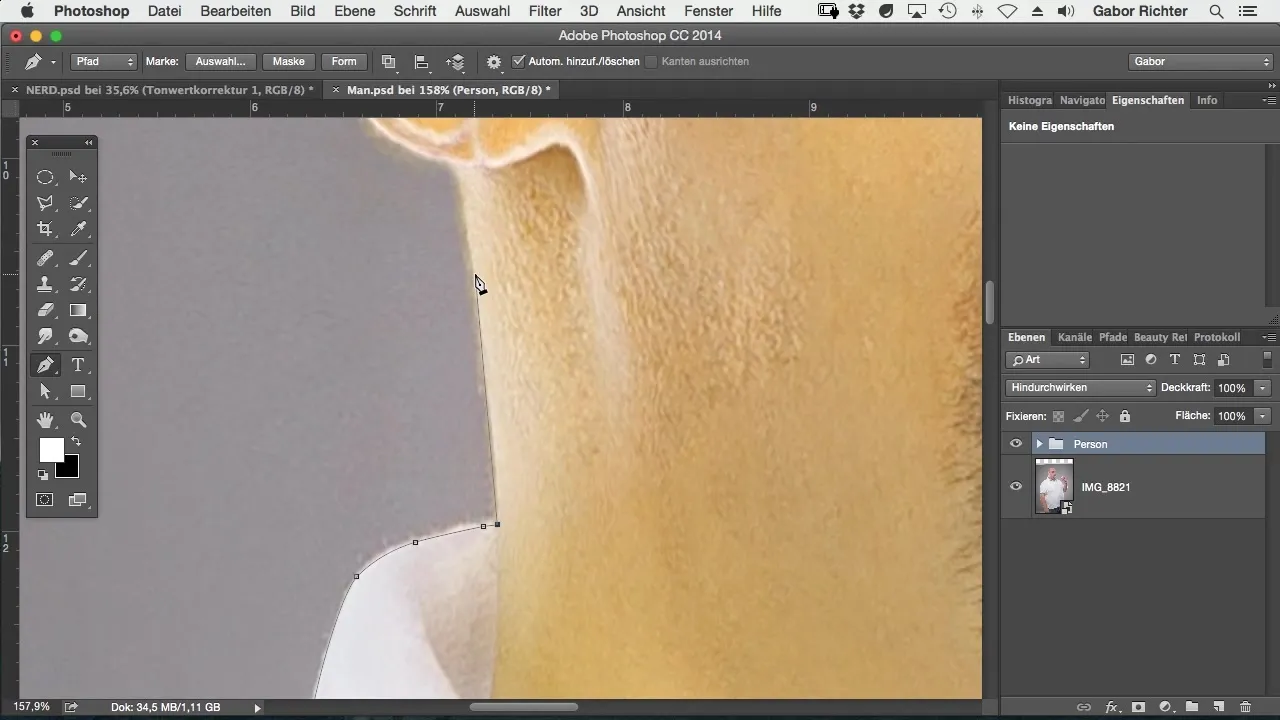
Place your first path point at a prominent part of the subject. Don’t hesitate to work close to the contour to keep the edges clean later. Make sure to set many small points to accurately capture the desired shape. The points should be intertwined along the edges by gently holding the pen, allowing you to trace the shape better where curves are needed.
Step 4: Draw Curves
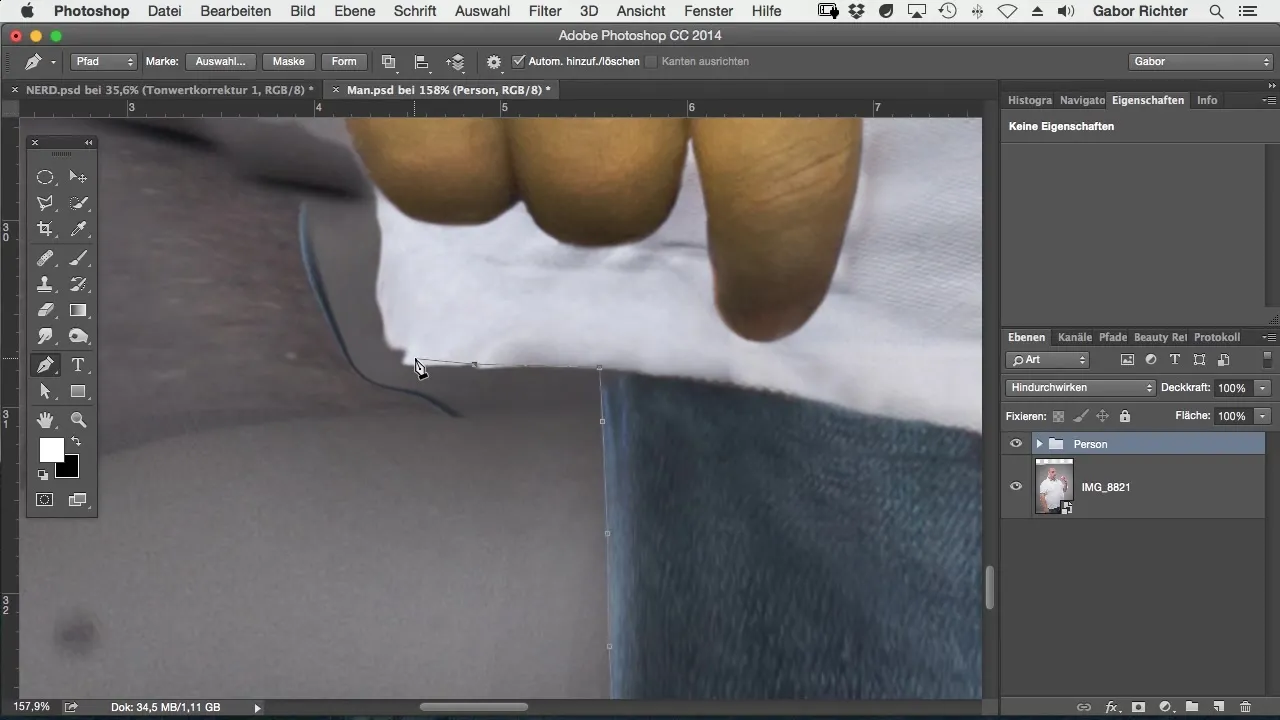
Do you have a curvy subject? Hold the pen down and drag a line to create curves. You can also use straight lines for simpler areas. This method is especially helpful to achieve a result without major unevenness. If you accidentally set a path point incorrectly, you can undo it with Command + Z (Mac) or Ctrl + Z (Windows) or reset it.
Step 5: Add More Contours
Focus on gradually completing the contours of your subject. Avoid capturing too many details in the first step; it’s better to work generously at first and make adjustments later.
Step 6: Undo and Path Point Management
If you need to step back multiple times to correct errors, hold Command + Alt + Z (Mac) or Ctrl + Alt + Z (Windows) to undo multiple steps at once. This helps you have more control over the clipping process.
Step 7: Fine-tune the Contours
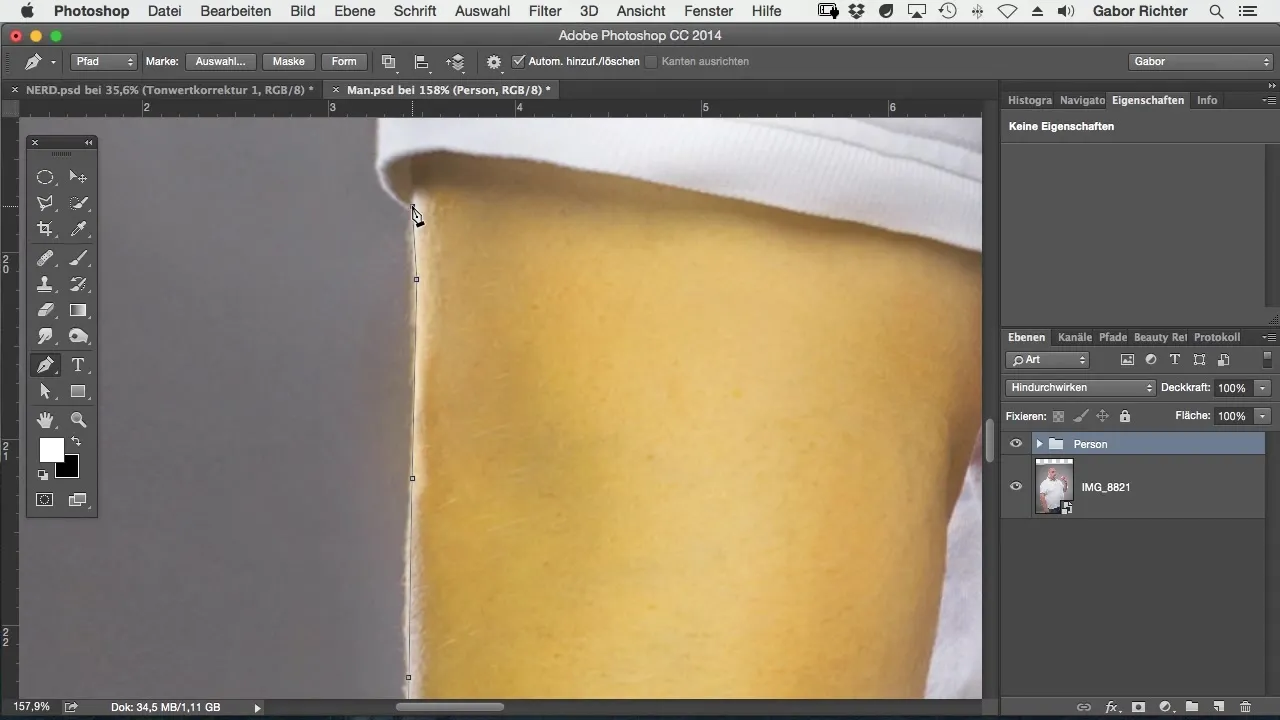
Once the rough work is done, carefully go over the edges of your subject and ensure that all small hairs and impurities are removed. You can refine the path and make subsequent adjustments to achieve an optimal result.
Step 8: Add Inner Area
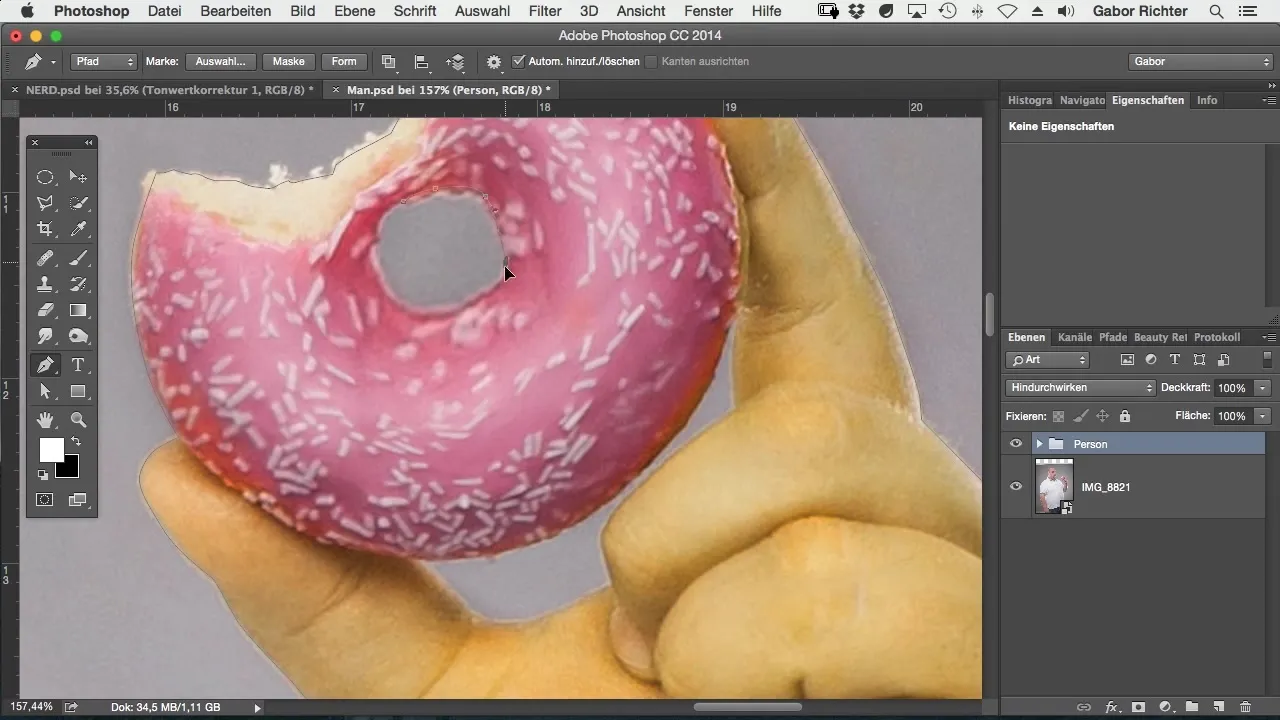
Don't forget to add the inner area of your subject. This is particularly important for objects with holes or openings. Set the path points and ensure that the entire inner area is accurately captured without excess parts interfering with the background.
Step 9: Closing the Path
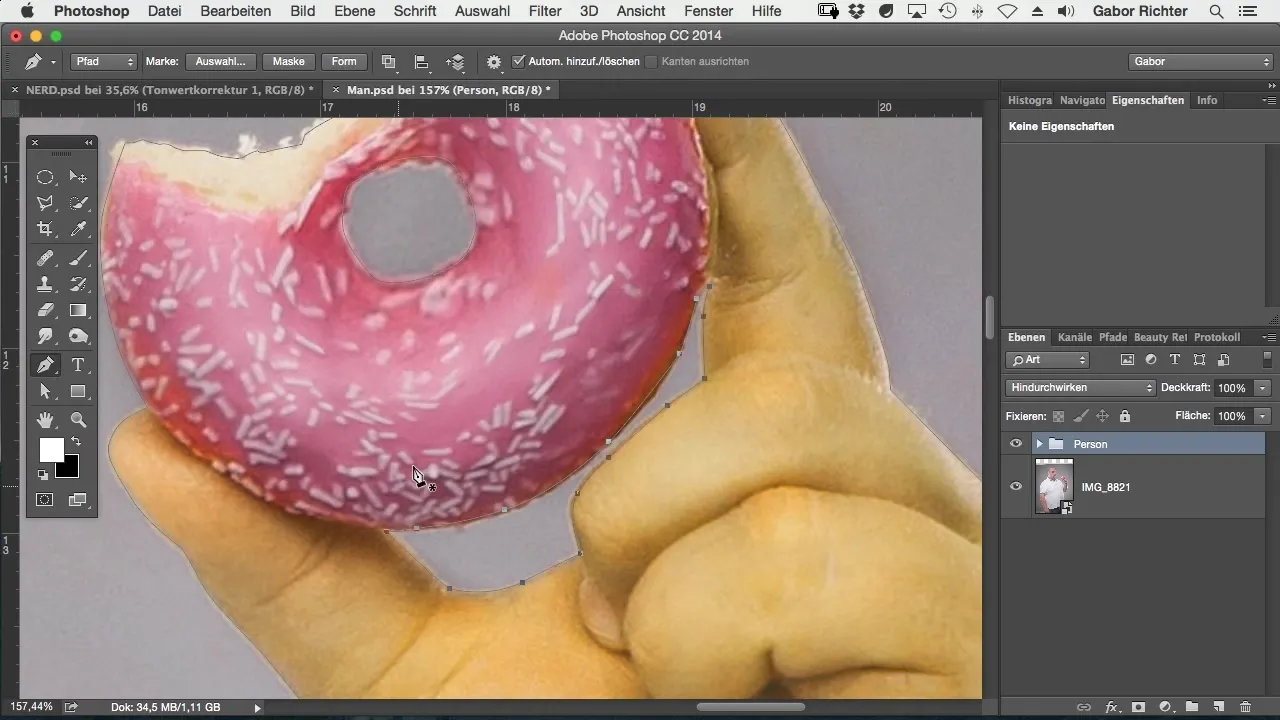
When your path is complete, go back to your starting point and click on it to close the selection. This is important as it allows you to save the path as a selection.
Step 10: Masking and Editing Background
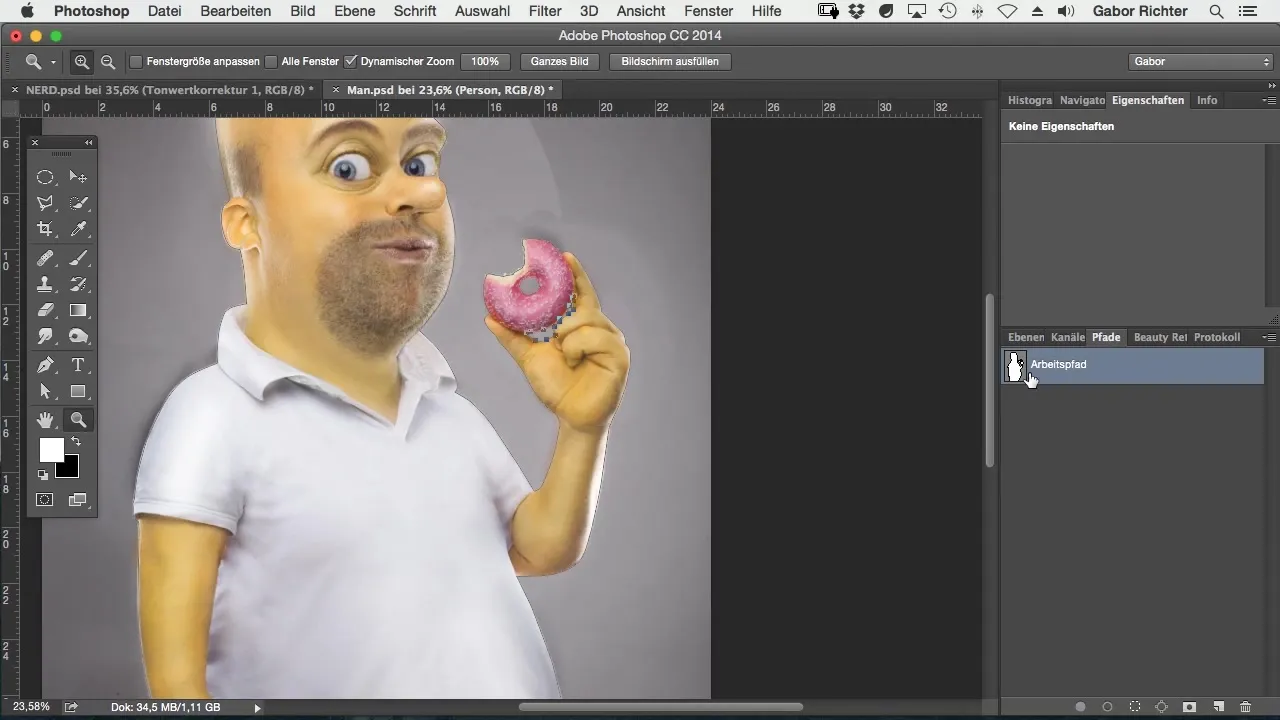
After closing the path, navigate to "Paths" in the window and select your selection to perform a masking. This helps you efficiently remove the background and place a new background.
Step 11: Post-processing
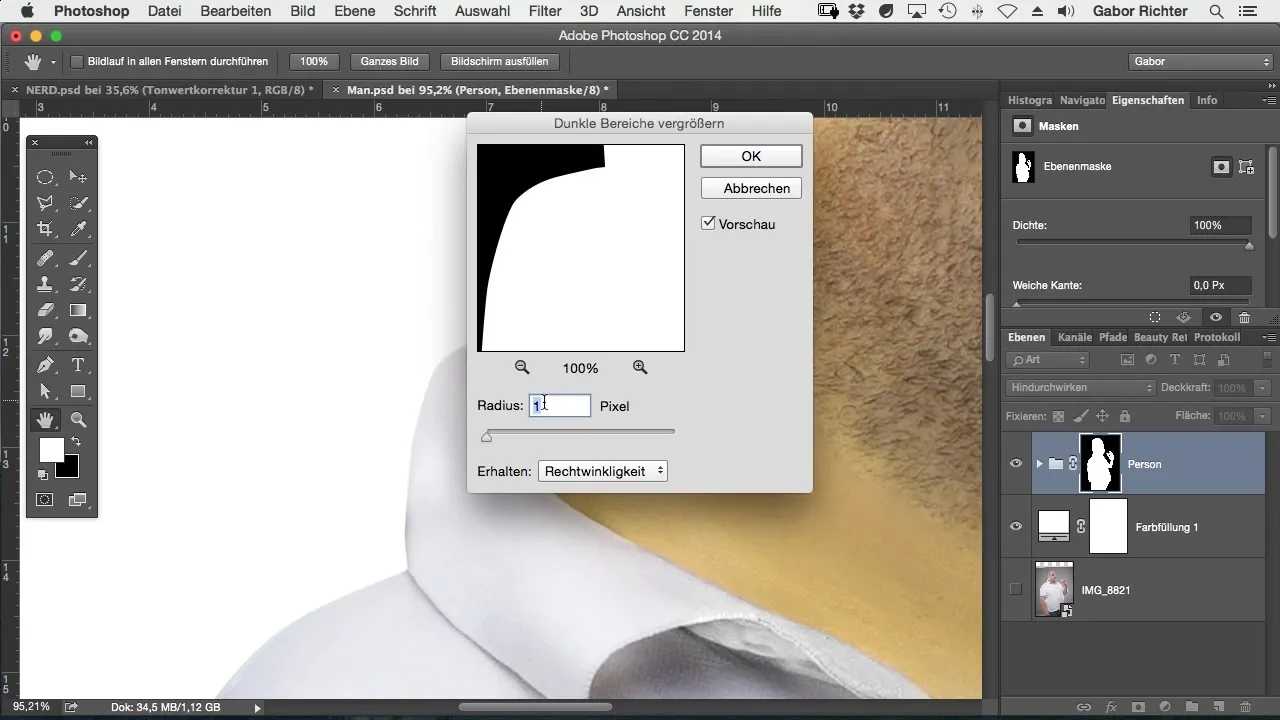
With the new mask that allows you to remove the background area, you can now go to "Filter" and select “Other Filters” to lighten dark areas. This ensures that the edges of your subject appear softer and less sharp.
Step 12: Soften the Edges
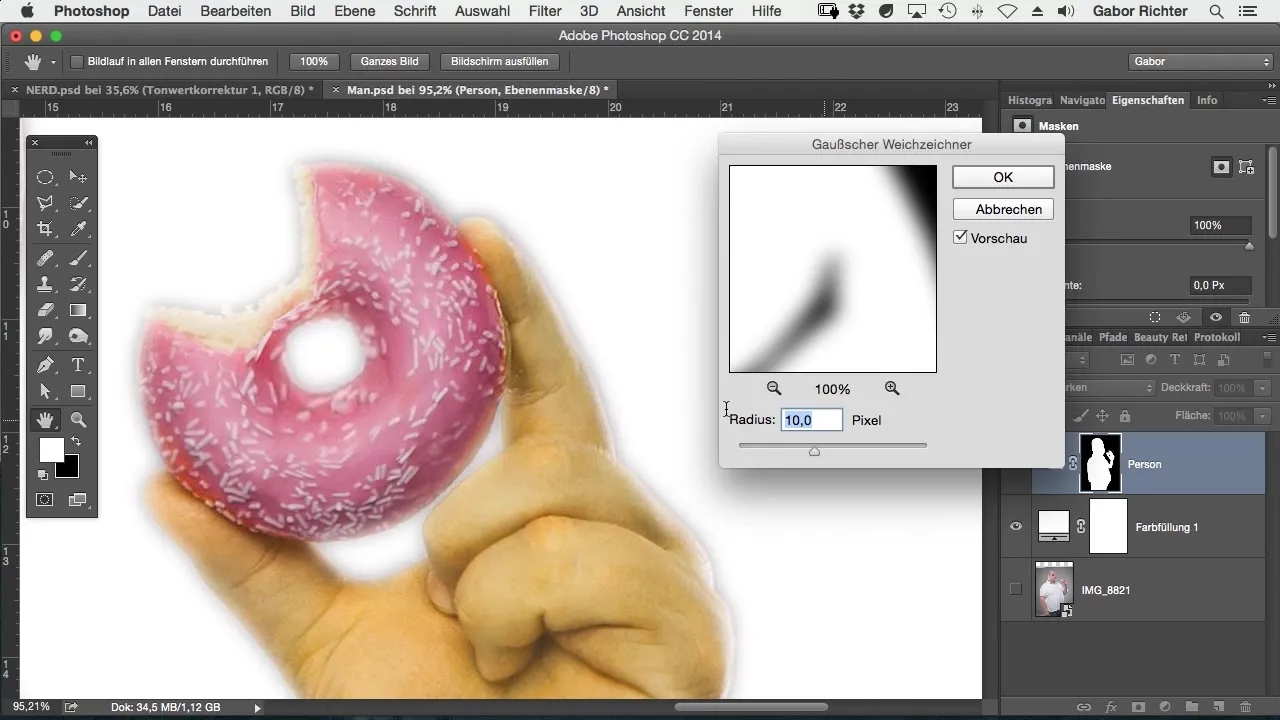
Use the Gaussian Blur to slightly smooth the edges of your subject. A radius of about one pixel is usually sufficient and gives a softer and more natural appearance.
Step 13: Final Check
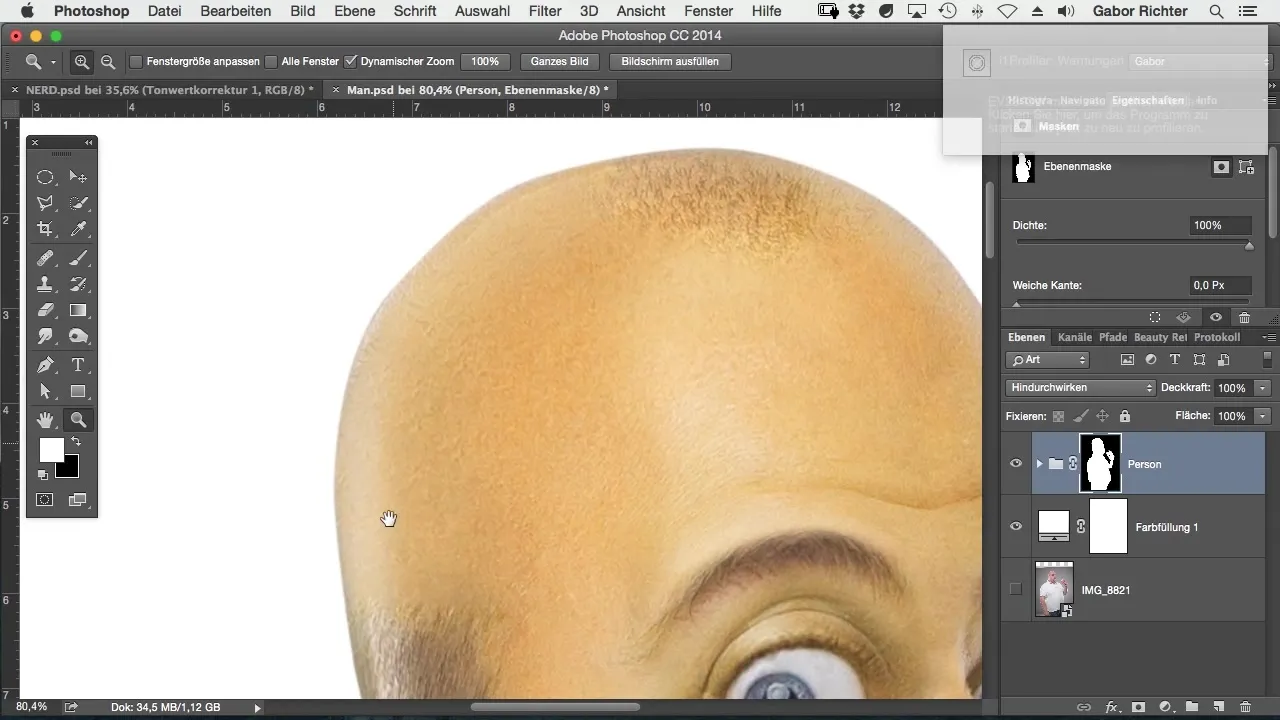
Check the result of your clipping process. You should now have a nice, clean subject ready to be inserted into a new background. Make sure all flashes and unforeseen edges have been removed.
Summary – Clipping with the Pen Tool in Photoshop
Clipping with the Pen Tool might seem challenging, especially when using it for the first time. However, with patience and practice, it becomes the easiest and most effective method to achieve high-quality results. Ensure that the contours are kept clean and take the time you need to perfectly clip your subject.
Frequently Asked Questions
How can I activate the Pen Tool in Photoshop?You can activate the Pen Tool by clicking on the corresponding icon in the toolbar.
Why should I set small path points?Setting small path points helps you to trace the contours of your subject more precisely and allows for smoother curves.
What is the advantage of working inside the contour?Working inside the contour prevents unnecessary parts of the background from being captured during clipping.
How can I undo mistakes?You can undo mistakes with Command + Z or Ctrl + Z. If you want to go back multiple steps, hold Command + Alt + Z or Ctrl + Alt + Z.
How do I prevent “flashes” in my selection?Use the “lighten dark areas” filter and soften the edges with a Gaussian Blur to minimize flashes.


