
Imagine you have twenty clips from the same shoot and want to give all of them the same look. Editing each clip individually takes a lot of time. That's exactly what the adjustment layer in Adobe Premiere Pro is for.
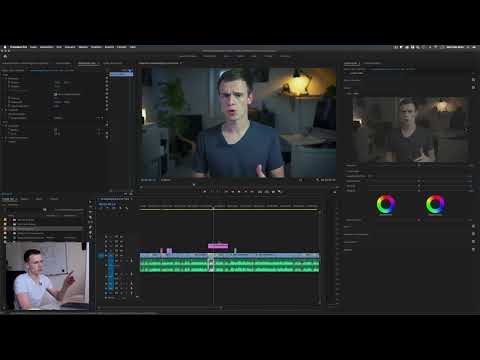
The video is only loaded from YouTube when you play it – data (including your IP address) is then transmitted to YouTube/Google. More in the privacy policy
Beforehand, it's worth briefly clarifying the terms, because color correction and color grading are often confused. Color correction means technically matching clips, for example when exposure or white balance vary between individual shots. Color grading, on the other hand, is the creative color style that usually stays the same across an entire scene or the whole film, even if you change the camera position. This consistent style is exactly what you apply across multiple clips with an adjustment layer.
Key Takeaways
Key Takeaways
- An adjustment layer applies an effect to all clips located beneath it in the timeline.
- Color grading usually stays the same, while color correction can vary from clip to clip.
- The layer only takes effect where it is visible, and only on content below it.
- Graphics and titles beneath the layer are also affected.
- You can transfer an effect to other clips with Ctrl+C and Ctrl+V (on Mac Command+C and Command+V). Beforehand, you should remove any existing Lumetri effects.
Step-by-Step Guide
Step 1: Create the Adjustment Layer
At the bottom left of the Project panel, you'll find the icon for new items. Click it and choose "Adjustment Layer." Premiere Pro takes over the project settings such as resolution and frame rate. You can adjust these, but the default usually already fits. Then confirm with "OK," and the layer appears in your project.

Step 2: Place the Layer in the Timeline
Drag the new adjustment layer into the timeline via drag and drop, above the clips that should receive the effect. Every clip you place beneath it is affected by the layer as long as it is present. Make sure the layer lies exactly above the desired clips and not above others that should remain unchanged.

Step 3: Apply the Color Style to the Adjustment Layer
Next, you need the actual look. Open the "Effect Controls" panel and drag the "Lumetri Color" effect onto the adjustment layer. There you can now define the color correction or color style that will later affect all the clips beneath it.

Step 4: Control the Reach of the Layer
The effect of the adjustment layer depends on where it lies on the timeline. If the layer is in a spot where there is no clip beneath it, nothing happens at first. But as soon as the layer is visible above a clip, that clip's color changes. You should keep this behavior in mind when moving the layer.

Step 5: Arrange Graphics and Titles Correctly
An adjustment layer also affects titles, graphics, or text if they lie beneath it. A white title may therefore no longer look completely white. If you want to leave these elements unchanged, place them above the adjustment layer. The difference isn't huge in the video, but it is there, and it's exactly such details that get noticed.

Step 6: Select Suitable Clips
An adjustment layer works best with footage that matches. If you put clips from completely different situations under one layer, the color style can look uneven. Therefore, choose shots that are as similar as possible so that the look appears convincing and consistent.

Step 7: Copy the Effect to Other Clips
If you only have a few clips or the situations differ greatly from one another, you can also transfer the effect manually. To do so, click the effect in the "Effect Controls" panel and press Ctrl+C or Command+C. Alternatively, open the context menu with the right mouse button and select "Copy" there.

Step 8: Remove existing effects before pasting
Before you paste the copied effect, check the target clip. If it already has a Lumetri effect, both settings will overlap, and the result will be hard to control. Therefore, remove the existing effect first before you continue.

Step 9: Paste into multiple clips at once
If you want to transfer the effect to multiple clips, select them all and press Ctrl+V or Command+V. All selected clips will then receive the same color treatment. This saves a lot of time, especially in larger projects.

Step 10: Choose the right workflow
Whether you work with adjustment layers or with copy and paste is up to you. For large projects with many clips, adjustment layers are usually the better choice. For small projects or very varied footage, copying is often enough. If you need an effect more often, you can also save it as a preset. You'll find a suitable option for this in the context menu. You'll learn more about this in later lessons.

Summary – Adjustment Layers in Premiere Pro: Applying a Color Style to Many Clips at Once
With an adjustment layer, you apply a color style over all the clips beneath it without editing each one individually. You create the layer via the New Item icon, drag it into the timeline, add the Lumetri effect, and pay attention to range, graphics, and suitable footage. For individual clips or special cases, you can also transfer the effect via copy and paste. It's important that you know where to find the functions and how they work together.
FAQ
What is the difference between color correction and color grading?Color correction matches clips technically, while color grading defines the creative color style, which usually stays the same across an entire scene.
Why should I use an adjustment layer?It saves time because an effect applies to many clips at once and you only need to make changes in one place.
Why does my graphic look different after inserting an adjustment layer?The layer affects everything beneath it, including titles and graphics. Place these elements above the layer if they should remain unchanged.
What happens if I paste a Lumetri effect onto a clip that already has one?Both effects overlap and the result becomes hard to control. Therefore, remove the existing effect before pasting a new one.
Can I paste an effect onto multiple clips at once?Yes, select all the desired clips and press Ctrl+V or Command+V.


