In April 2018, Adobe released an update for After Effects CC 2018, which brings some exciting improvements in the areas of color correction and color management. In this tutorial, you will learn about the new features that will help you make your projects more effective and optimize your color design. Let's dive into the details without further ado.
Main insights
- Use of custom LUT files for color correction
- Adjustment options for saturation, exposure, and contrast
- Synchronization of LUTs via the cloud
Step-by-step guide to using the new features
To use the new color correction tools in After Effects CC 2018, follow these steps.
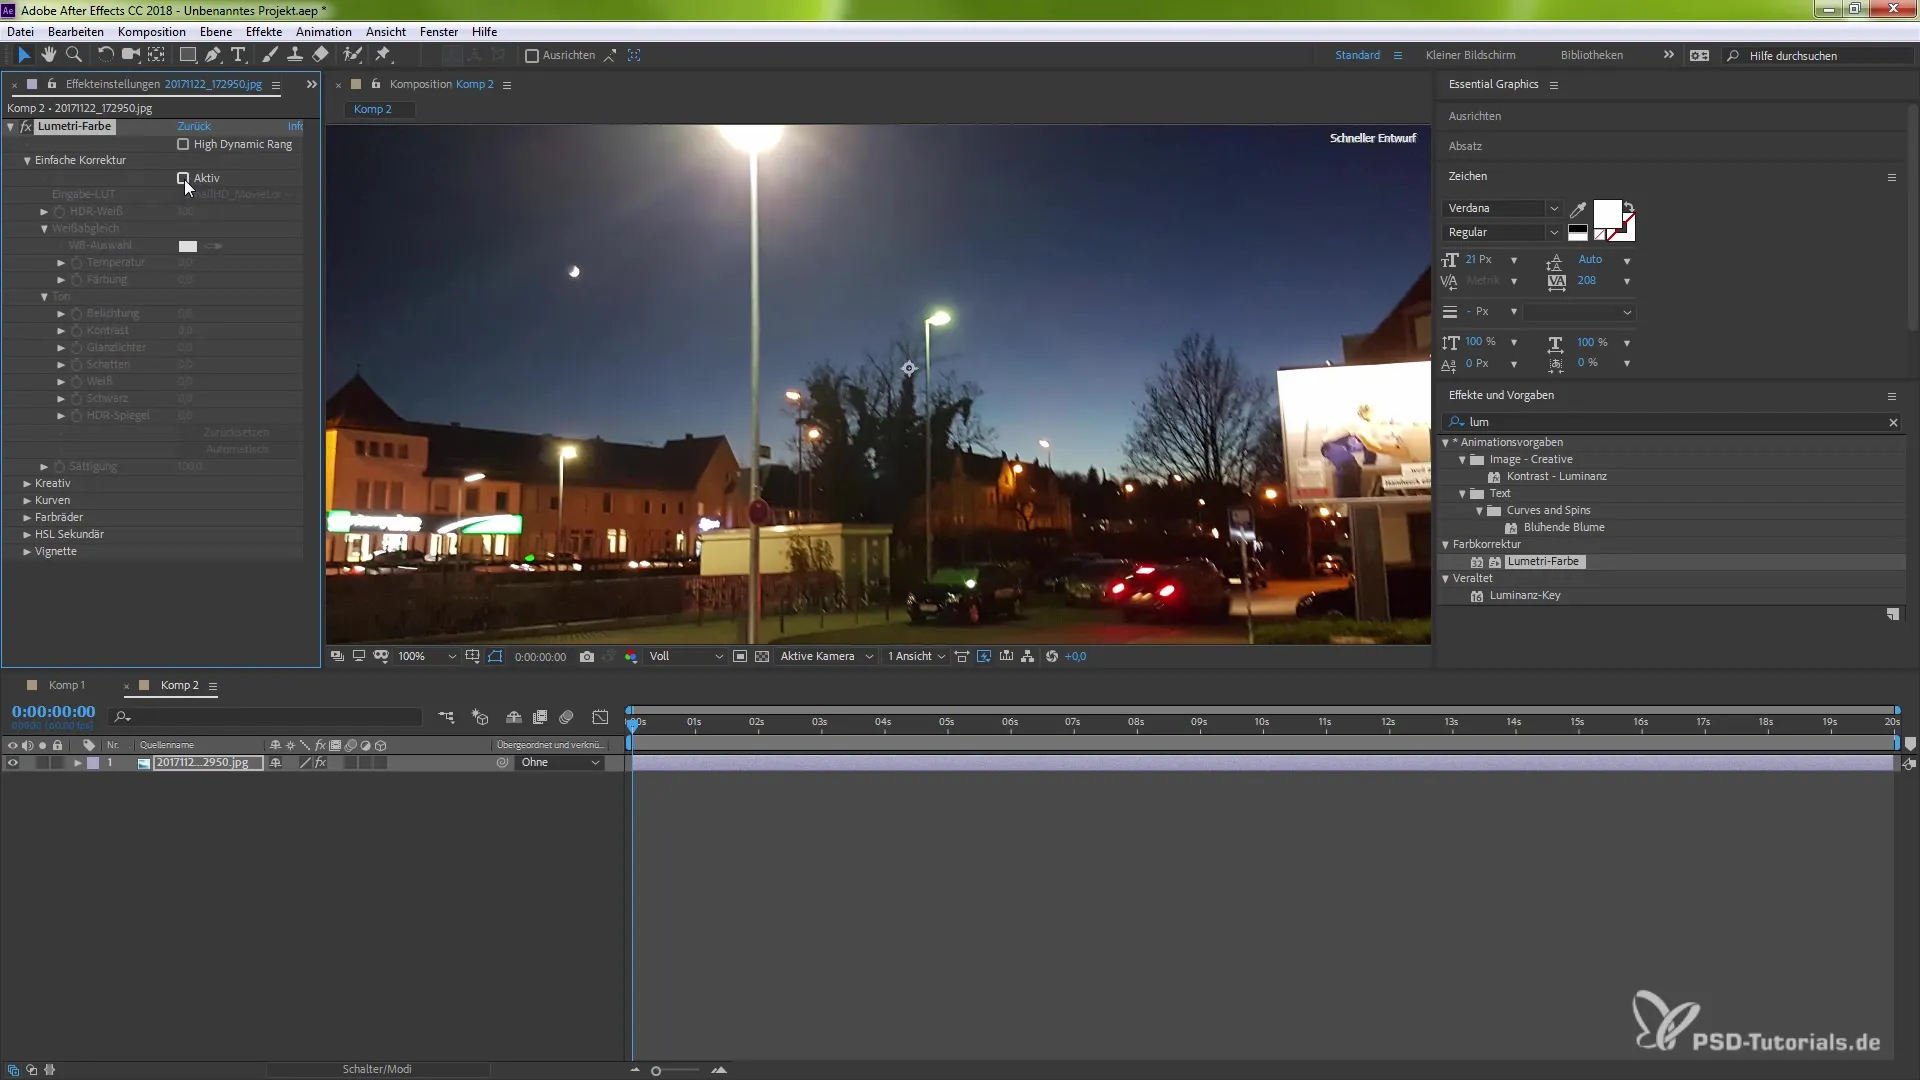
First, open After Effects and load your project. It is important that you have access to Lumetri Color, as you need this for the new features. To activate Lumetri, you can simply type "lumetri" into the search box. This will give you access to the Lumetri Color plugin, which provides powerful color correction tools.
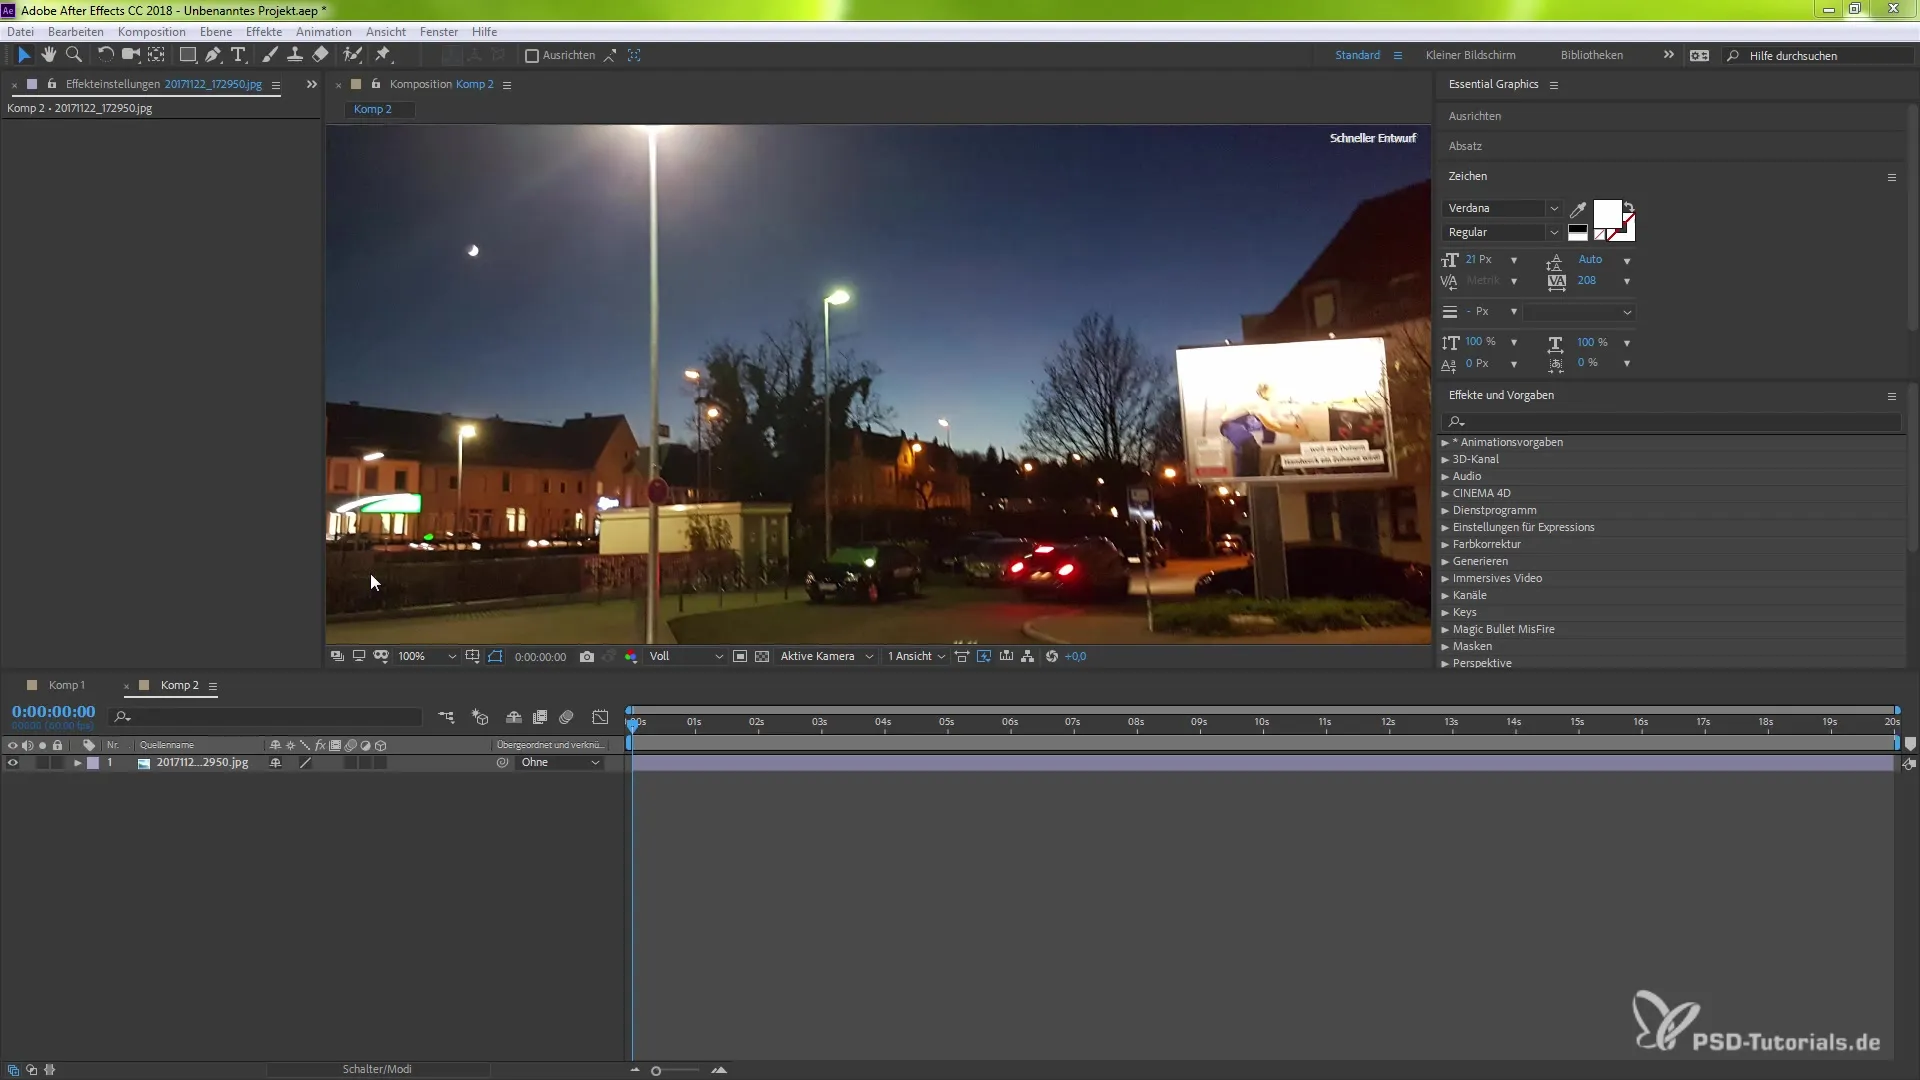
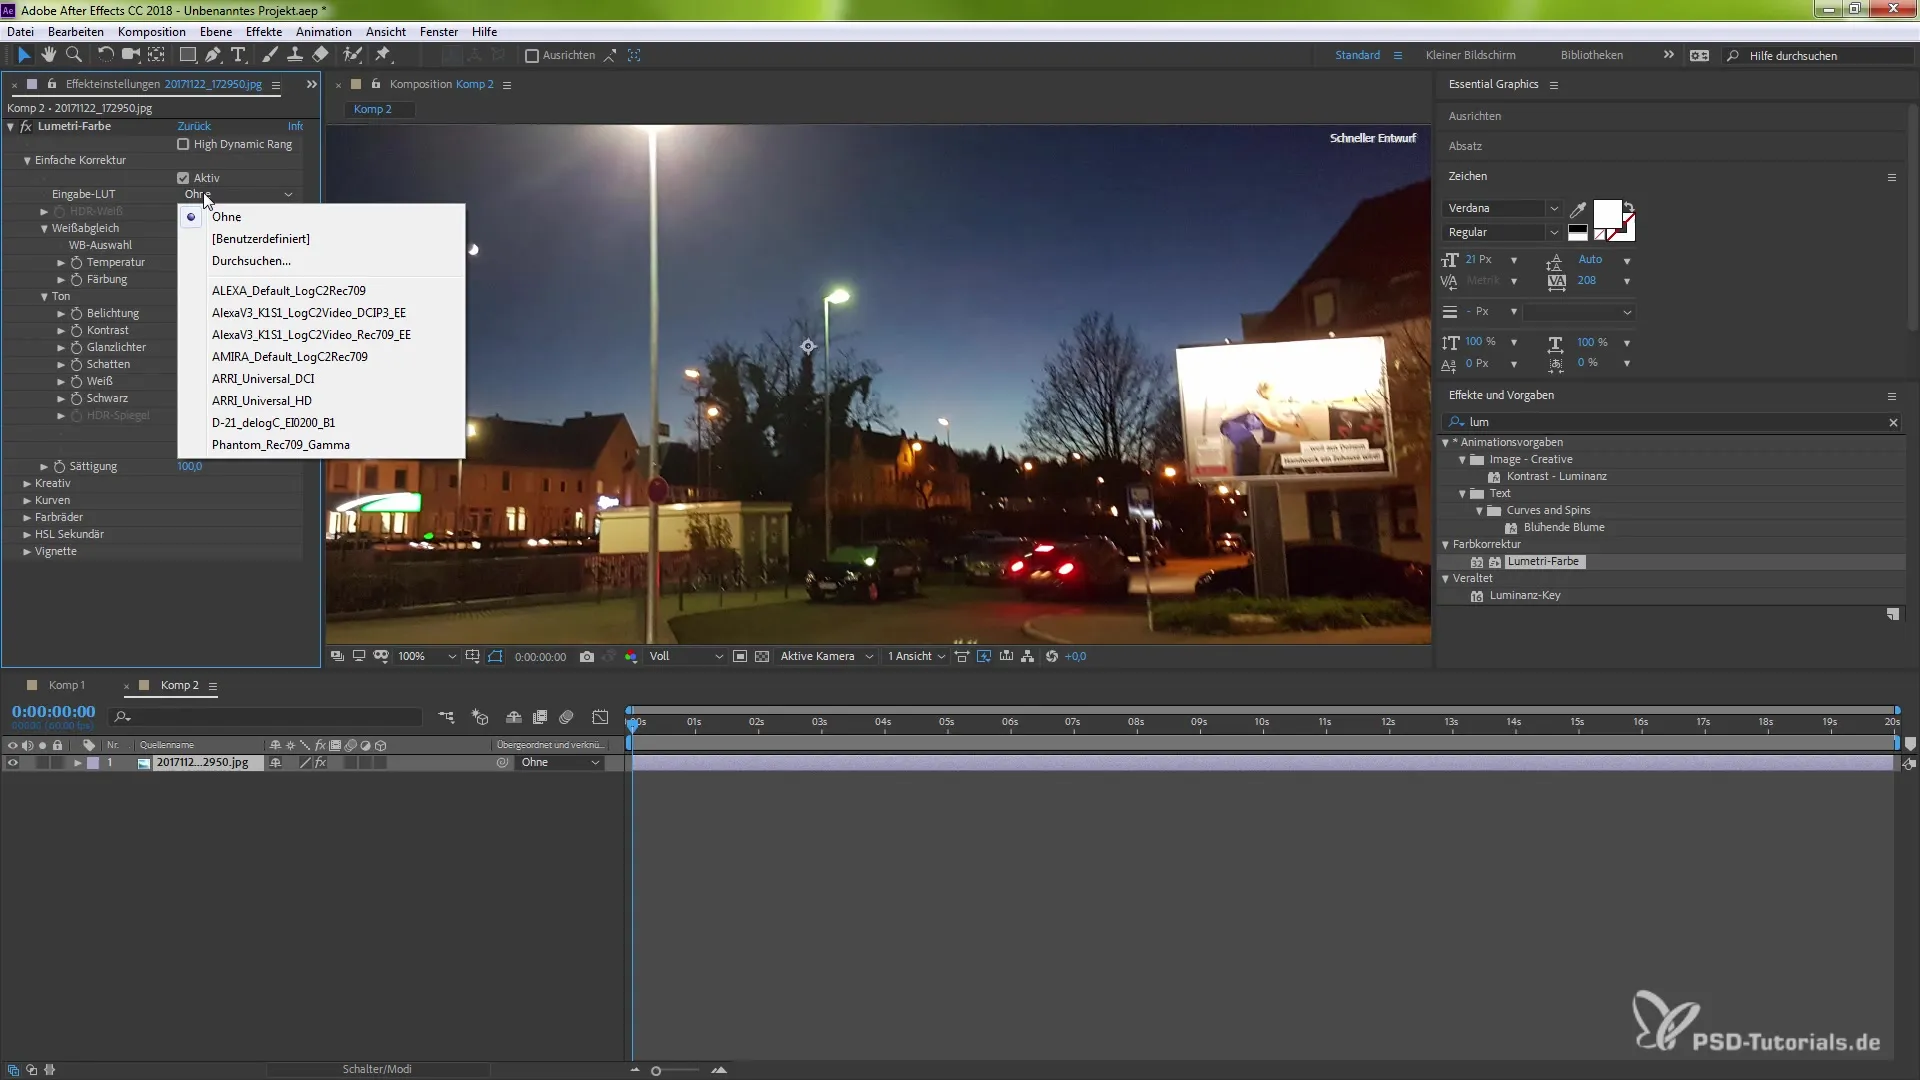
After selecting Lumetri Color, apply the effect to the desired layer or clip. Here you will see the new section that allows you to effectively use LUTs (Look Up Tables). The option to use the basic color sliders is still available.
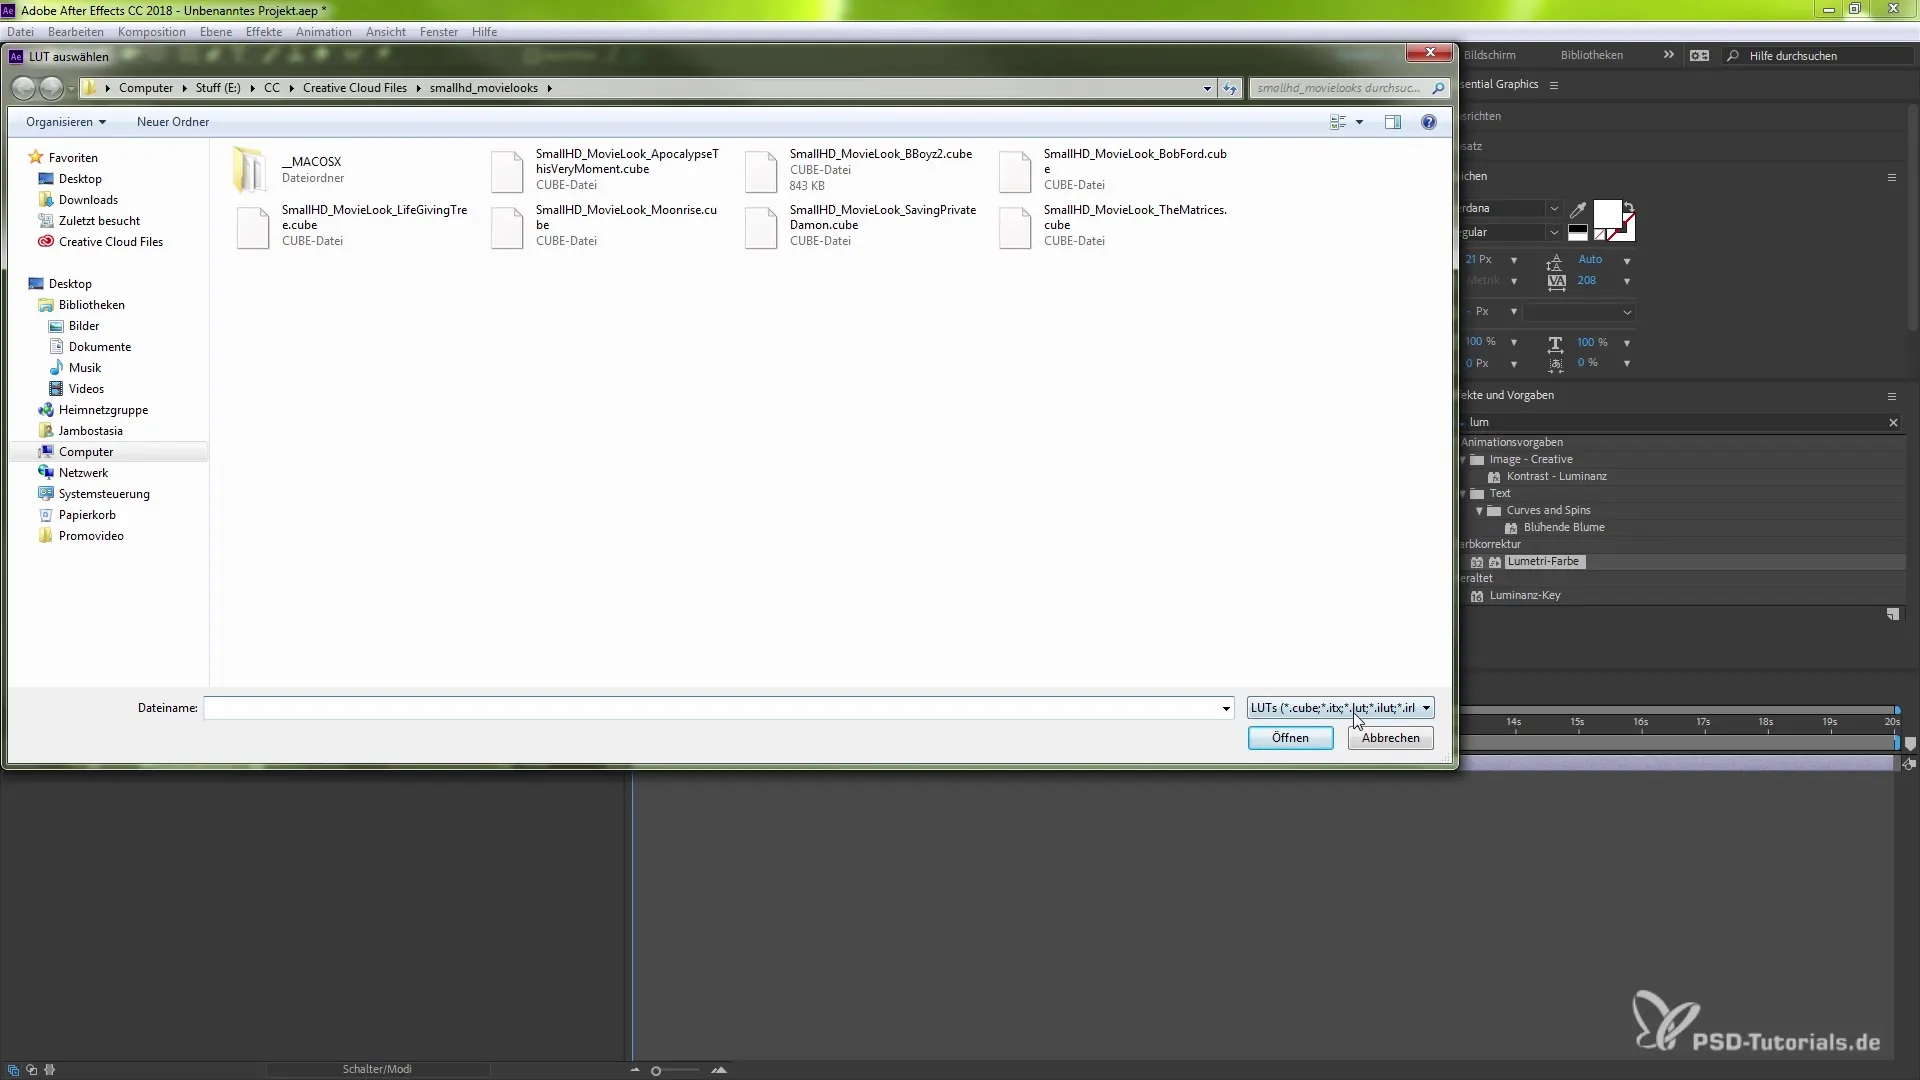
One of the most exciting new features is the option to add custom LUT files. You can simply click on "Custom" and select the LUT files you want to use. These files allow you to dramatically change the entire look of your project with a single click.
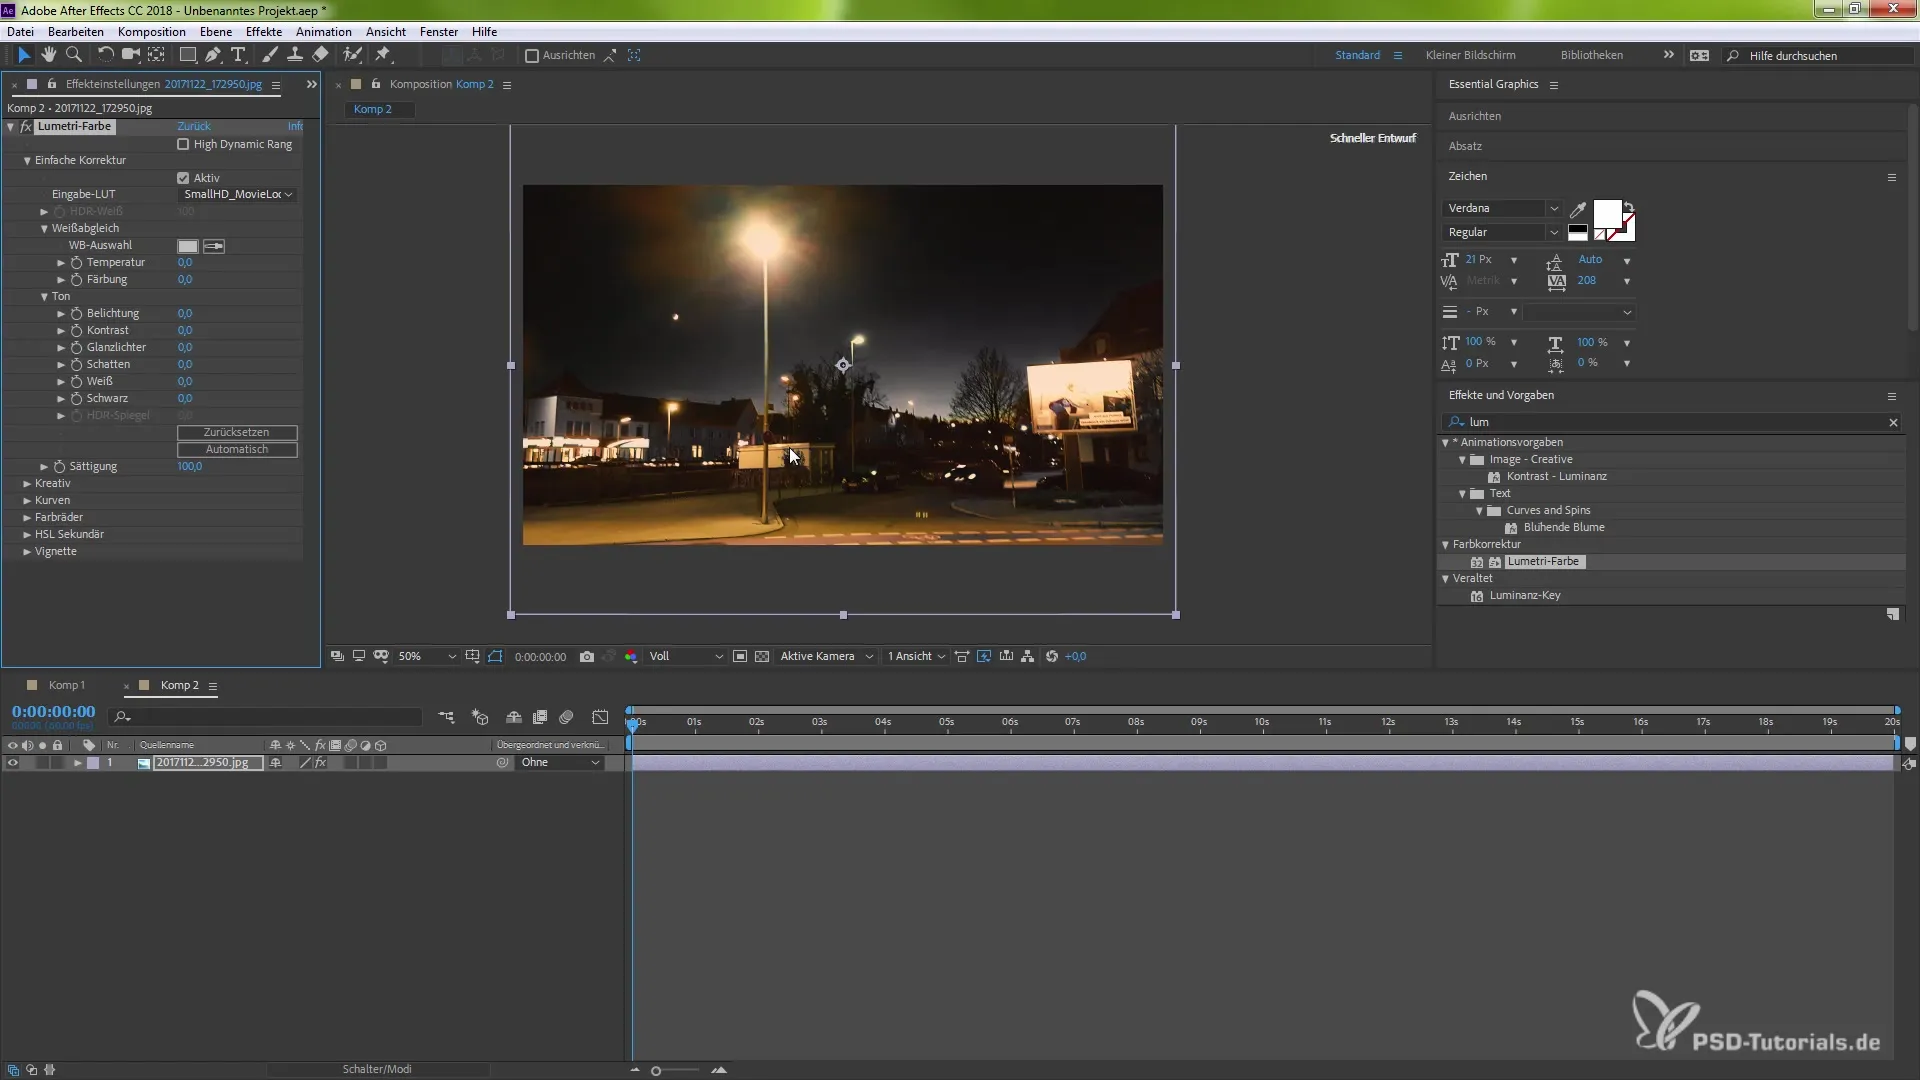
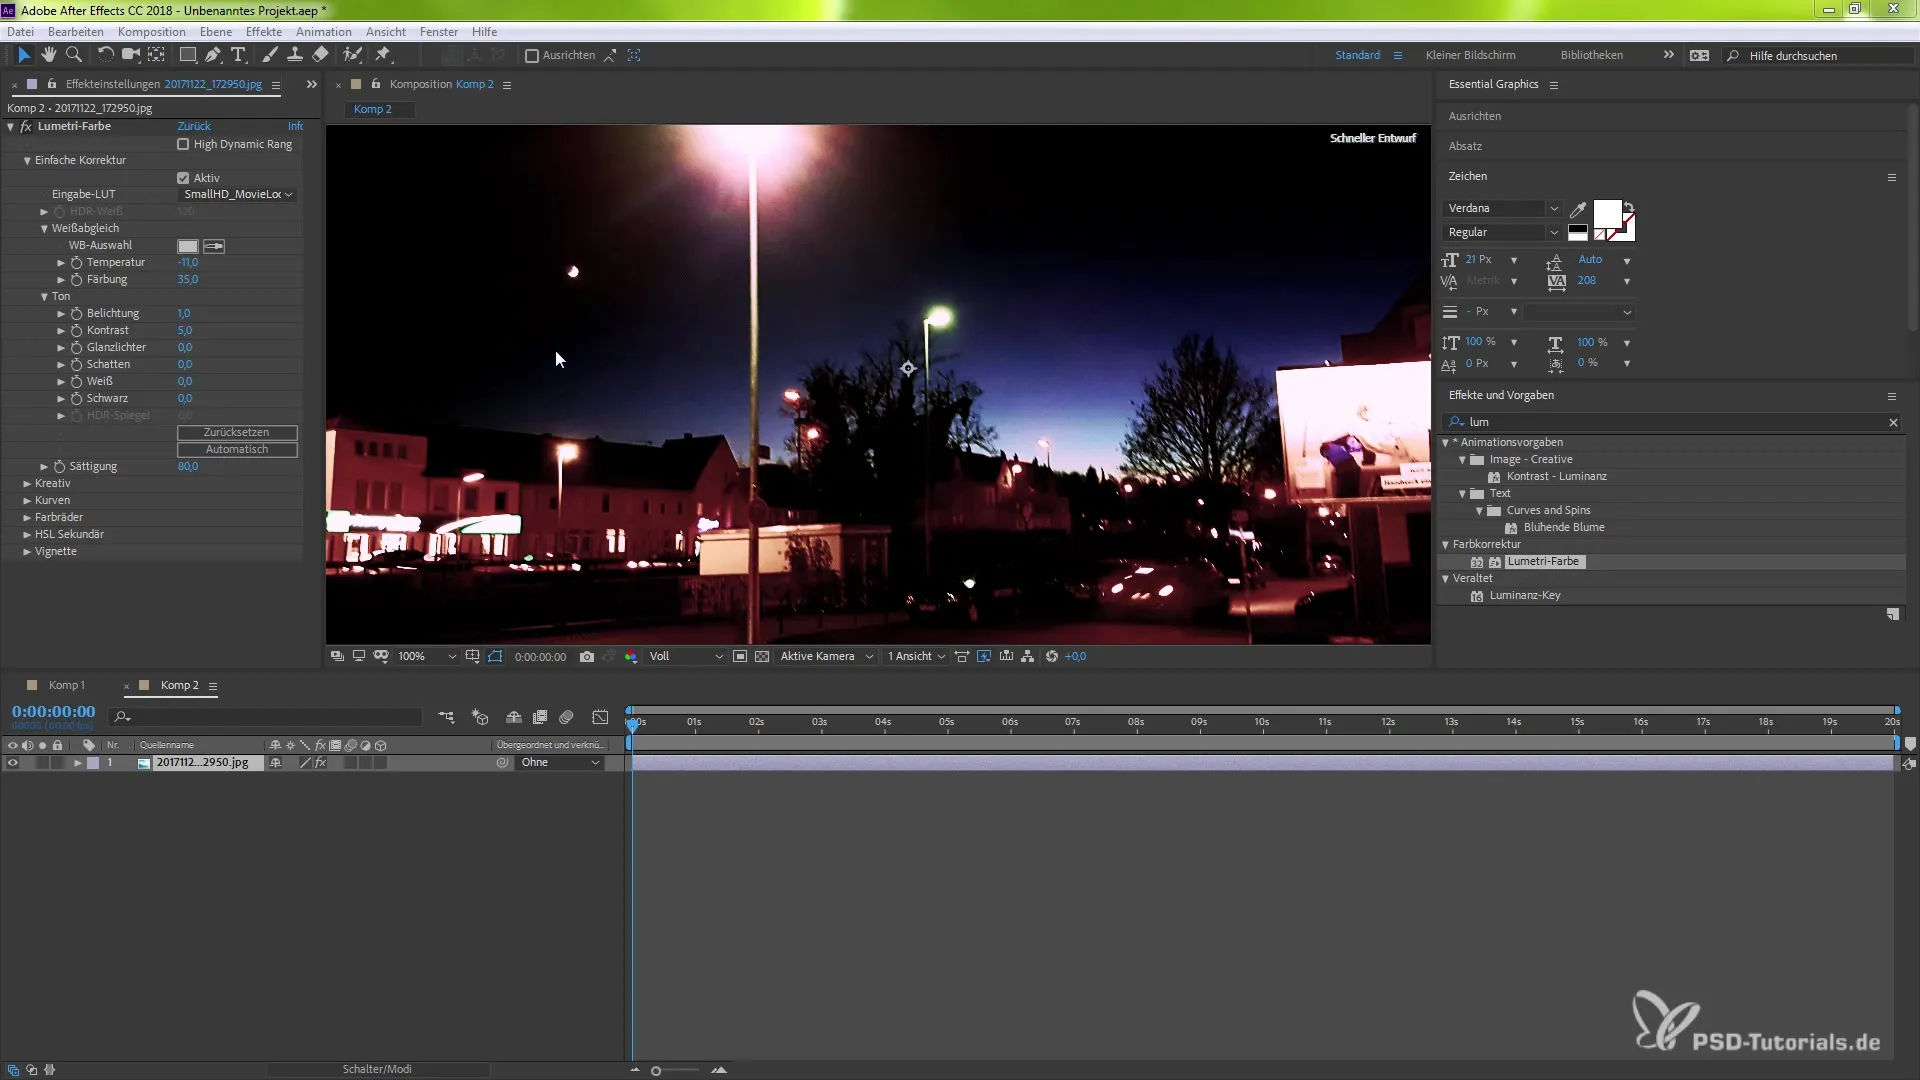
As soon as you have selected a LUT file, a change in the look of your clip will be immediately visible. This means you can quickly and efficiently test different looks to find out which one suits your project best. You can always go back and add other LUTs that you may have downloaded or created yourself.
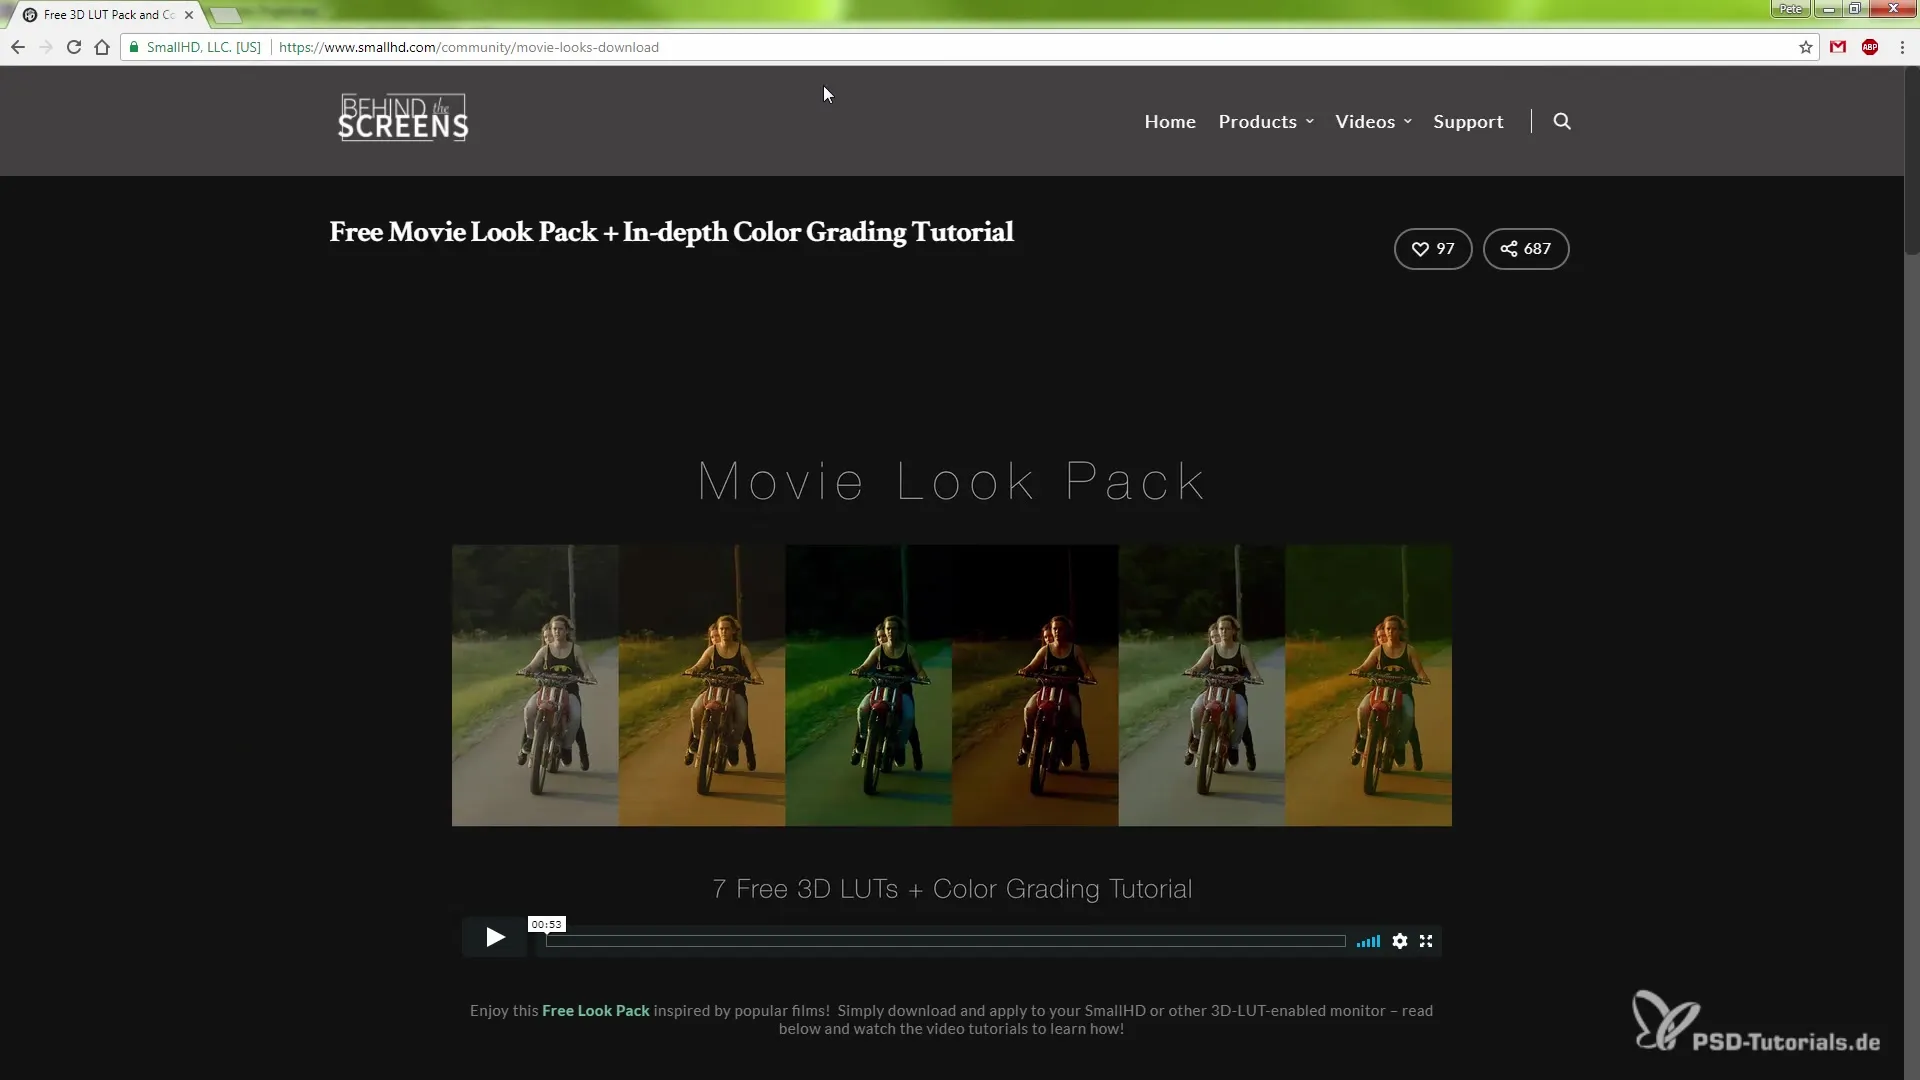
If you are looking for LUTs, you can visit websites like small HD that offer free LUT files. Alternatively, you can also Google "LUT Packs for free" to find a variety of free color corrections. These LUTs are useful not only in After Effects; they can also be used in other Adobe programs like Photoshop.
After selecting your LUTs, you can make additional adjustments to the look. You have the option to experiment with various parameters such as saturation, exposure, and temperature. If you want to increase or decrease the saturation to your liking, you can do so at any time. If the look is not optimal after adding the LUT, you can, for example, adjust the exposure or increase the contrast to achieve the exact effect you desire.
An additional highlight of this new feature is the synchronization via the cloud. If you work on multiple devices, you can store your LUT files in the cloud and access them on other computers. This means that your custom looks are always ready, no matter where you are working.
To synchronize, you must ensure that all files are correctly uploaded to the cloud. This way, After Effects keeps track of all the LUTs used and downloads them accordingly when you open your projects on another device.
Now that you are familiar with the possibilities that After Effects CC 2018 offers you, you can effectively implement color correction and color management in your projects. Experiment with the new features and discover how they can help you unleash your creative potential. Good luck with your work in After Effects!
Summary – Improved Color Correction and Management in After Effects CC 2018
With the new features in After Effects CC 2018, you can now use custom LUT files to take your color corrections to the next level. The user-friendly interface allows you to make adjustments quickly and integrate your individual style into your projects. The option for cloud synchronization ensures that you can continue to control your colors optimally no matter where you are.


