The new feature in After Effects CC 2017 allows you to freeze the last frame of your video file and work creatively with this effect. This technique can not only increase editing speed but also enhance the overall experience of your video production. In this guide, you'll learn step by step how to effectively utilize this feature.
Key insights
- You can freeze the last frame of your layer to create markers.
- The rewind effect makes it easier to jerk or speed up the video playback.
- The feature allows for a variety of adjustments without having to cut or compress the original layer.
Step-by-Step Guide
First, you need to open After Effects CC 2017 and load the project you want to work on. Make sure the layer you want to work with is visible in your project.
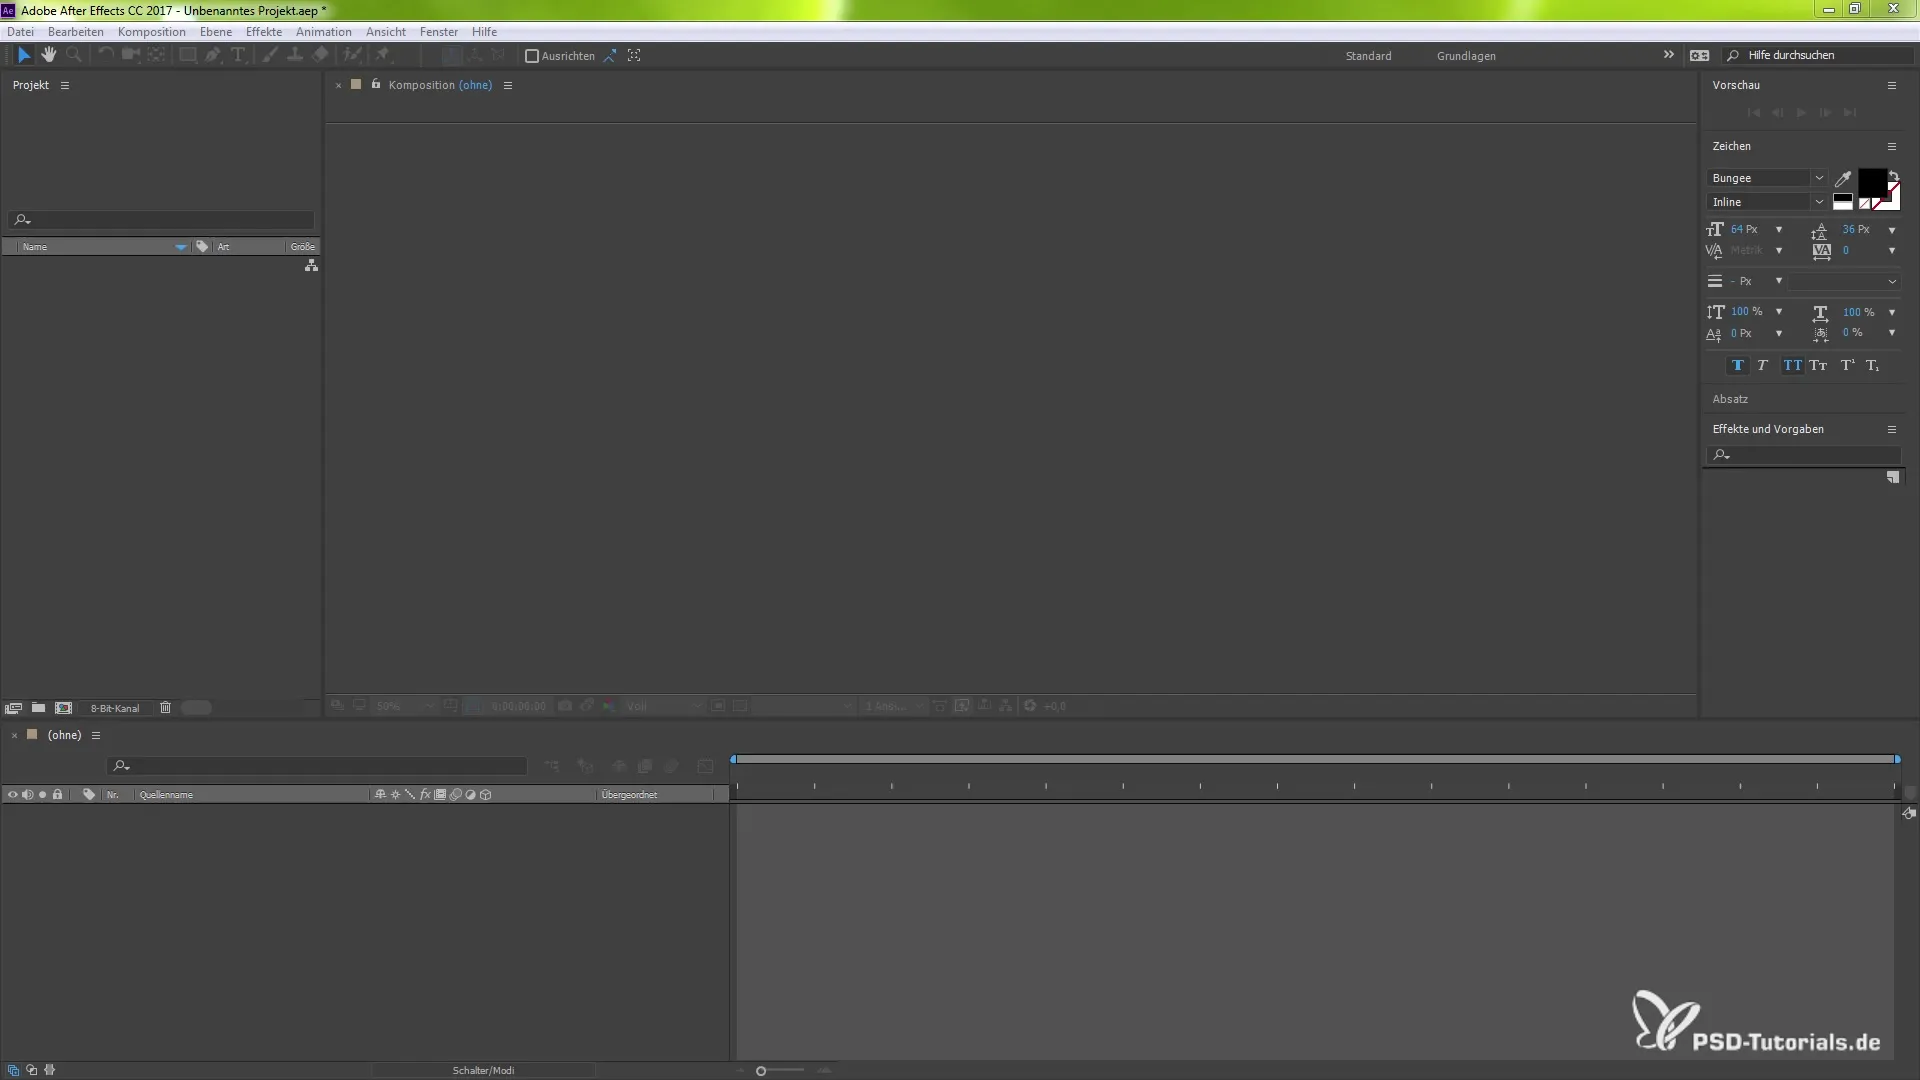
To freeze the last frame, select the corresponding layer. Make sure it is highlighted; otherwise, the effect will not be applied correctly.
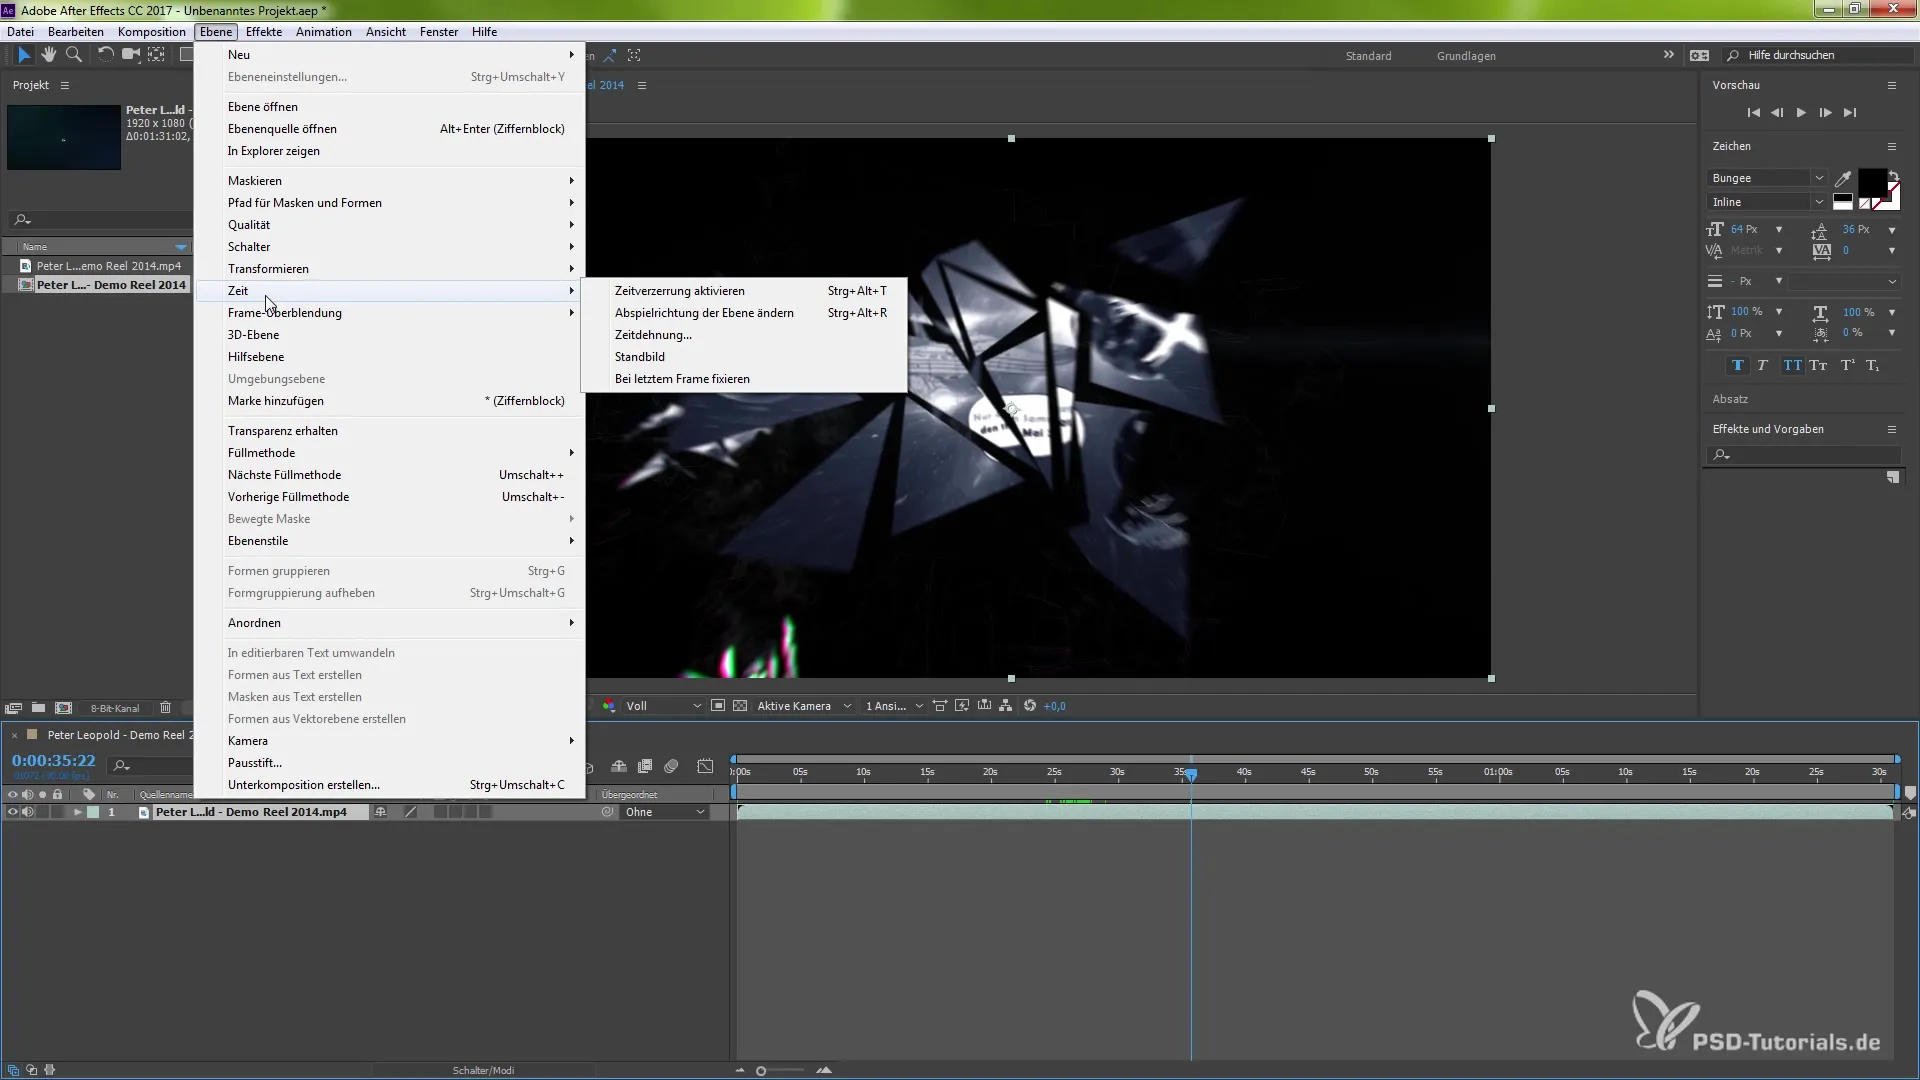
Then navigate to "Layer" at the top menu and go to "Time." There you will find the new function "Freeze on last frame." Click on it to trigger the effect.
After clicking, you will see keyframes created for the start and end of your layer. This indicates that the feature has been activated.
Now you can adjust the layer. To shorten the playback duration, you can change the time lengths by dragging the end of the layer while holding down the Shift key.
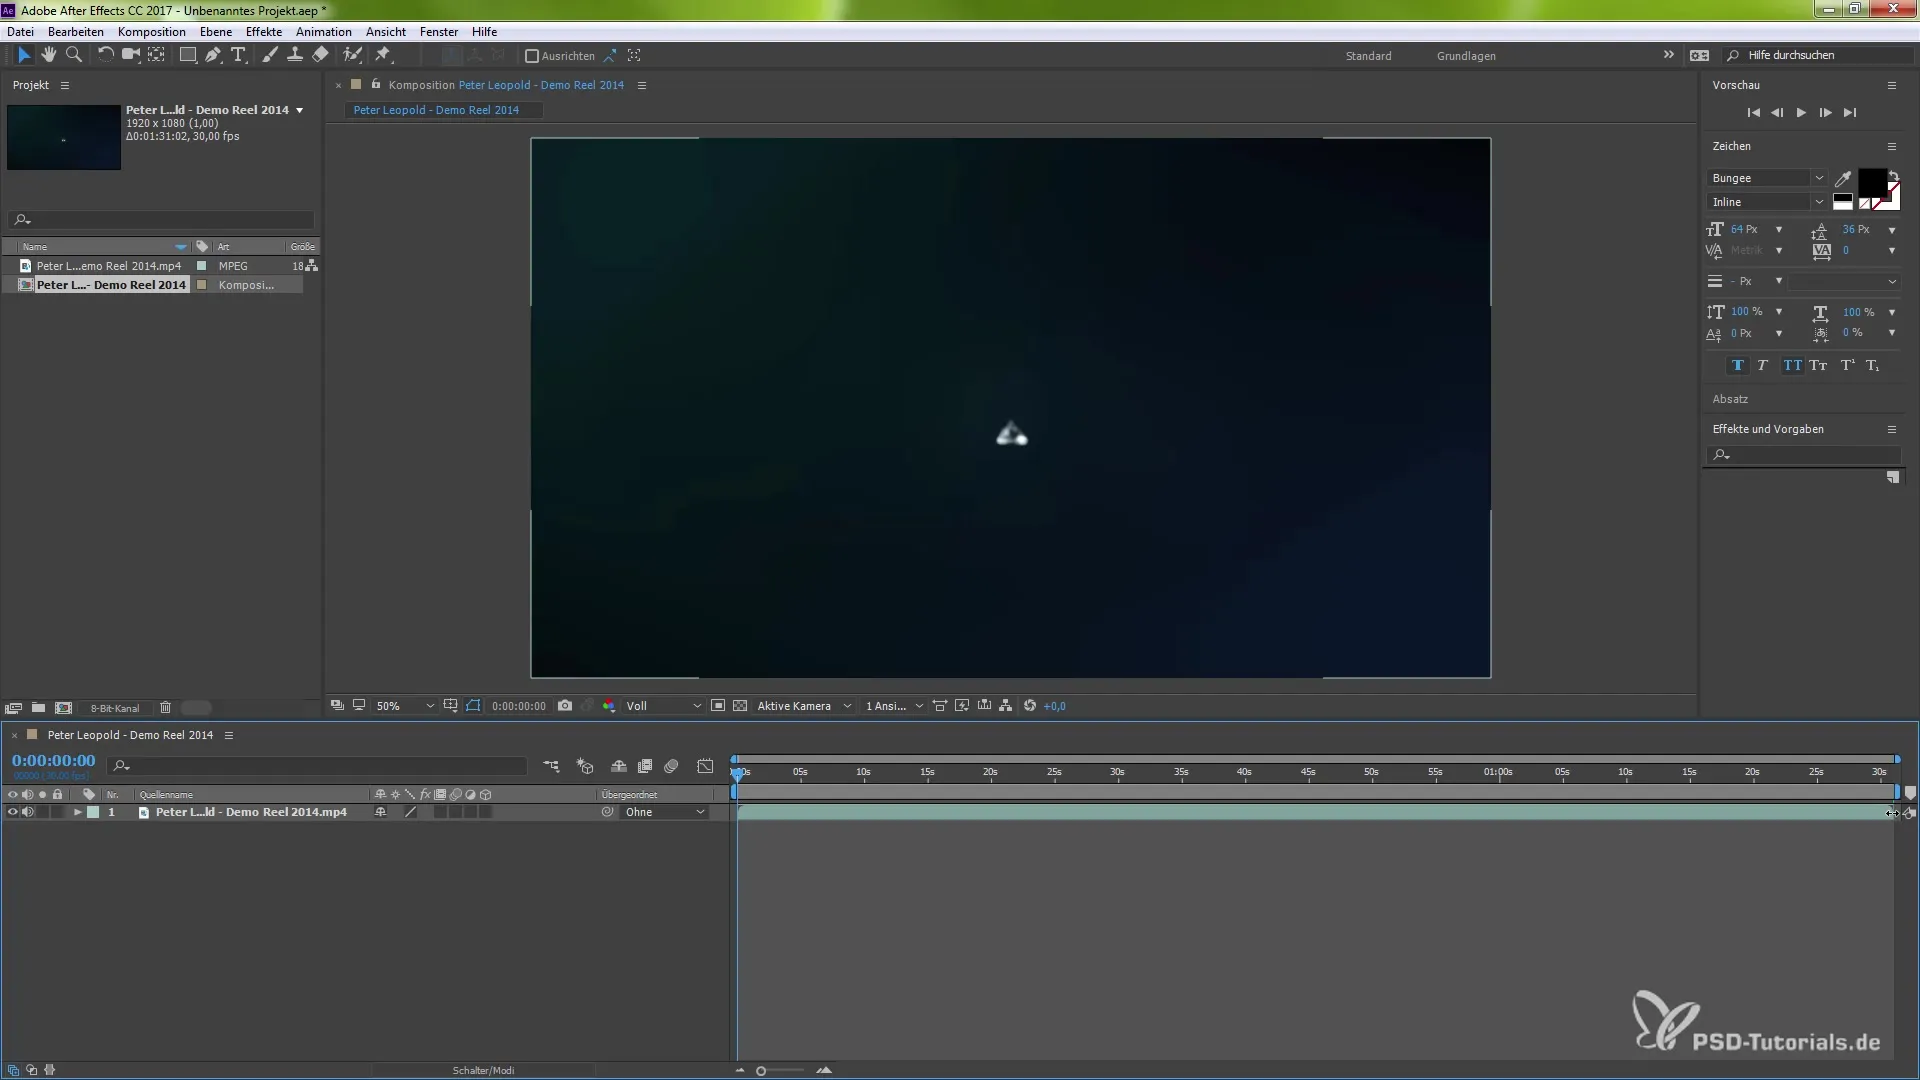
Make sure to activate snapping if you want to pull the end of the layer to a specific marker. For example, you could reduce the length from 1 minute 31 seconds to 10 seconds.
Once you've shortened the duration, you will see how quickly your video now plays back. Experiment with different length settings to achieve the desired effect.
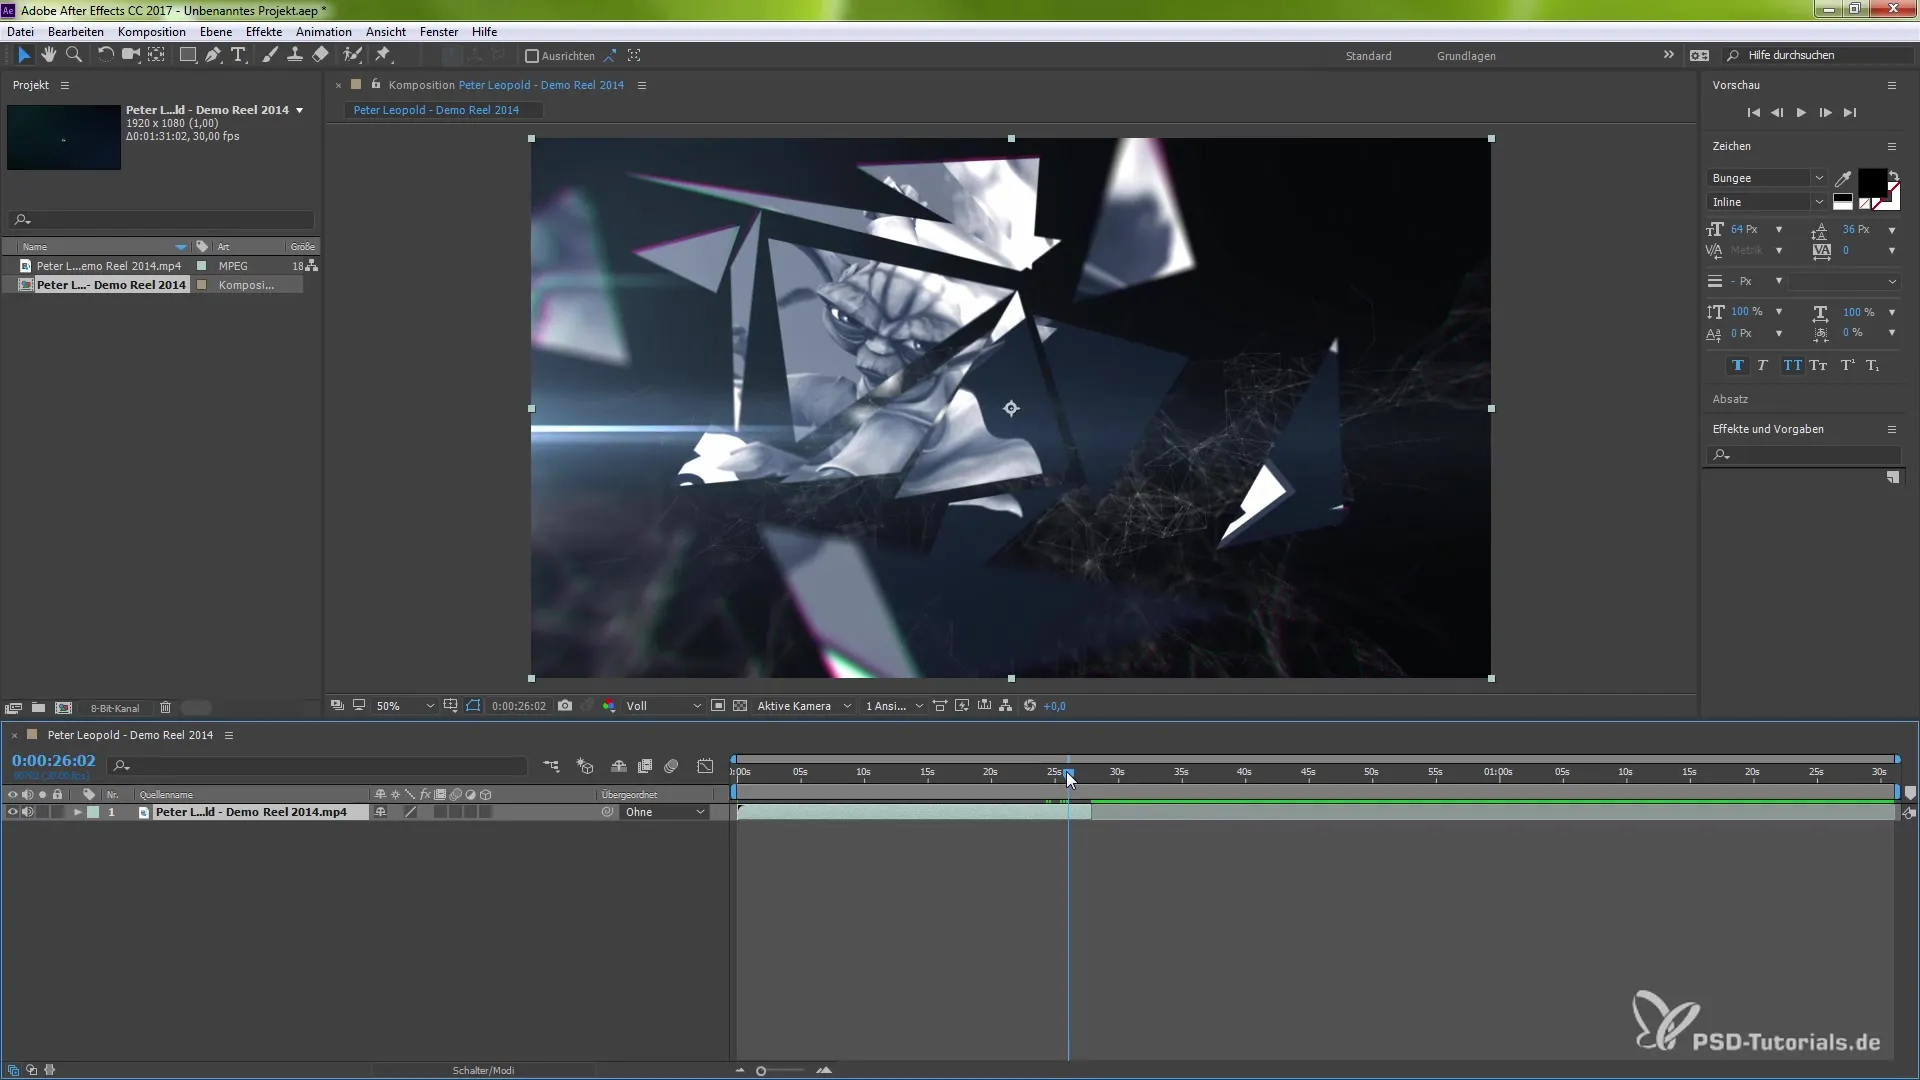
Additionally, you have the option to open the graph and make further adjustments. Here you can control the speed or direction of playback. Disable the graph snapping if you don't need it.
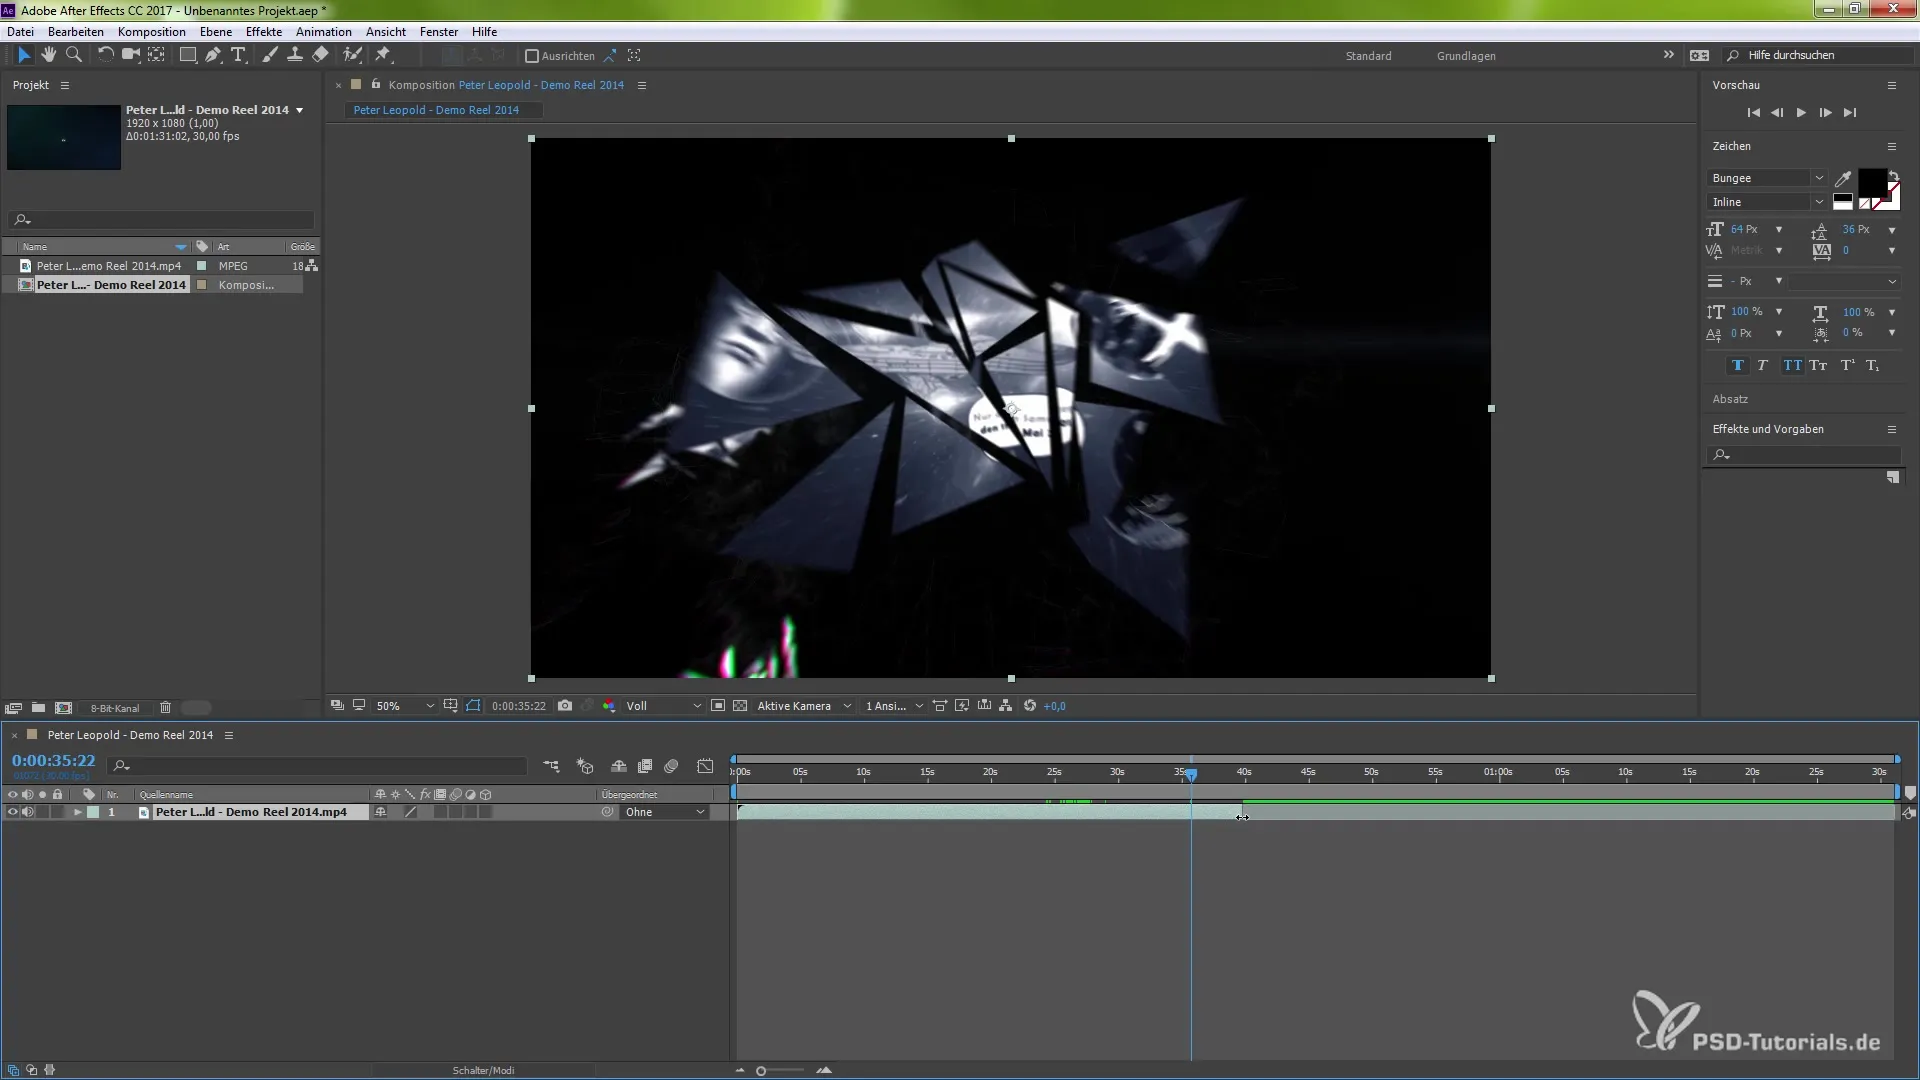
If you want to change the playback direction, go back to "Layer" and then "Time." Select the option "Play backward" to view the frames in reverse order.
You can achieve various creative effects with this technique without having to crop or alter your layers. If you're not happy with the result, you can undo the changes at any time.
This function is particularly useful as it gives you the flexibility to work creatively without changing the structure of your project. You can always go back and restore the original settings if needed.
Summary – Freezing the Last Frame: Step-by-Step Guide for After Effects CC 2017
Freezing the last frame in After Effects CC 2017 opens up new possibilities in video editing. With this guide, you are now able to strategically freeze the last frame of your videos and work creatively with it without making disruptive cuts.
Frequently Asked Questions
How can I activate the "Freeze on last frame" effect?Select the corresponding layer, go to "Layer," then "Time," and click on "Freeze on last frame."
What happens if I don't highlight the layer?The "Freeze on last frame" effect will not be applied, and you won't be able to make adjustments.
Can I change the speed of the video after freezing?Yes, you can adjust the duration of the video and also change the playback direction by using time stretching and the respective options.
What happens if I don't like the result?You can reset the changes at any time and restore the original settings by disabling the function.


