Responsive Design in After Effects CC 2019 allows you to position keyframes in a protected area, so they are not altered during later adjustments. This enables you to work more efficiently and significantly improves the flexibility of your animations. In this guide, I will show you step by step how to use this feature to optimize your projects.
Main Insights
With the new feature "Responsive Design - Time," you can:
- Park keyframes in protected areas to prevent accidental changes.
- Set markers that help you better plan the structure of your animations.
- Create and adjust compositions without unwanted changes occurring in the protected areas.
- Design animations to be variably adjustable without affecting the entire composition.
Step-by-Step Guide
Start After Effects CC 2019 and open your project. To use the Responsive Design - Time feature, we will first create a simple animation and then add markers to determine the desired areas.
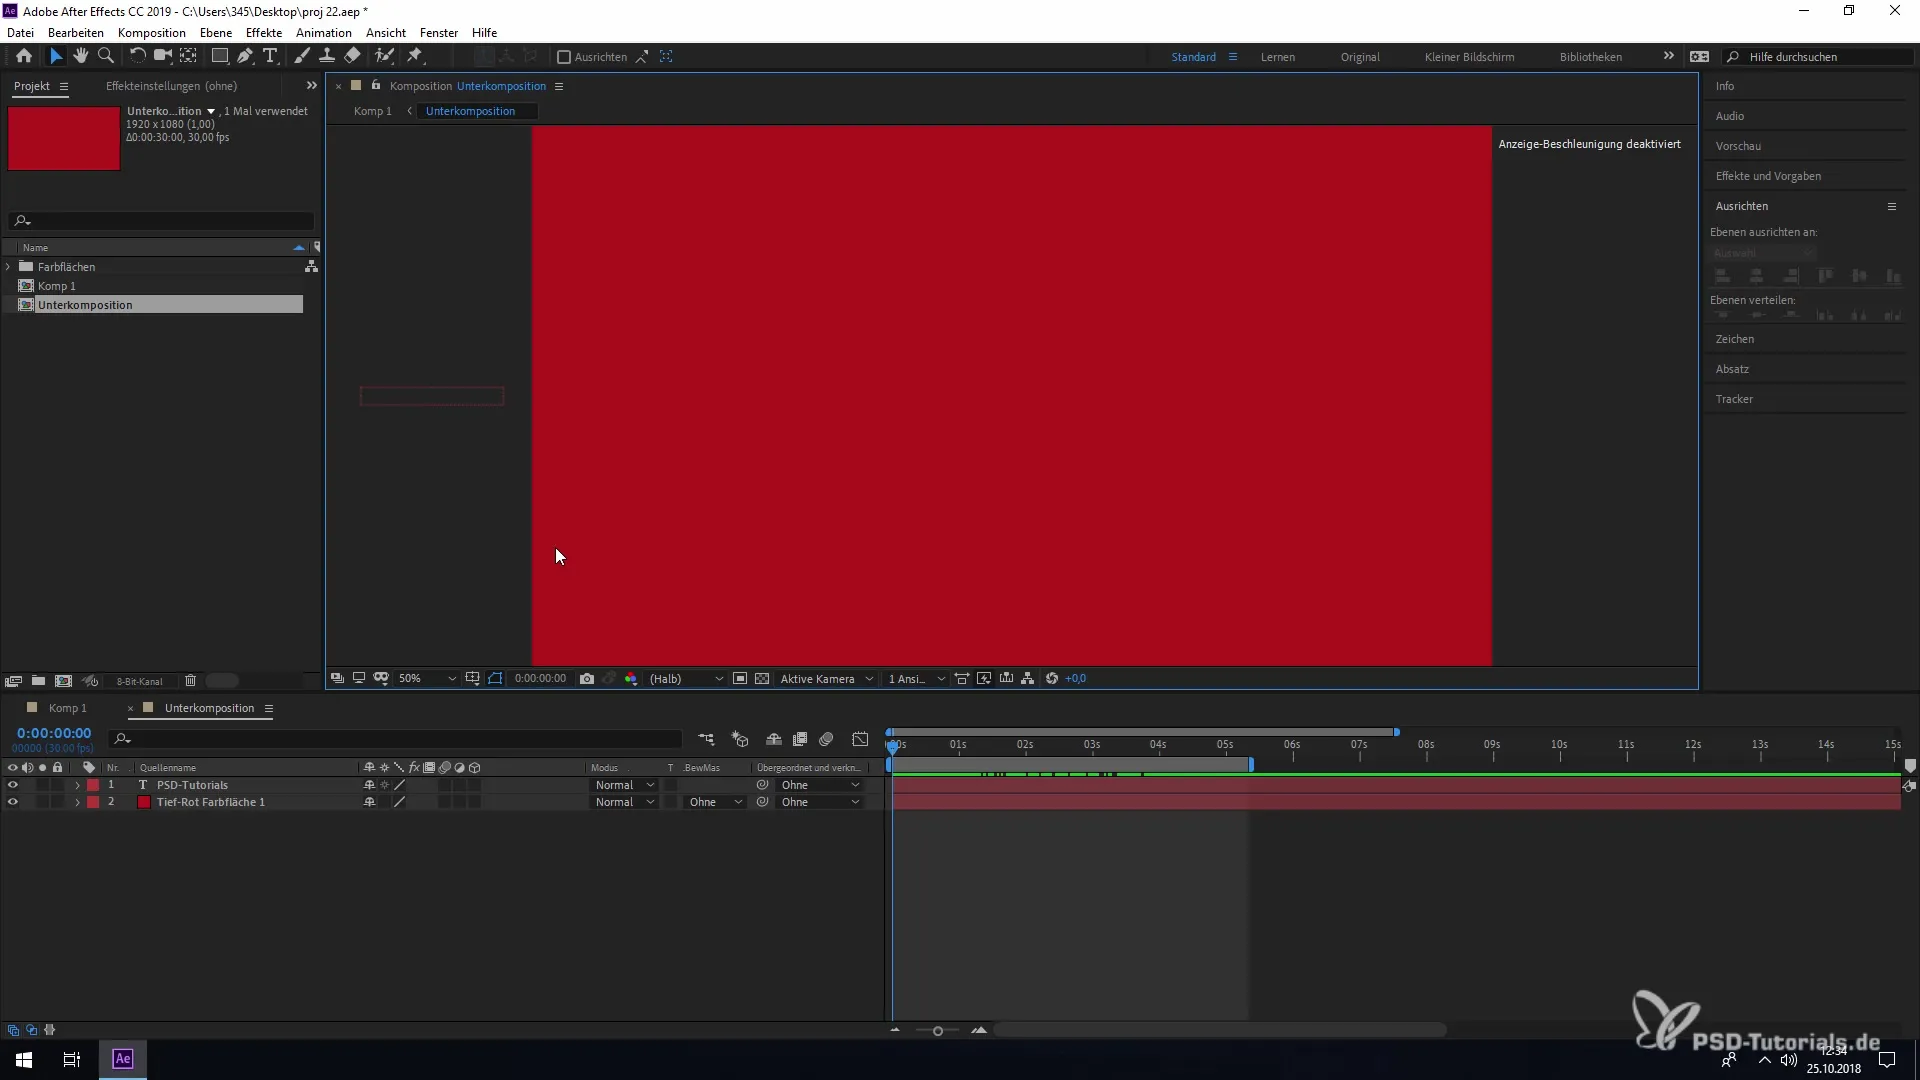
Open the desired text in your composition by clicking on the respective layer. Then press the "P" key on your keyboard to display the keyframes for the text's position, and you will see the animation responsible for the text flying into and out of the scene.
Now we want to create markers. Drag a marker to the timeline to specify where certain changes should occur. To do this, double-click on the marker you have set to adjust its parameters. For example, select "30 Frames" and confirm the input.
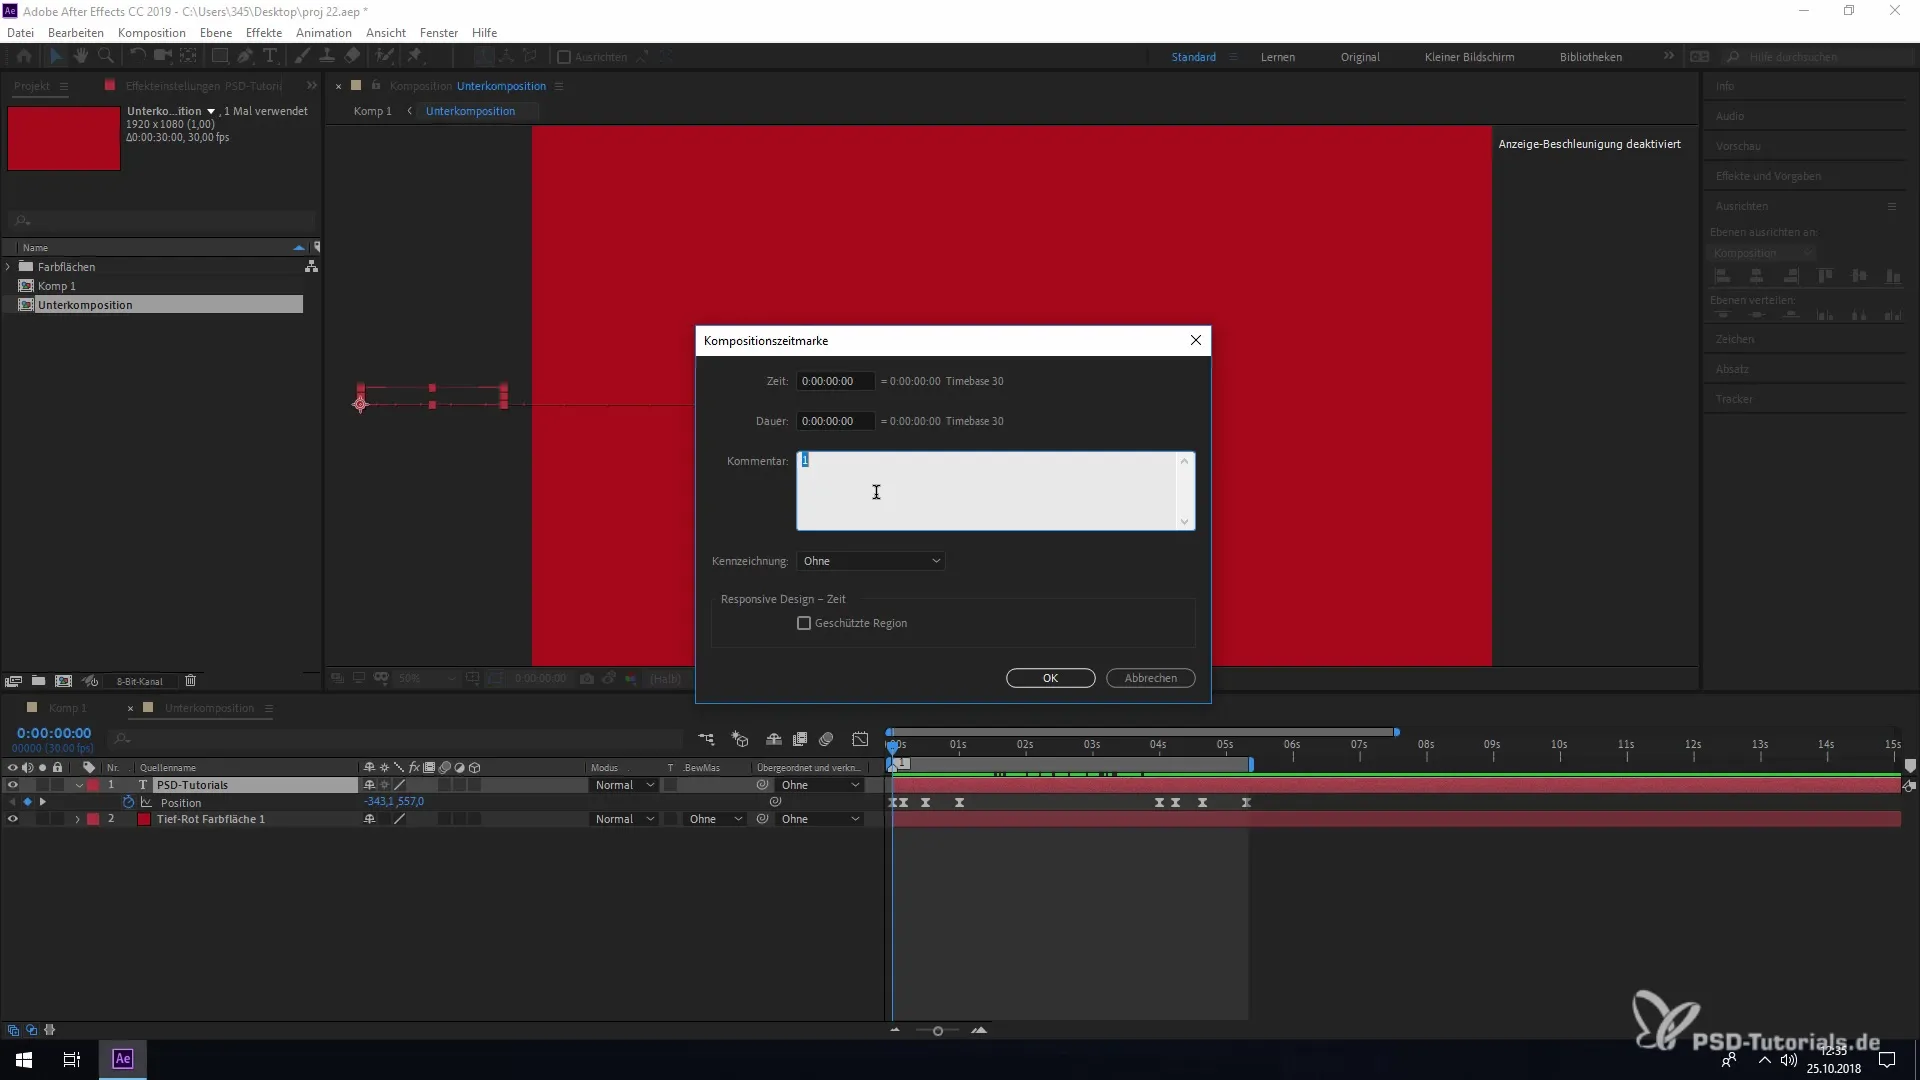
Repeat this process for all other markers. You can adjust the length of the markers by simply dragging them in the timeline. Once you have set all desired markers, you can start creating a subcomposition. To do this, select the desired layer and press "Shift" + "Command" + "C" to create the subcomposition. Confirm with "OK".
Now I am ready to further adjust the subcomposition. You can enlarge the visibility and size of the workspace to get a better overview. Adjust the size of your subcomposition by dragging it at the edges of the timeline.
Within the subcomposition, you can check the markers again. To do this, double-click on a marker and enable the option for the protected area in the "Responsive Design - Time" section. Confirm your selection with "OK".
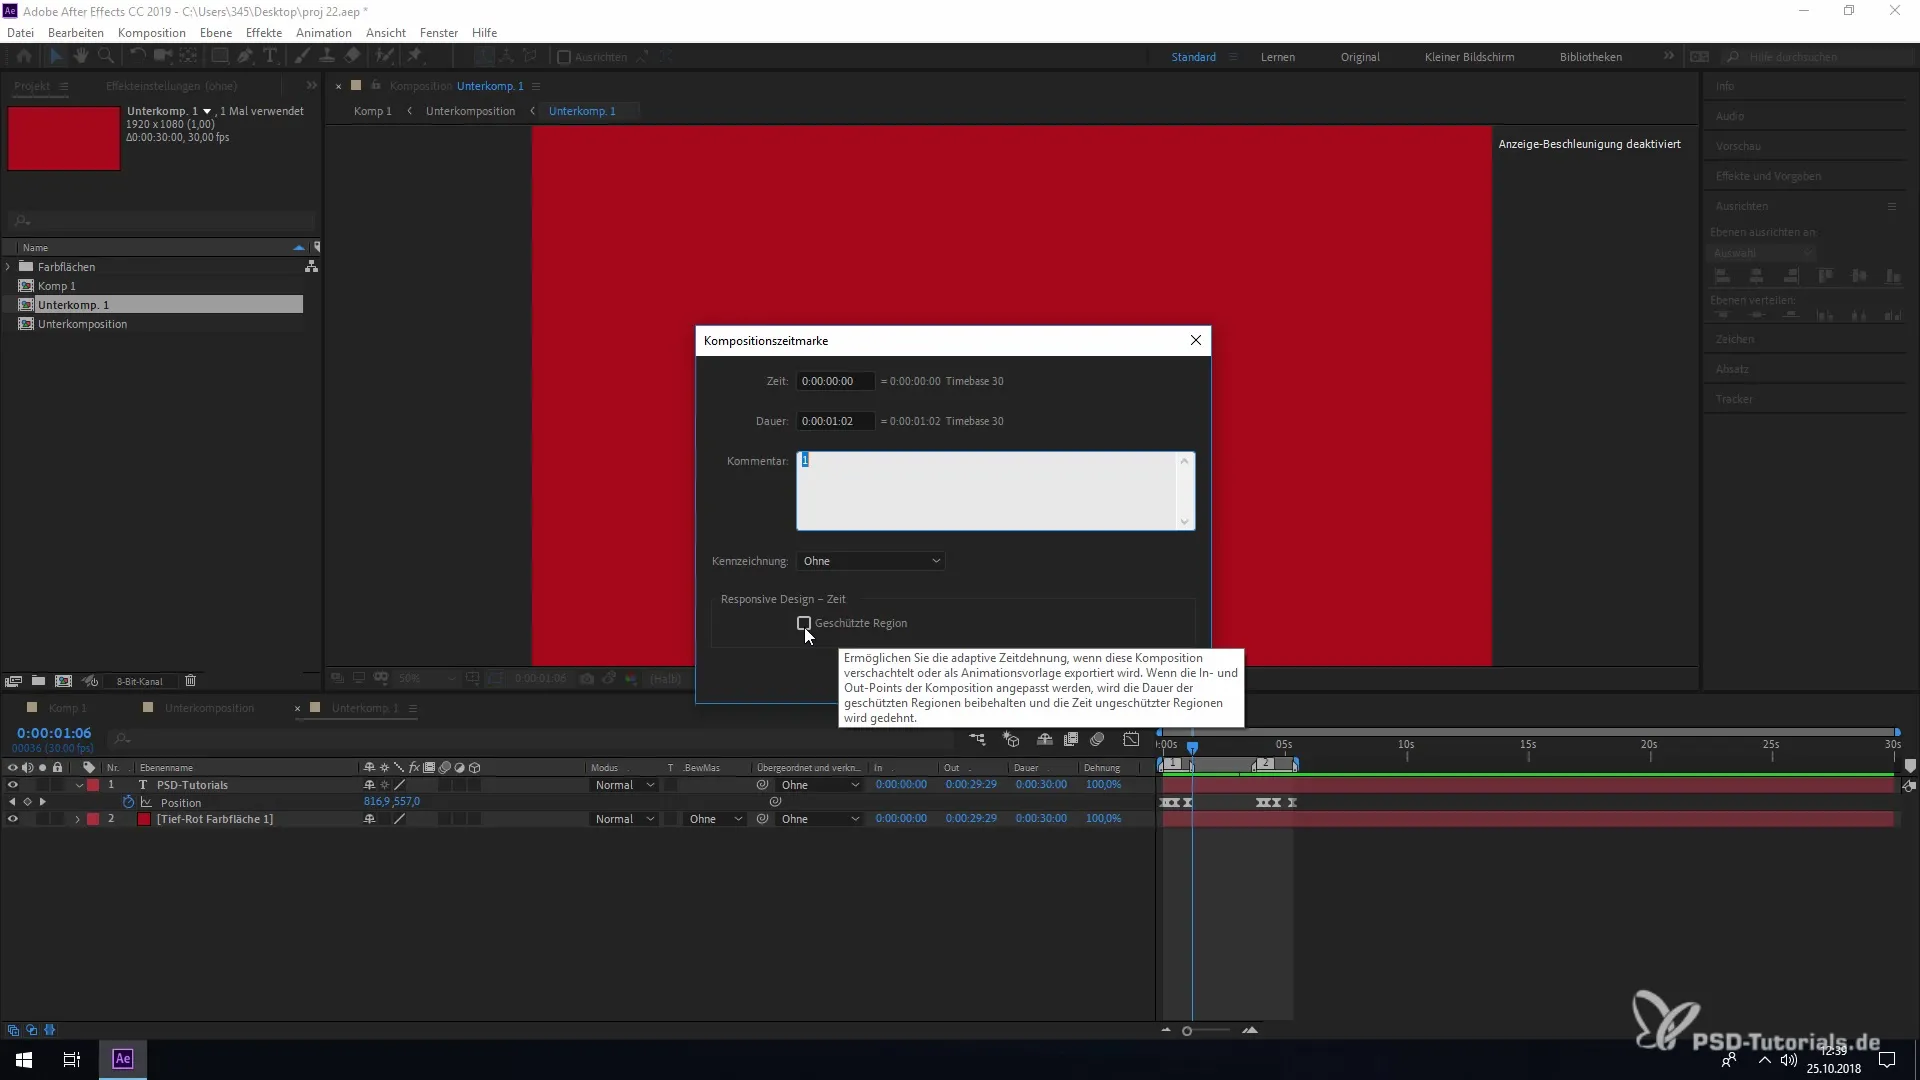
Now you can see that the appearance of your animation has changed. You can add text by simply clicking in the composition, creating a placeholder text box, and editing the text to ensure that changes do not affect the core animation.
If you want to change the color, you can do so without affecting the protected areas. For example, change the color to blue and confirm your changes. You will see that both areas are now safe and can no longer be altered unintentionally.
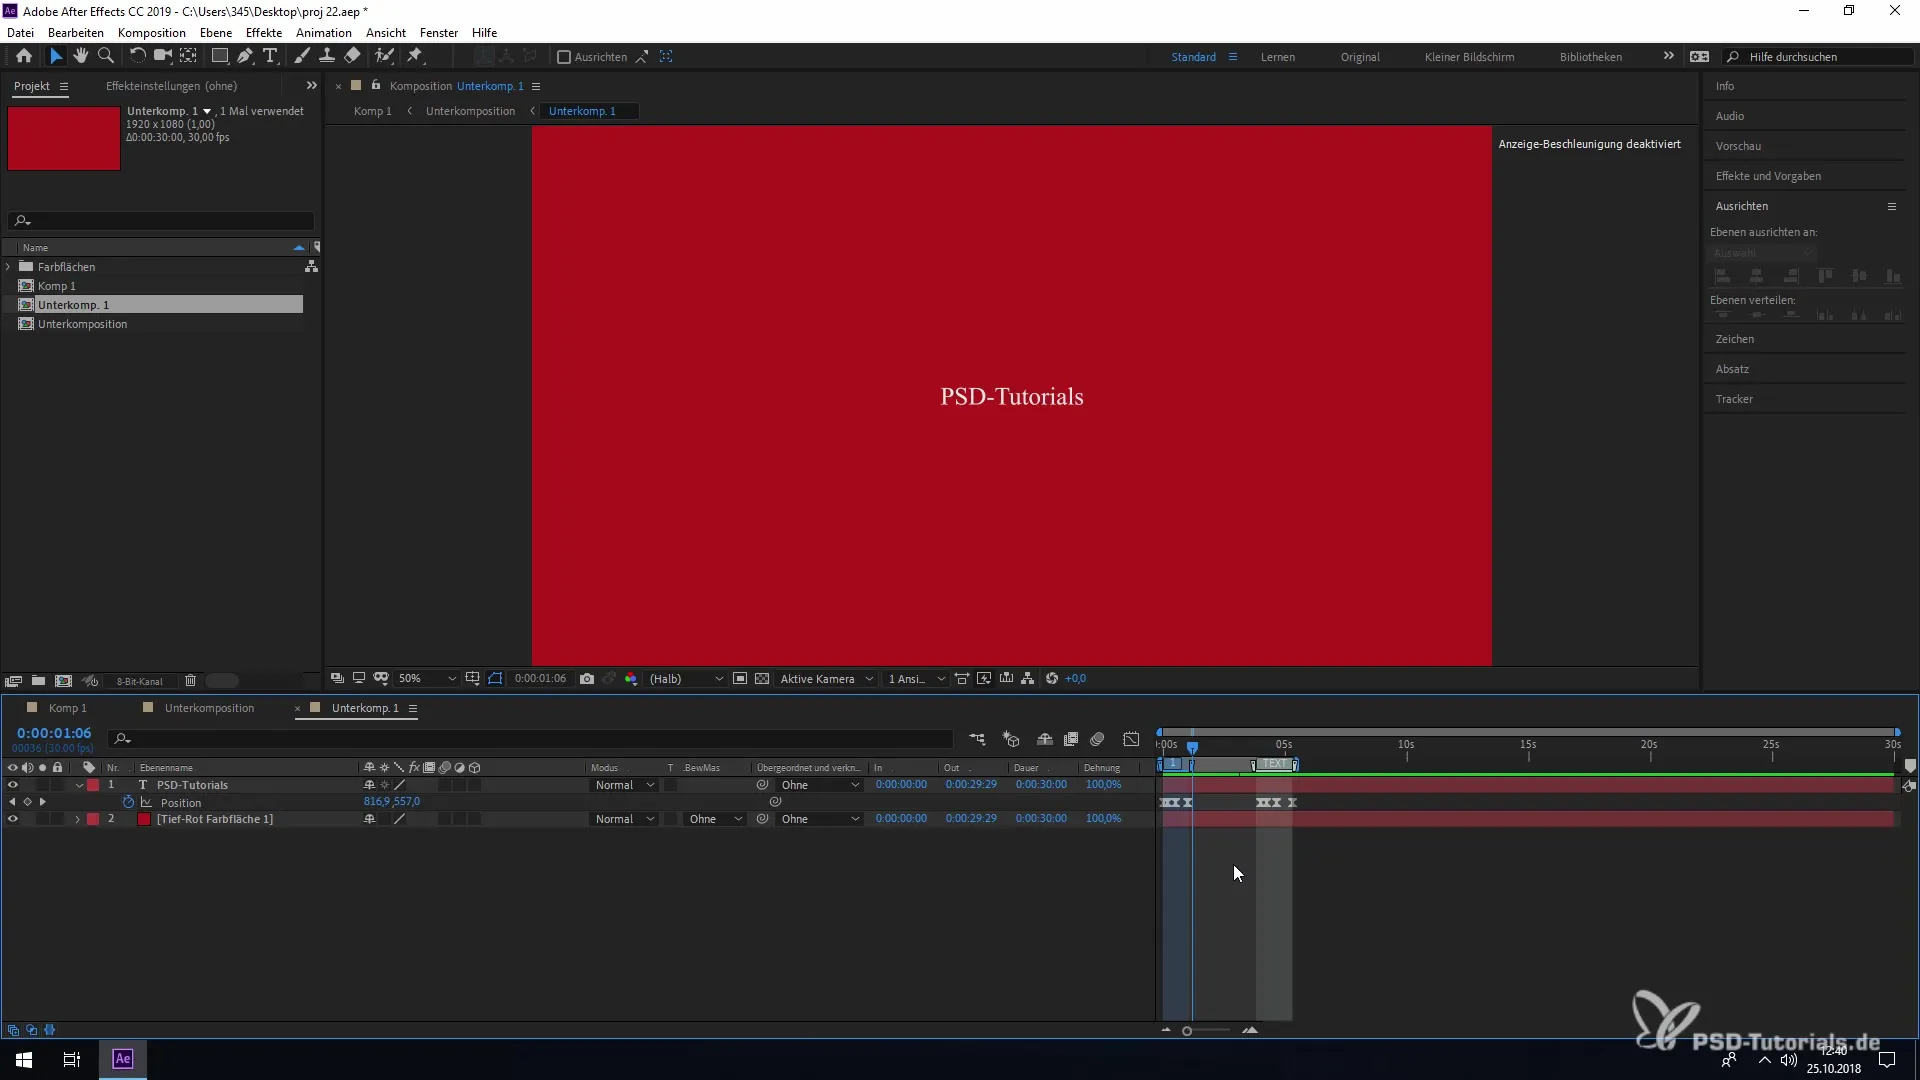
Now you can drag the subcomposition into your main project. You can place it anywhere you need, and you will notice that the protected areas are still present. This is especially useful if you want to make adjustments in the main project later.
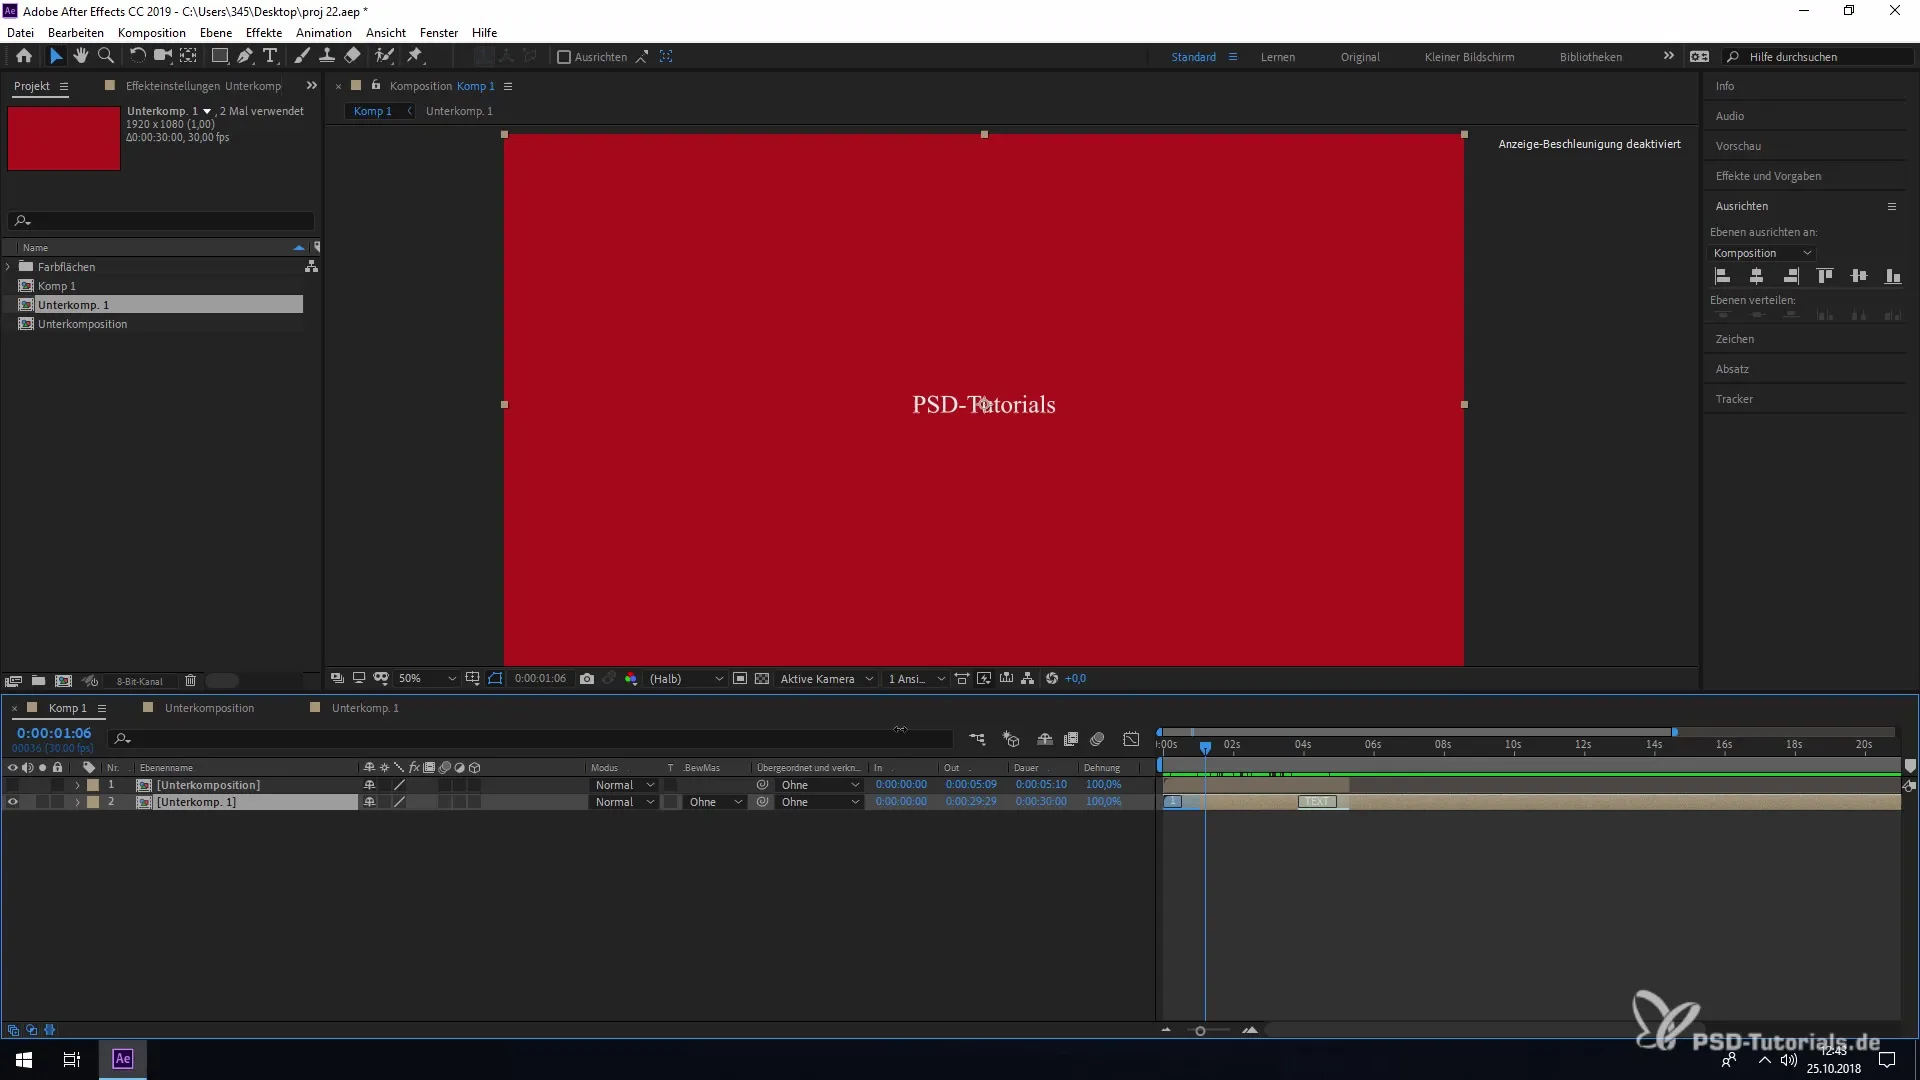
If you now want to change the animation, for example, shorten or extend the duration, the protected area remains untouched, and the animation will not speed up or change. If you shorten an area, you can keep it trimmed while the intervals between the animations adjust.
Finally, once you have set everything up and see the desired protected areas in your composition, you can adjust the settings at any time and deactivate or edit the protected areas. It is possible to rename them or change the length of the protected areas according to your preferences.
Once you are satisfied with the changes, you can create a template via the "Essential Graphics" window and export it. This allows the person working with Premiere Pro to seamlessly use your settings and parameters.
Now you know the "Responsive Design - Time" feature in After Effects. With these tools, you can create your animations faster and more efficiently.
Summary - Responsive Design in After Effects: Safely Insert Keyframes
The "Responsive Design - Time" feature offers you new possibilities to design animations without unwanted changes occurring to the existing keyframes. With this guide, you have learned the basics to effectively work with this new feature and increase your productivity.
Frequently Asked Questions
How do I set markers in After Effects?To set markers, simply drag a marker into the timeline.
What do protected areas do?Protected areas prevent animations from being altered when editing.
Can I edit the markers later?Yes, markers can be edited and adjusted at any time.
How do I export a template?Through the "Essential Graphics" window, you can export your animation as a template.
Do changes in protected areas remain intact?Yes, changes in protected areas remain intact despite adjustments to the rest of the composition.


