You have probably already noticed: The software you work with during the day can change significantly over the years. With the release of After Effects CC 2017 (CC 14), Adobe has made a significant step that revolutionizes the way you handle QuickTime files. You can now access the new features without the tedious necessity of installing QuickTime 7. In this guide, you'll learn everything important about the native exports of QuickTime data and how you can effectively use them.
Main insights
- Starting with After Effects CC 2017, no QuickTime 7 is required anymore.
- The native exports provide various formats, including alpha channel, directly available.
- You can work more efficiently since the installation of additional software is no longer necessary.
Step-by-step guide
To make the most of these new features, I will now show you step by step how to set up and use QuickTime exports in After Effects CC 2017. This process is intuitive and allows for seamless integration into your editing workflow.
First, After Effects CC 2017 must be installed. Once that is done, open the program and create a new composition or load an existing one. Now you are ready for the next step.
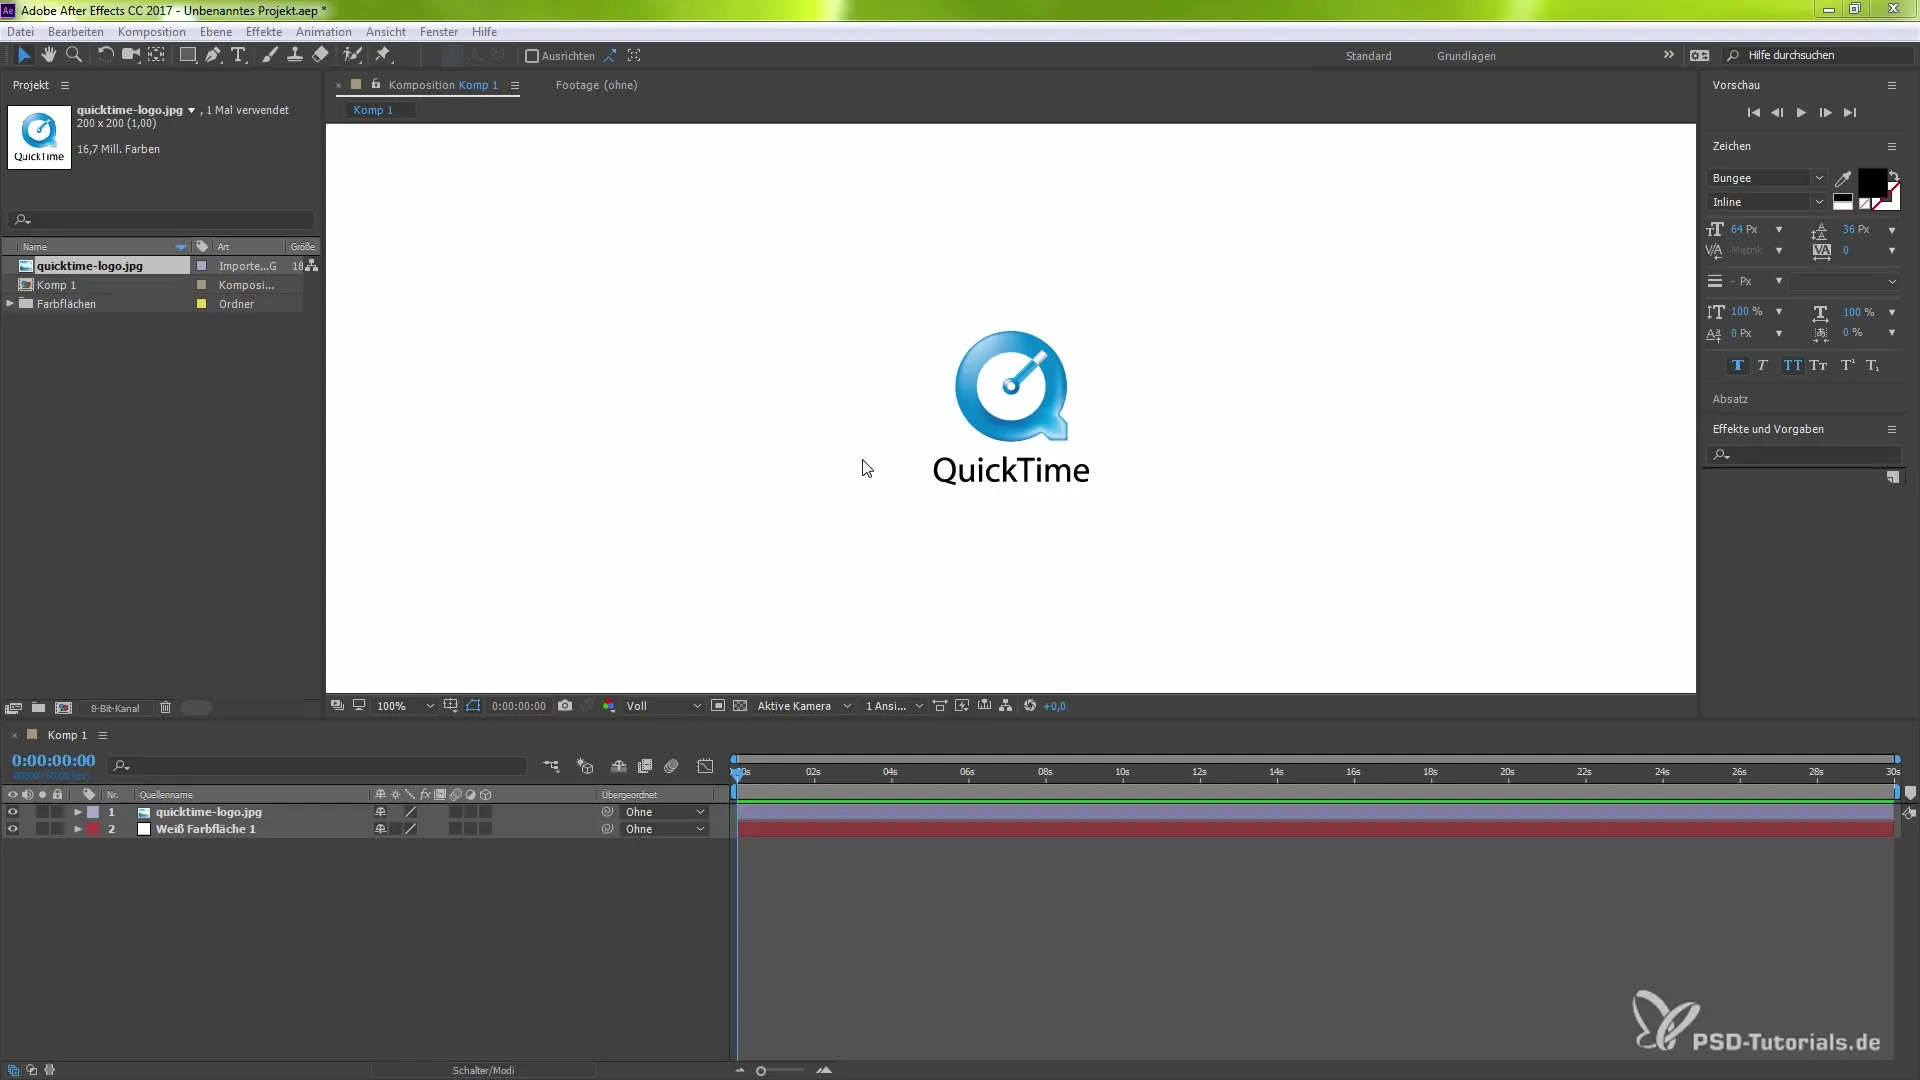
To start with the export, press the keyboard shortcut CTRL + M (or CMD + M on a Mac). This opens the Render panel where you can adjust your render settings.
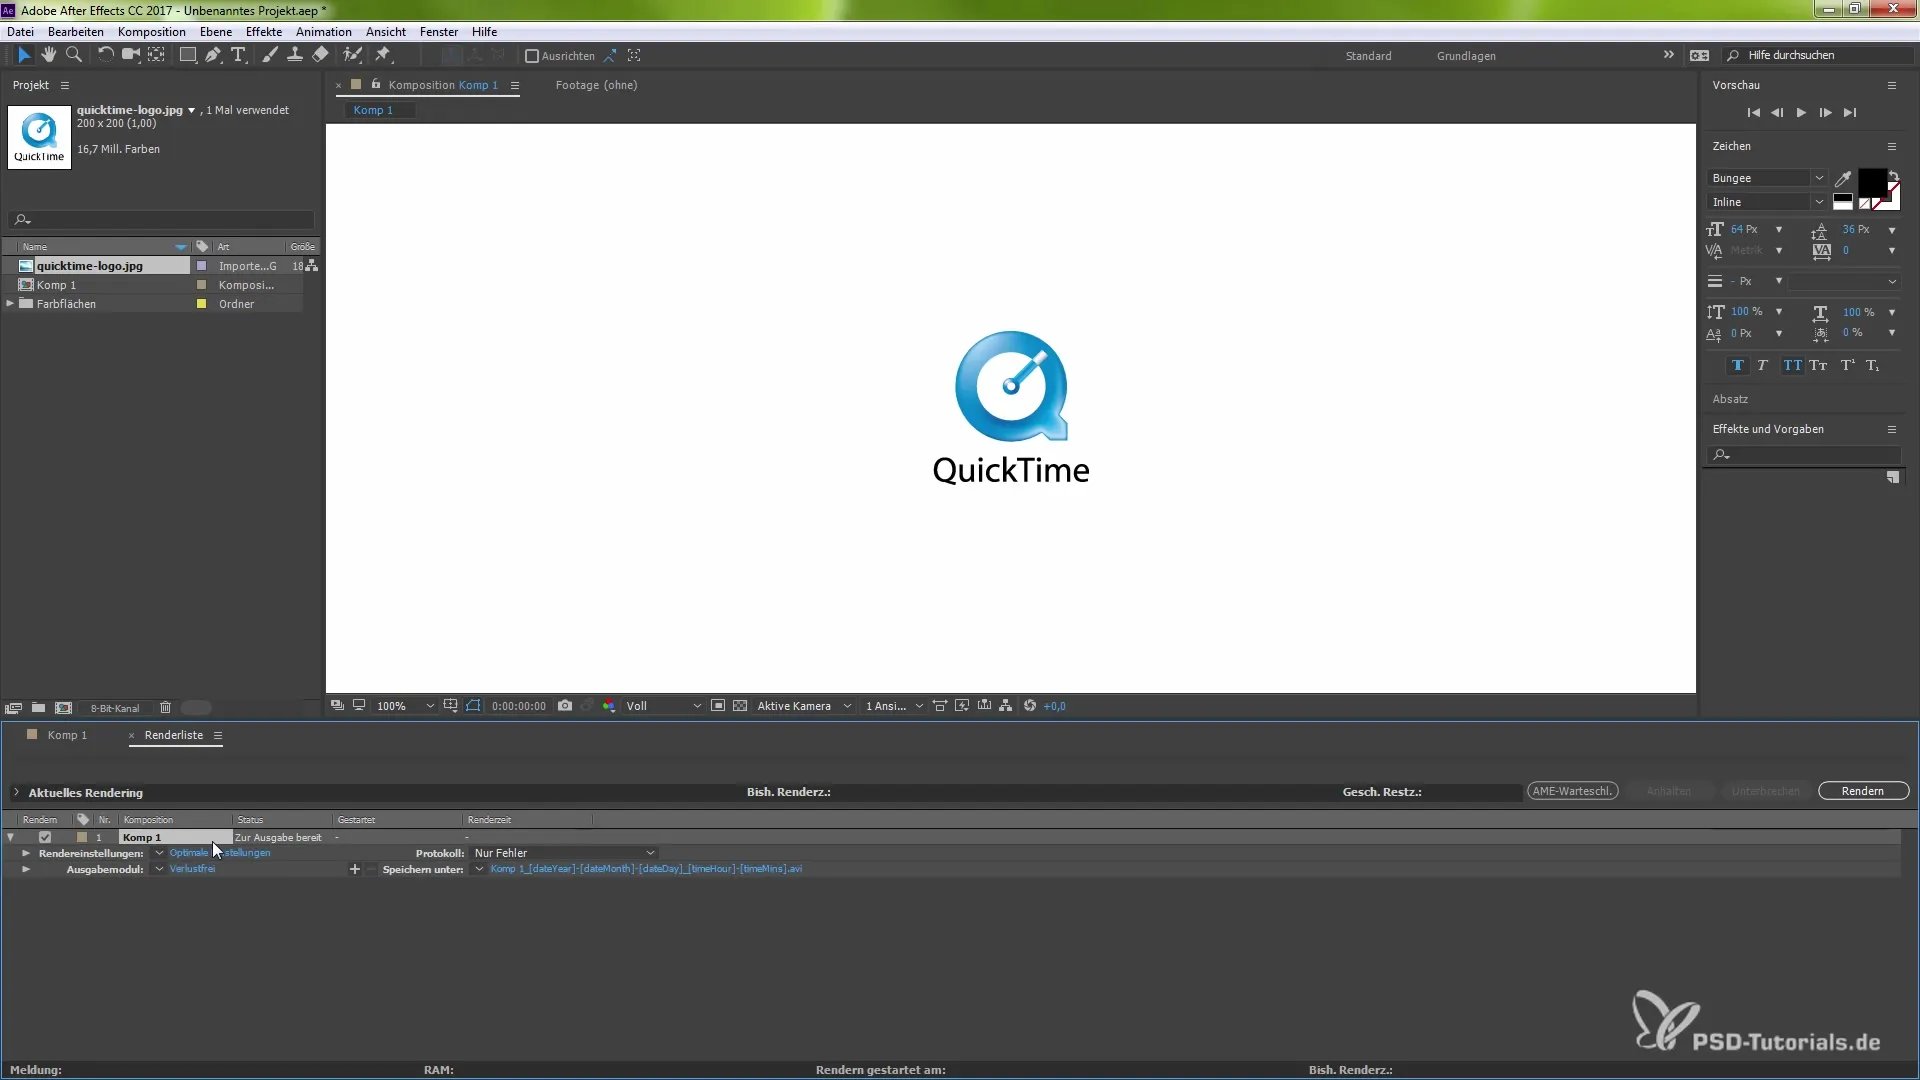
In the Render panel, you will now see the render settings as well as a selection for the output formats. Click on the dropdown menu here to enable the desired formats. Look for the new QuickTime format that is now available to you.
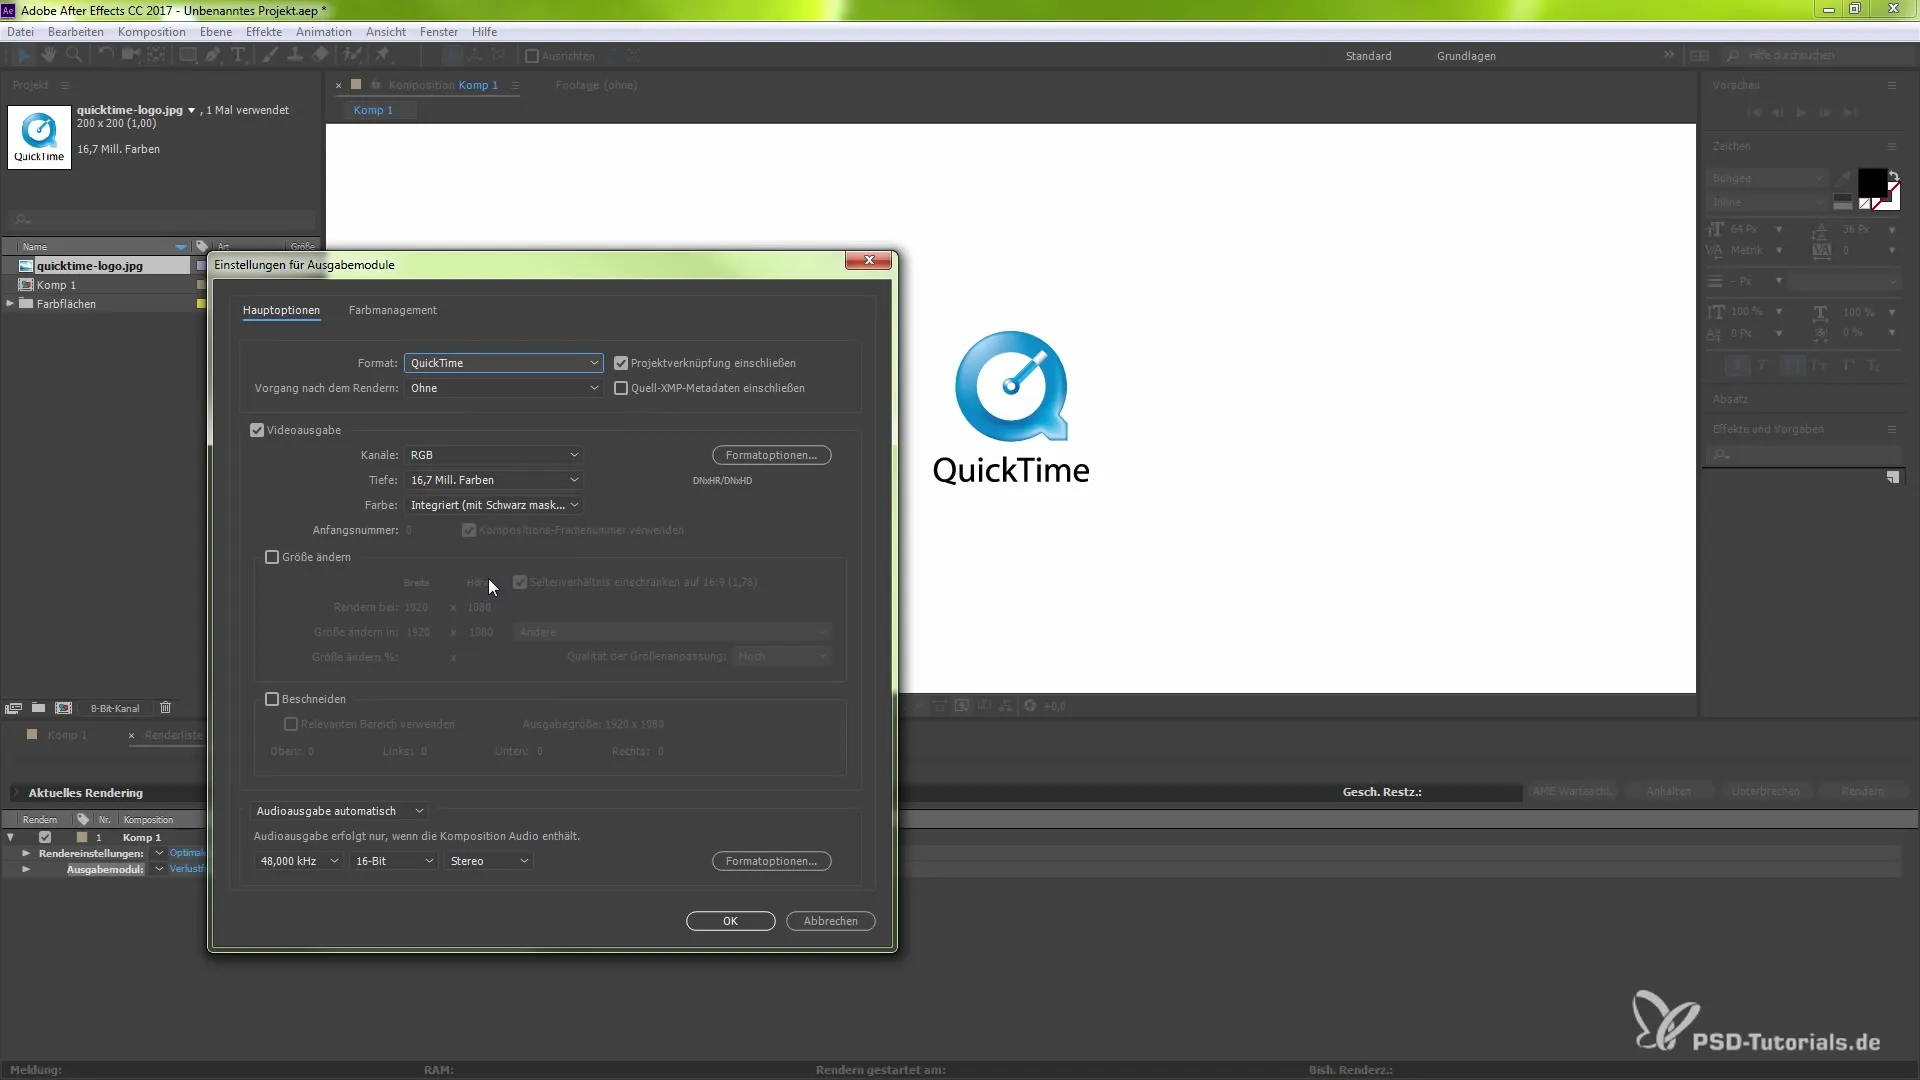
After you have selected QuickTime, proceed to the format options. Here you can now adjust the specific options for the Avid DNxHD or DNxHR codec. These codecs allow you to achieve high quality with a small file size – perfect for your needs.
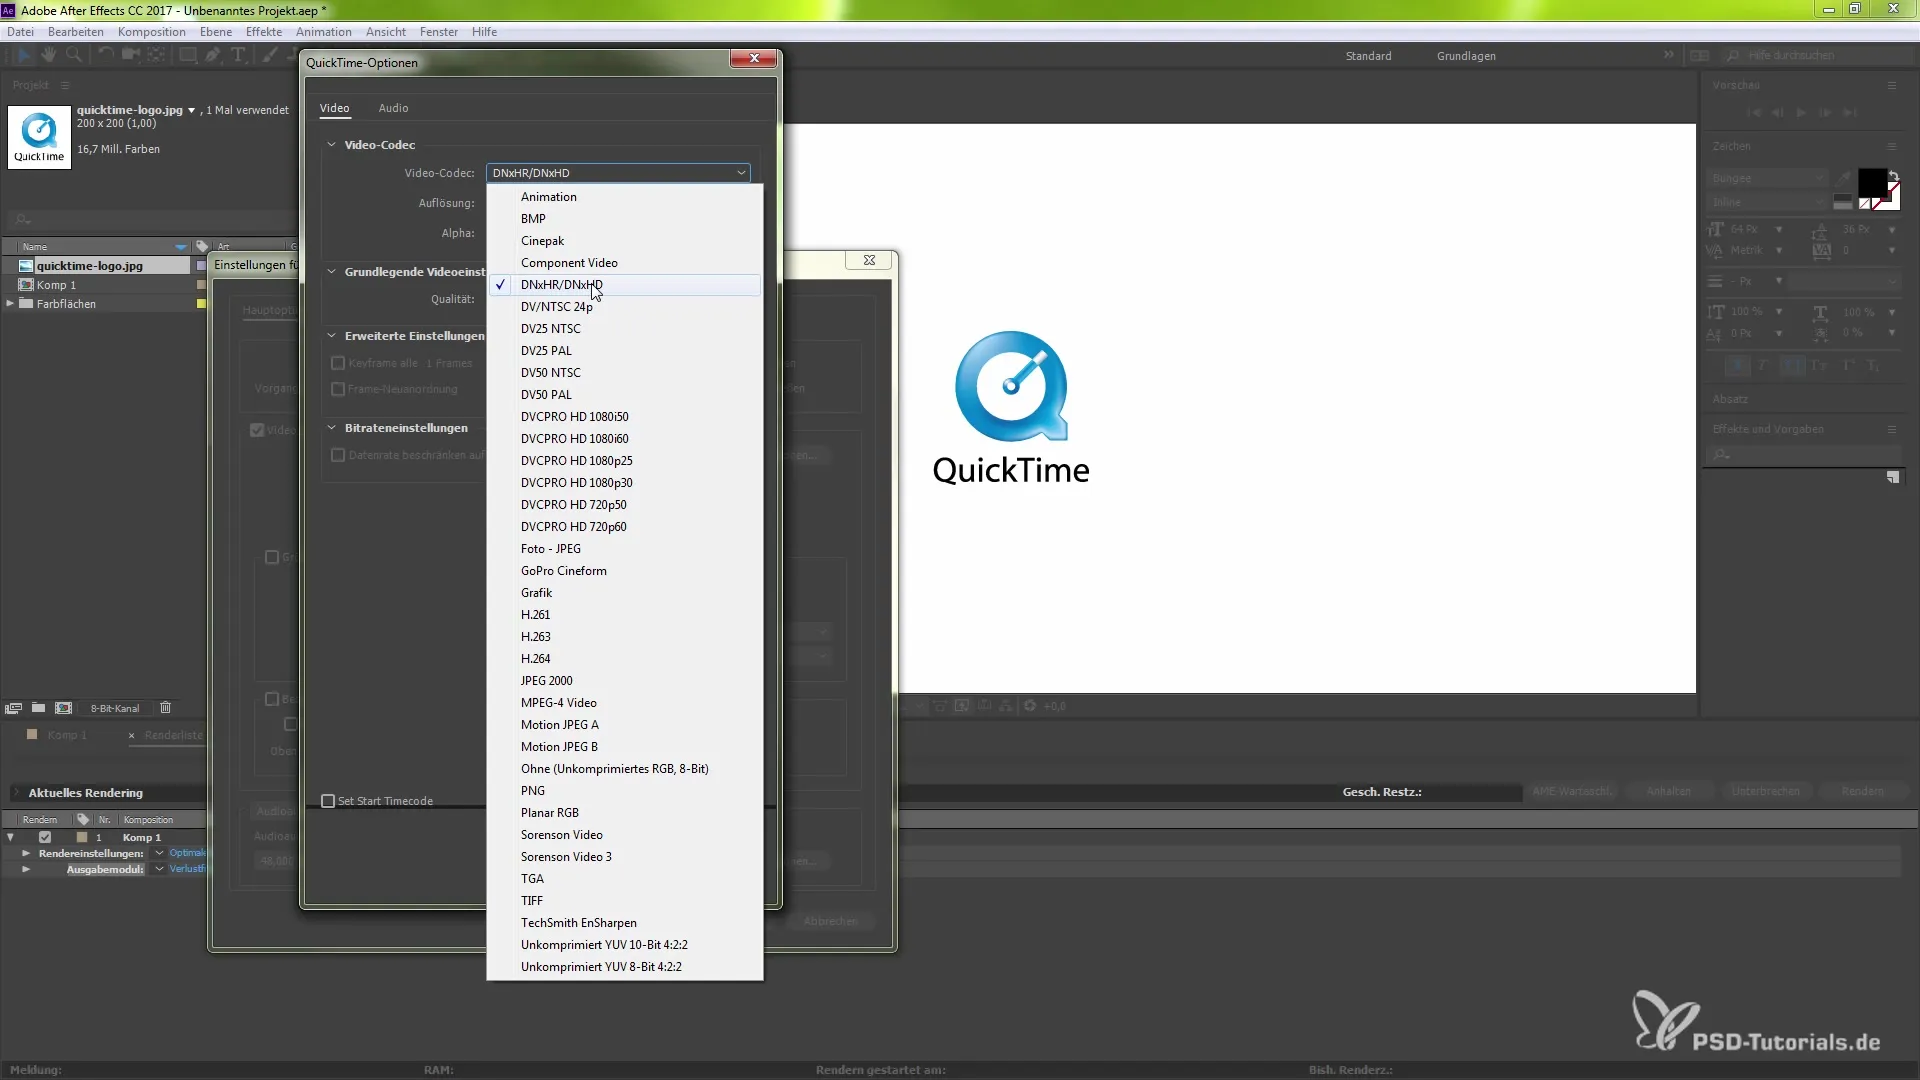
Now select the desired codec. If you want to use DNxHD, make sure to set the correct resolutions and bitrate as well. Simply go through the setups in the format options window menu.
Select the type of encoding you need. You have the option to decide whether the alpha channel should be included in your output. This is particularly important if you want to use transparency in your projects.
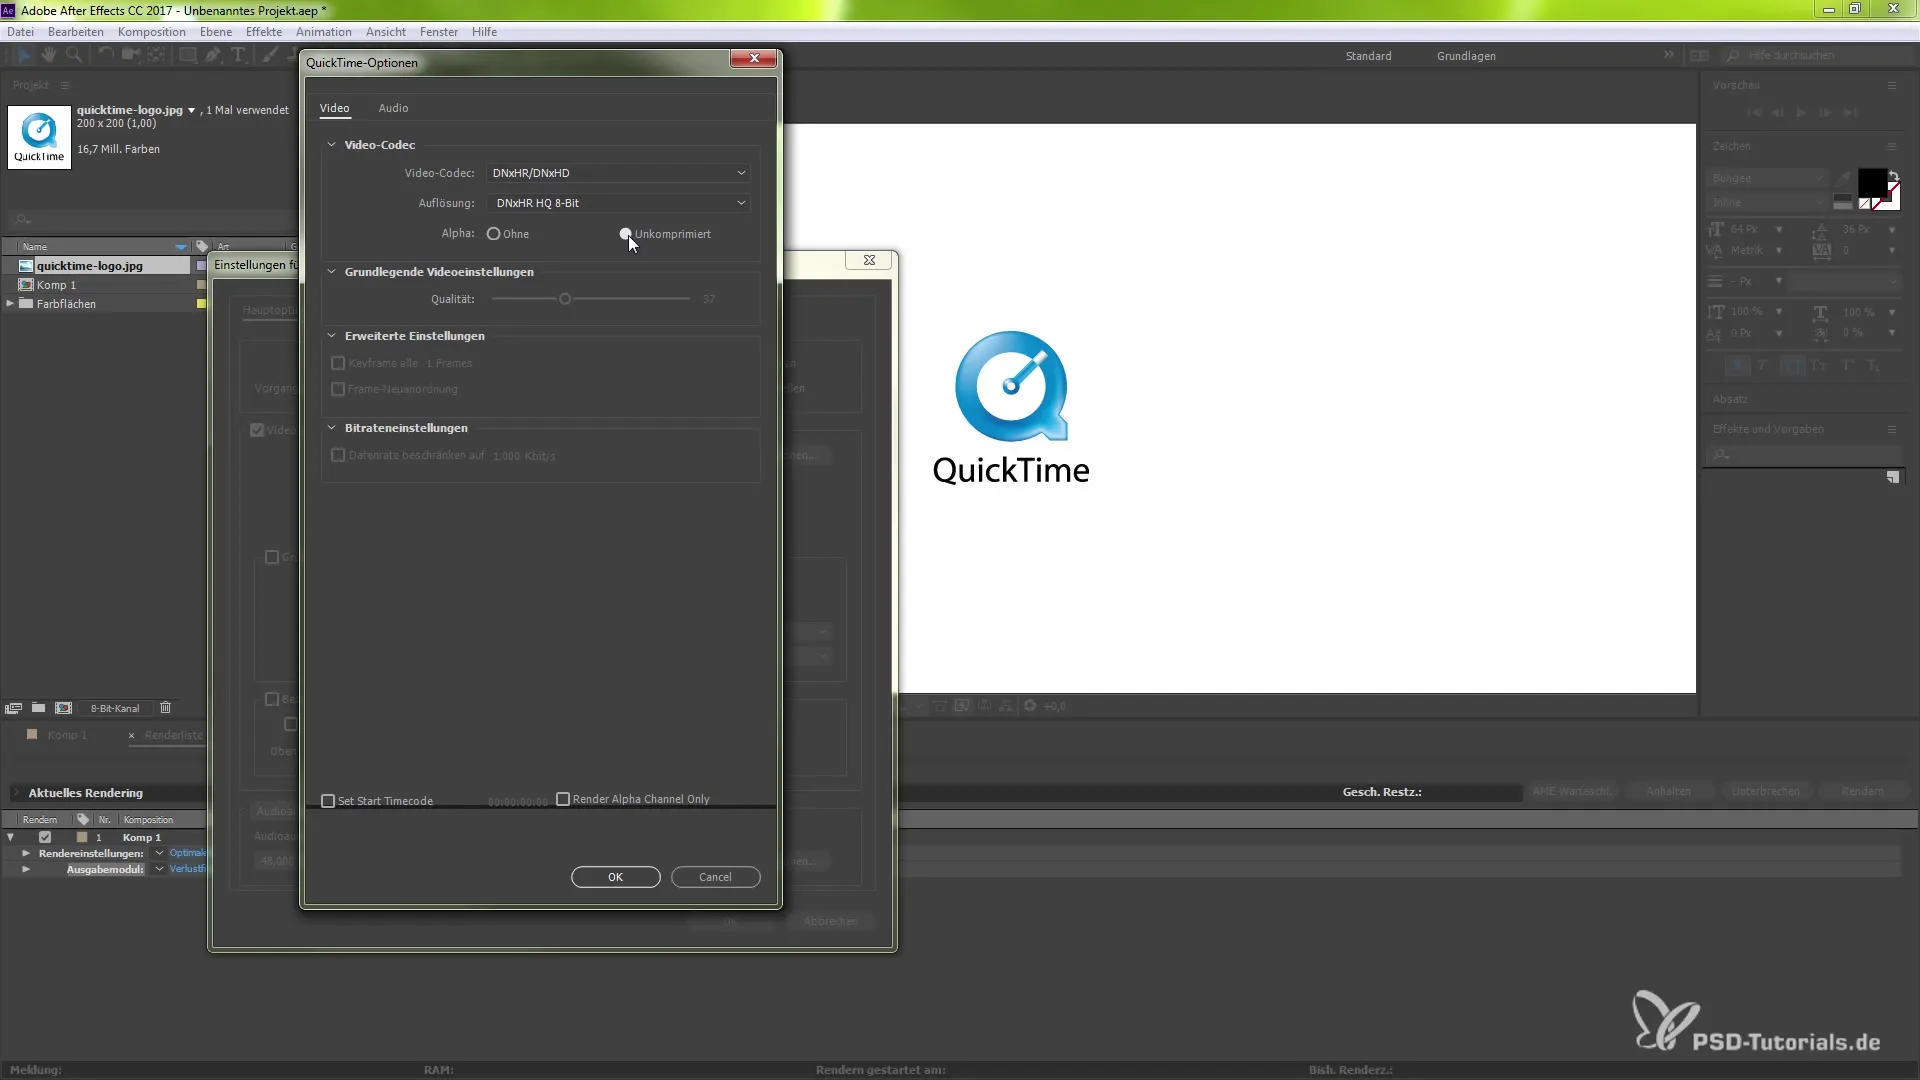
Now it's time to confirm the output options. Click "OK" to save the settings. Recheck your selection and make adjustments if necessary in case you want to add additional audio codecs.
Once you are satisfied with your settings, you just need to specify the desired storage location. You can choose the target directory and then click the render button to start the export.
It’s impressive to see how seamlessly these new features are integrated into After Effects CC 2017. You not only save yourself the installation of QuickTime, but also benefit from a smoother workflow and a professional result in your projects.
Summary – Using Native QuickTime Export in After Effects CC 2017
In this guide, you have learned how to use native QuickTime exports in After Effects CC 2017 without the need to install QuickTime 7. The new features allow for easy handling of various formats, including the alpha channel, and provide you with an efficient, powerful editing experience.
Frequently Asked Questions
What’s new in After Effects CC 2017?With After Effects CC 2017, you can now export QuickTime files without installing QuickTime 7.
Which codecs are supported?After installation, you can use Avid DNxHD and DNxHR codecs.
How do I select the alpha channel?In the format options, you can decide whether the alpha channel should be included in the output.
Can I add audio codecs?Yes, you can also select and adjust audio codecs during the export.
Where can I save my rendered files?You simply select a storage location in the render panel and click the render button to start the export.


