If you want to install MySQL on your macOS system, you are in the right place. This guide will show you how to quickly and easily set up a local MySQL database environment using the MAMP software. MAMP stands for MacOS, Apache, MySQL, and PHP and is a convenient solution that significantly simplifies working with databases.
Key Insights
- MAMP is the optimal solution for installing MySQL on macOS.
- The installation is straightforward and takes just a few steps.
- With MAMP, you receive additional tools like phpMyAdmin to simplify the management of your databases.
Step-by-Step Guide
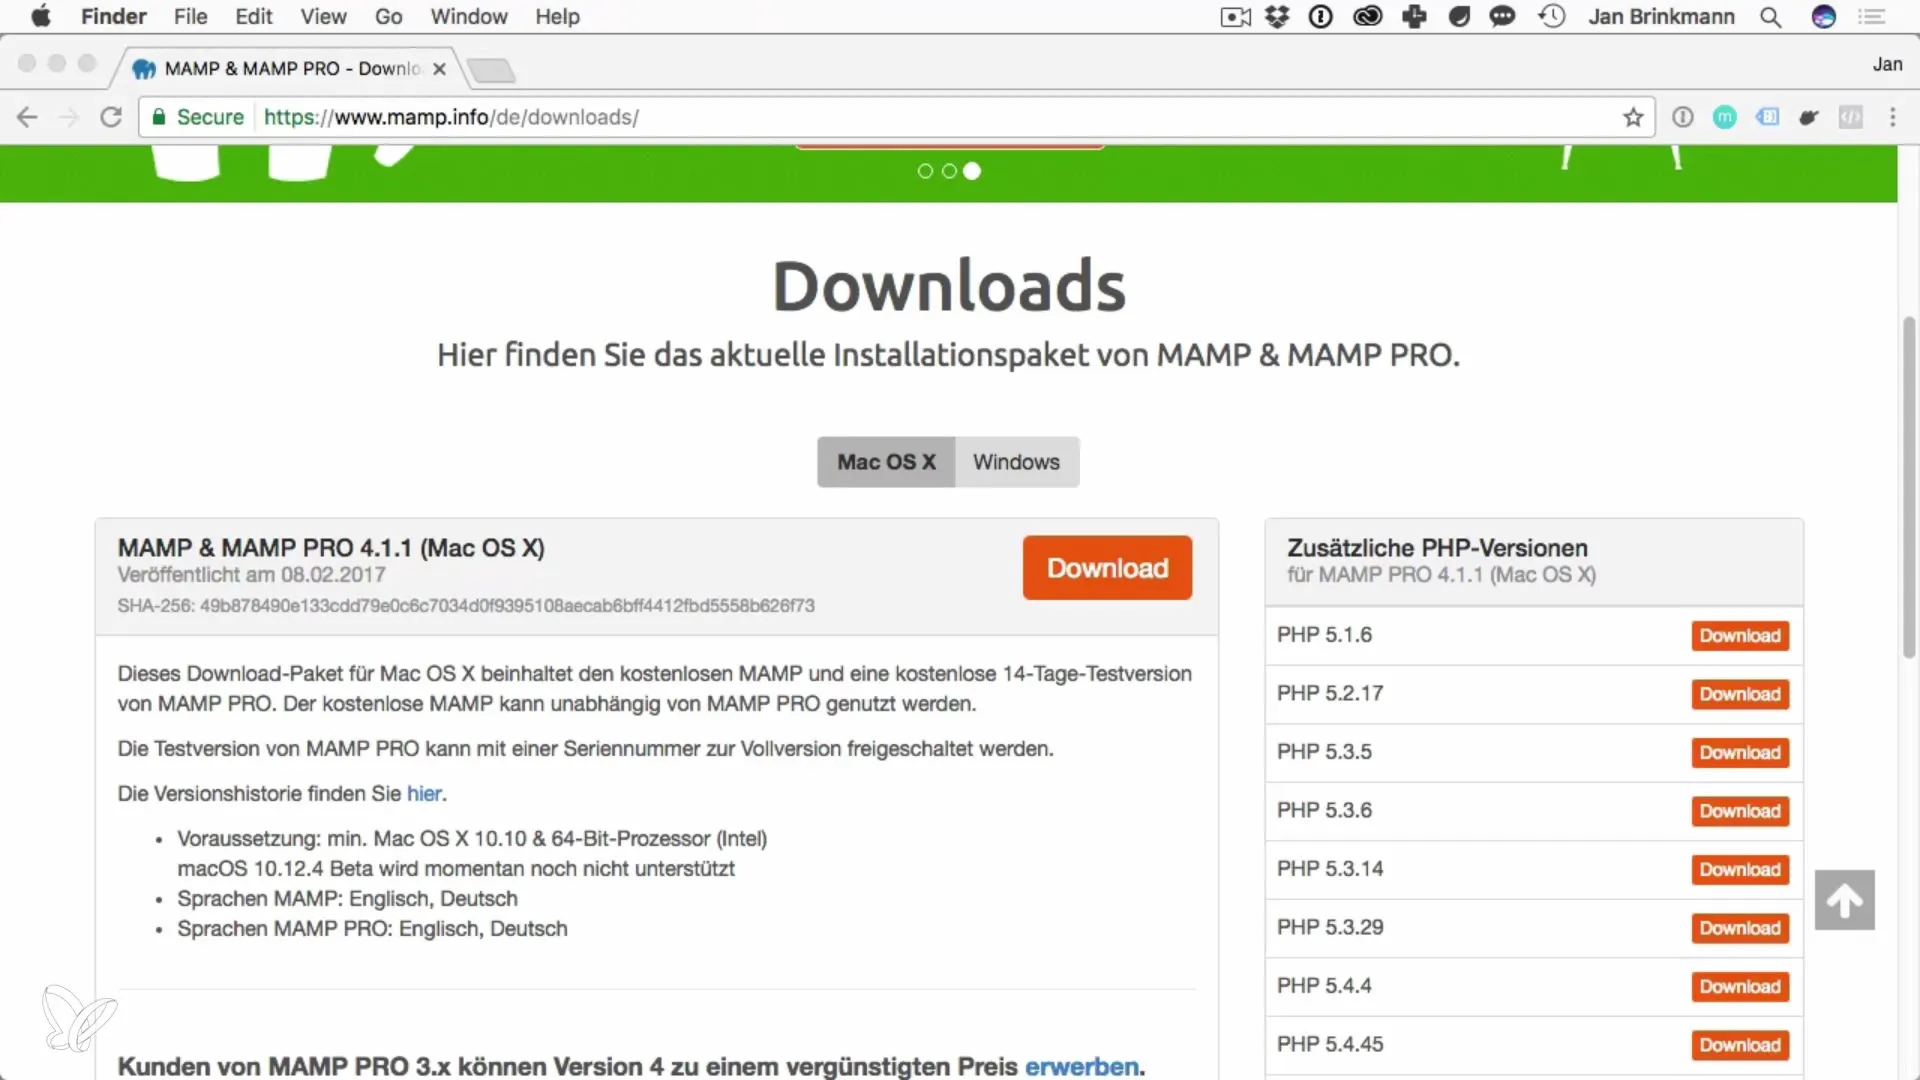
First, you should download the MAMP software. The first step is to go to the official MAMP website.
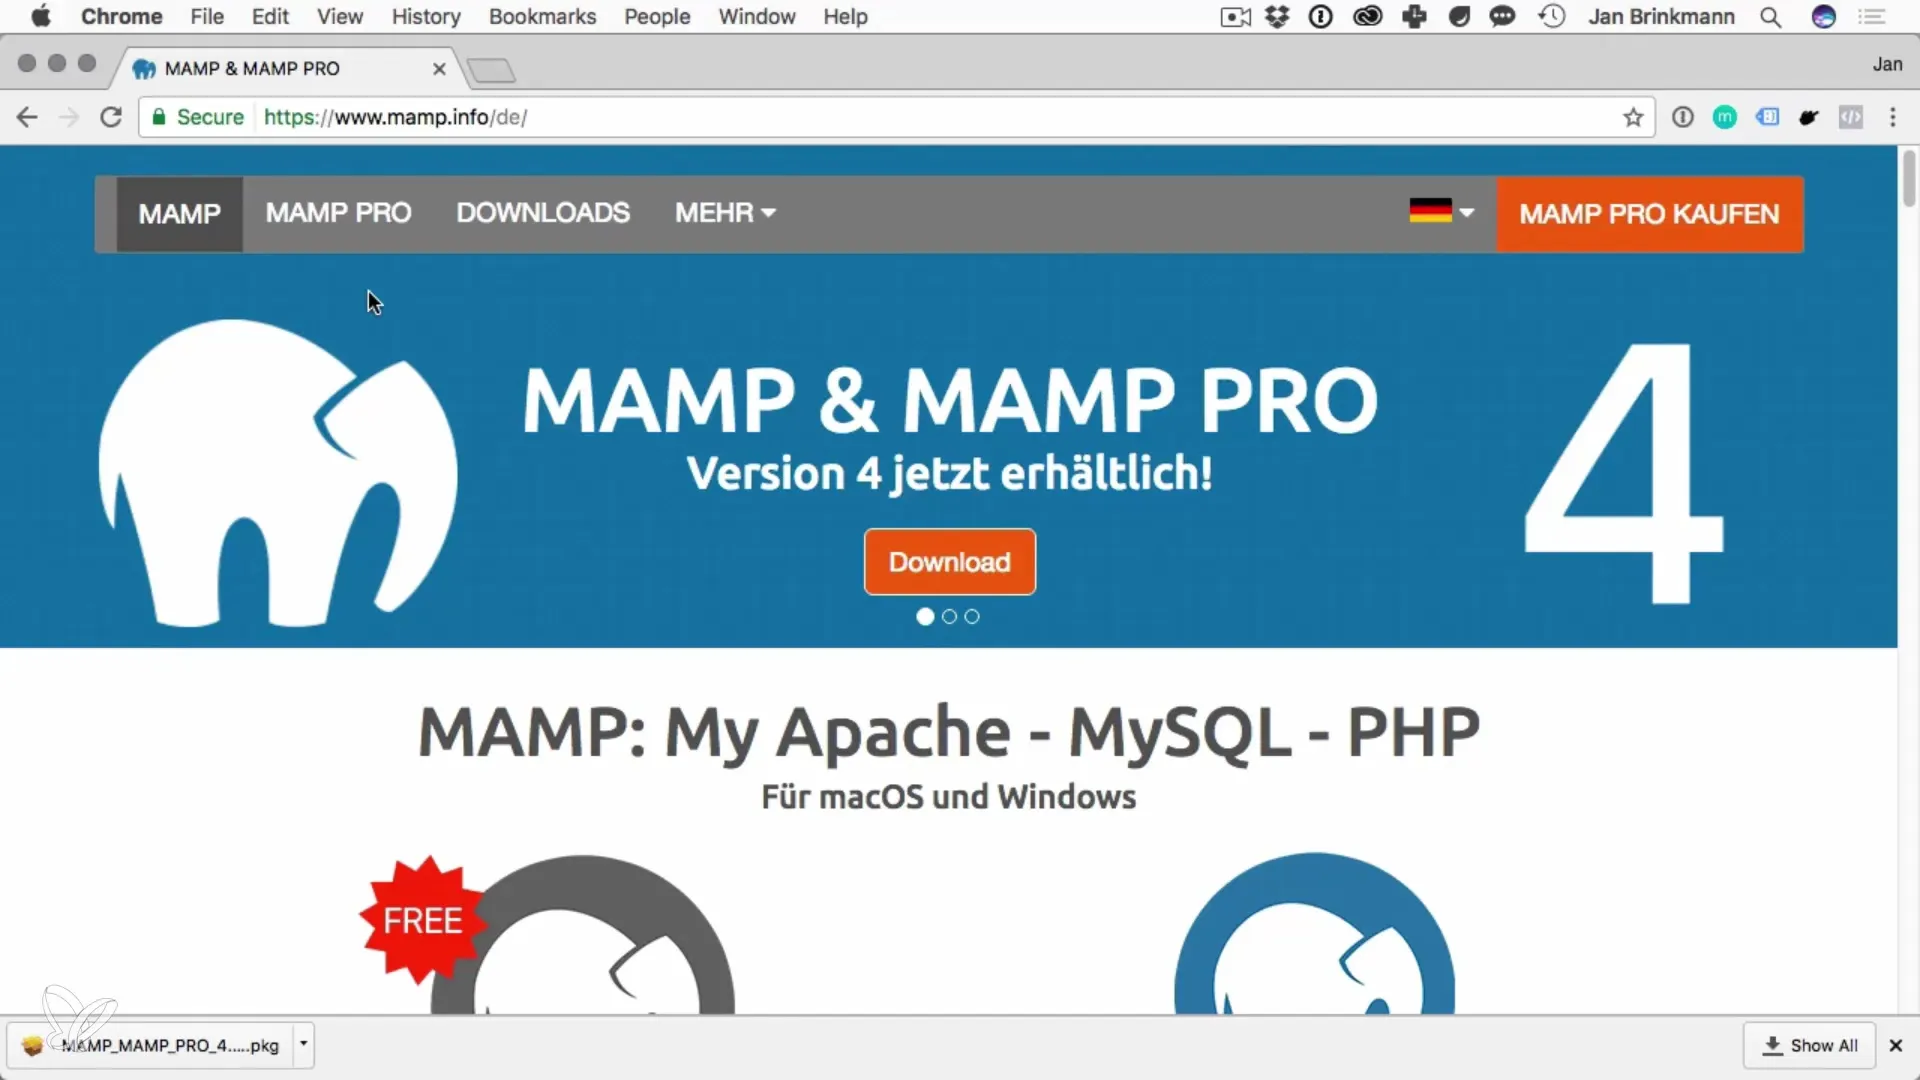
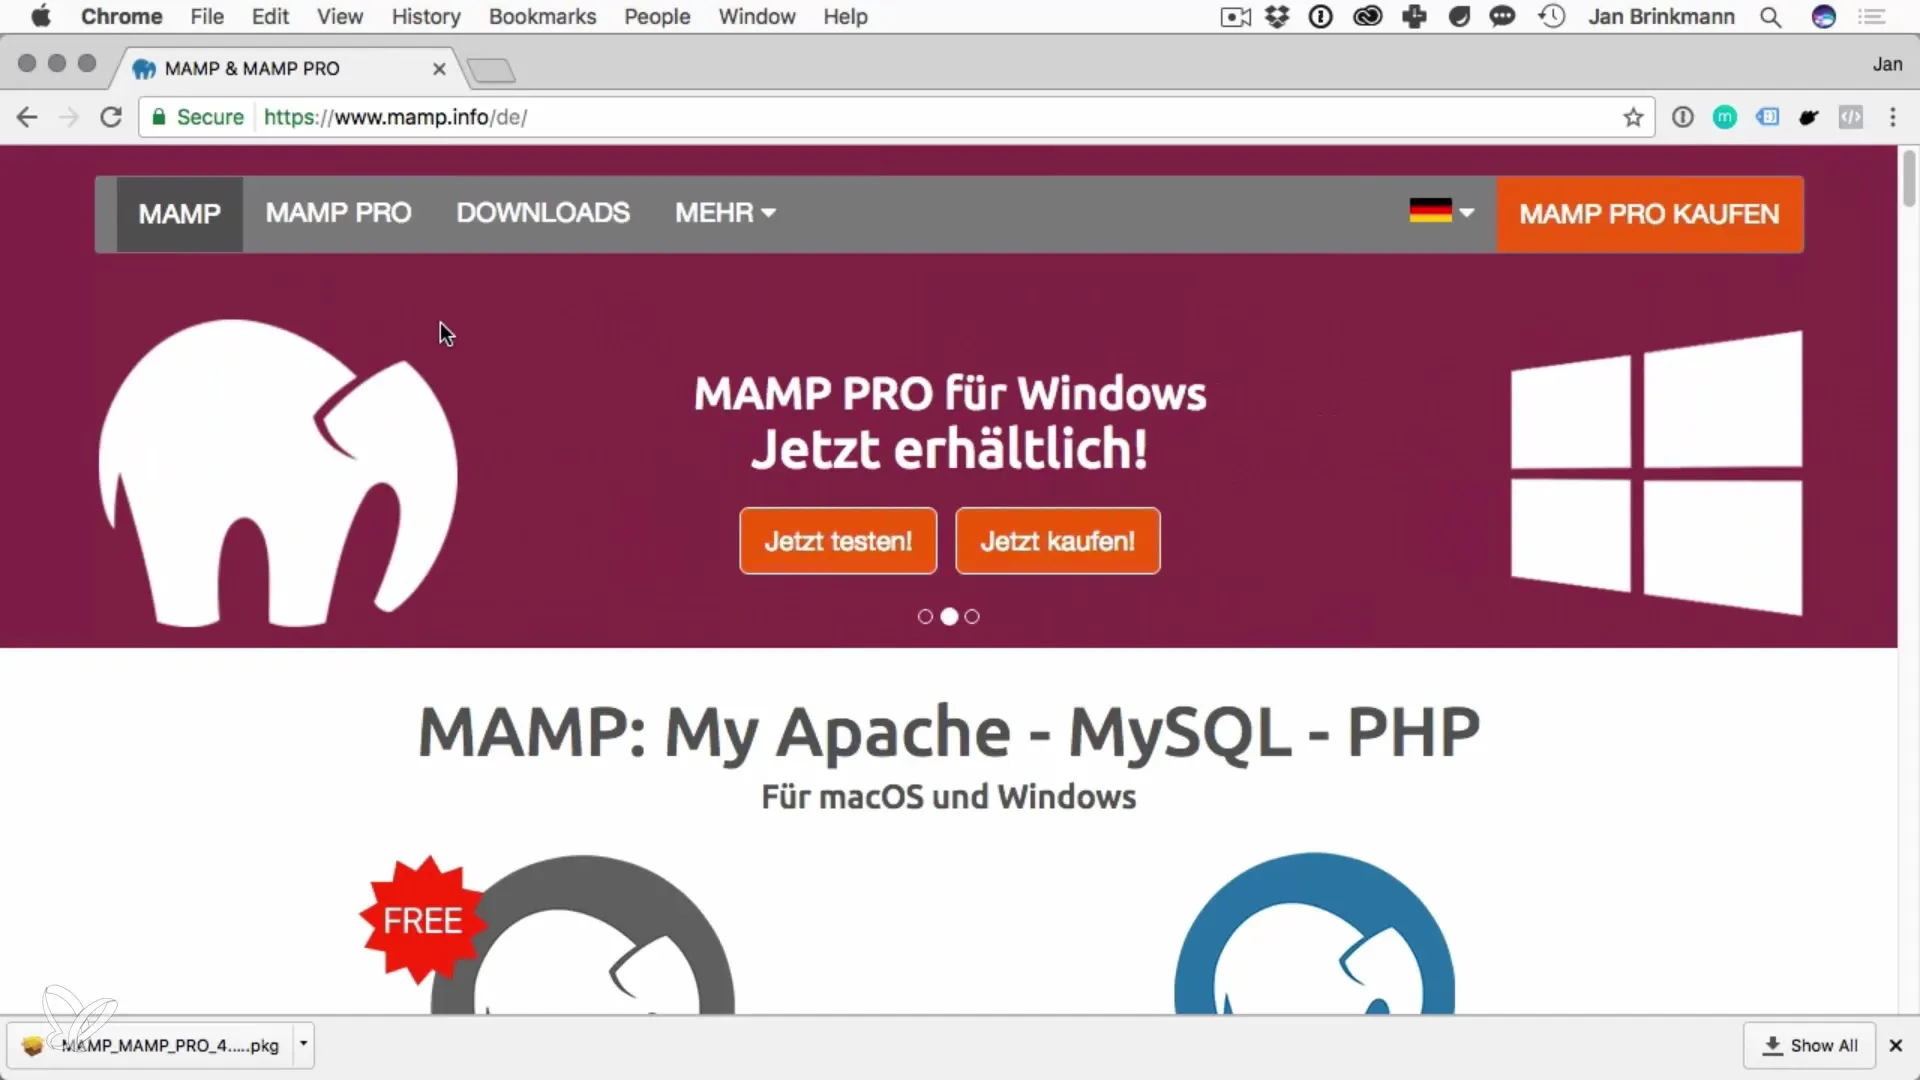
Here you can download the latest stable version of MAMP. Make sure to select the free version, as it is sufficient for your needs.
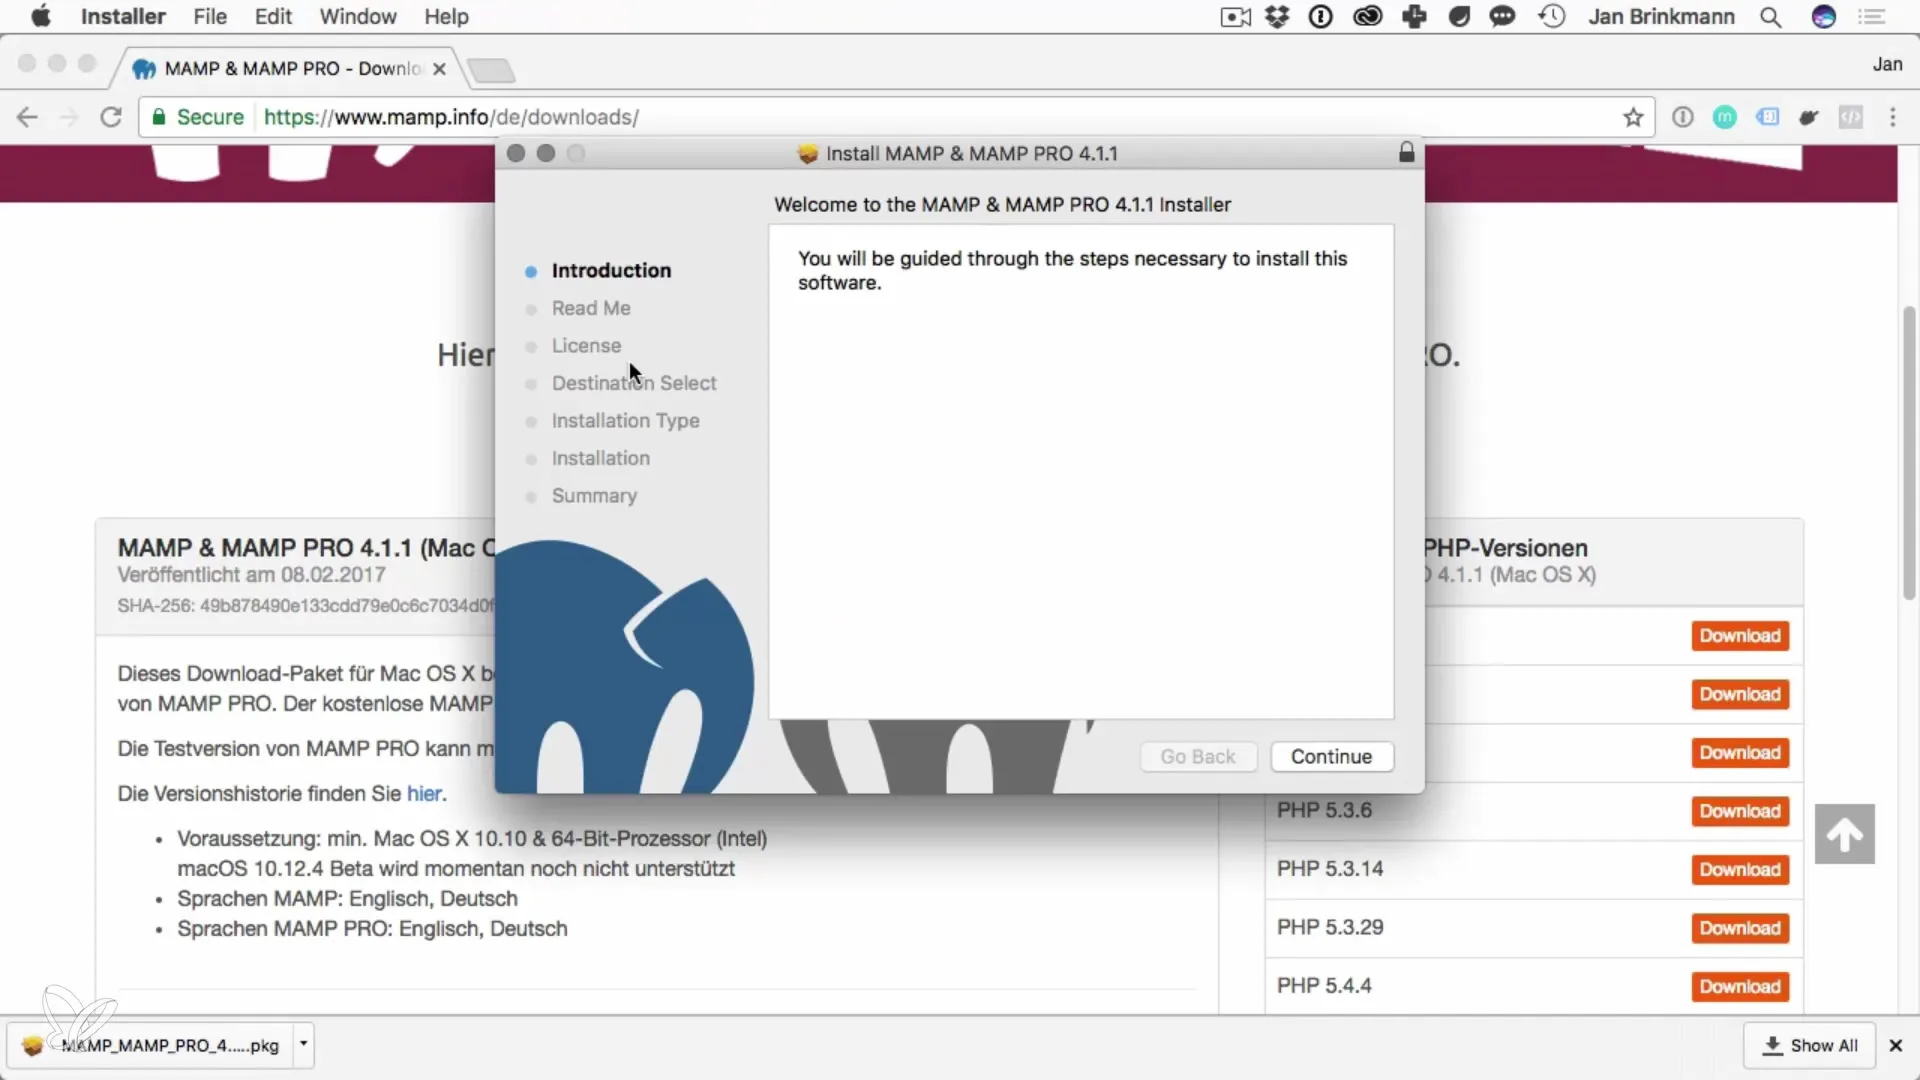
After you have downloaded the installation file, you need to execute it. MAMP comes with a guided installation that helps you through each step. Just keep clicking through the installation wizard.
At the end of the installation, you will find the MAMP folder in the "Applications" directory. Open this folder to start the MAMP application.
Double-click the MAMP icon to open the application. On the first start, you may be prompted to enter your administrator password. This is necessary for MAMP to install and start the required services.

Once MAMP is open, you should check the settings. Go to "Preferences". Here you can set Apache to run on port 80 and MySQL on port 3306. These ports are the standard ports and make it easier to connect to your database.
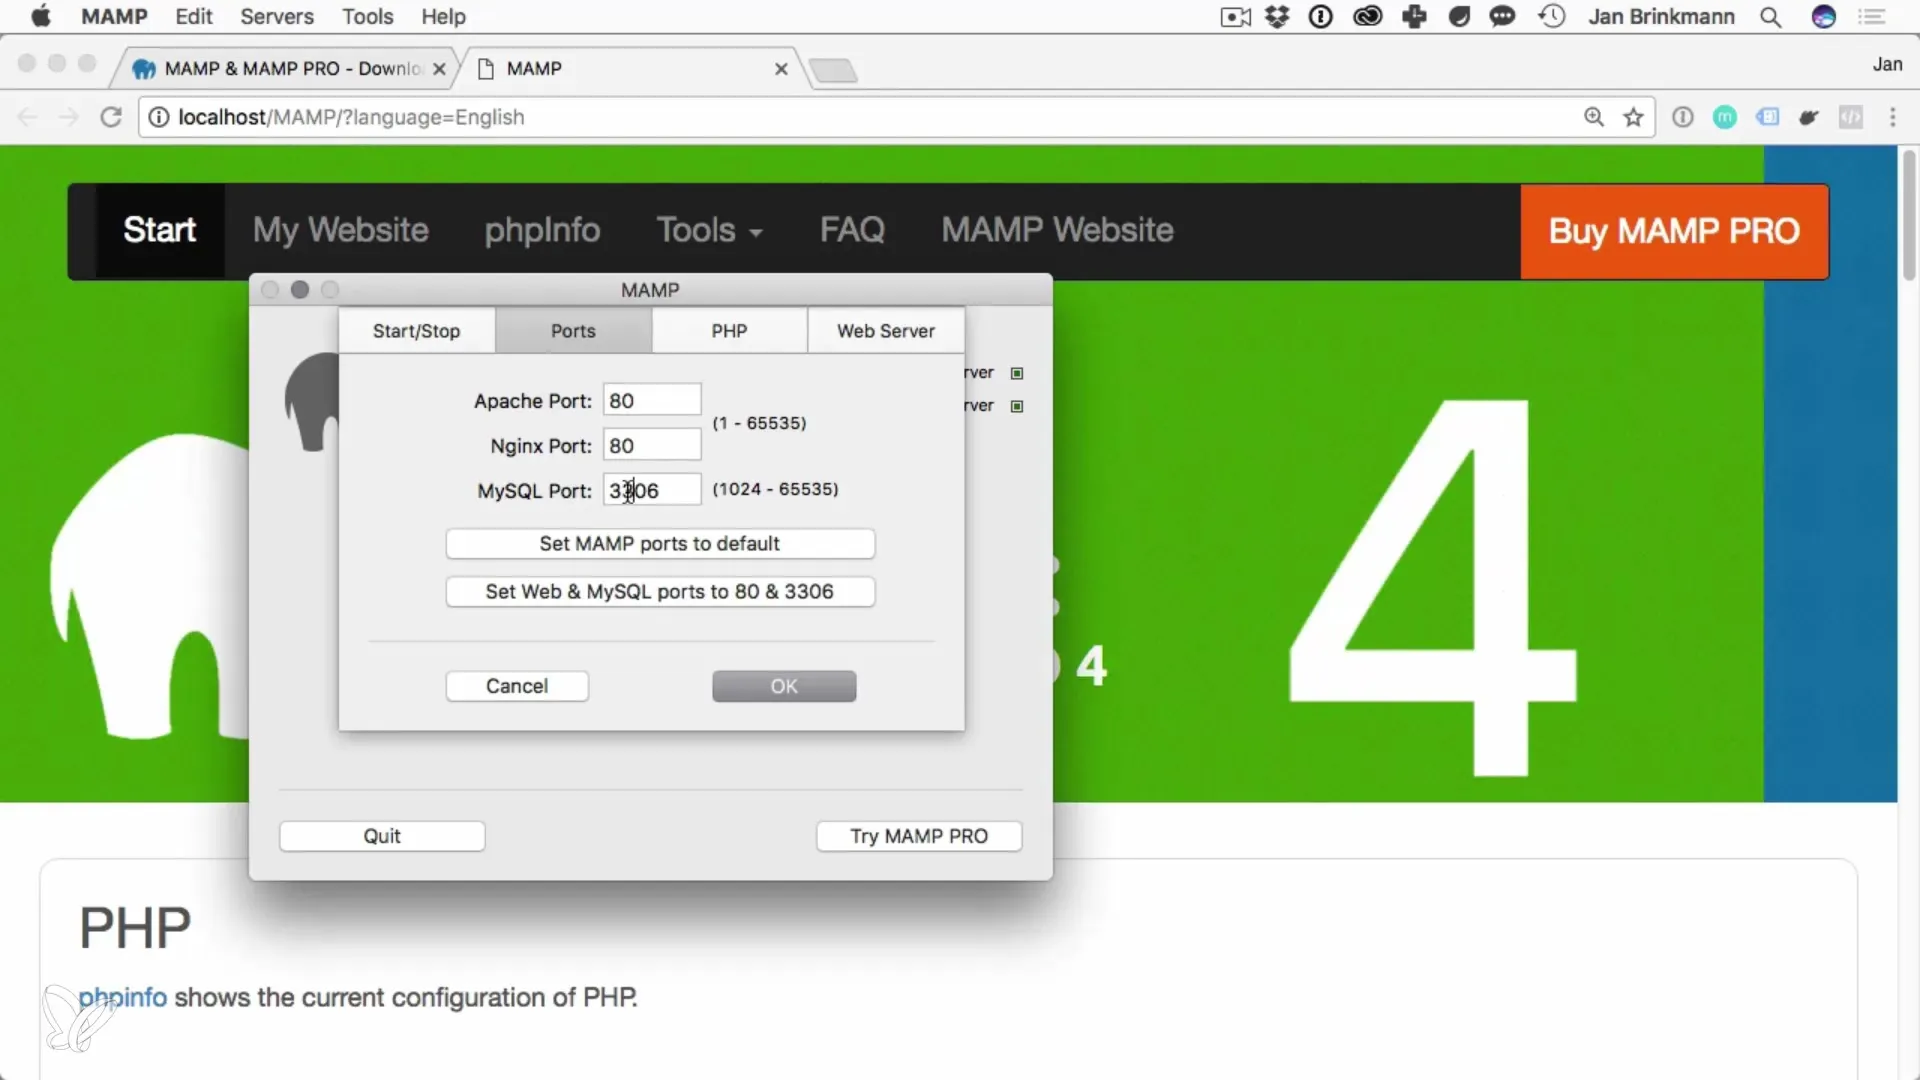
Set the ports as desired and save your settings. If you need admin rights to change the ports, don't worry, as this is normal in macOS.
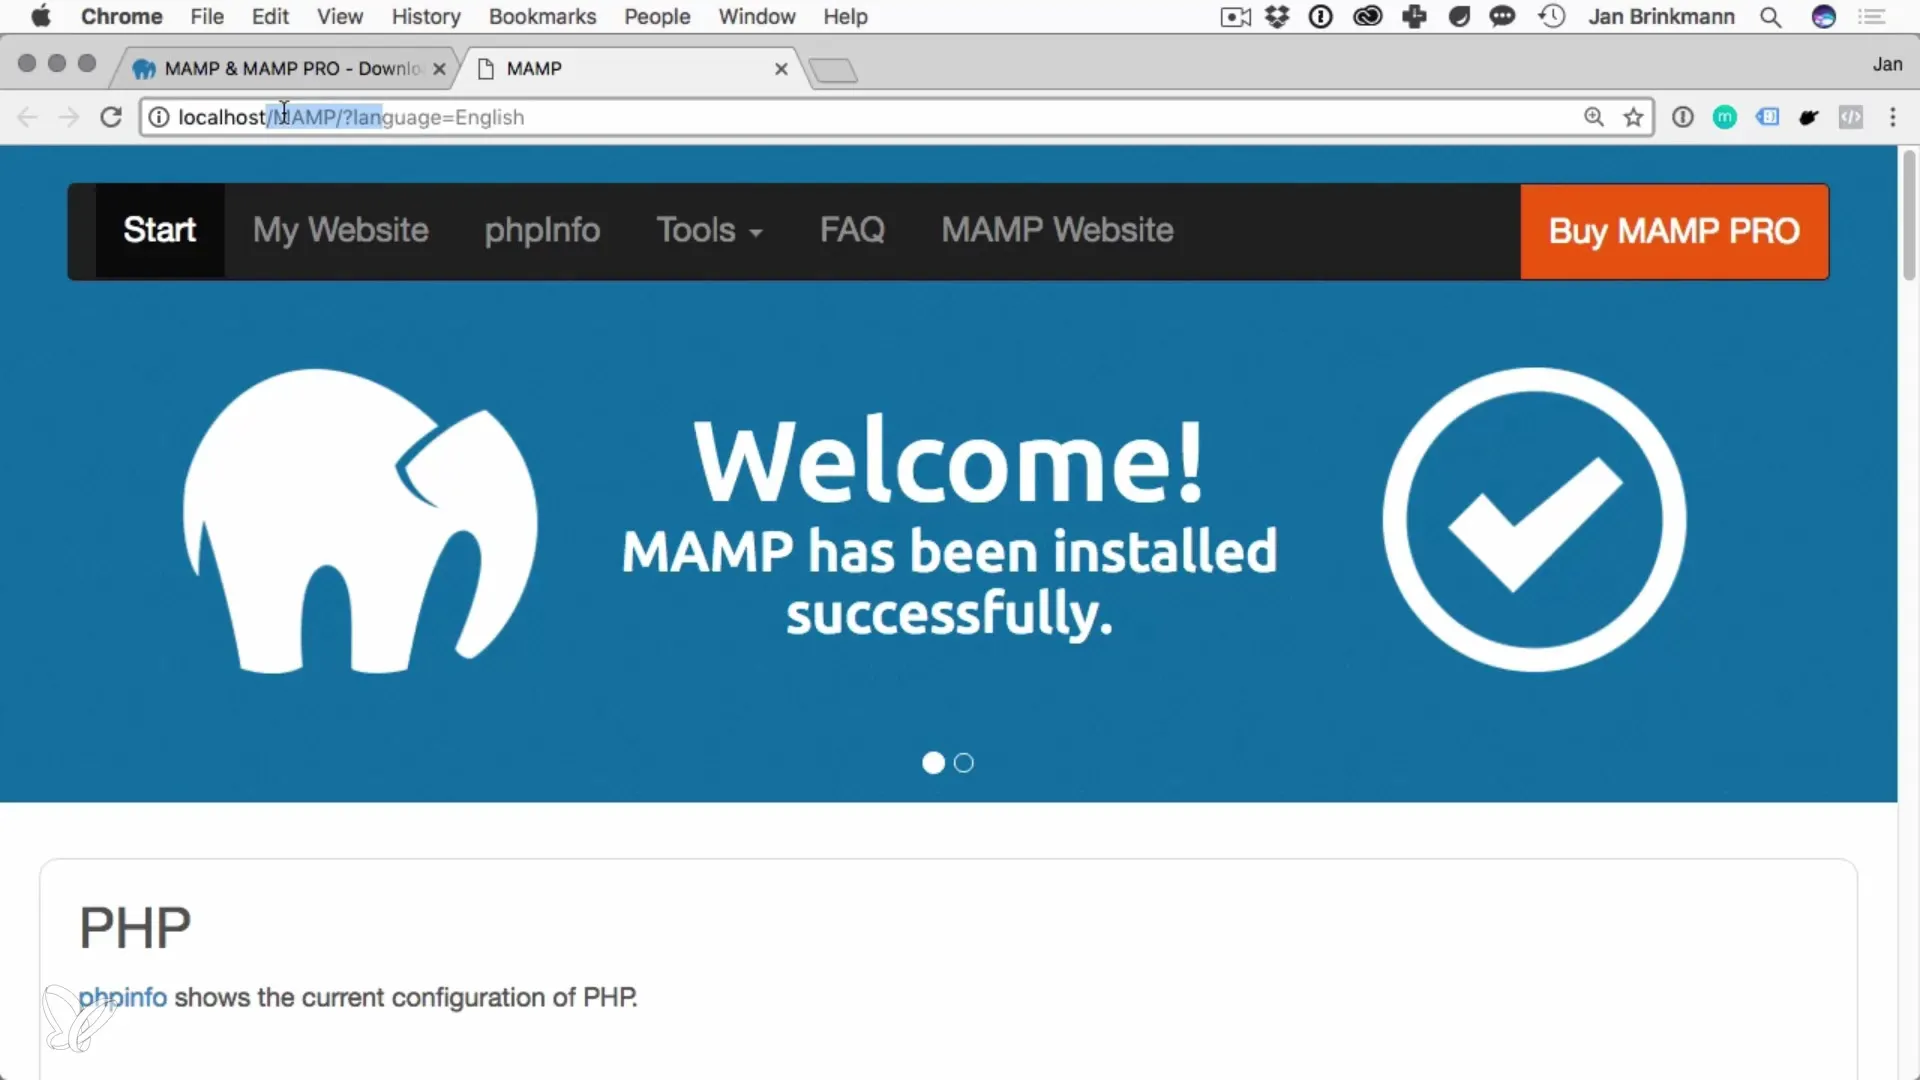
Now you are ready to start the MAMP servers. Just click the "Start Servers" button. MAMP should run without problems and you will receive a confirmation of the server status.
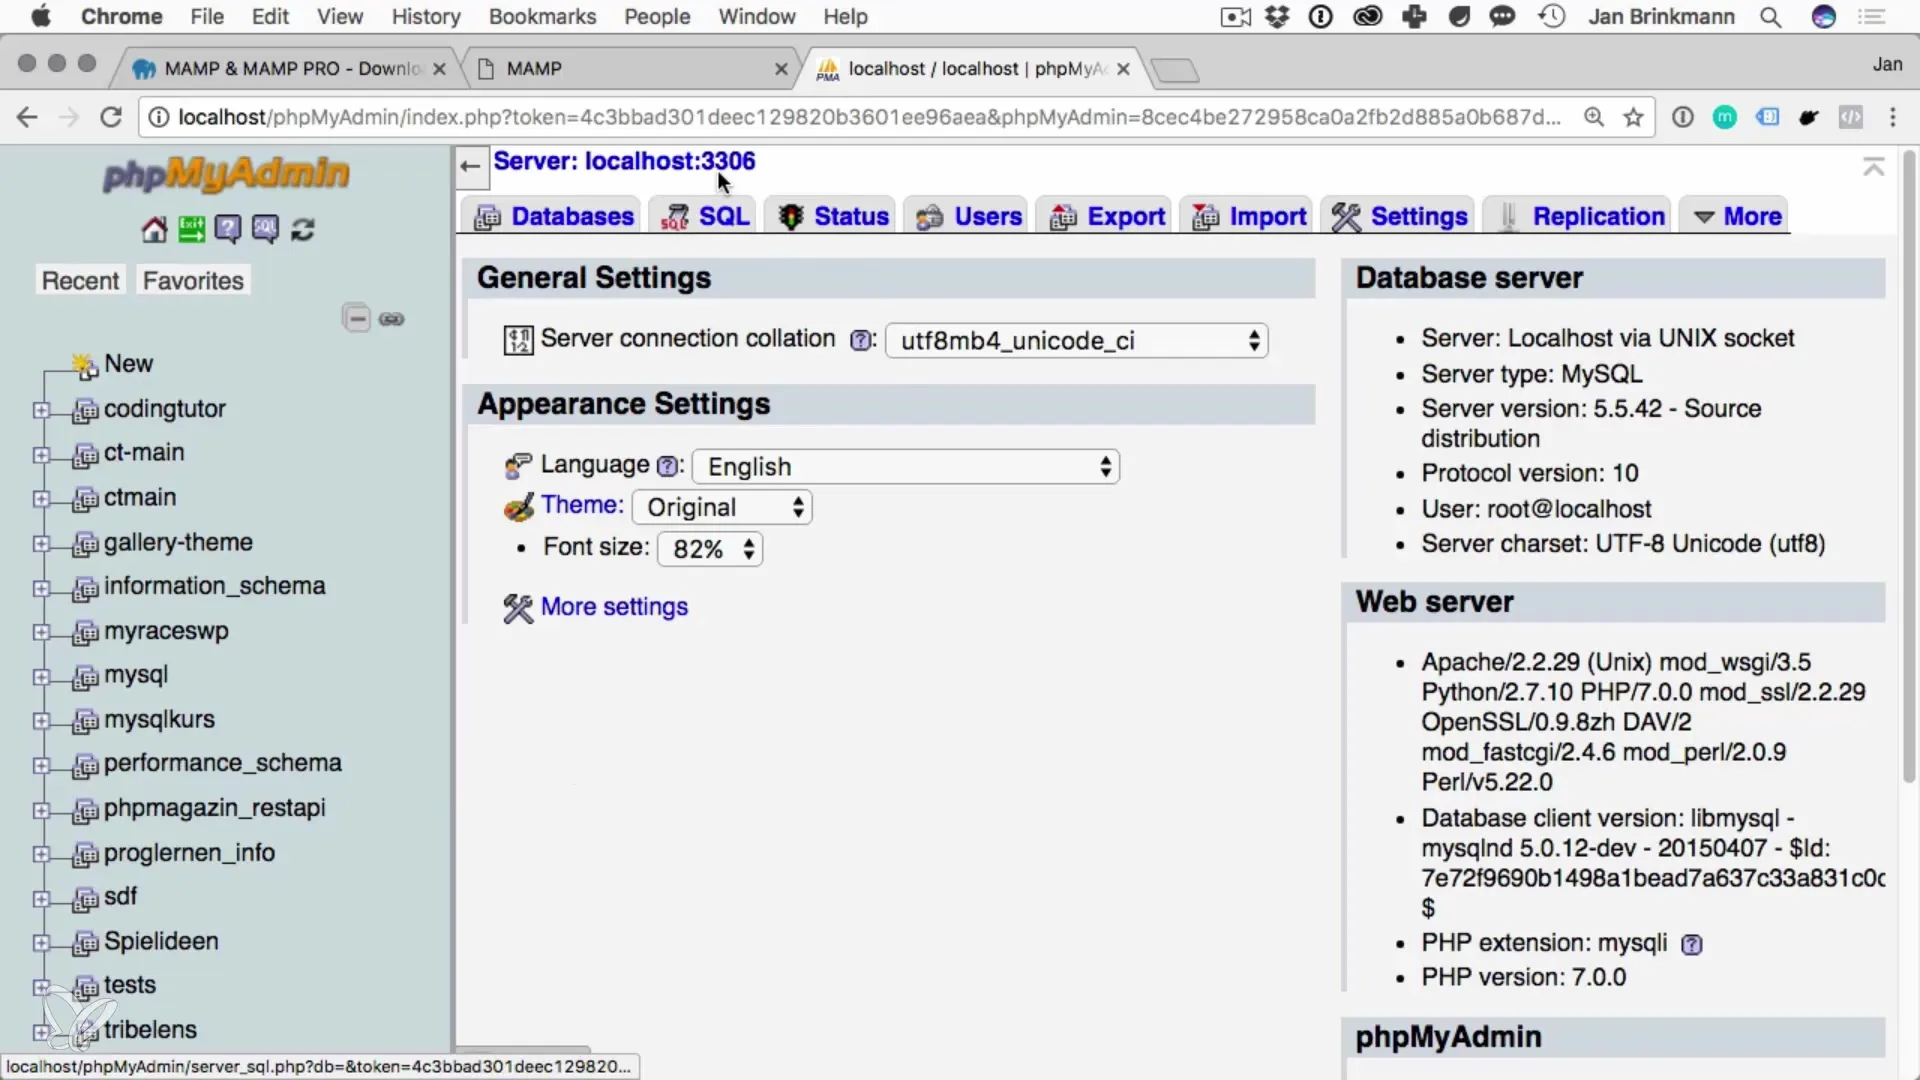
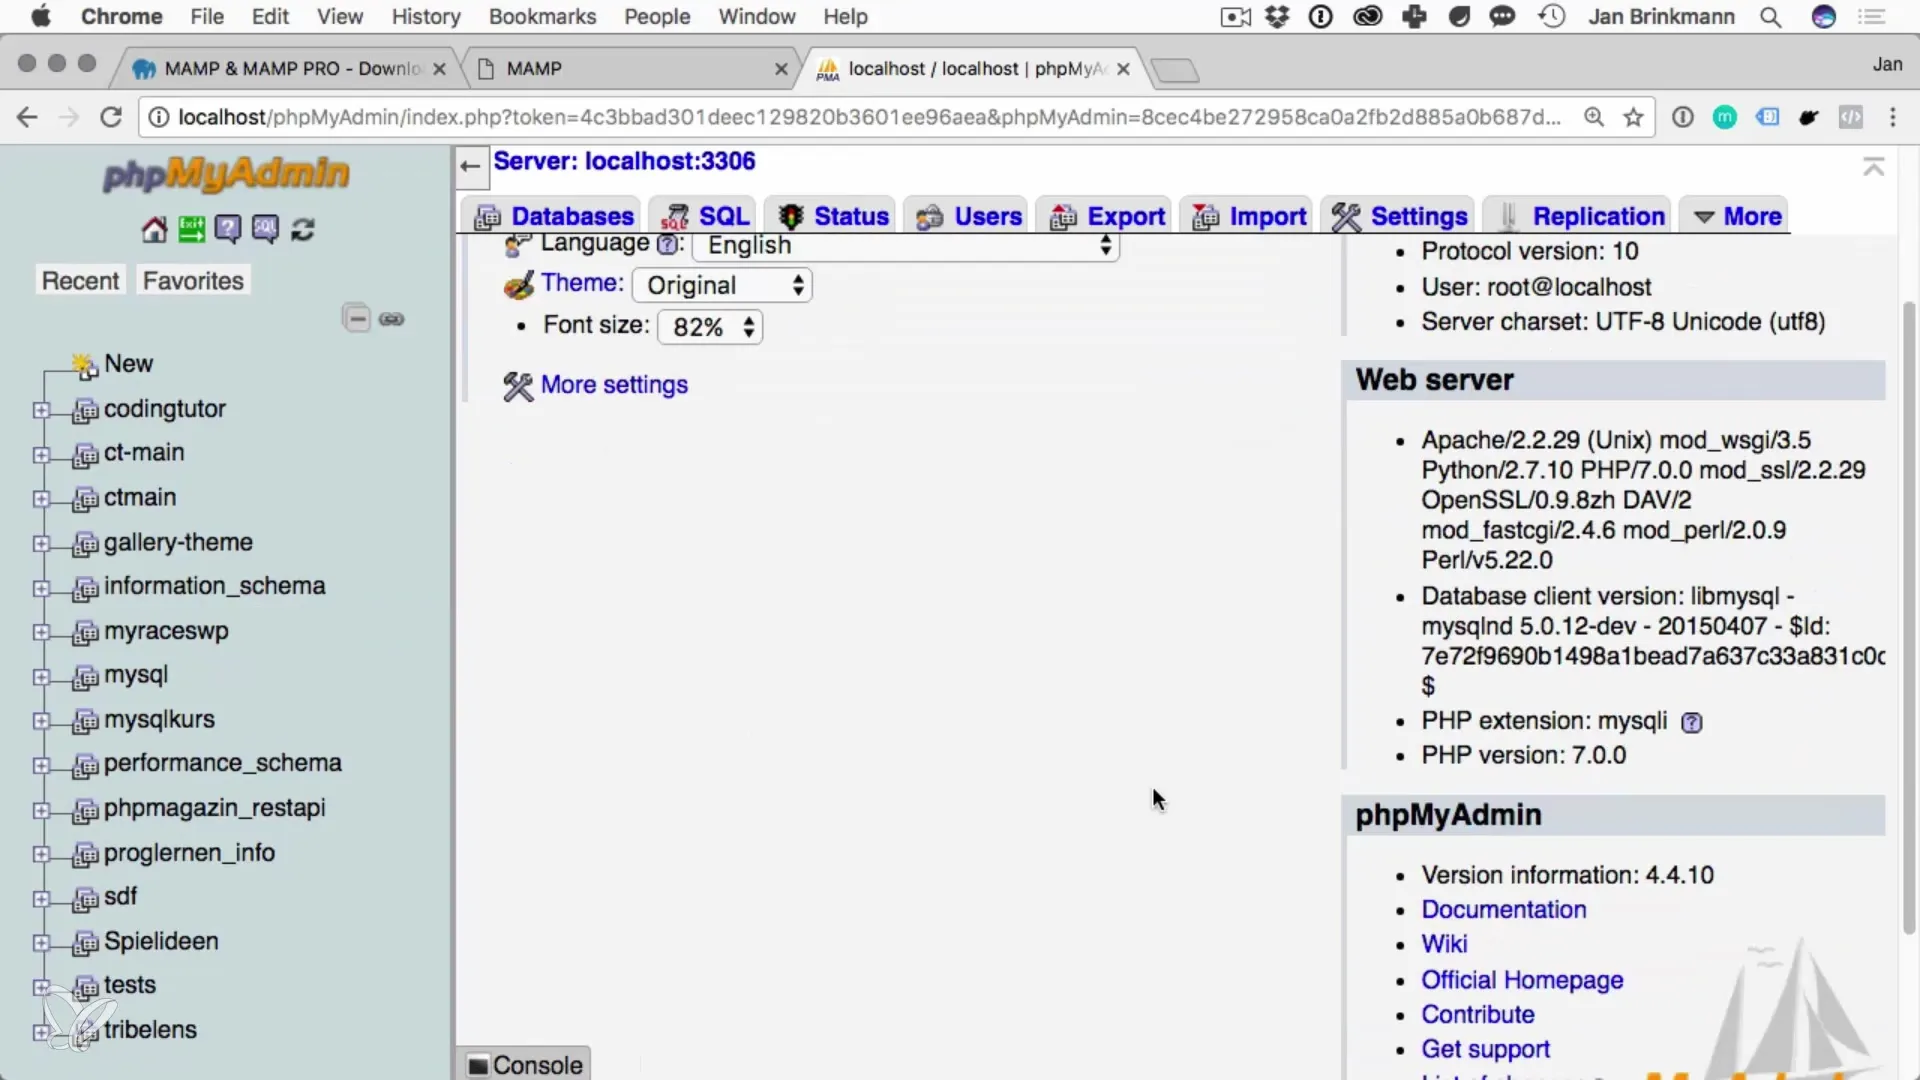
With MAMP, you can now also use phpMyAdmin, a fascinating tool for managing your databases. It allows you to easily create, modify, and delete databases, as well as manage users.
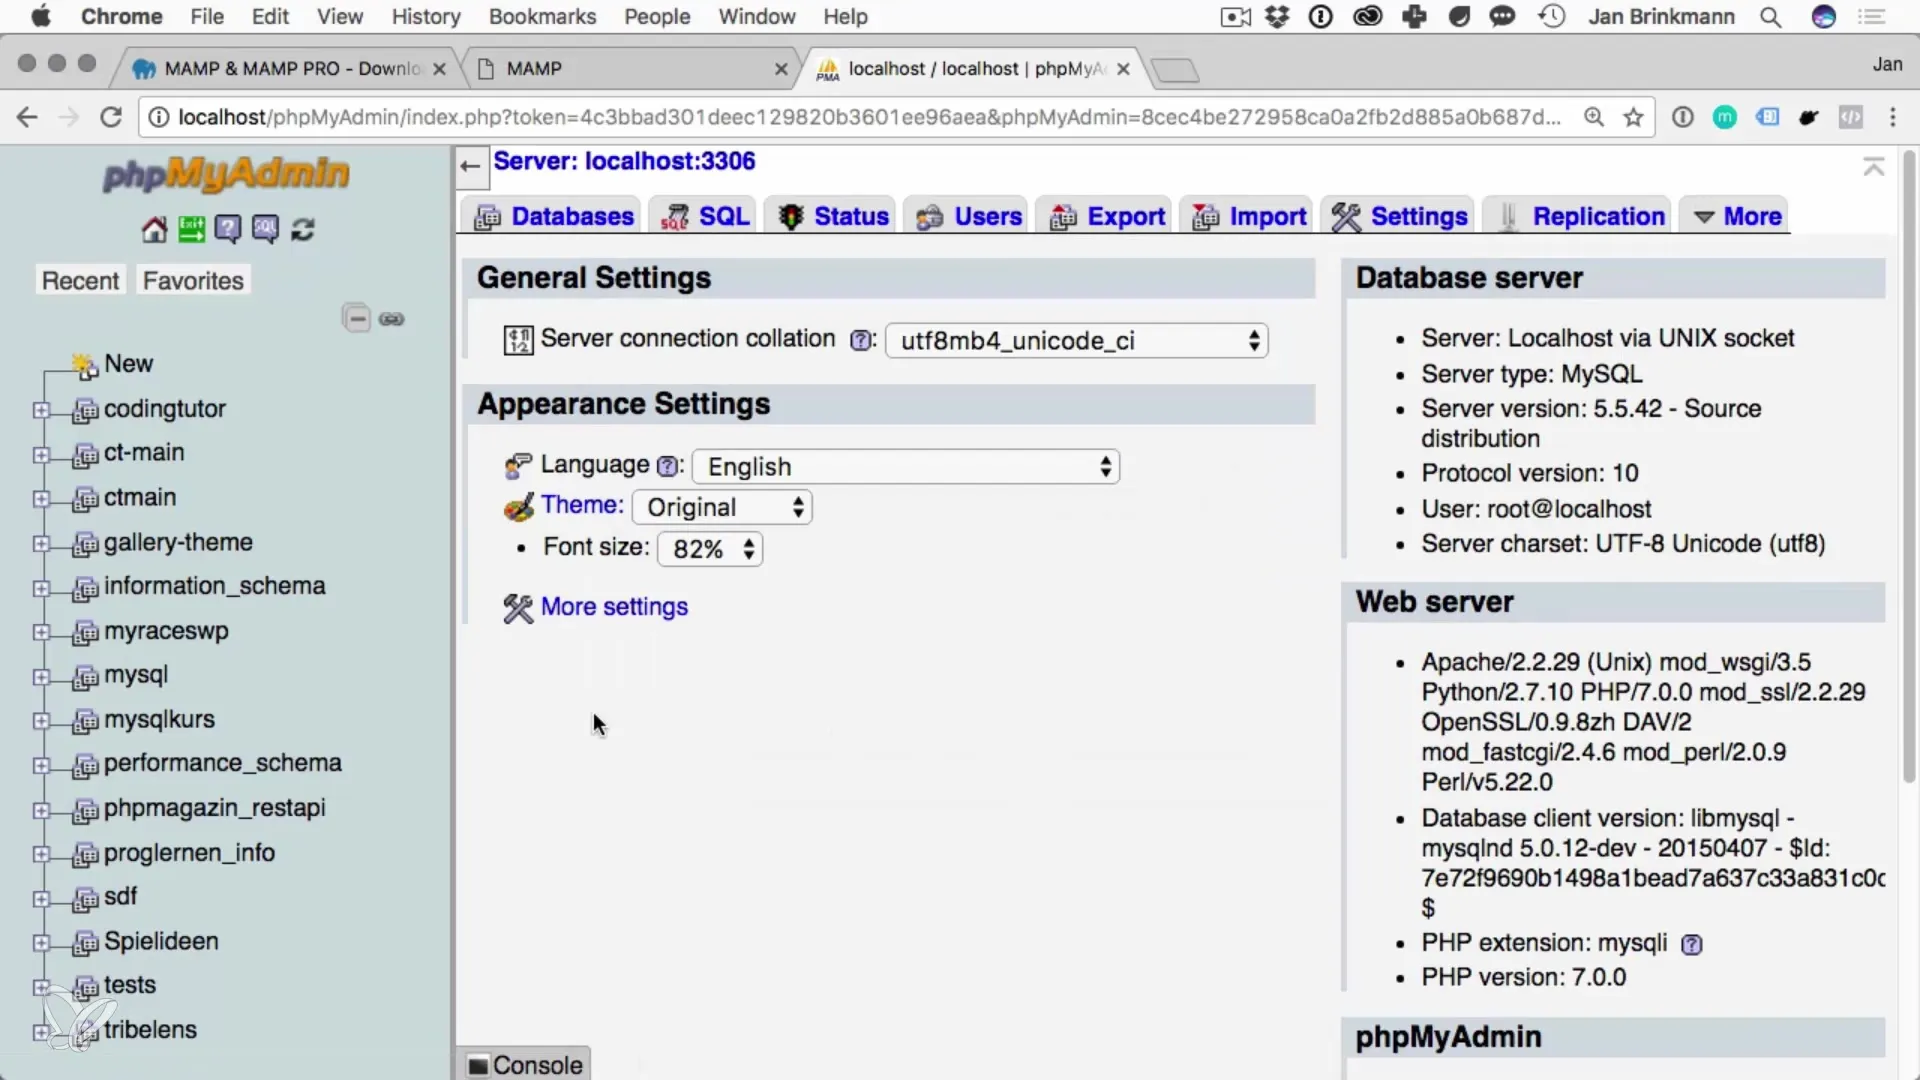
After installing and starting MAMP, MySQL is ready for use. You can access the database, create new databases, and start managing your database.
Summary – Installing MySQL on macOS
The installation of MySQL on macOS using MAMP is a simple and effective process. With this software, you have all the tools at your disposal to work locally with databases and execute your projects efficiently.
Frequently Asked Questions
How do I download MAMP?Visit the official MAMP website and download the free version.
Which ports do I need to set for MySQL and Apache?Set Apache to port 80 and MySQL to port 3306.
Do I need administrator rights for the installation?Yes, you need administrator rights to make certain settings during installation.
How do I manage my databases?Use phpMyAdmin, which comes with MAMP, to easily manage your databases.
Does MAMP work on Windows?The guide refers to macOS. However, MAMP also has a Windows version.
