It is time to take your first steps in the world of databases and create your own database. In this guide, we simplify the process by creating a basic database called "books" using PHPMyAdmin and adding some users. This guide will help you develop a better understanding of databases and prepare you for the upcoming challenges in Python programming tutorials.
Key Insights
- You will learn how to create a database and work with tables.
- You will gain insights into defining primary keys and identities.
- You will learn how to set user permissions for your database.
Step-by-Step Guide
First, you need to ensure that you are in PHPMyAdmin. Start your local server, e.g., MAMP, and then open PHPMyAdmin via localhost. Here we will begin creating our database.
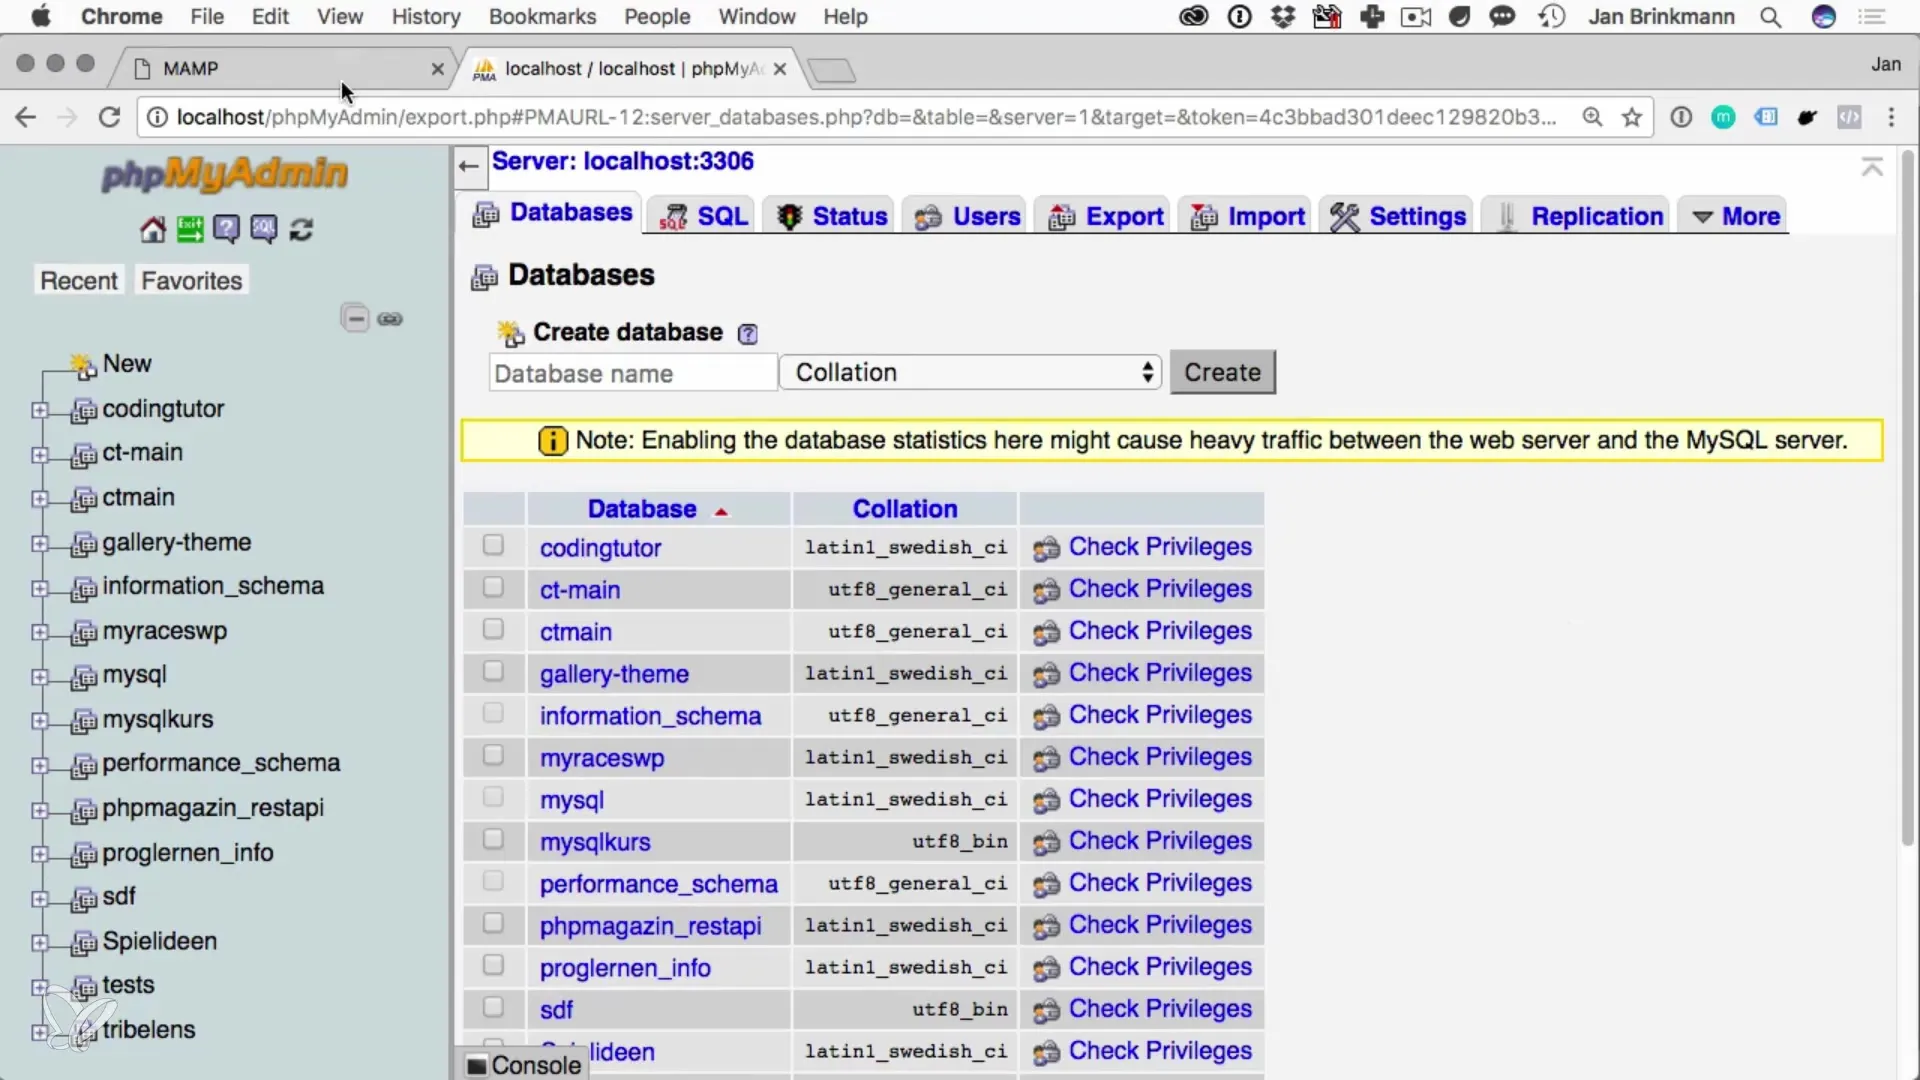
Now we look for the "Databases" tab in the menu and click it to create a new database. You will see a field where you can enter the name of your database. Call it "books". Before you create it, choose the correct collation to ensure that the database is Unicode-compatible. UTF-8 is usually the best choice.
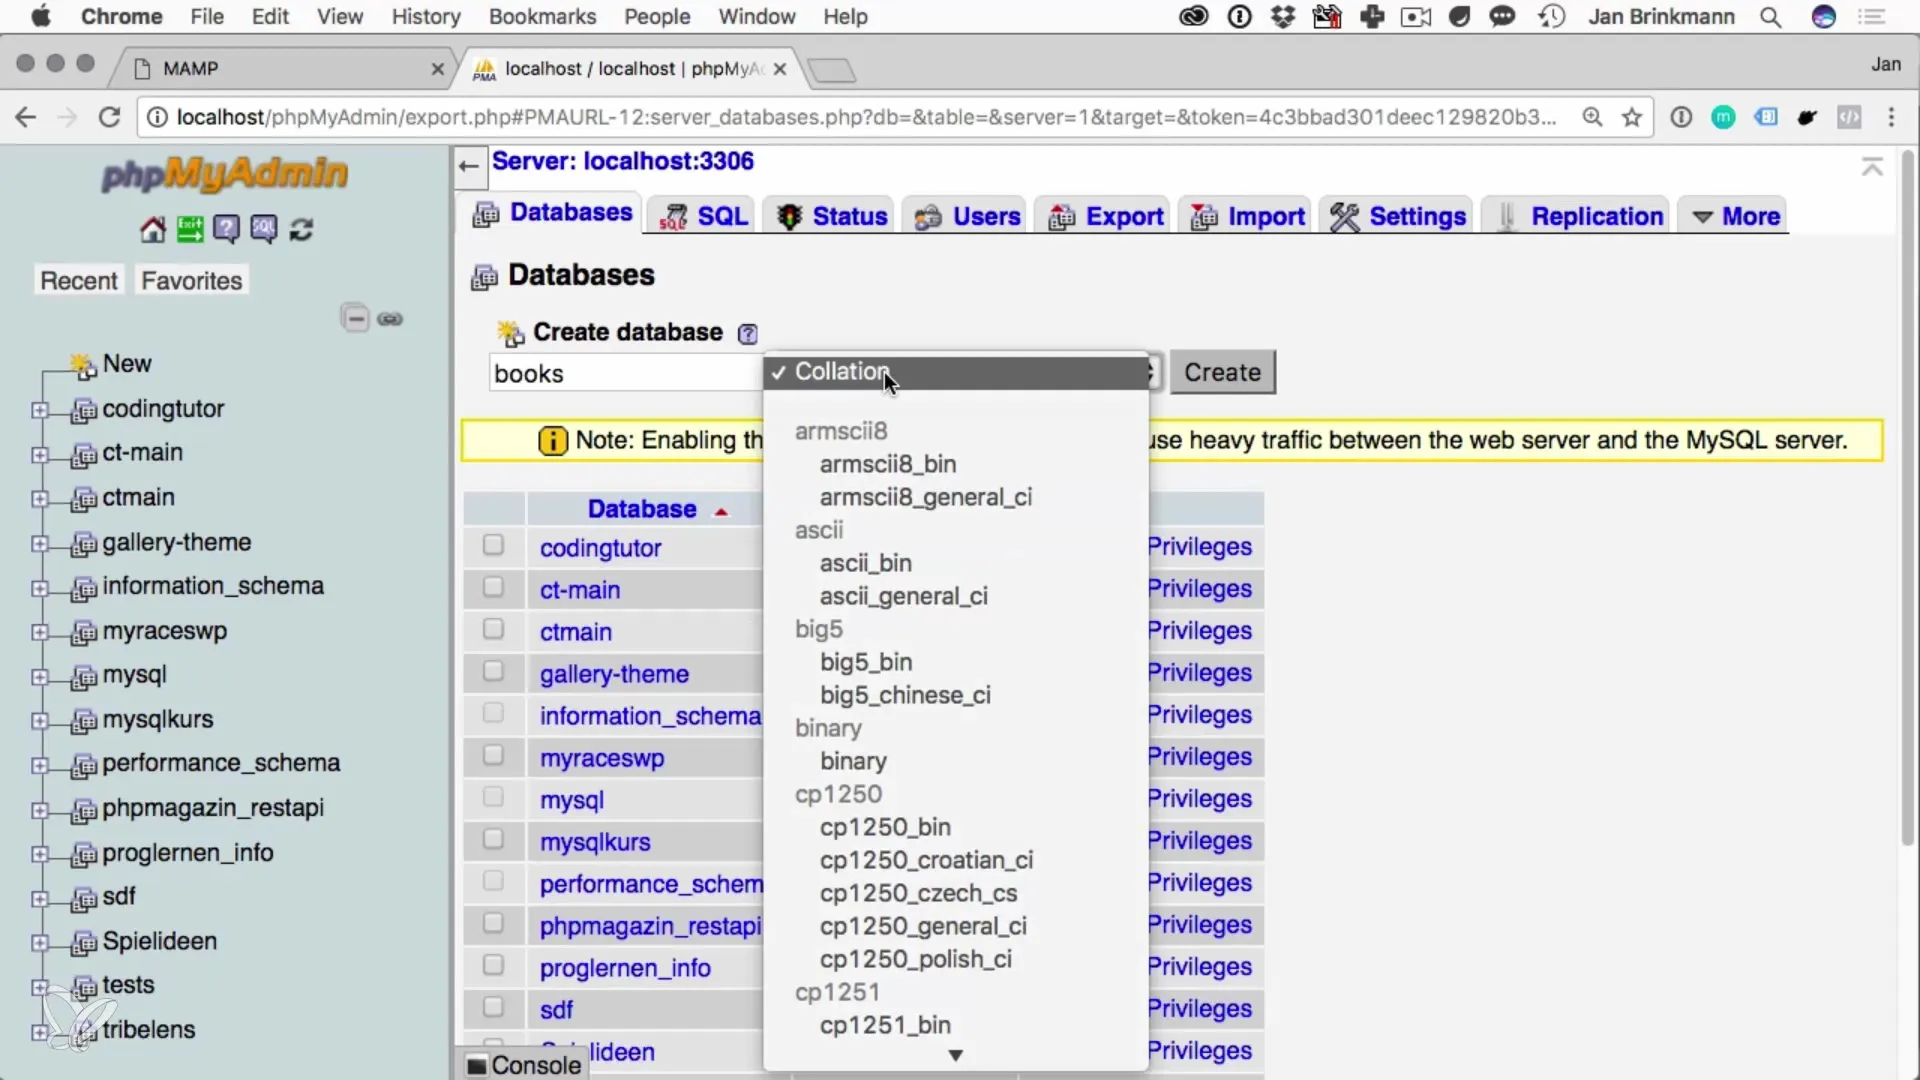
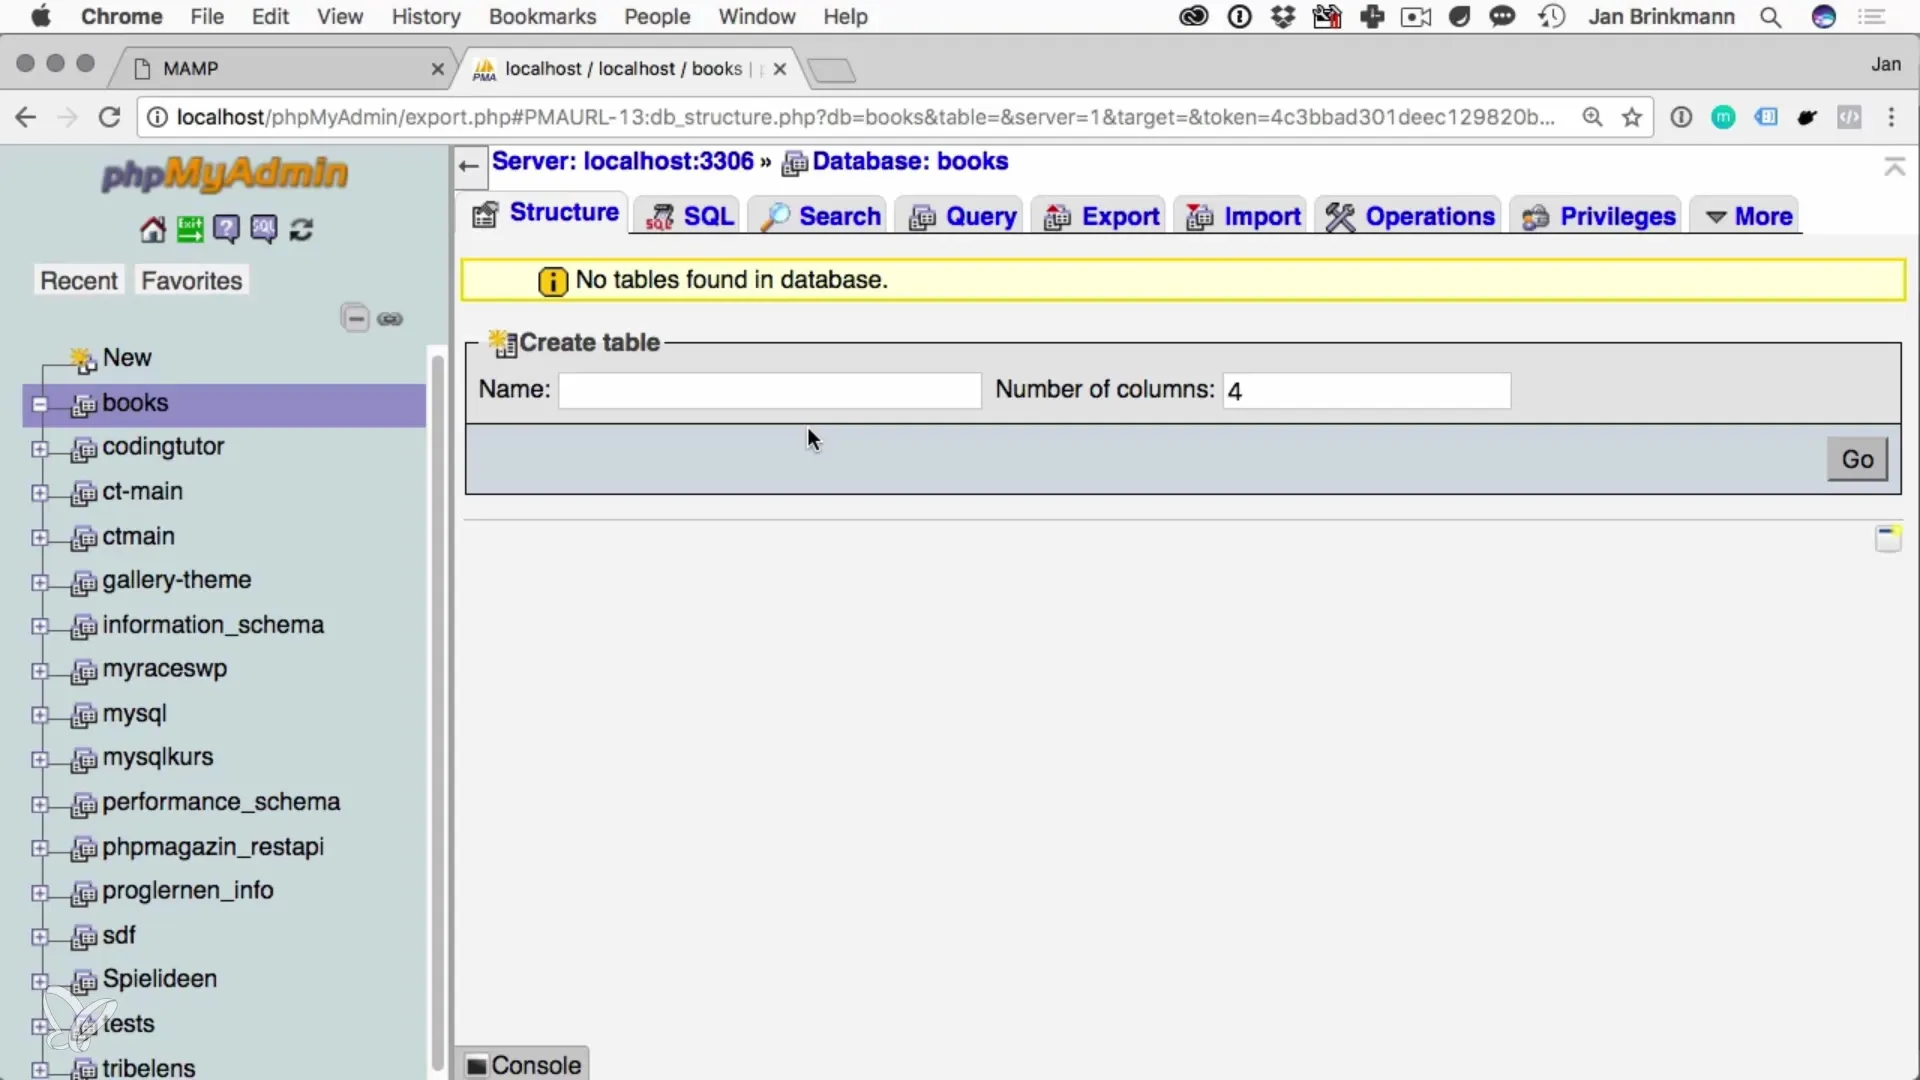
Once you have selected the collation, click on "Create". Your database will now appear in the left sidebar, but still without any tables. To create a table, click on the newly created database and go to "Create Table". Enter the name of the table as "books" and define the number of columns, let's say three, and then click on "Go".
Now you see several fields where you can enter the column name and type. The first column name should be "ID". This will be your primary key column. Set the data type to "INT" and enable the "Auto Increment" option. This will automatically assign each new entry a sequential ID. This is particularly important as it allows each record to be uniquely identified.
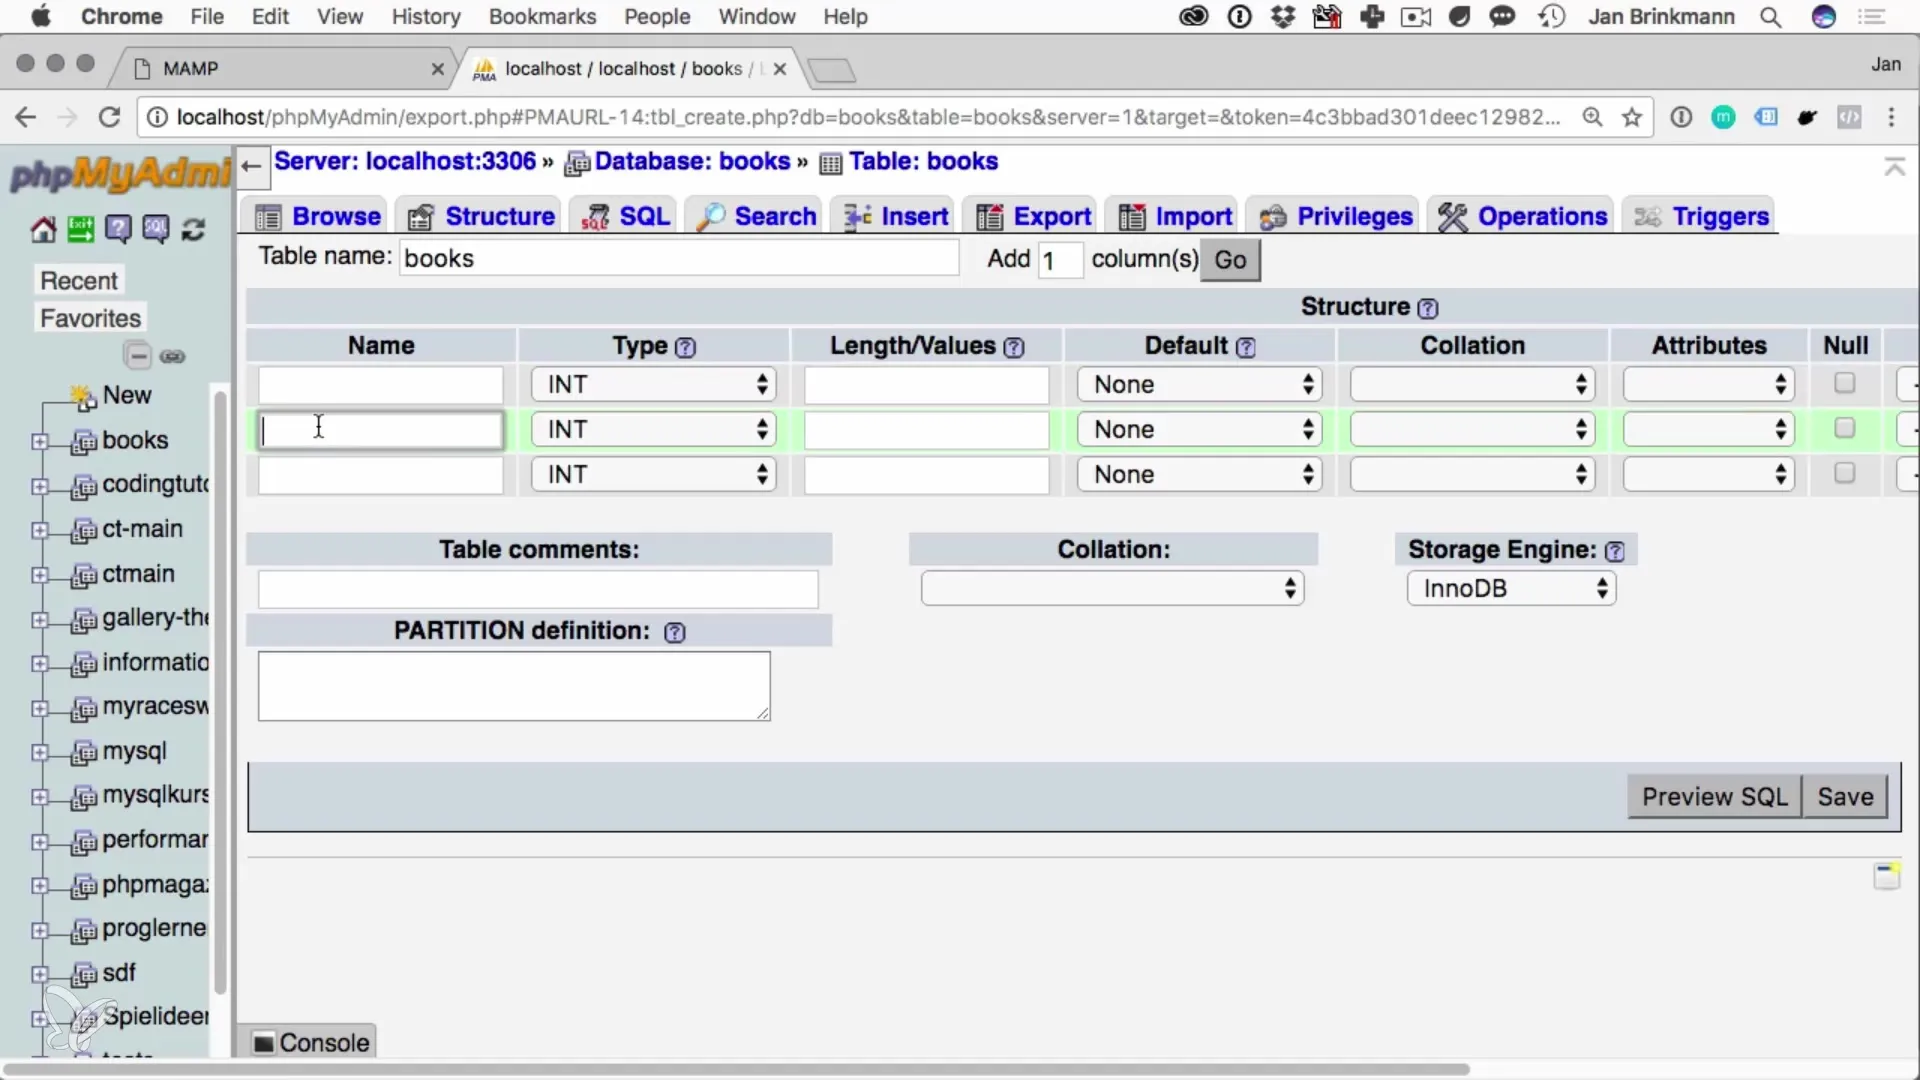
The next column should contain the book's title, for which you will use the data type "VARCHAR", and specify a maximum length of 255 characters. The third column is intended for the book's author, and here you will also use the type "VARCHAR".
After you have defined all the columns, click on "Save". Your table is now created. To ensure that everything works correctly, you can check the table columns on the Structure tab and see the column names you just entered.
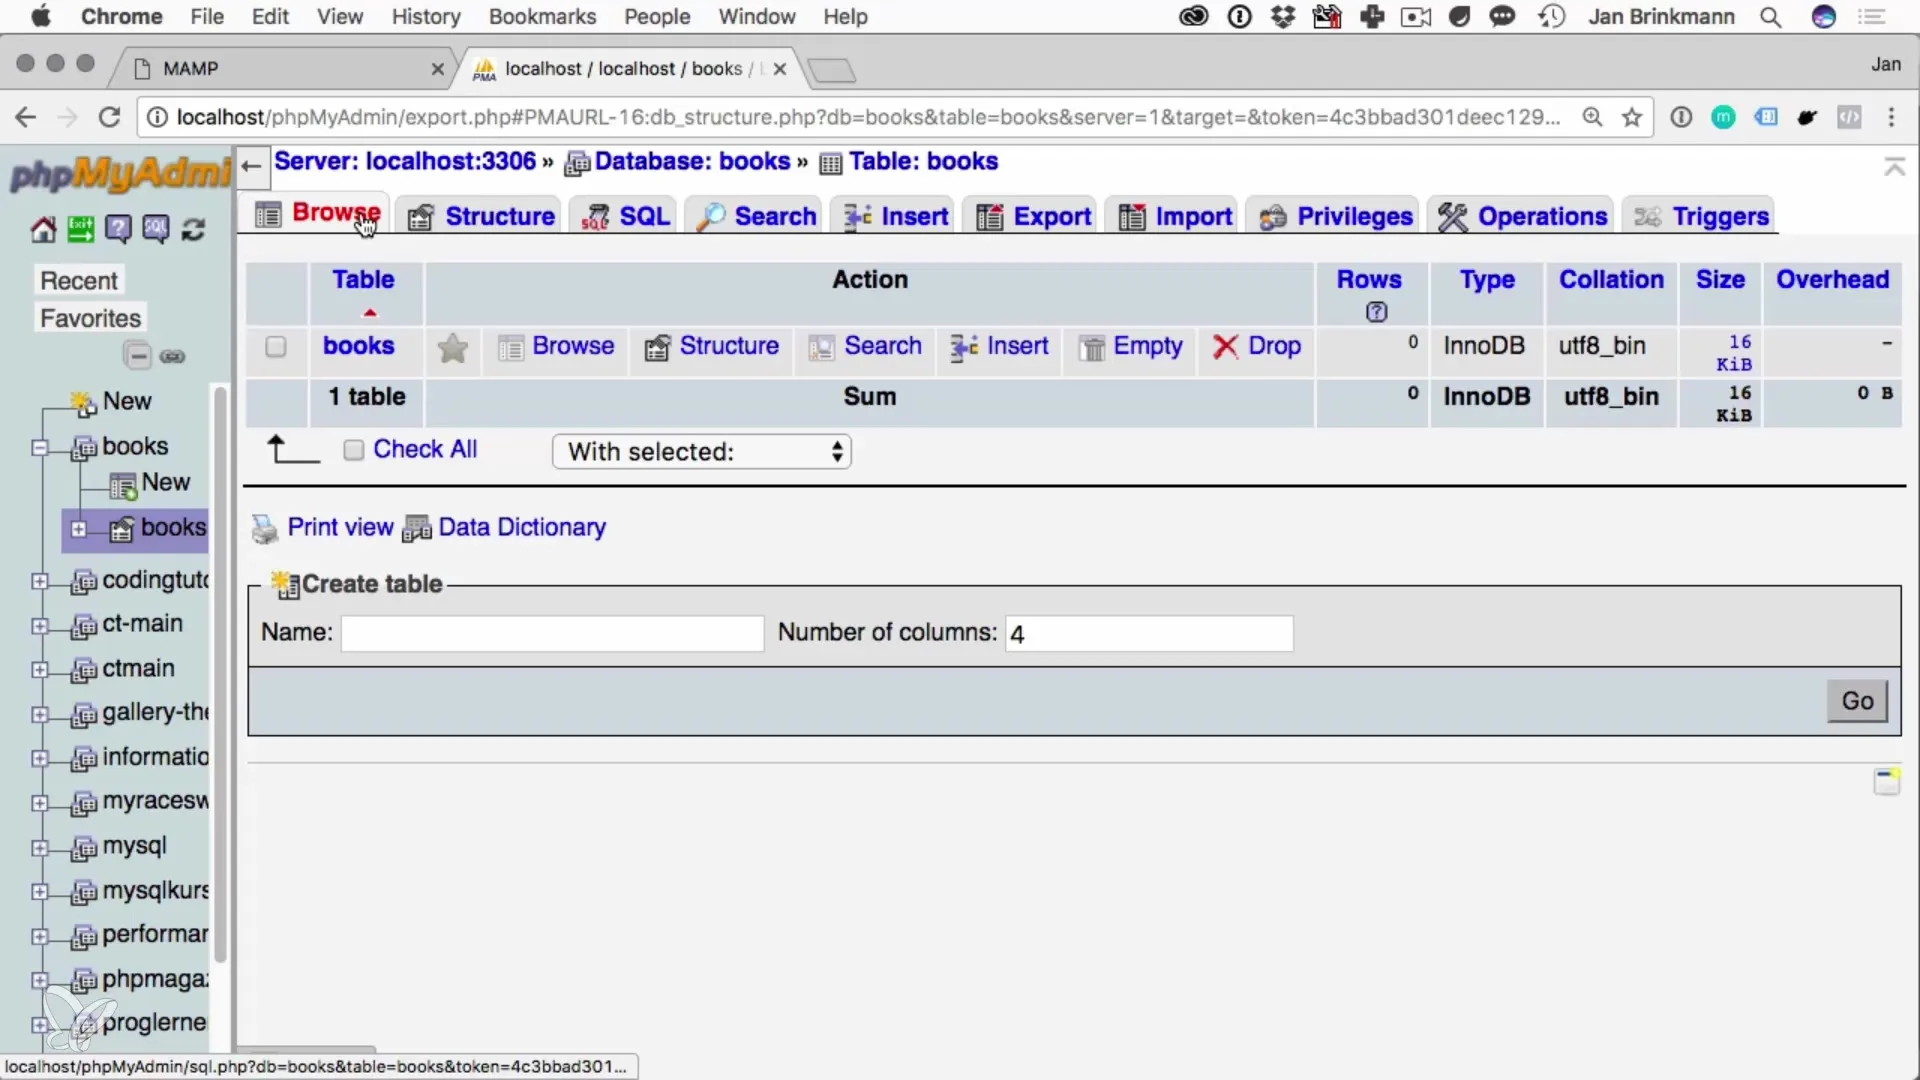
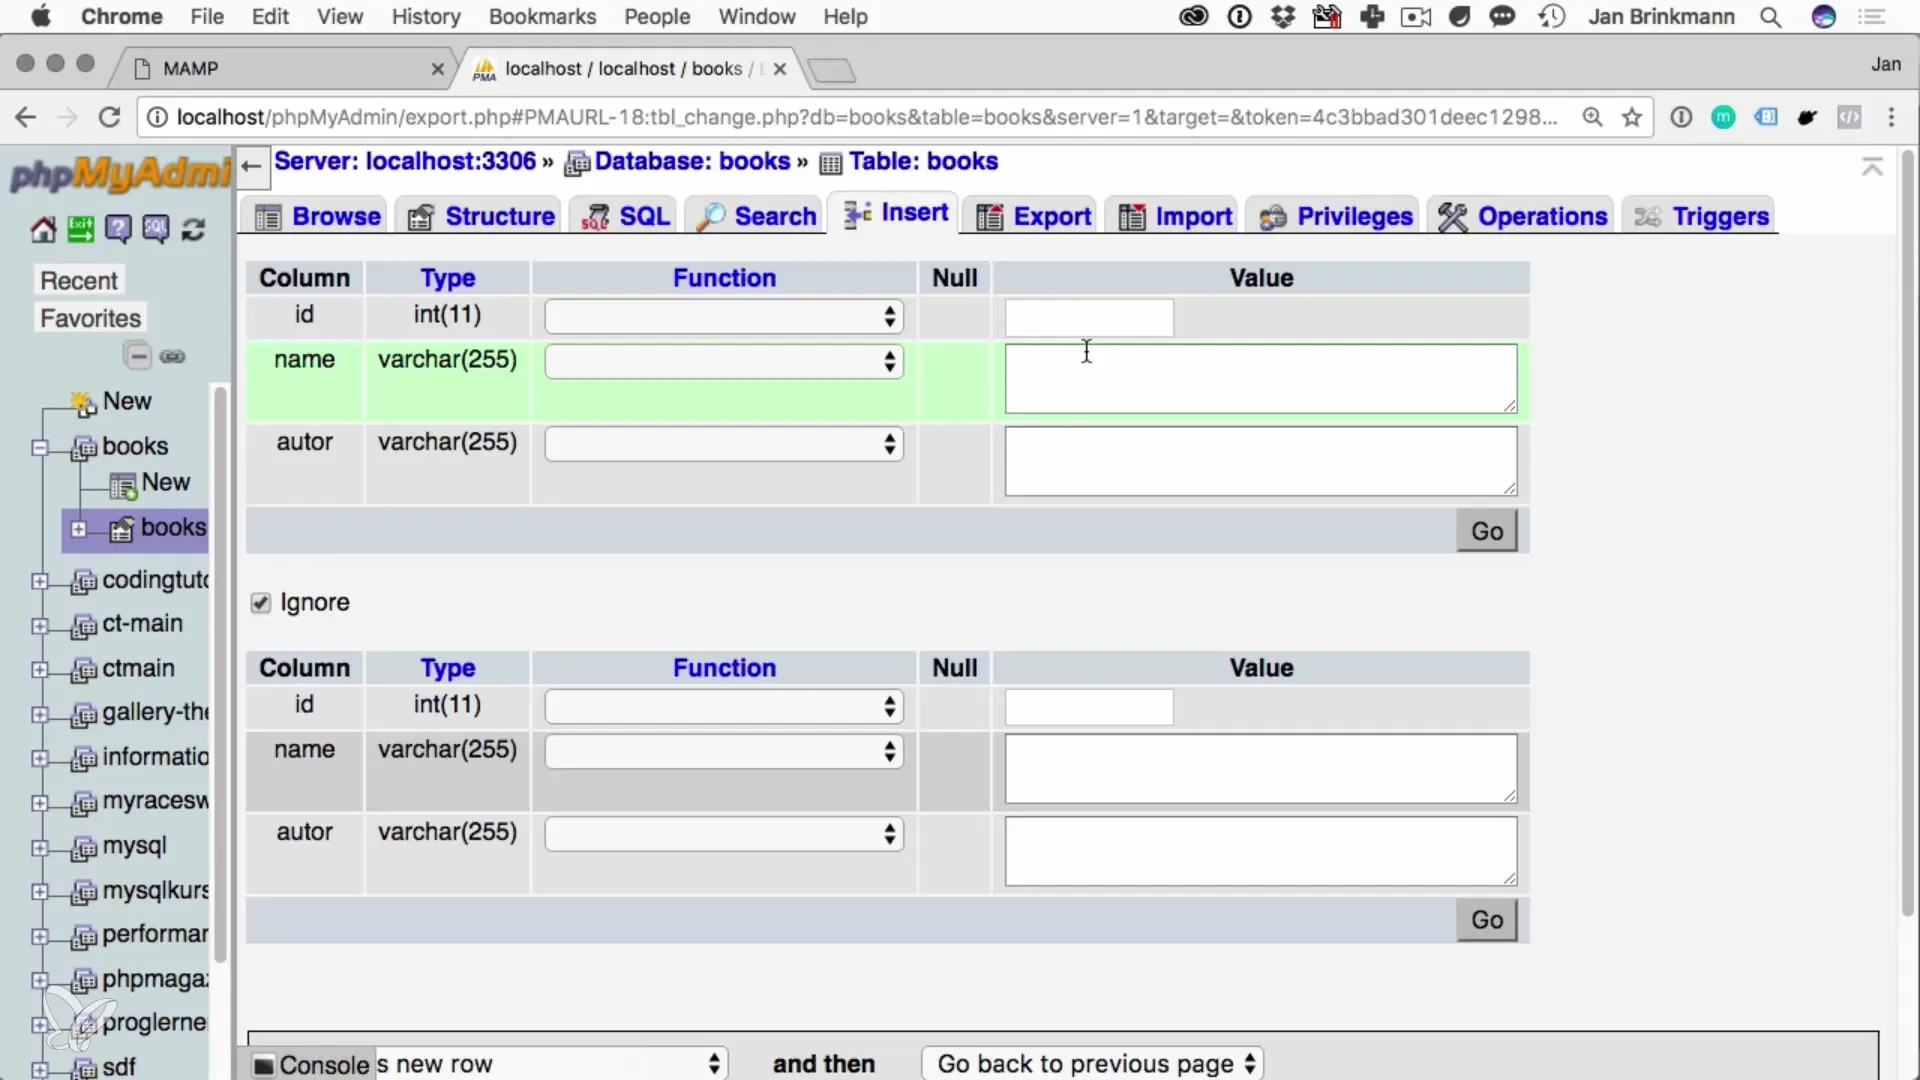
Now we want to insert some data into our "books" table. To do this, click on the table name and select "Insert". Leave the ID field empty so that the ID is automatically assigned. Now enter the following example books: "The Lord of the Rings" by J.R.R. Tolkien and "Just for Fun" by Linus Torvalds.
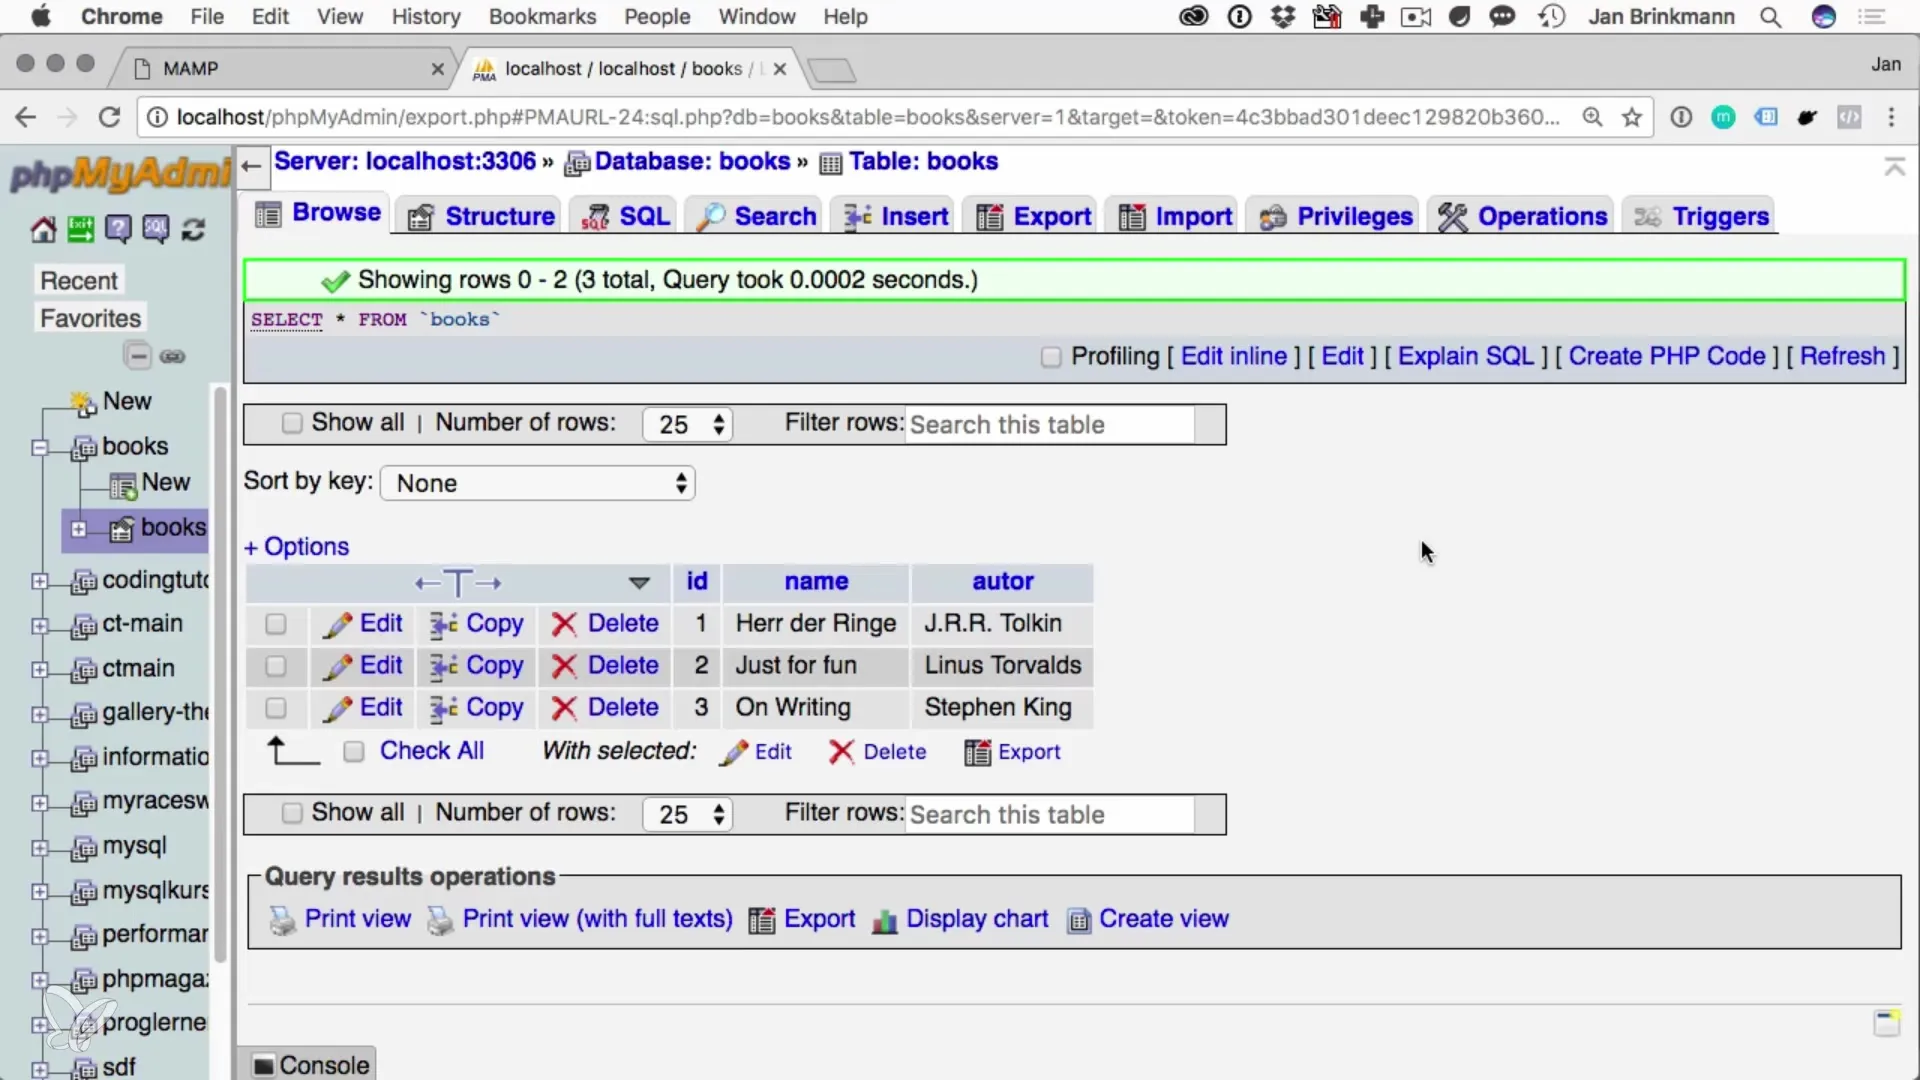
After you have entered this data, you can go back to the "Browse" tab to see the contents of your table. Here you can ensure that your entries are displayed correctly and as expected.
Now that you have your database and table, you want to add a user to access the database. Go to "User Accounts" and create a new user. Name it "TestUser" and set the password to "TestPass". Make sure the host is set to "localhost".
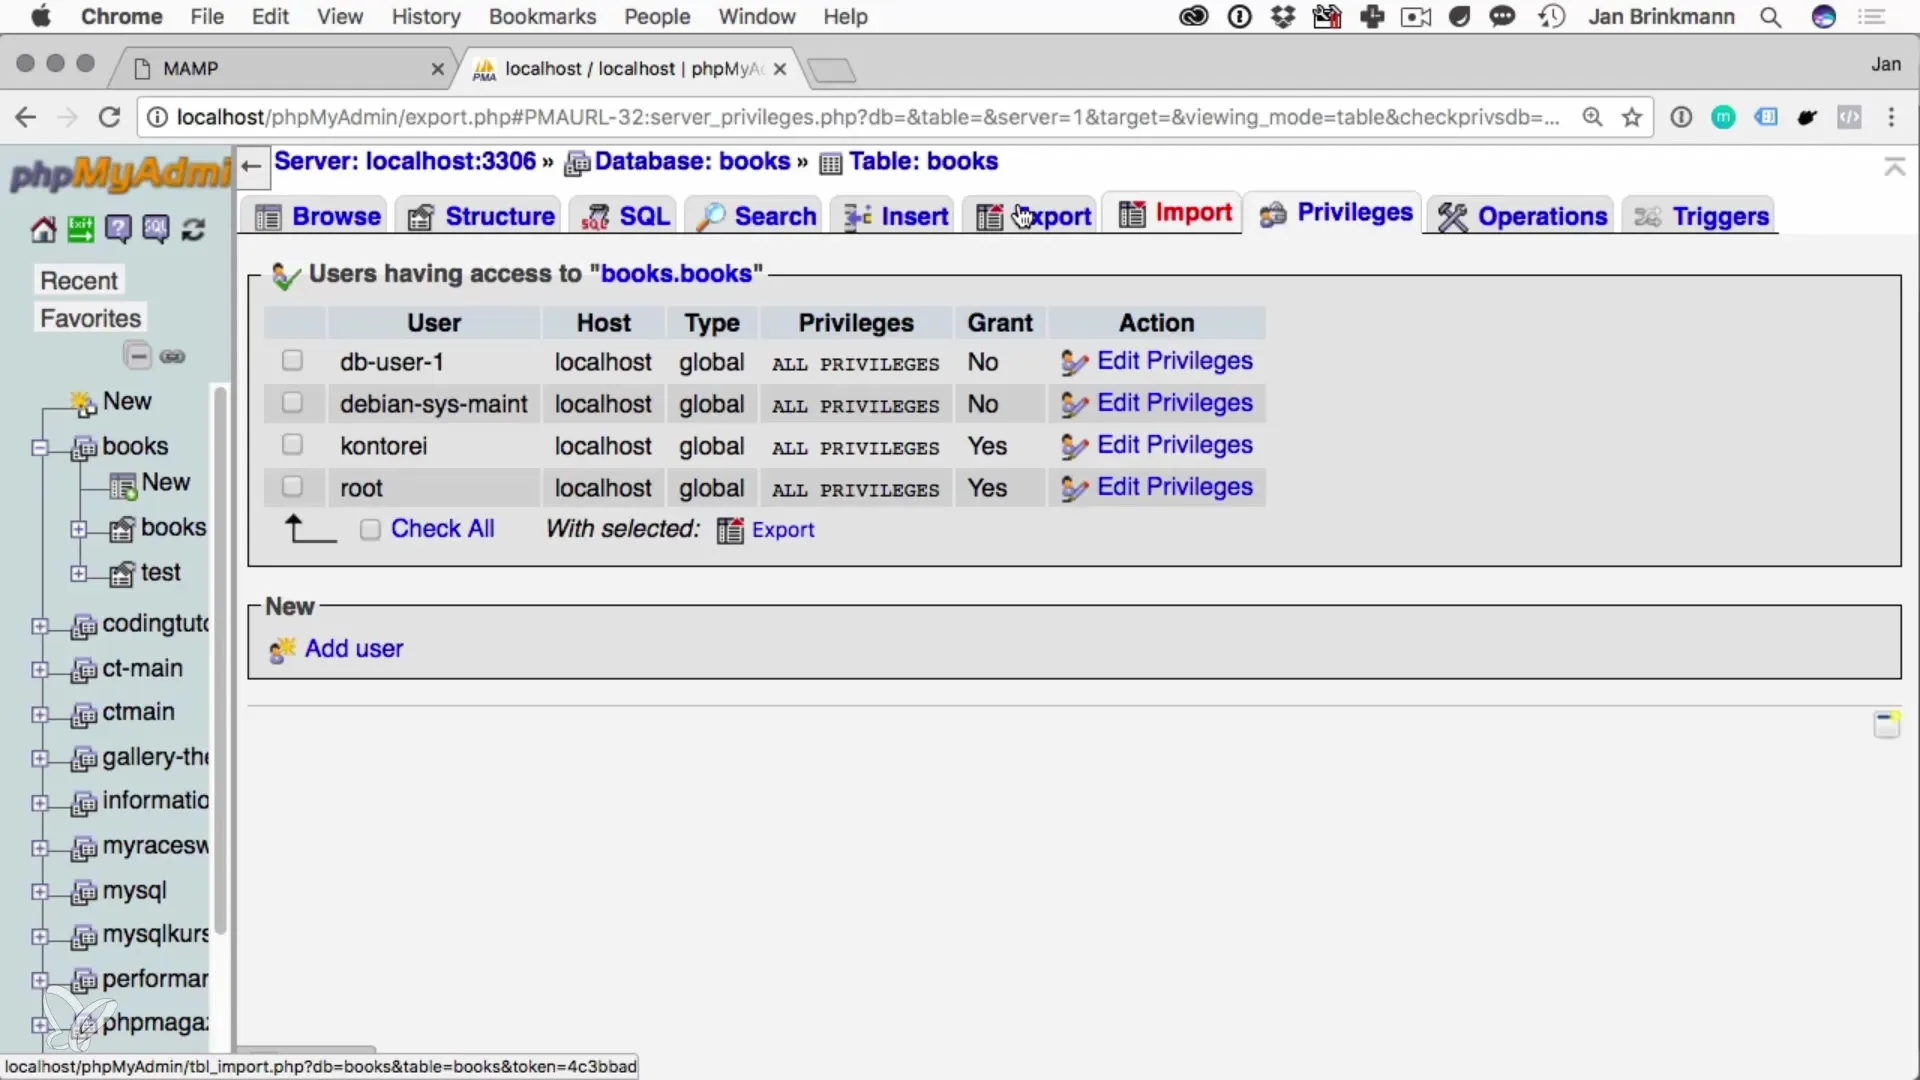
Now it is important to grant this user the correct permissions. Select "Grant all privileges on the database books". This way, the user can work on this specific database without access to all other databases. This is an important security aspect that you should consider.
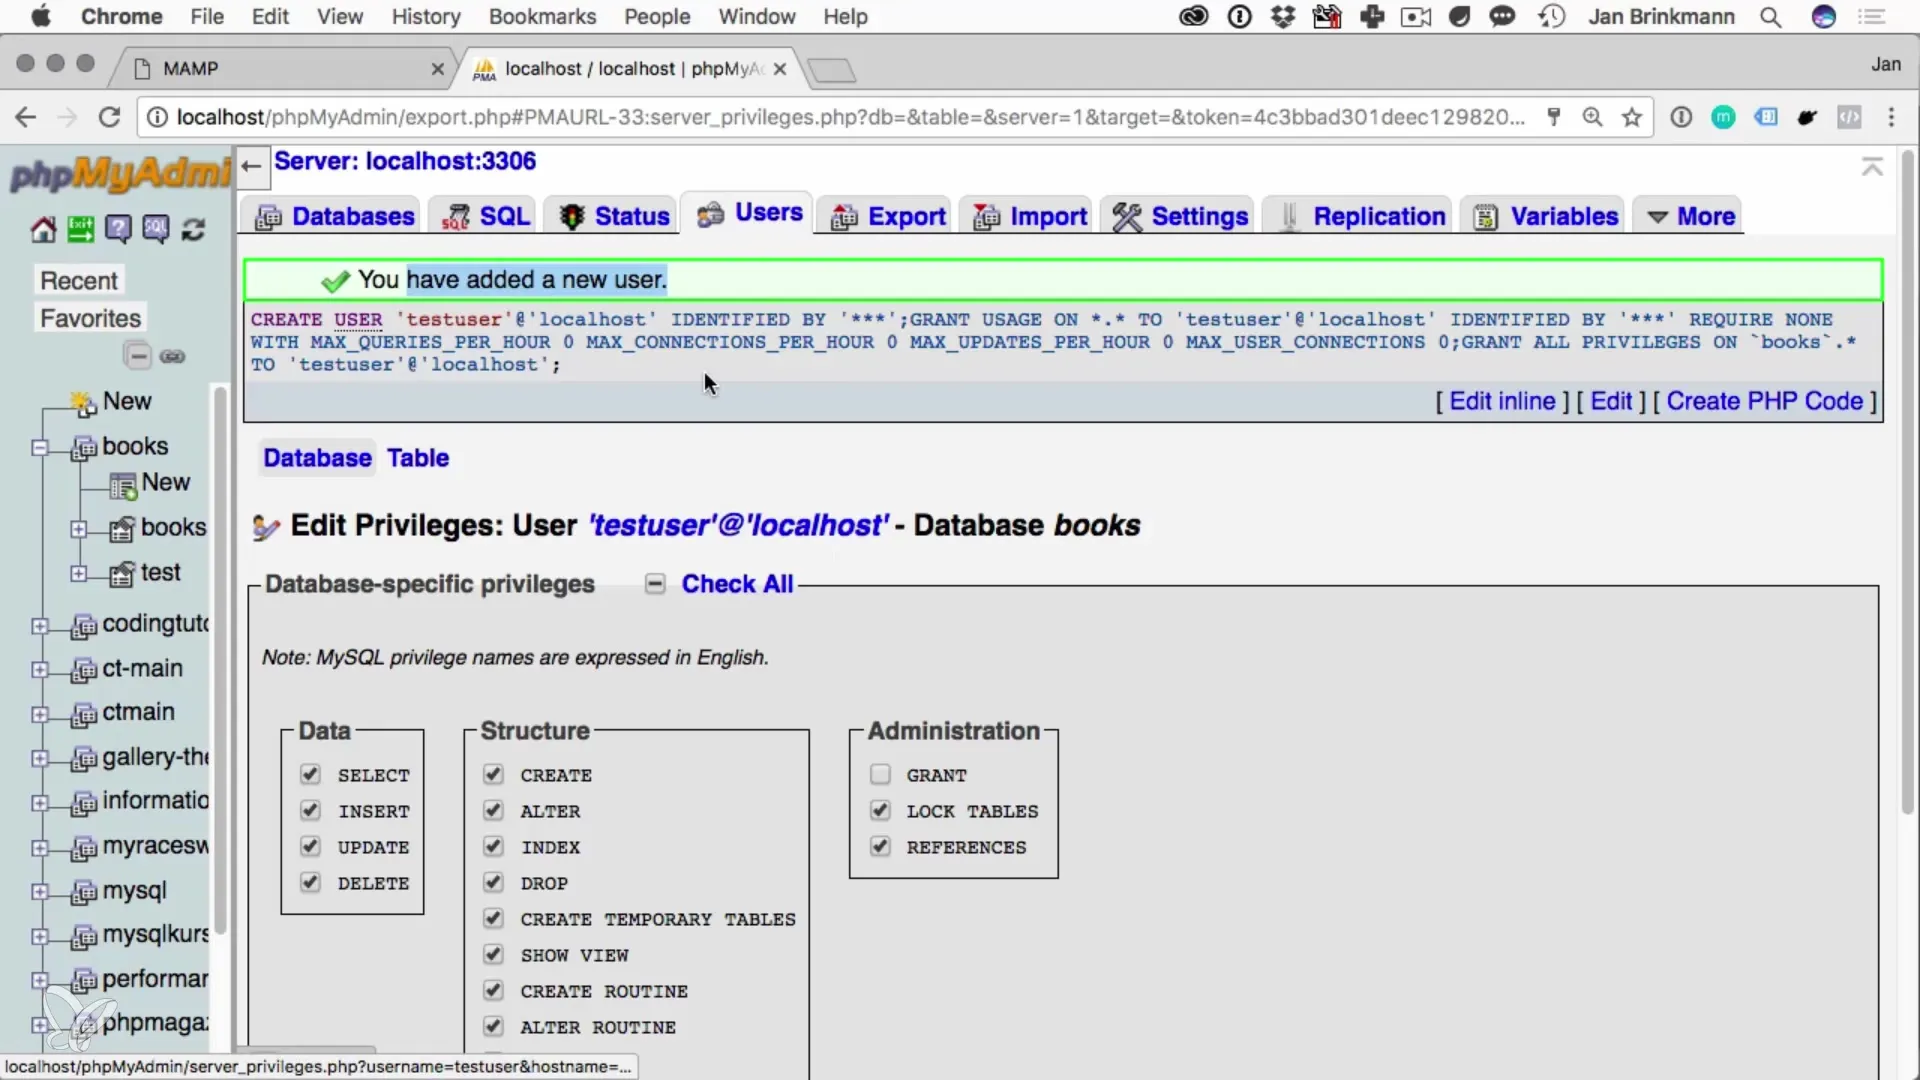
Once the permissions are set, save the user and start working in your database. You can use SELECT statements to retrieve data or other SQL commands to perform updates.
Summary - Creating a Database with Python: A Simple Guide
You have successfully created a database, set up a table with data, and managed user access. All these steps serve as a foundation for further programming and working with Python.
Frequently Asked Questions
What is PHPMyAdmin?PHPMyAdmin is a web-based application for managing MySQL databases.
How do I create a database in PHPMyAdmin?Log in to PHPMyAdmin, go to "Databases", enter a name, and click "Create".
What is a primary key?The primary key is a unique identifier for each row in a database table.
What permissions can I grant a user?You can set read, write, and many other specific permissions for database users.
How do I insert data into a table?Select the table, go to "Insert", and enter the required information.


