You want to install MySQL on your local computer running Windows? This guide shows you step by step how to proceed. MySQL is a widely used database that is utilized for many applications. It is particularly useful if you want to work locally with databases and run a web server, for example.
Main insights
- MySQL can be easily installed and used.
- The installation is performed via a user-friendly setup.
- You might consider additional software like Apache or PHP to achieve a complete development stack.
Step-by-Step Guide
Step 1: Download MAMP
First, you need the software MAMP, which allows you to install MySQL on your Windows computer. Go to the website memp.info and navigate to the downloads.
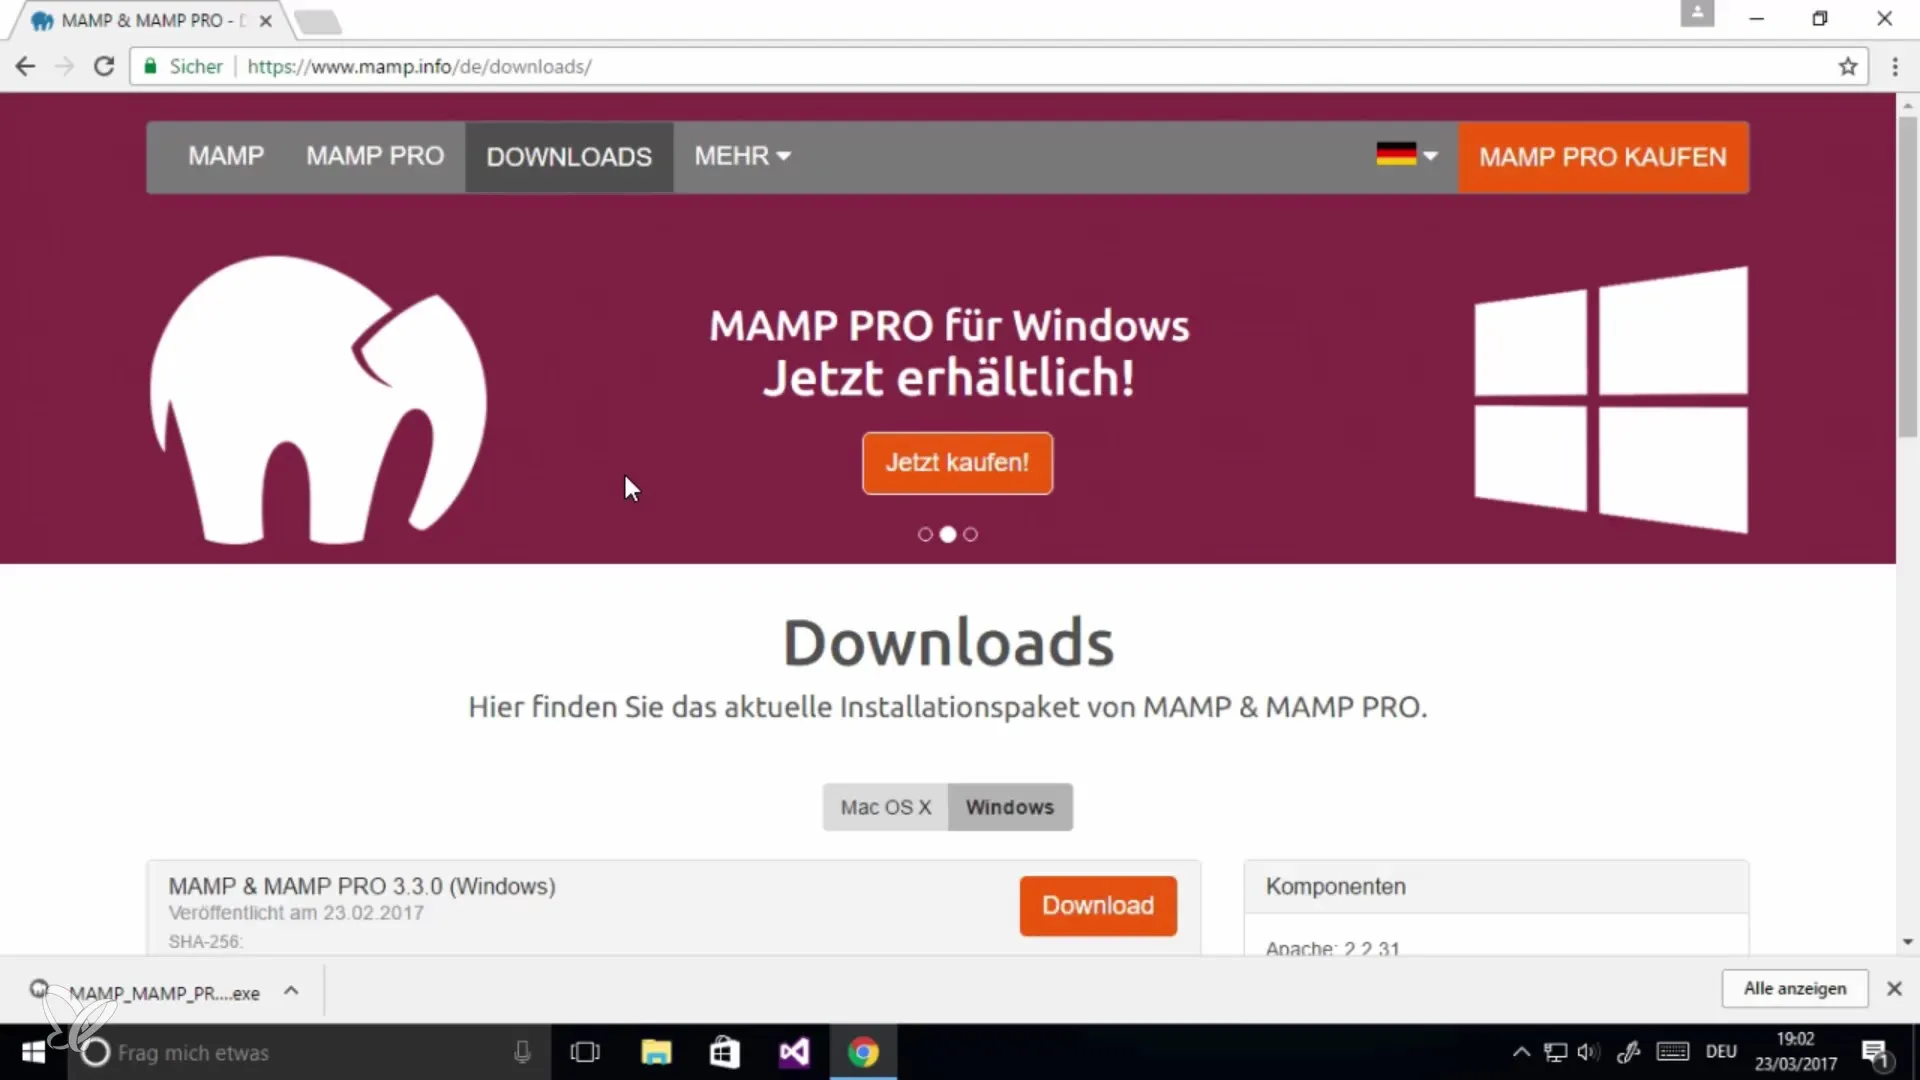
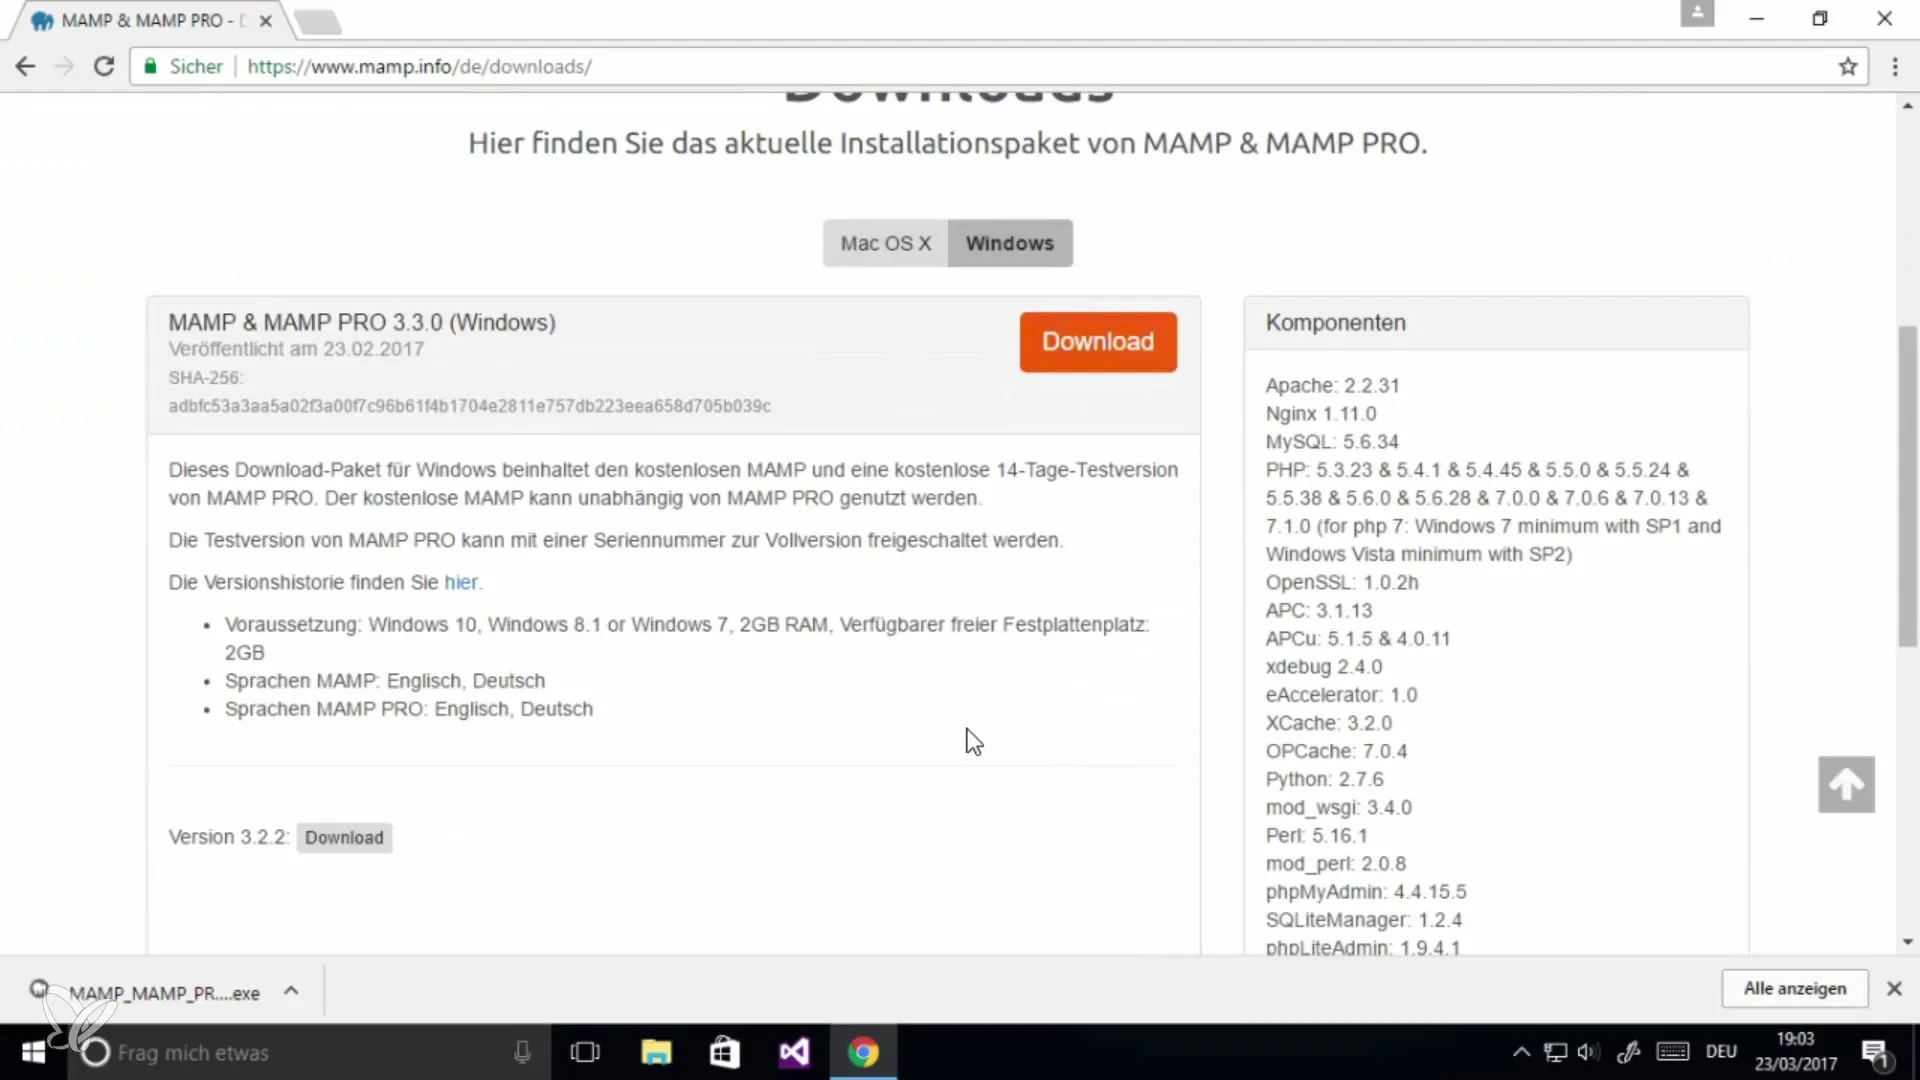
Select the Windows version and click on “Download.” Here you may find a note about the option to use the Pro version as a trial; however, this is not necessary as the free version is sufficient.
Step 2: Install MAMP
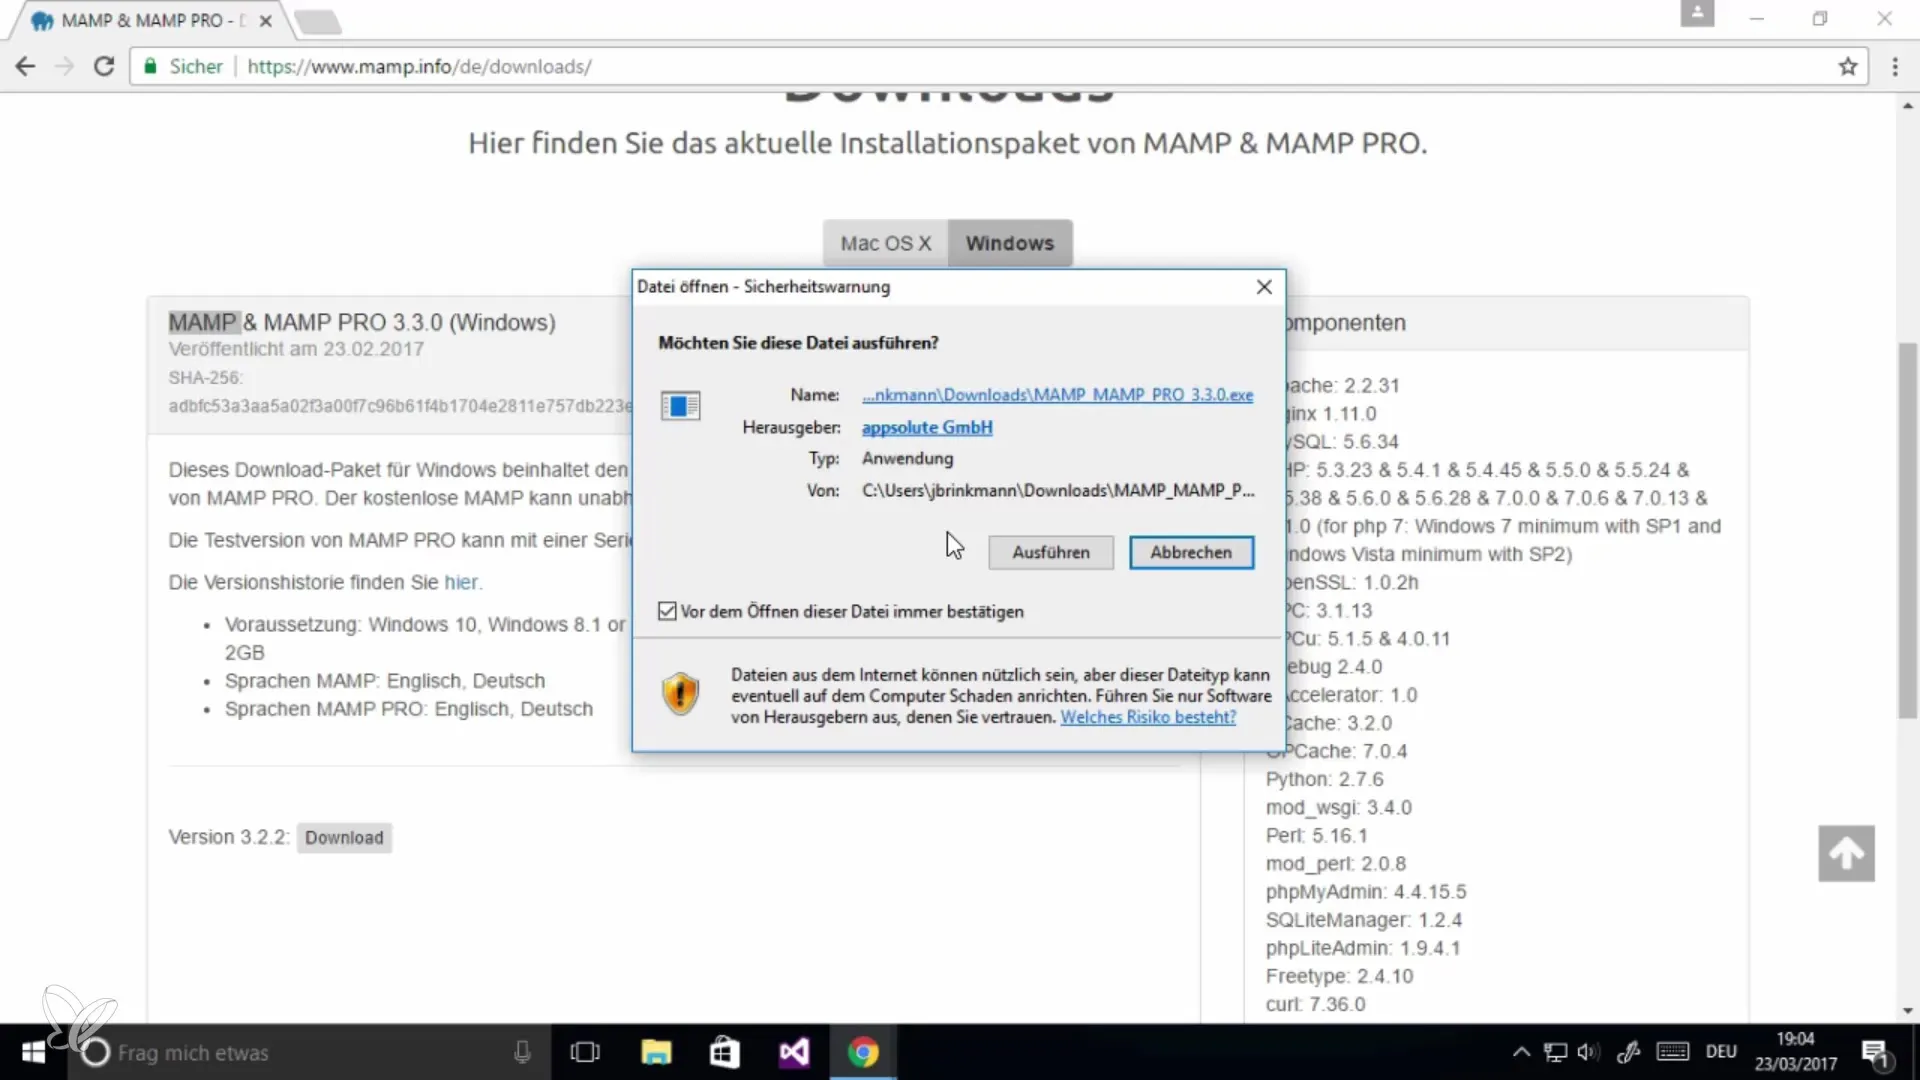
After downloading, you will see the installation file. Double-click it to start the installation process. The file is about 300 MB in size, so it makes sense to download it in advance.
Follow the installer’s instructions. First, you will be asked whether the program should be executed and whether you allow it. In the next step, you can select the language (German or English), which improves user-friendliness.
Step 3: Continue Installation
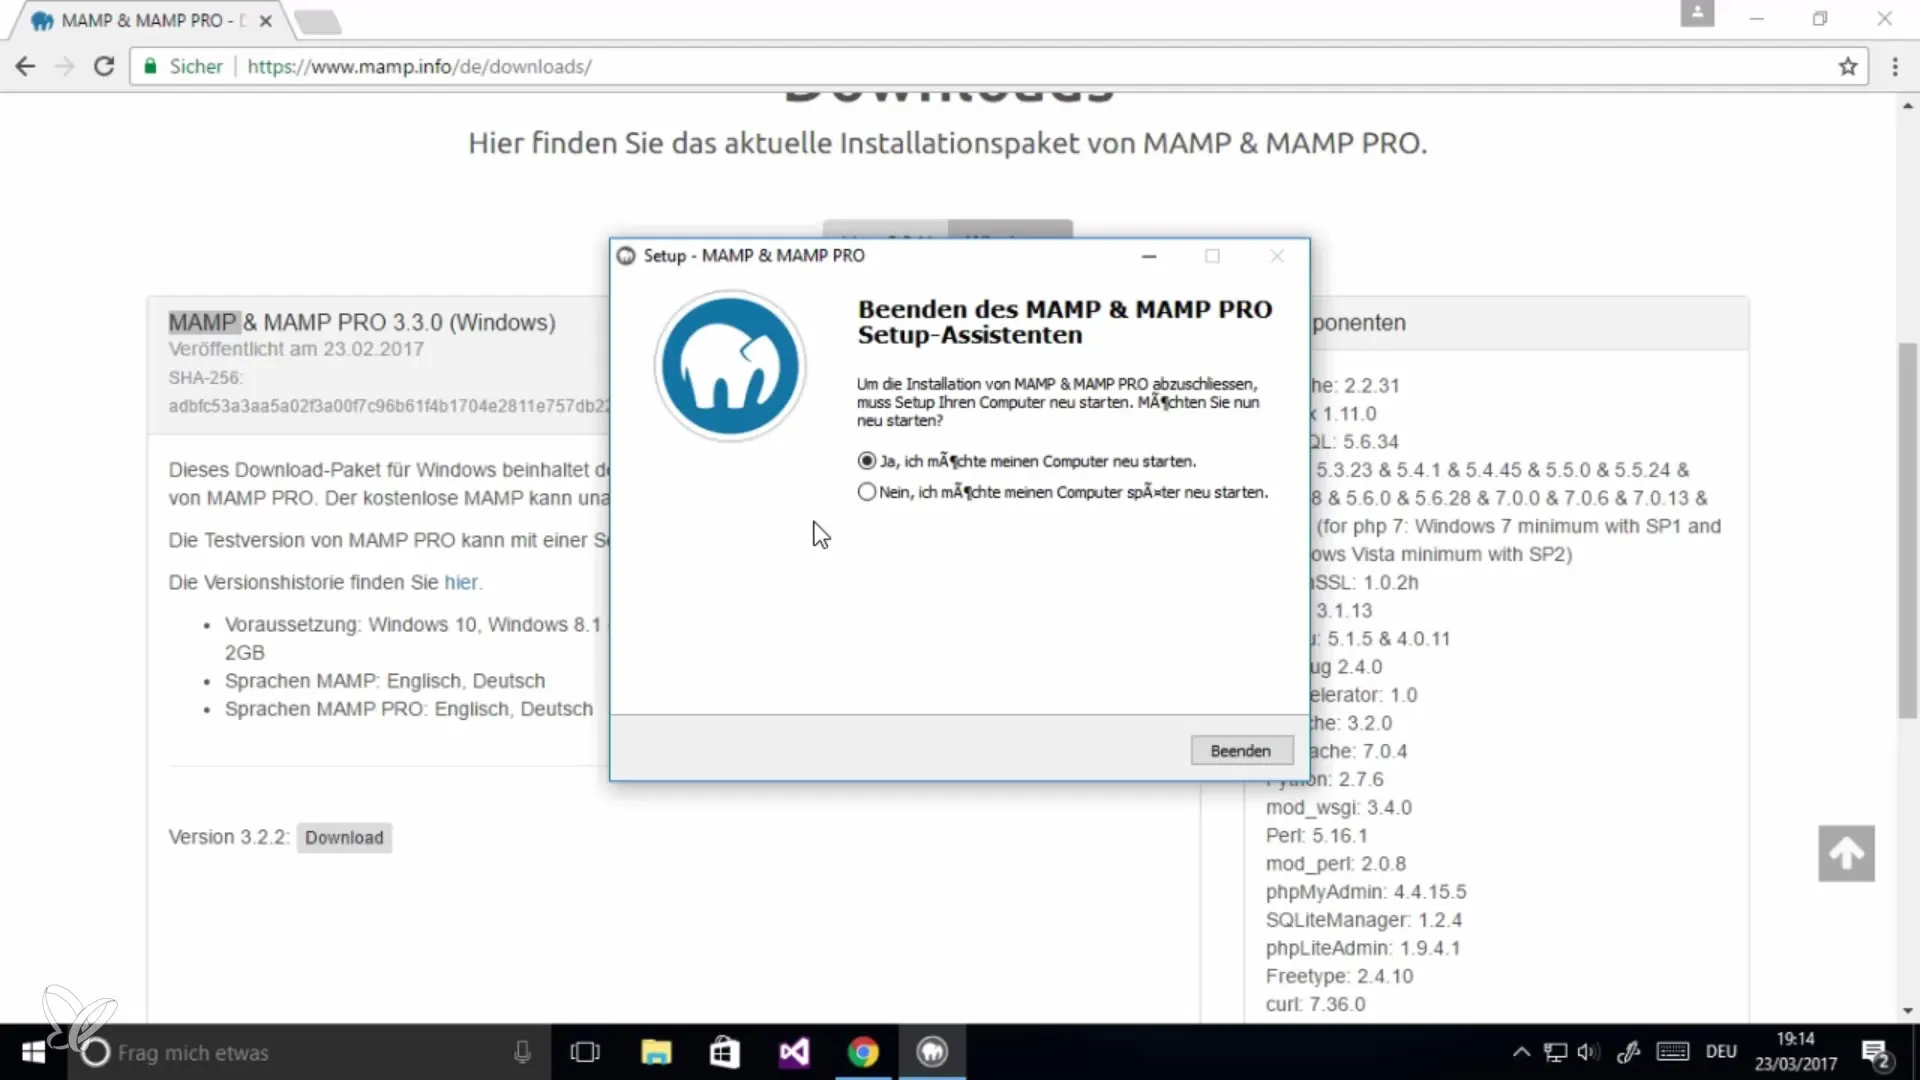
Once you have selected the language, follow the general installation process. You will be asked where to install the software and whether to create a desktop icon. It is advisable to select this option so you can access it quickly.
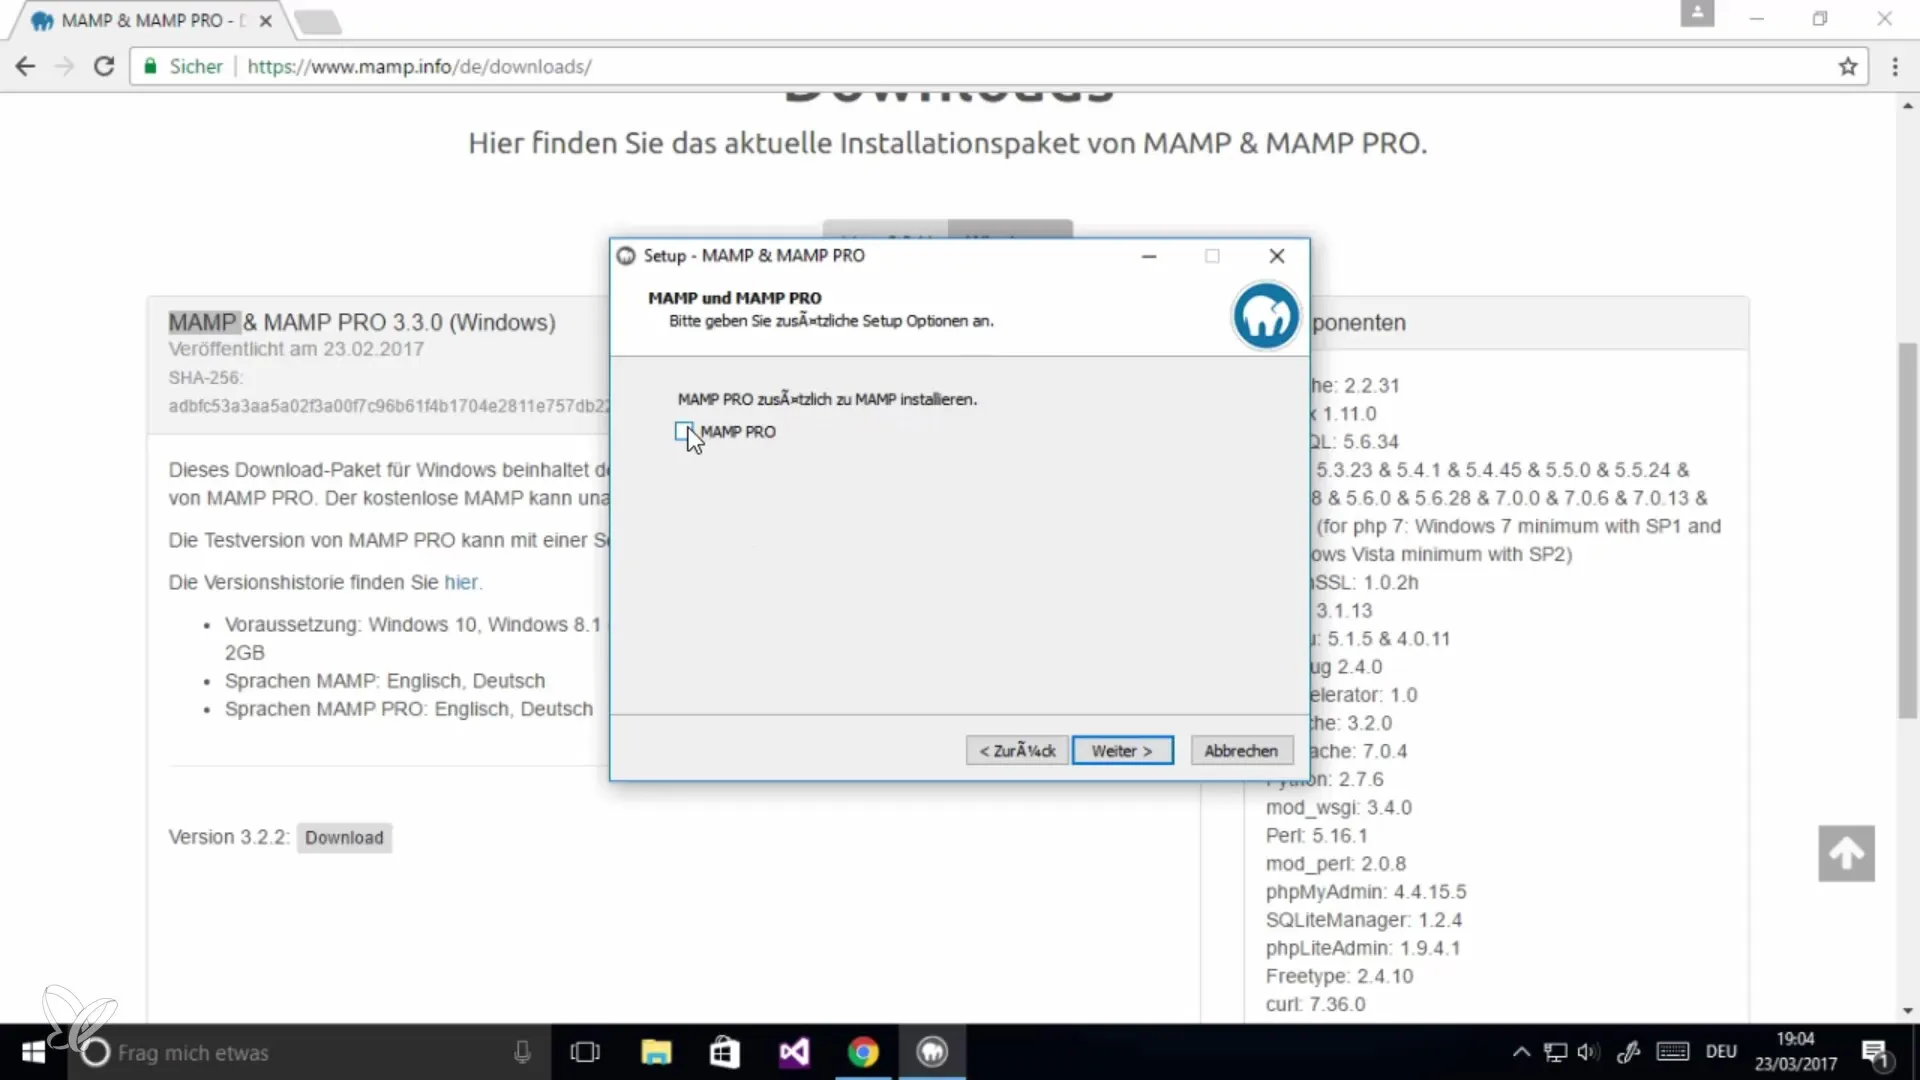
The installation itself takes a short moment. Once completed, Windows may require a restart to apply all changes.
Step 4: Start MAMP
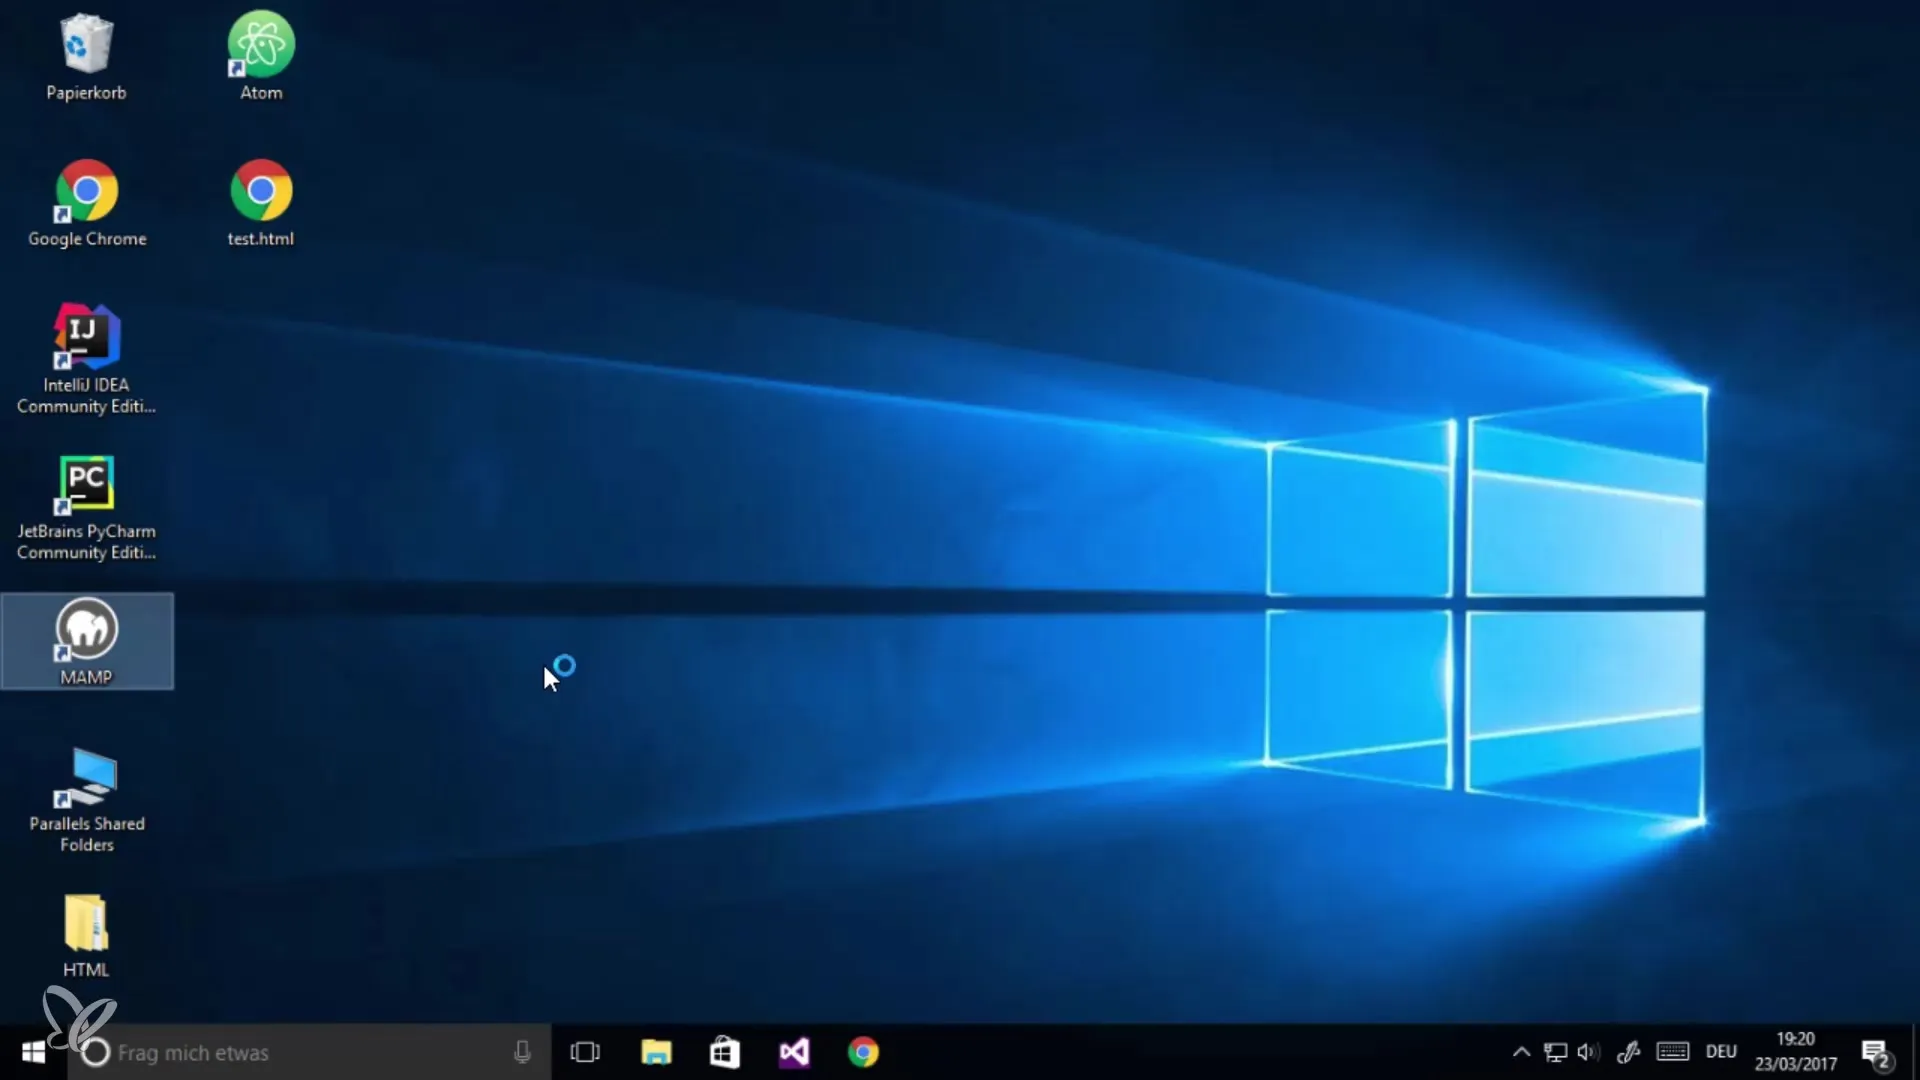
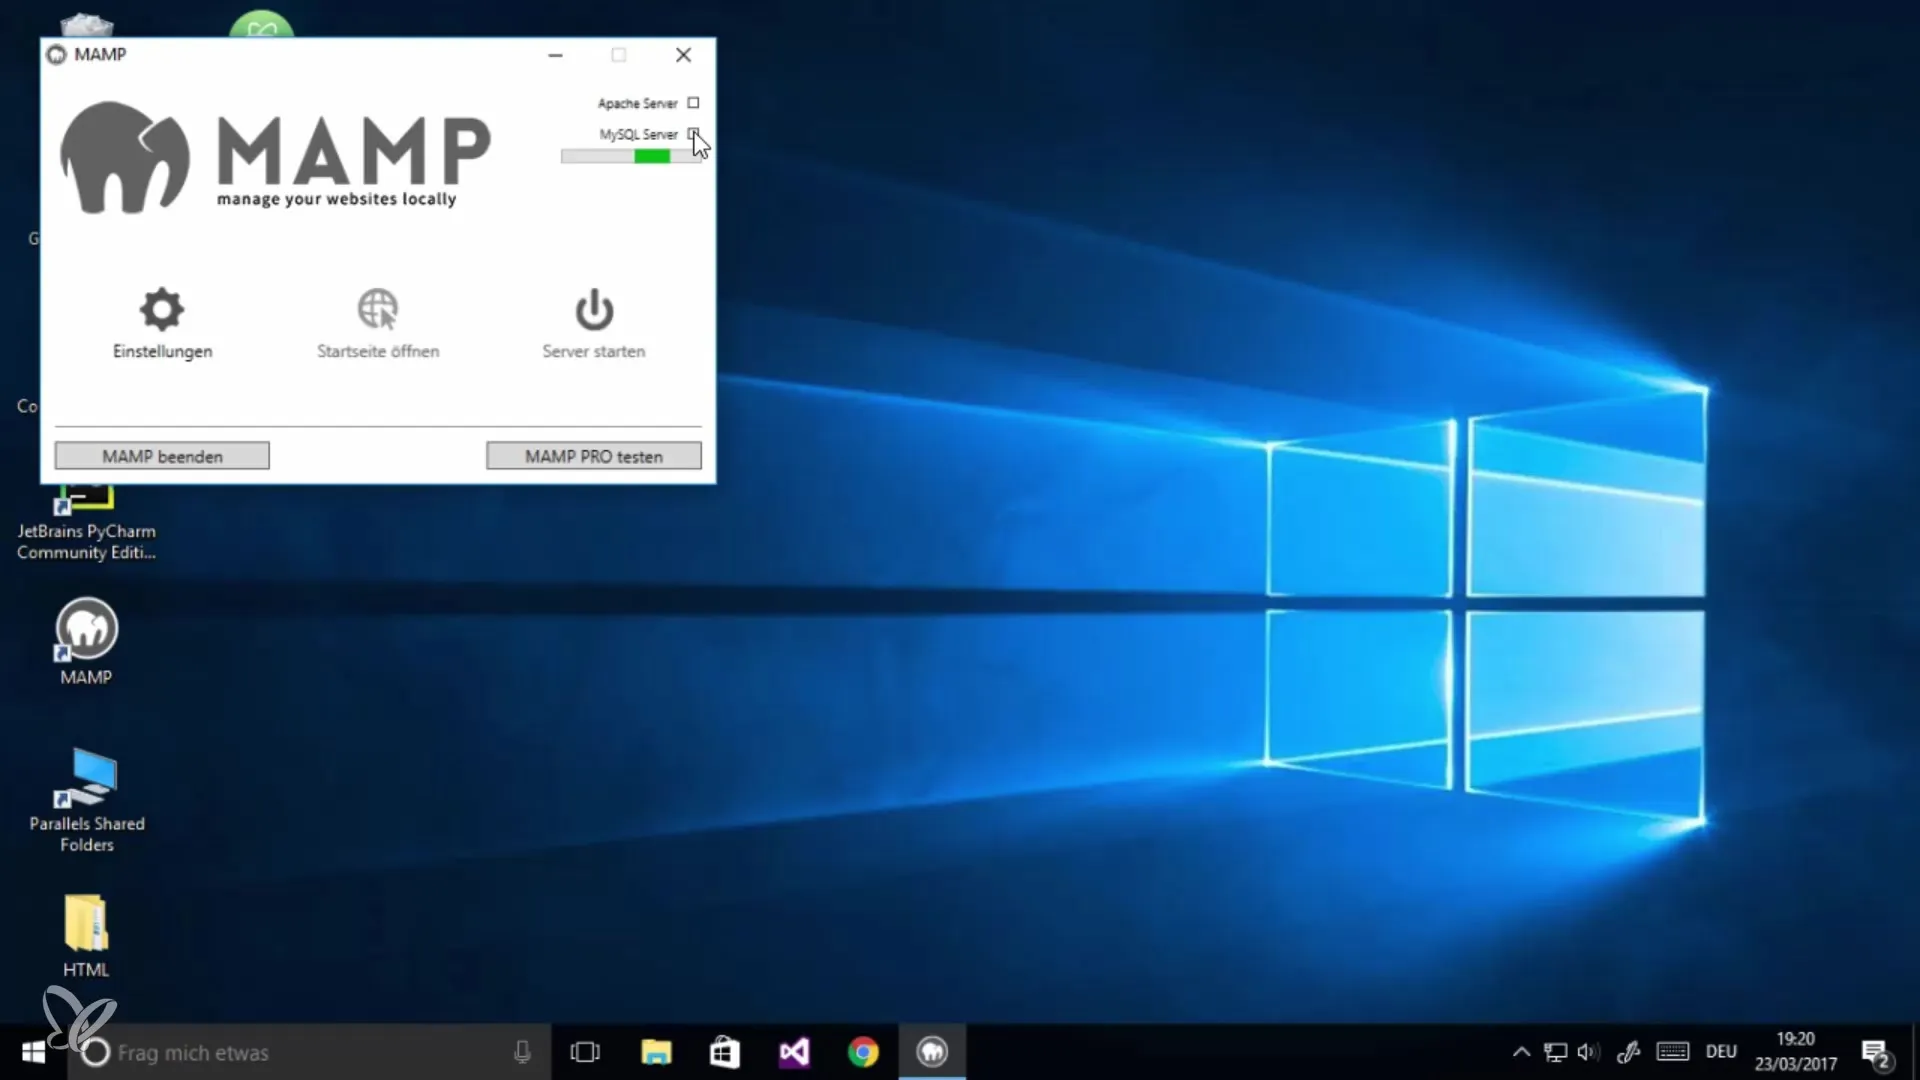
After the restart, you will see an icon for MAMP in the start menu. Start the program. The software starts several services: the Apache web server and the MySQL server.
It may be helpful to check the settings, especially the ports, which are set by default to 80 for Apache and 3306 for MySQL. Make sure that access to these ports is allowed in your network.
Step 5: Check MySQL and Apache
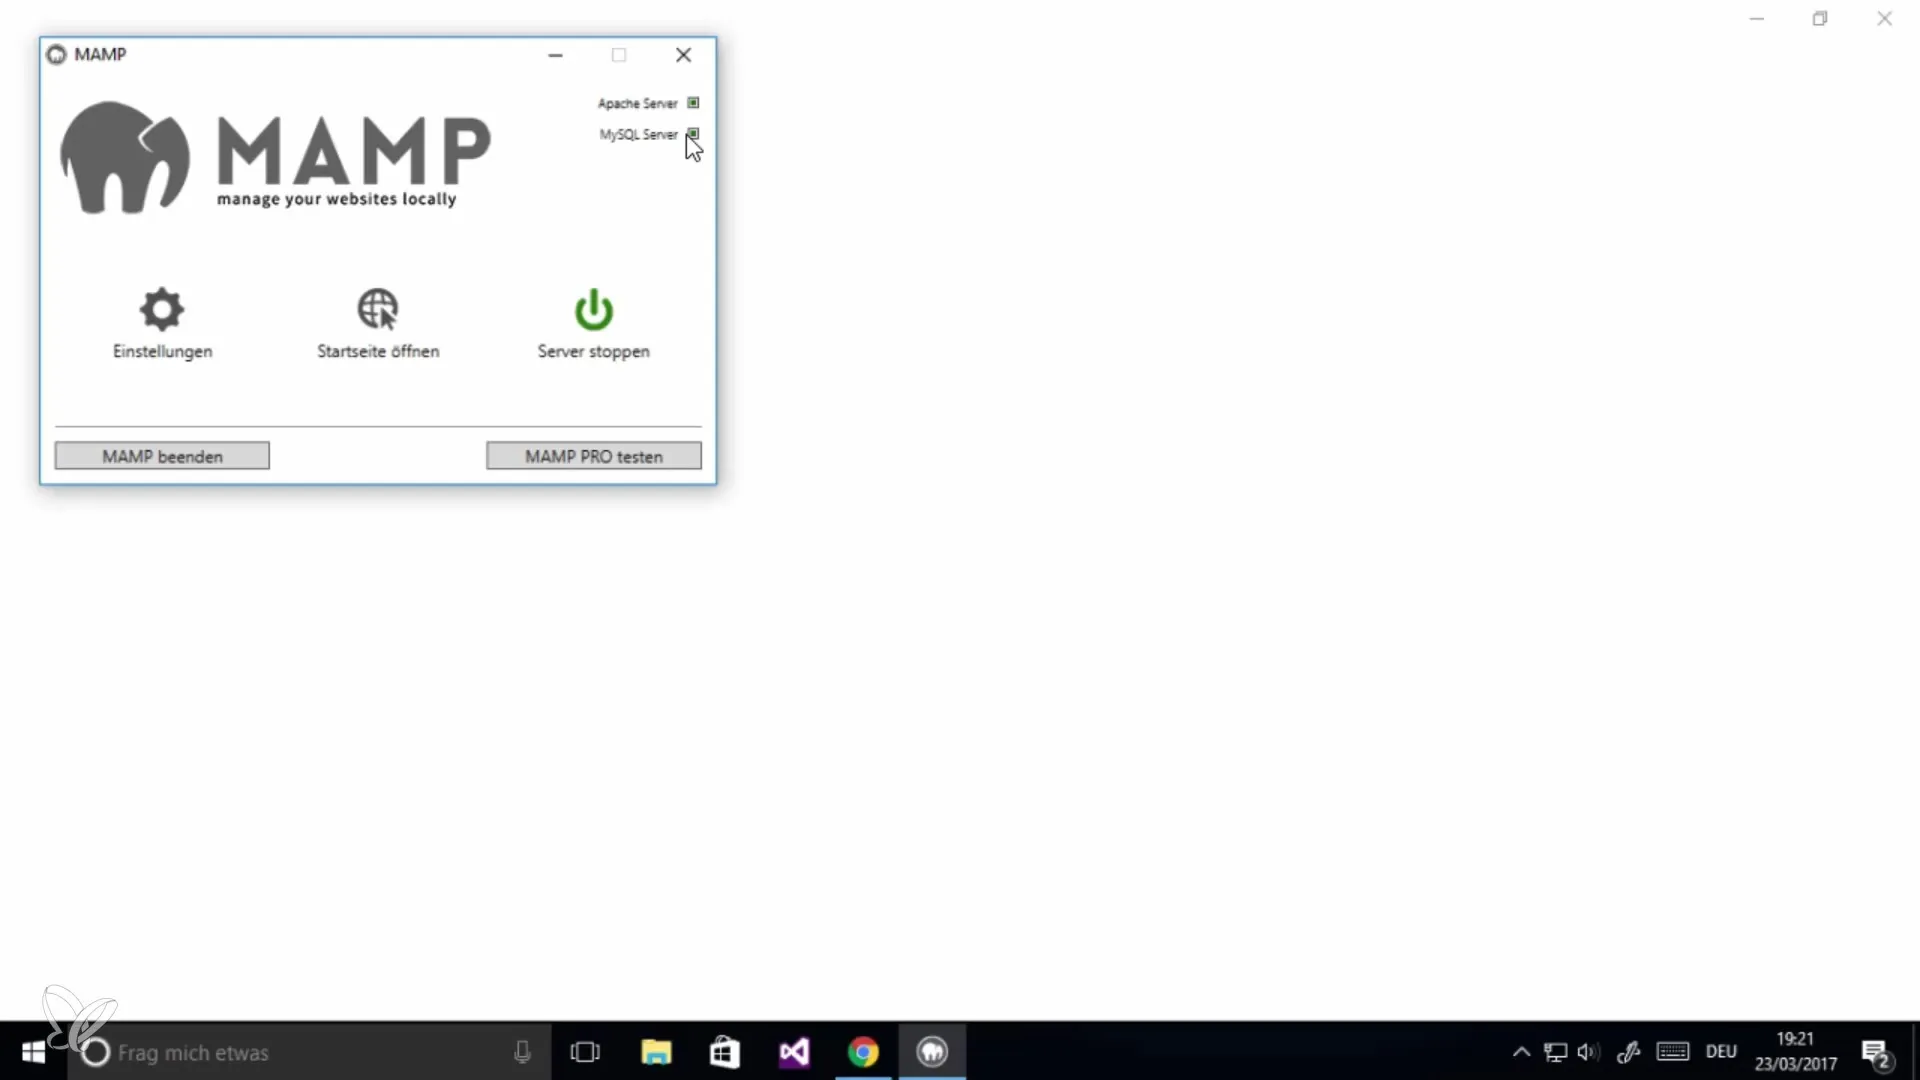
Once the servers are started, you should check the status. If everything was successful, the server status settings will appear in green. This indicates that both Apache and MySQL are running properly.

You can now open the MAMP homepage in your browser to check if everything was installed correctly. The homepage is provided via “localhost.”
Step 6: Using phpMyAdmin
With MAMP, you also have access to phpMyAdmin, a popular tool for managing MySQL databases. You can access phpMyAdmin to manage your databases, although this is a topic for later lessons.
Summary - Installing MySQL on Windows
The installation of MySQL on Windows is straightforward and quick to perform. With MAMP, you have all the necessary components in one package to work locally. You are now ready to start your first projects with MySQL!
Frequently Asked Questions
How can I check if MySQL was successfully installed?Open MAMP and see if the MySQL server is displayed in green status.
Do I need Apache to use MySQL?Not necessarily, but Apache is useful if you want to develop a web application locally.
Where can I find phpMyAdmin?After installation, you can find phpMyAdmin via the MAMP homepage at “localhost.”
Does MAMP cost anything?The basic version of MAMP is free; the Pro version is paid.


