Visual Studio is a powerful development environment that helps you successfully implement software projects. In this guide, you will learn step by step how to download and install Visual Studio Community.
Key insights:
- Visual Studio Community is free and suitable for beginners as well as professional software developers.
- During installation, you can choose various workloads and components that meet your development needs.
- A Microsoft account is required to use Visual Studio permanently after a trial period.
Step-by-Step Guide
Step 1: Opening the Browser and Visiting the Required Website
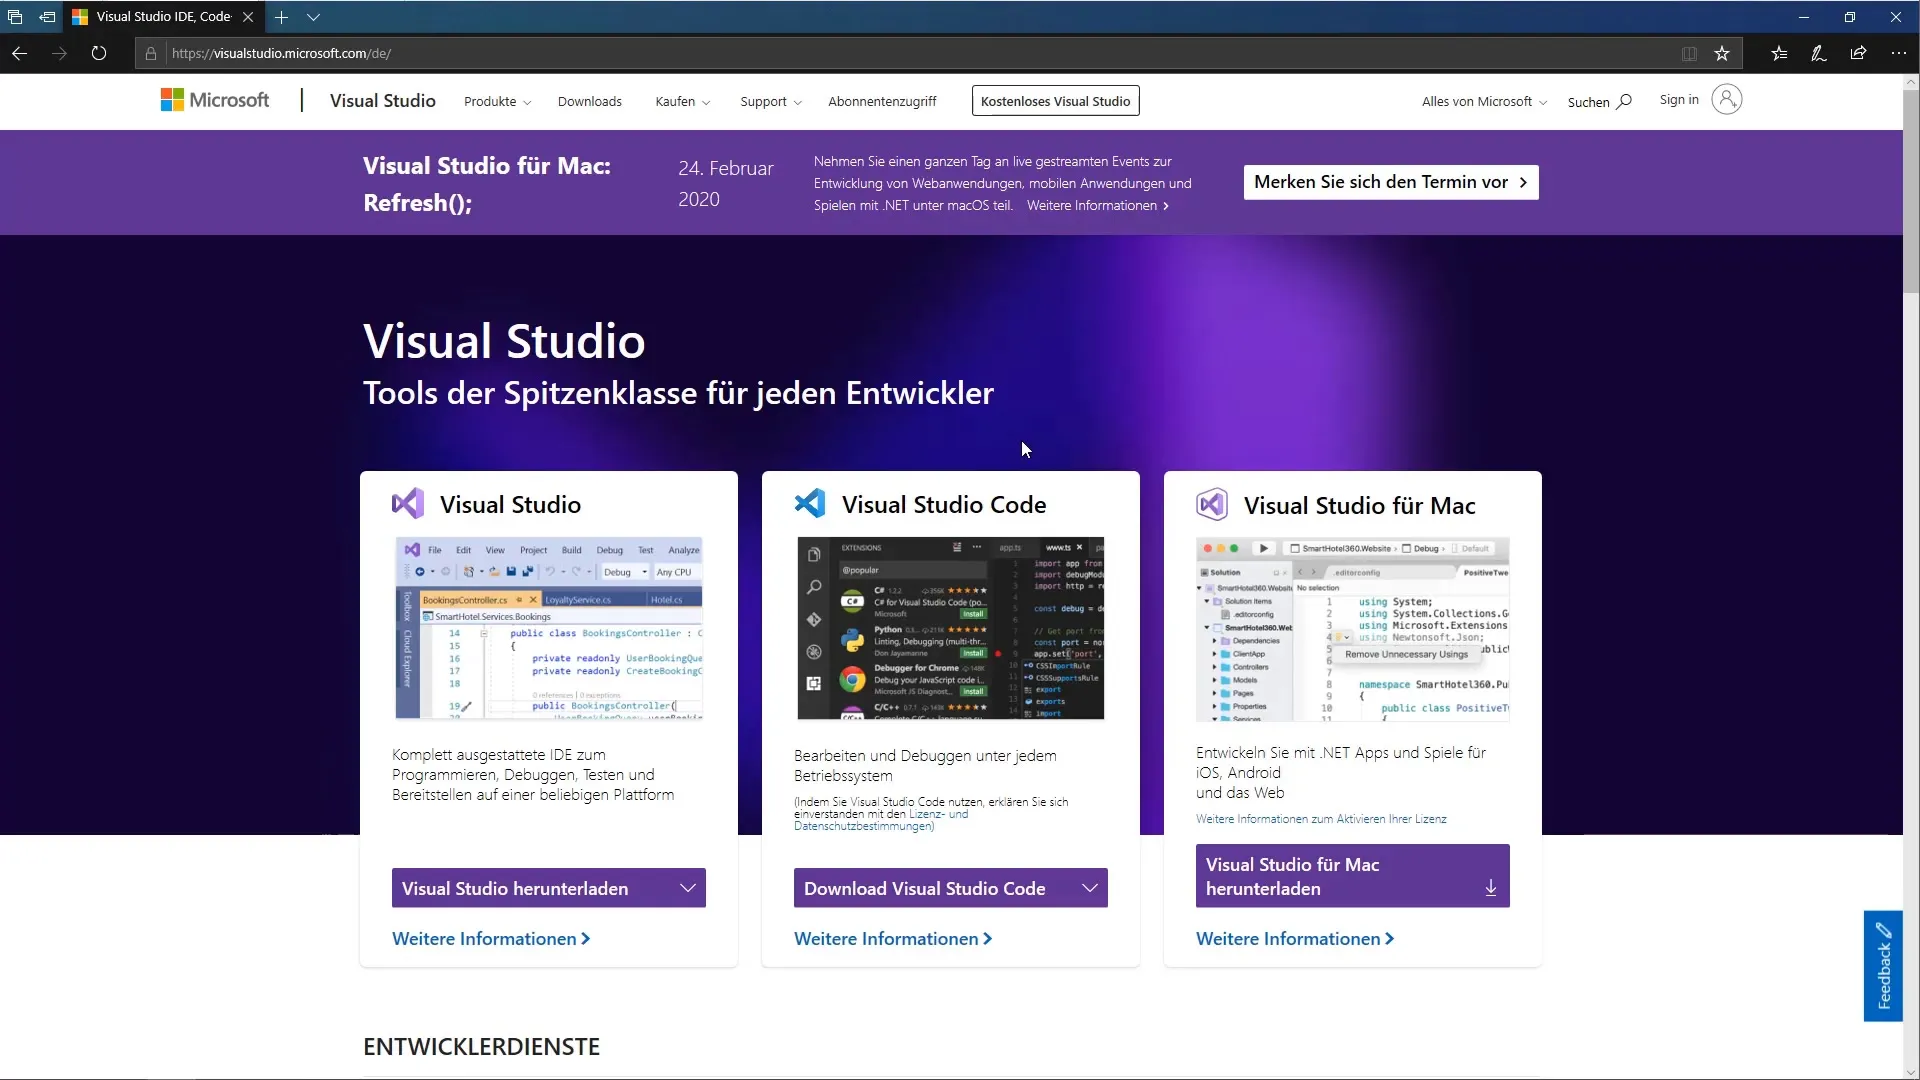
First, open your preferred web browser and enter the URL visualstudio.com/de into the address bar. By visiting this page, you can access various versions of Visual Studio.
Step 2: Selecting the Appropriate Version
On the website, you will see several versions of Visual Studio, including Visual Studio for Mac and Visual Studio Code. For most Windows users, the Community version is the ideal choice as it is free and offers extensive features that are sufficient for professional purposes.
Step 3: Downloading the Community Version
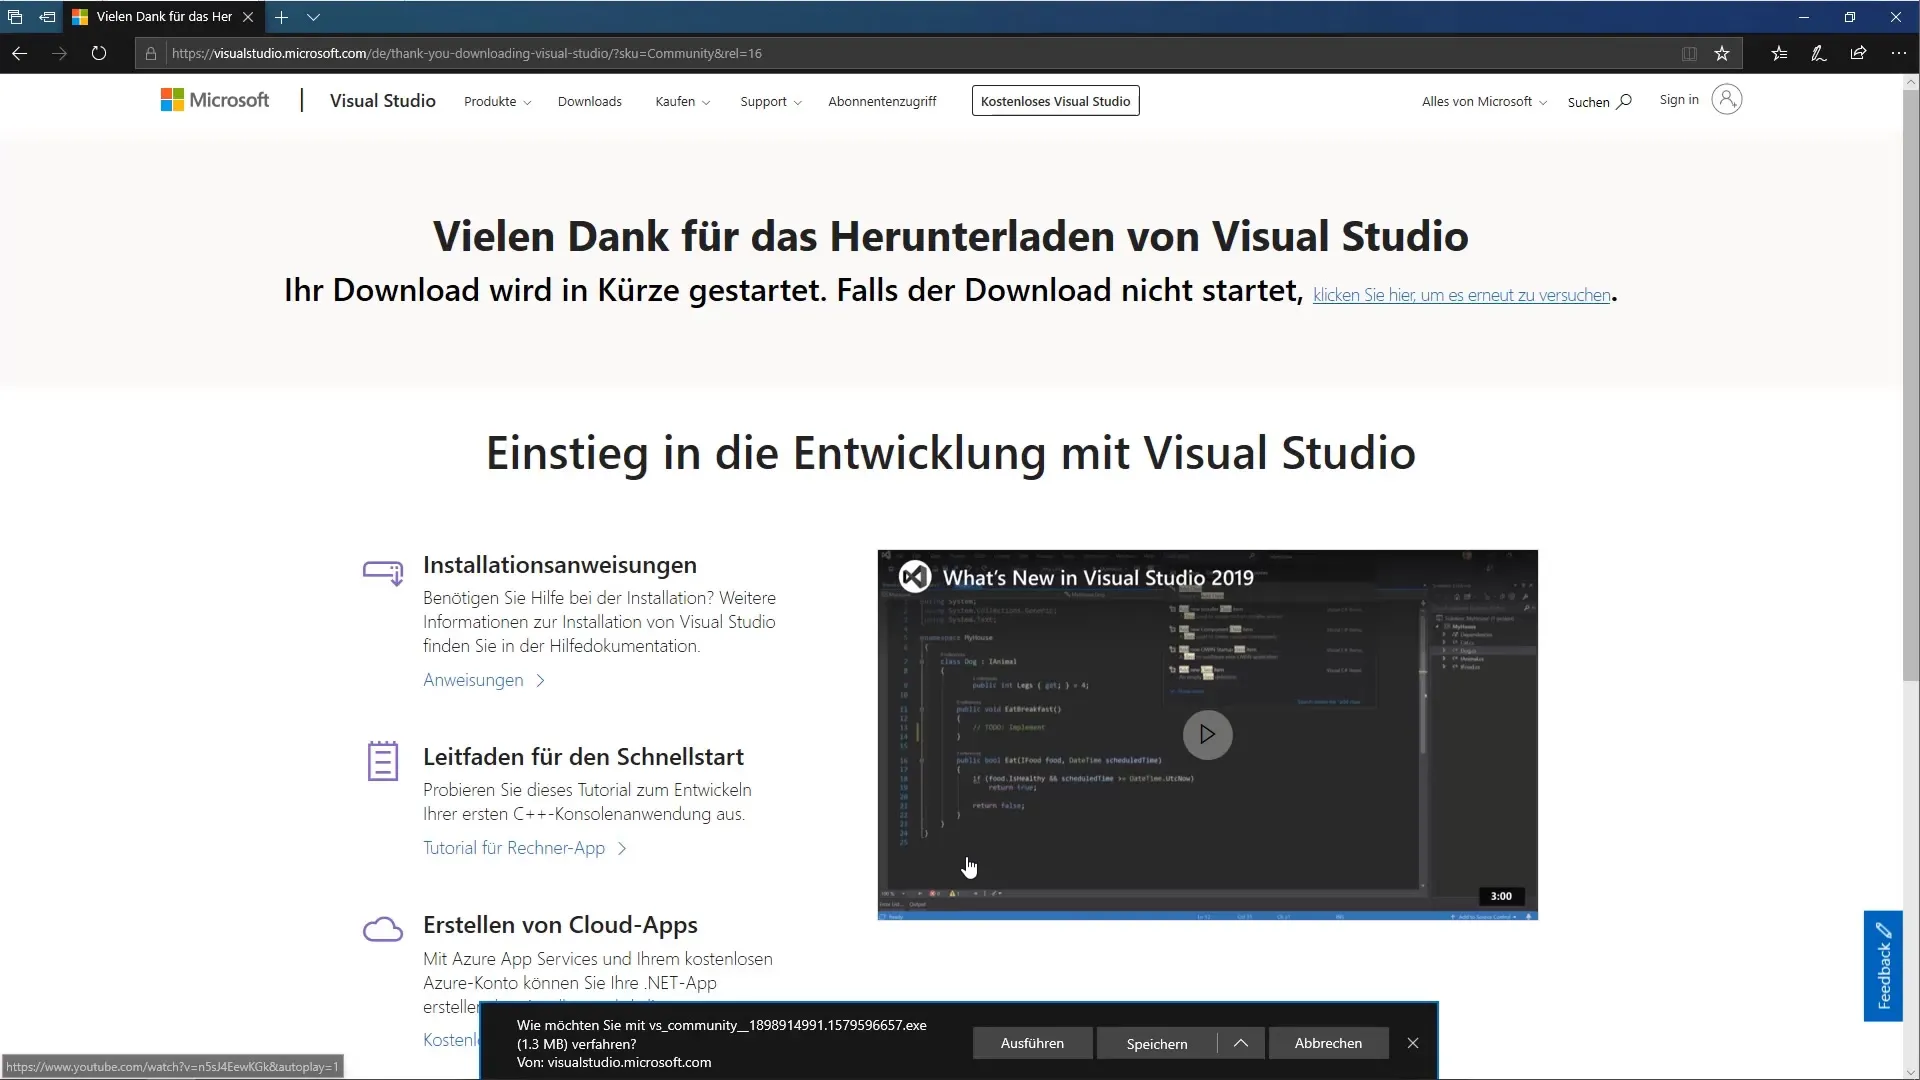
Click on the download button for the Community version. A small download manager, also known as a bootstrapper, will be saved on your desktop. The download should be completed quickly.
Step 4: Running the Installer
After the download is successful, you will find the downloaded program on your desktop. Double-click the file to start the installation process. To ensure that Visual Studio can make the necessary changes to your system, you must confirm this.
Step 5: Privacy Policy and License Terms
Before proceeding, you should carefully read and accept the privacy policy and license terms of Visual Studio. After that, you can continue with the installation process.
Step 6: Selecting the Workloads
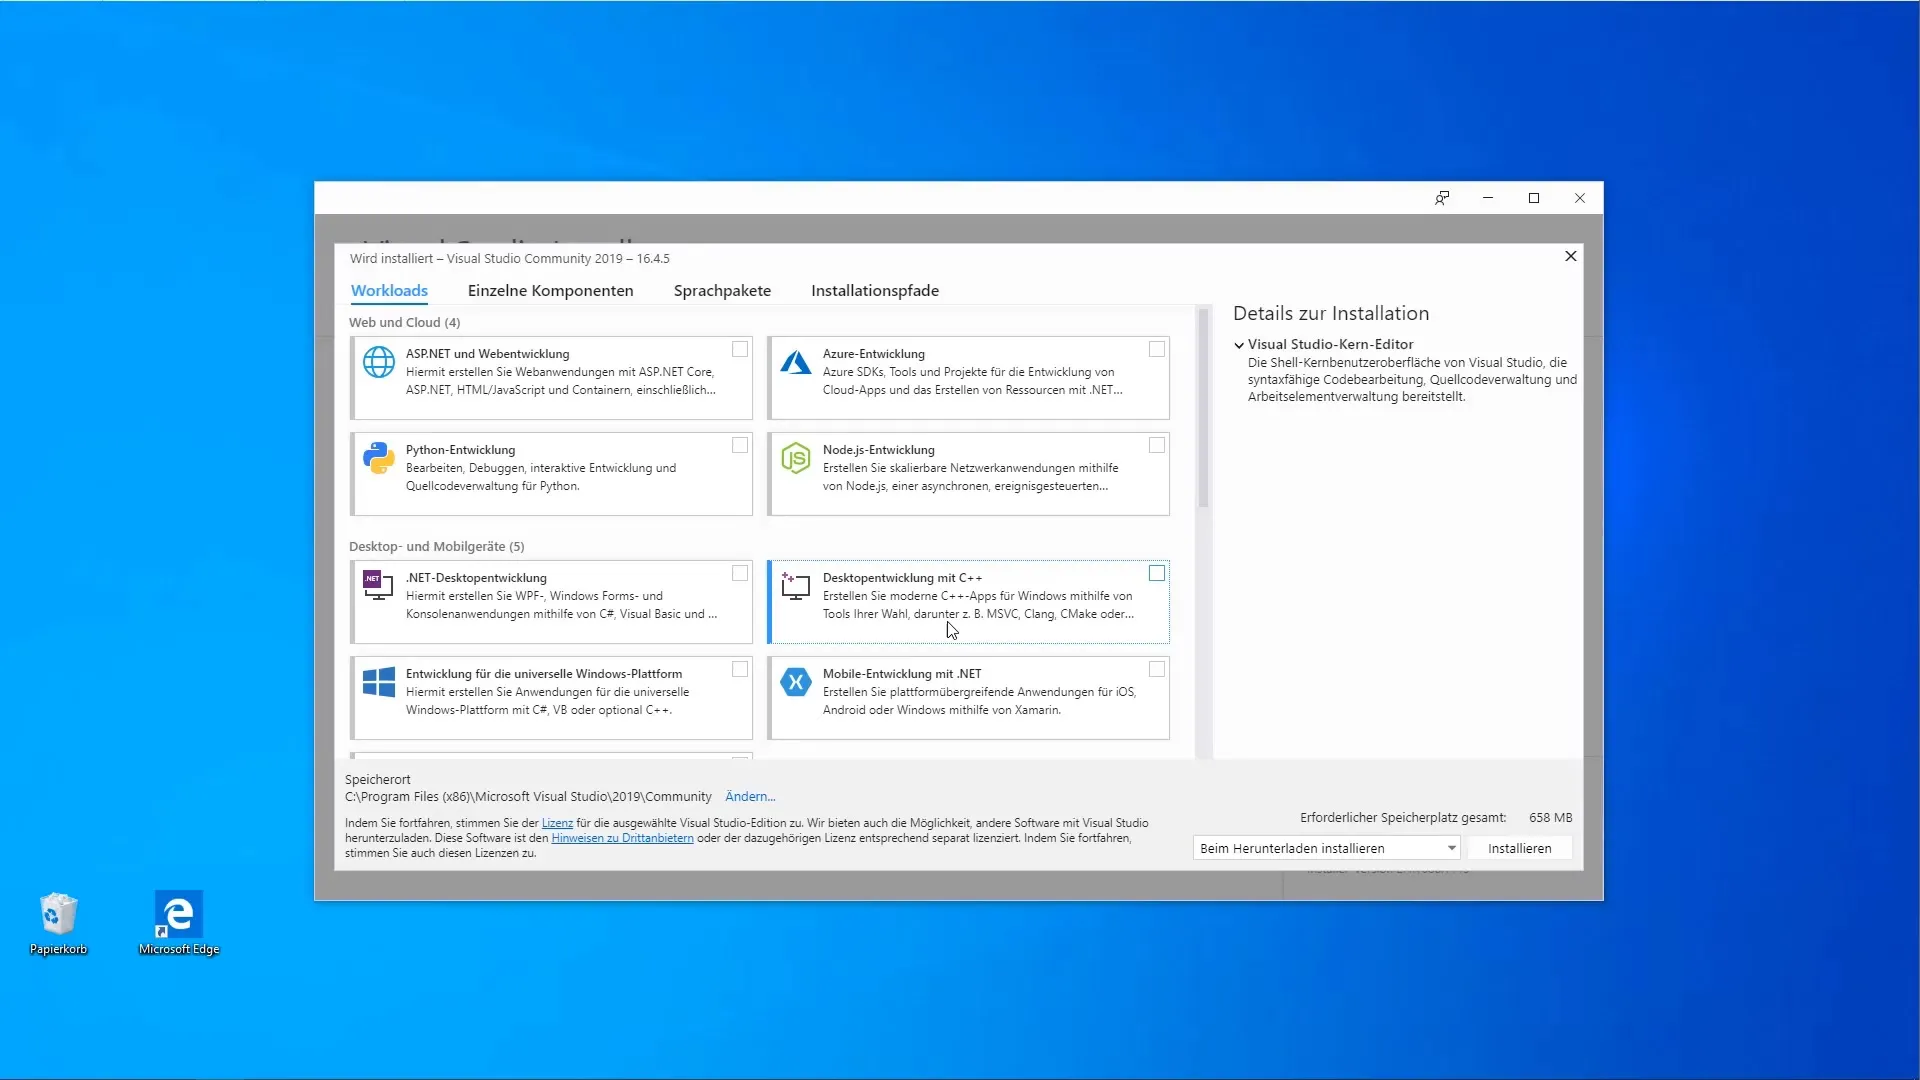
The installer will now display various options: workloads, individual components, and language packs. Since we are focusing on desktop development in this course, select the corresponding option for.NET Desktop Development.
Step 7: Activating Additional Components
On the right side, you will see details about the components that will be installed. You should also enable the option for developing applications for the Universal Windows Platform.
Step 8: Checking Additional Options
If additional development areas such as game development or C++ development may be relevant to you, you can also consider these. For the moment, however, focus first on.NET and SQL Server Tools.
Step 9: Starting the Installation
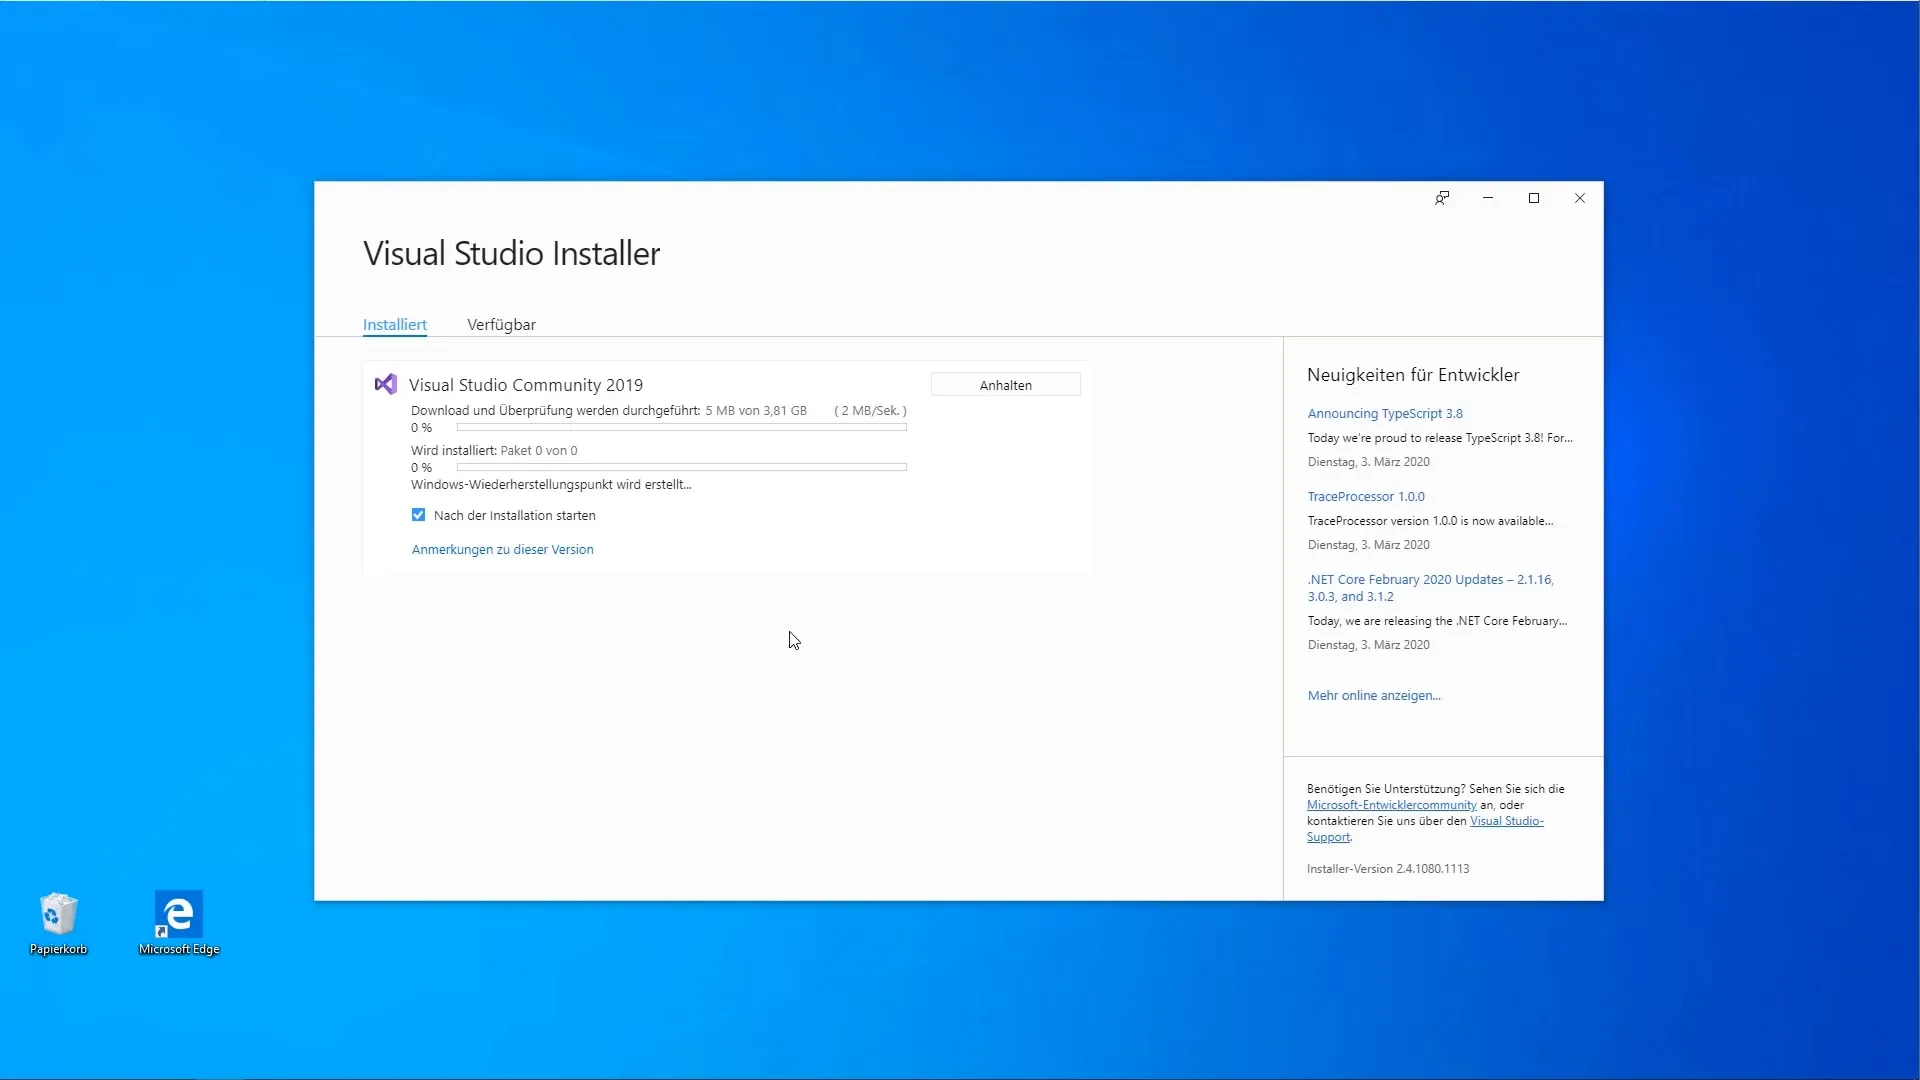
After selecting all the required components, click on the button “Install”. You will see that the download and installation will take about 3.81 GB in total. Be prepared for this process to take some time.
Step 10: Welcome Screen After Installation
Once the installation is complete, the welcome screen of Visual Studio will open. You can initially use the program without a Microsoft account; however, sooner or later, you will need to log in to use all features permanently.
Step 11: Signing In or Creating an Account
You now have the option to sign in with an existing Microsoft account or create a new account. This will be necessary for the future use of Visual Studio.
Step 12: Choosing a Color Scheme and Starting Visual Studio
After successfully signing in, you can choose a color scheme. By default, blue is set, but you can also choose from various options such as “Dark” and “Light Contrast”. After making your choice, click “Start Visual Studio” to use the development environment.
Summary – C# Programming: Guide to Installing Visual Studio Community
In this guide, you learned how to download and install Visual Studio Community. You went through various steps, ranging from selecting the version to installing the necessary components and signing in to your Microsoft account. With this acquired software, you are well-equipped for developing C# applications.
