Visual Studio is an essential tool for working efficiently in the world of software development. Regular updates are crucial to ensure that you receive the latest features and security improvements. In this guide, I will explain how to update the modules in Visual Studio through the user interface. Follow the steps closely to ensure that your system is always up-to-date.
Key Insights
- Regular updates are important for security and features.
- The update process is simple and initiated through the notification area in Visual Studio.
- After the update, you can continue your work immediately.
Step-by-Step Guide
Open Visual Studio
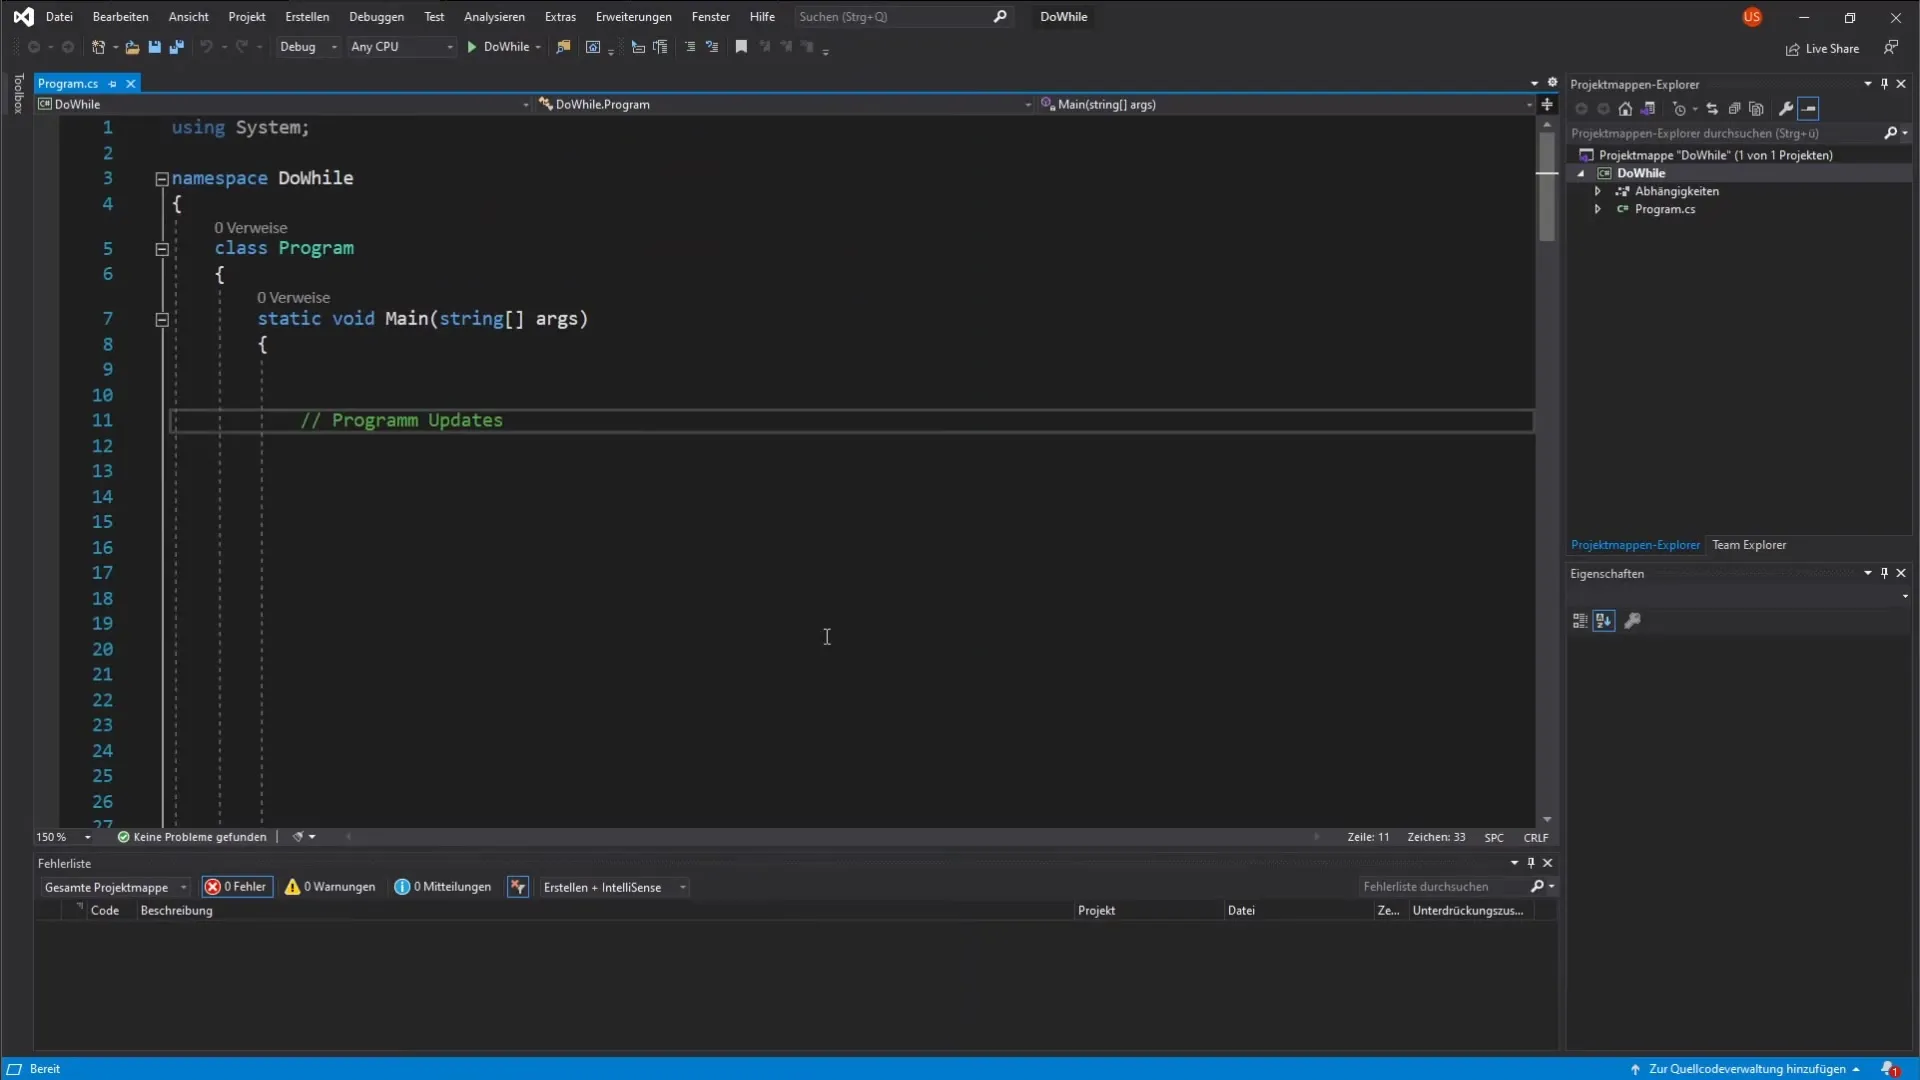
Launch Visual Studio. It's important to work in the main window to see the update notifications. Typically, you open Visual Studio via your desktop icon or the start menu.
Find the Notification Bell
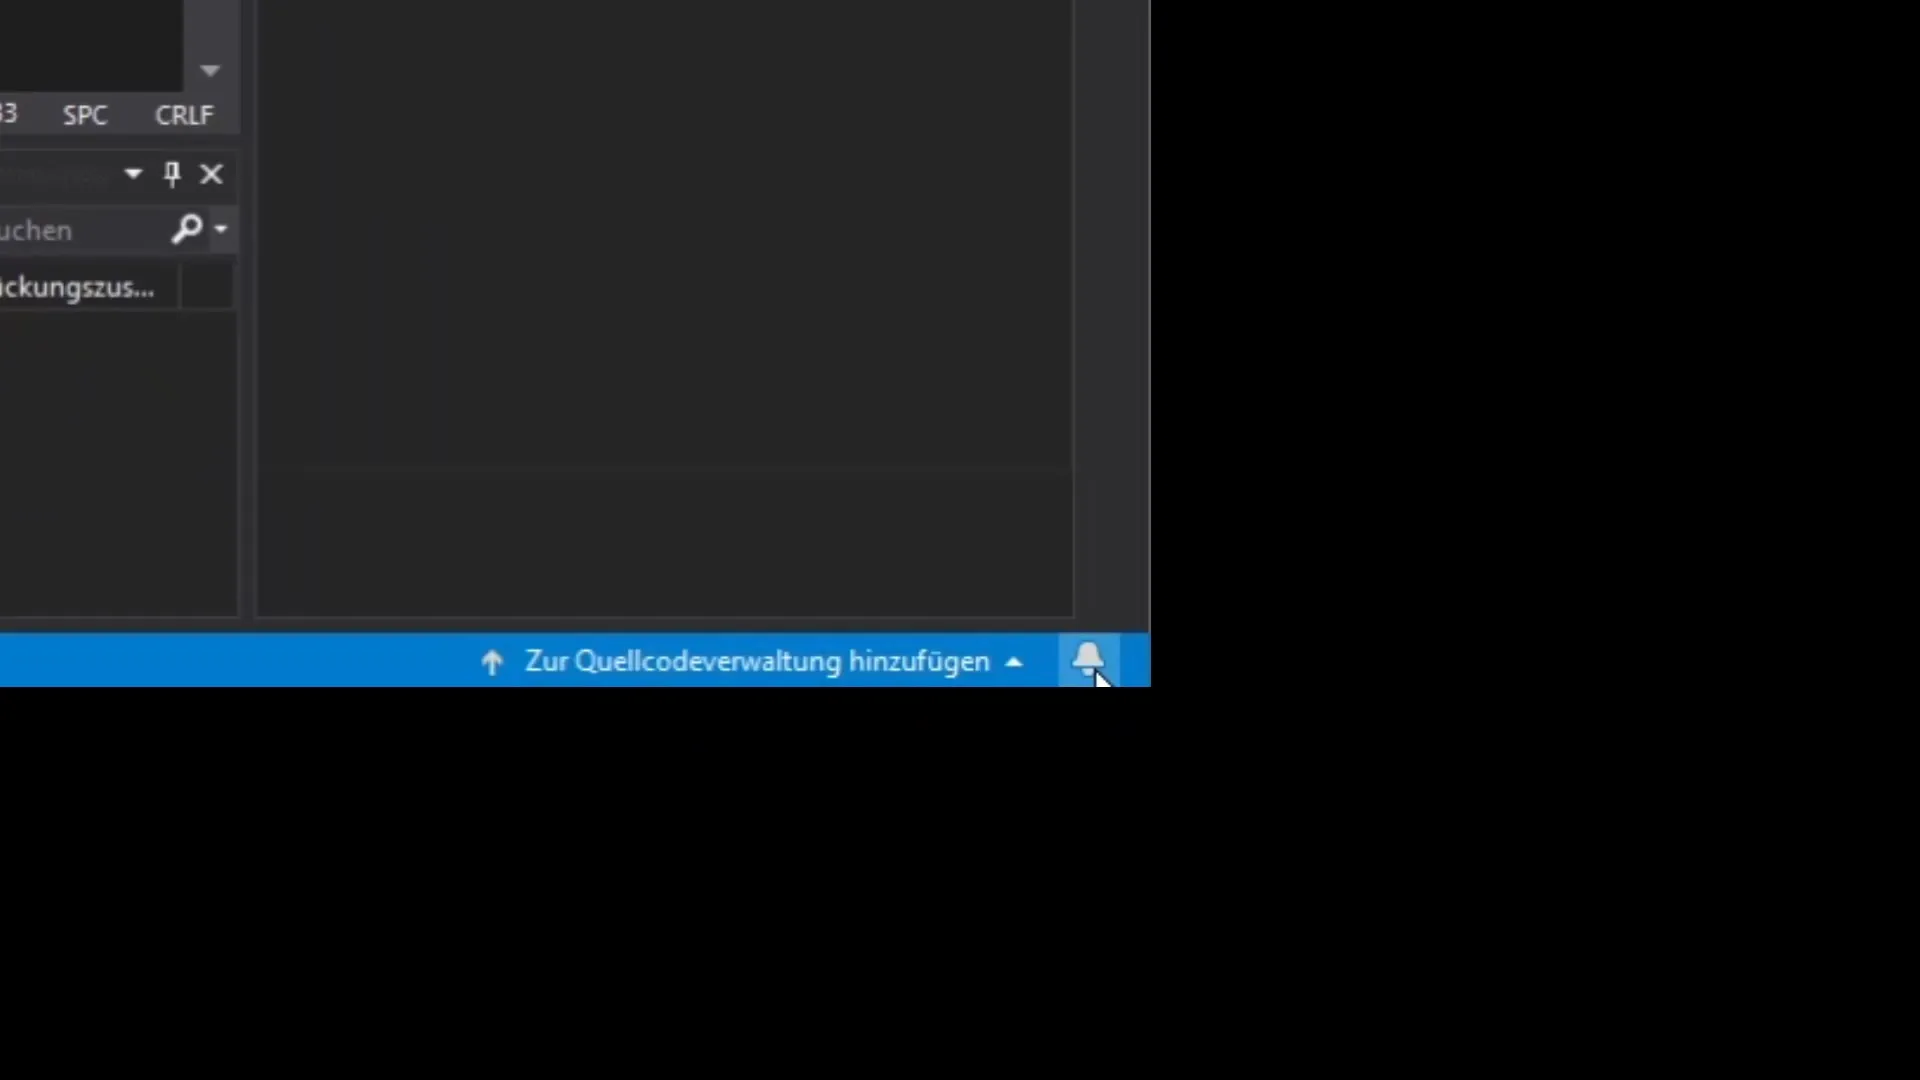
Look at the user interface. In the bottom right corner, there is a bell. Usually, the bell is displayed in its basic form, but when updates are available, it is highlighted by a red dot indicating the number of available updates.
Click on the Bell
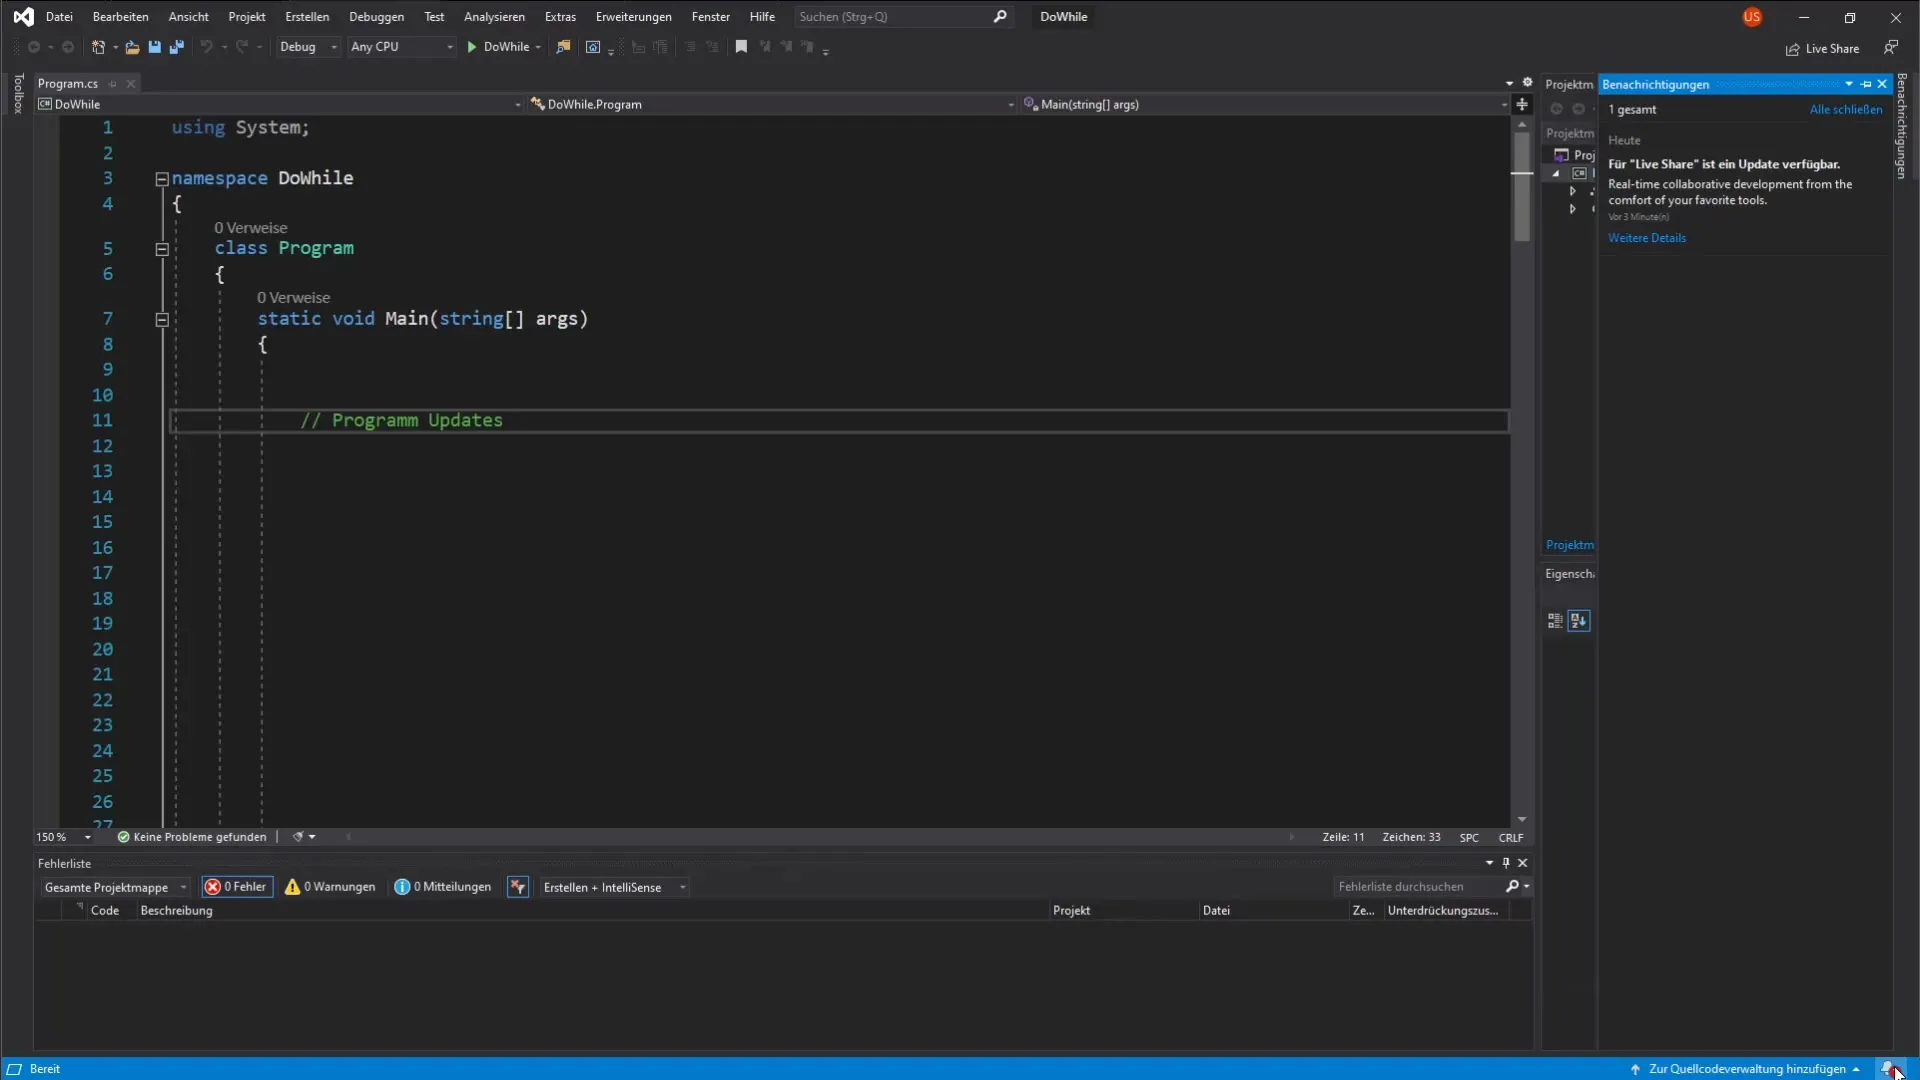
Click on the bell. This will open a menu displaying the notifications. Here you can see which update is available for your program. It's important to pay attention to these notifications to keep your tool up to date.
View Update Details
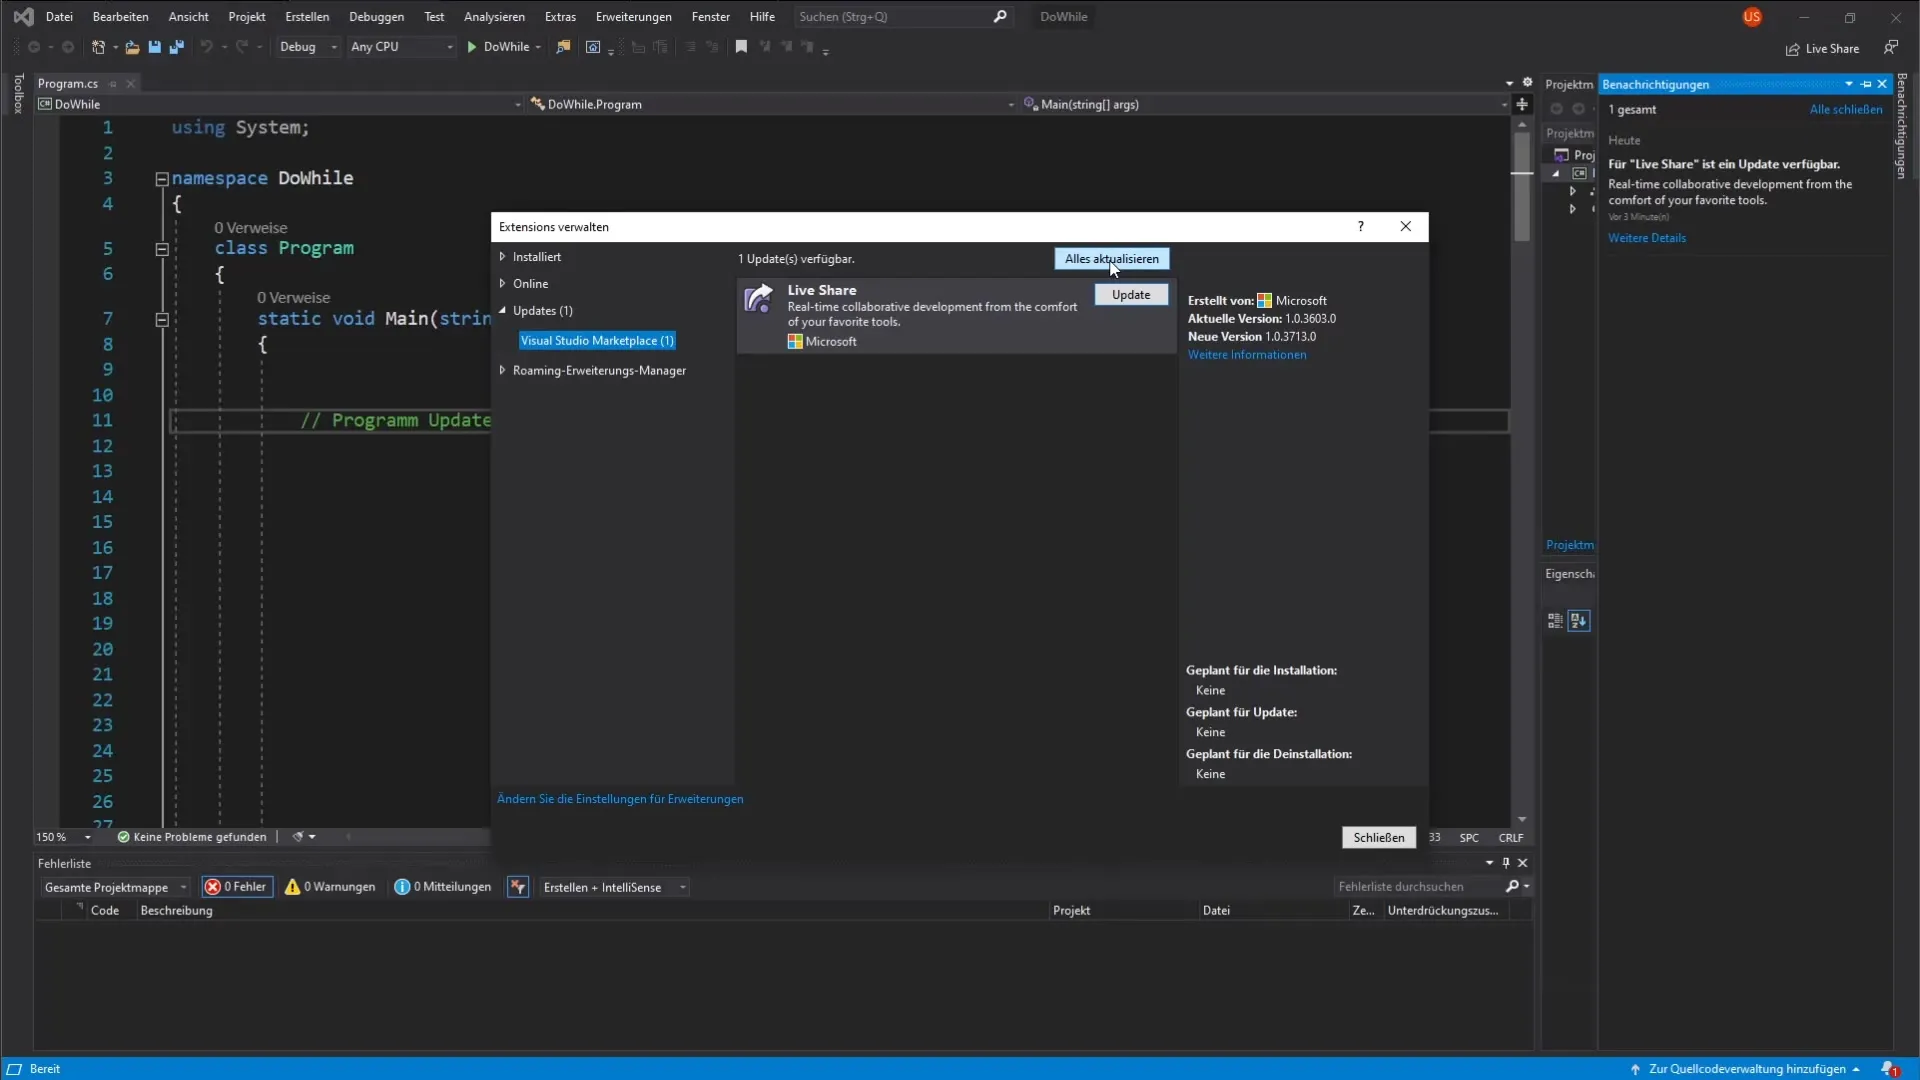
Once the notification window is open, click on "More Details". A further window will display a list of the available updates. This step is important to determine whether you want to apply the update immediately or gather more information.
Select Update or Update All
In this window, you can choose to install only the current update or multiple updates. You also have the option to update all available updates simultaneously. For this guide, click on "Update All" to install all updates in one step.
Update Confirmation
After clicking on "Update All", you will be asked for confirmation whether you are sure you want to perform the update. Click "Okay" to start the process. This step is crucial to ensure that you really want to initiate the update and that no important changes are overlooked.
Download and Installation
Visual Studio will now begin downloading the required files. This may take a few seconds. Keep an eye on the screen at the bottom during this process to ensure that the changes are applied correctly.
Close Visual Studio
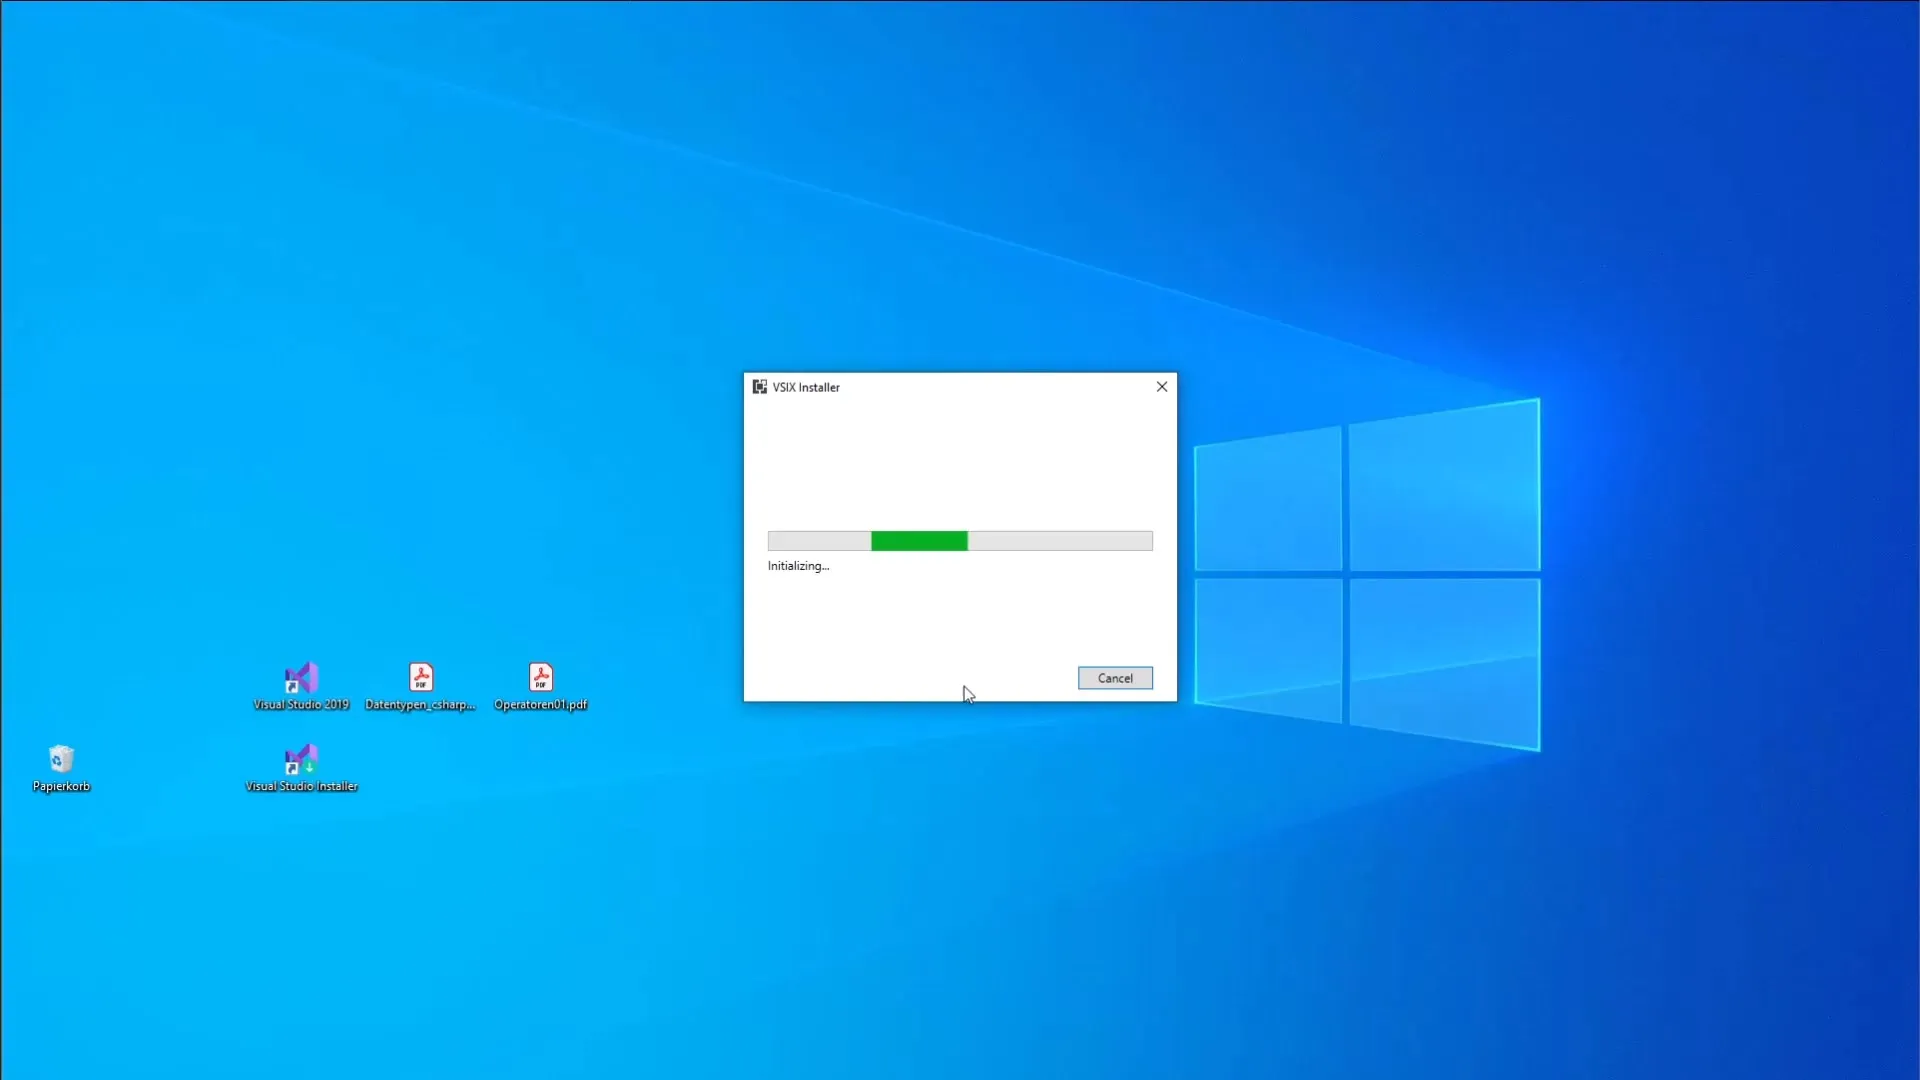
Once the download is complete, completely close Visual Studio. This is required for the installer to be activated properly and to make all changes.
Activate Installer
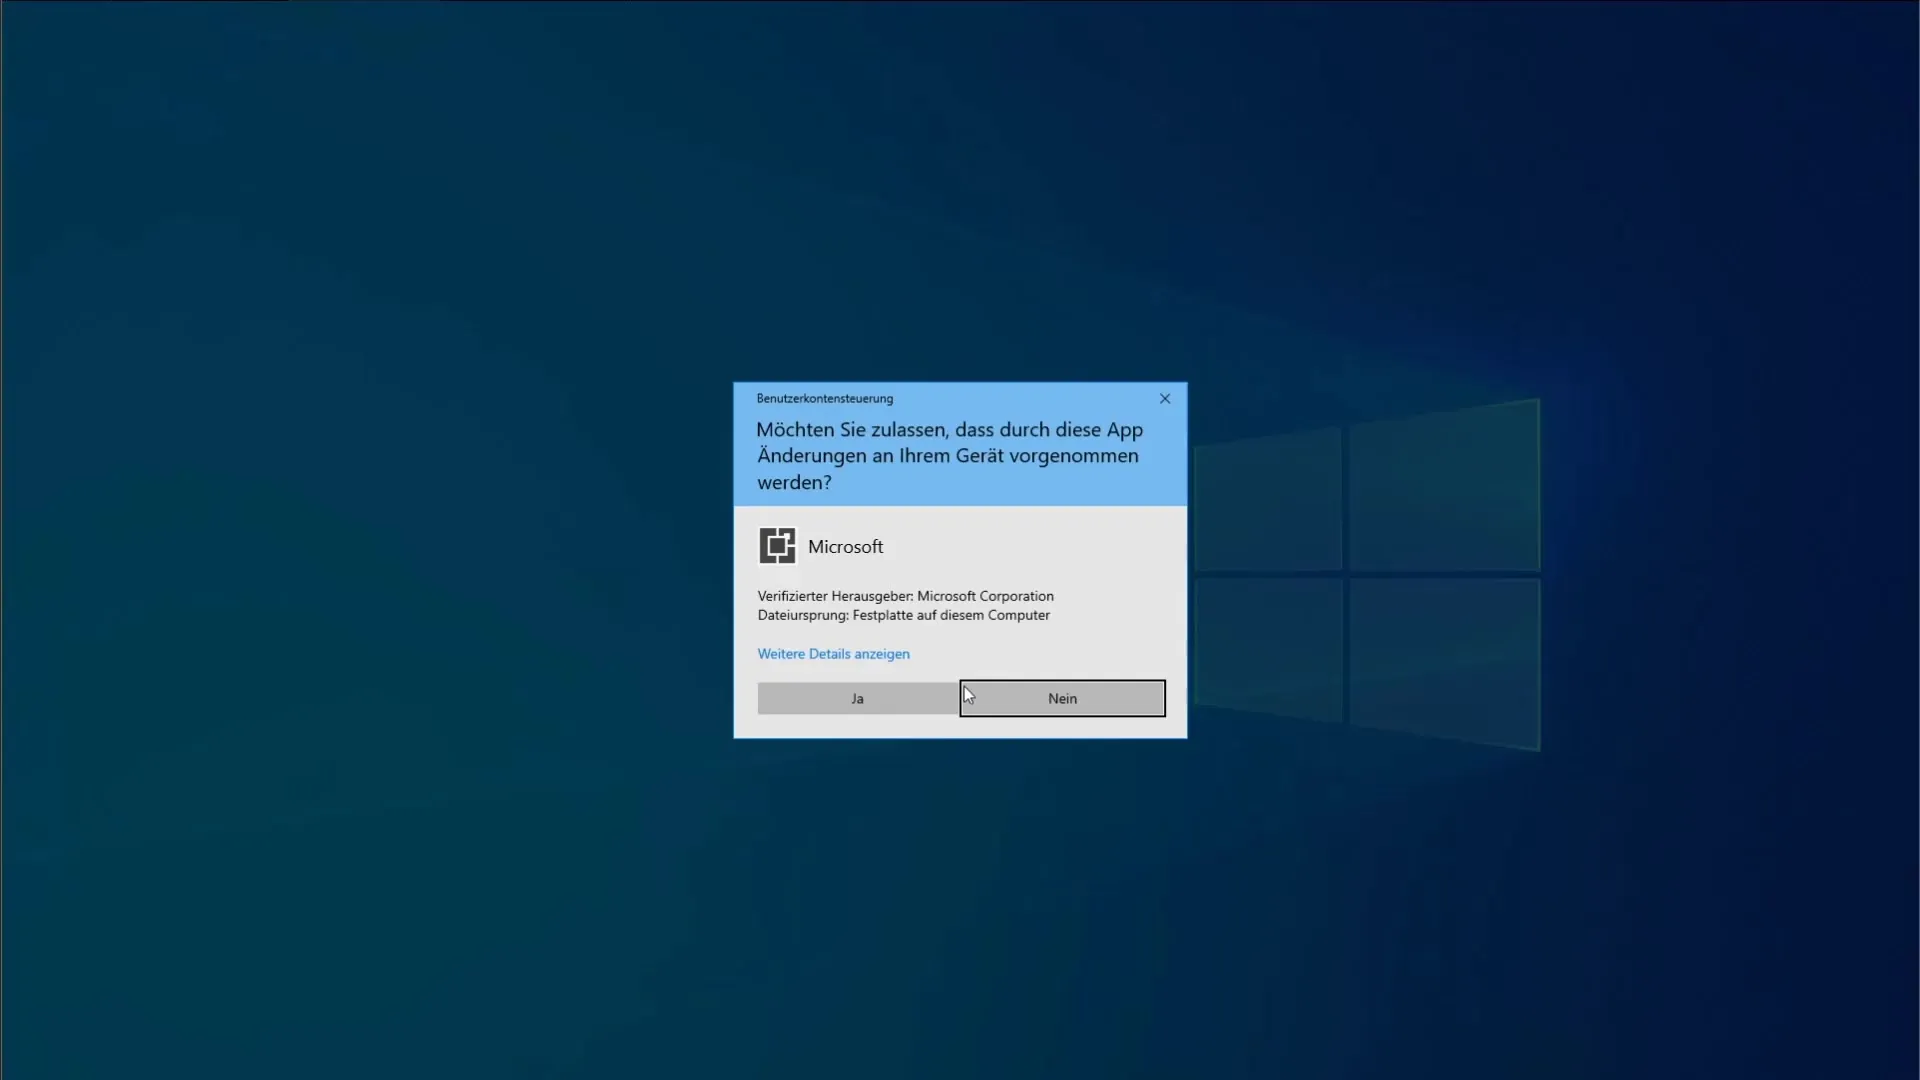
After closing Visual Studio, the installer will start automatically. Make sure you are ready when the installer is initiated. Sometimes you will be asked whether you want to continue with the changes. Confirm with "Yes".
Completion of Installation
It will now show that all required updates and extensions have already been installed. Just click "Okay" to complete the installation. This means that the modules are now up-to-date, and you are ready to continue with your project.
Restart Visual Studio
Restart Visual Studio. If everything is installed correctly, the red notification marker on the bell should no longer be visible. This means that your program has been successfully updated and the latest features are now available.
Summary – Performing Module Updates in Visual Studio
Performing module updates in Visual Studio is a straightforward process that emphasizes keeping up-to-date. Always make sure to check for updates regularly to work with the latest features and security standards.
Frequently Asked Questions
How often should updates be performed in Visual Studio?It is recommended to install updates regularly to ensure that all security vulnerabilities are closed.
Are there risks associated with installing updates?Generally, updates are safe, but there is always a small risk that incompatible changes may occur in existing projects.
Can I skip updates?Yes, you can manually select which updates to install, but it is advisable to carry out all important updates.
