Graphical User Interfaces (GUIs) play a central role in modern software development. They enable users to interact intuitively with applications by providing visual elements that are easy to understand and use. In this guide, you will learn how to create your first window using WPF (Windows Presentation Foundation). However, first, the installation of required components is on the agenda.
Main Insights
- WPF is a powerful development platform for creating Windows applications.
- Before starting GUI development, it is essential to have the right tools and components installed.
- You will learn how to set up your development environment for working with WPF.
Step-by-Step Guide
Step 1: Checking WPF Component Installation
Before you begin creating your first graphical user interface, you need to ensure that all necessary components are installed. It is important that you have completed the installation as described in the previous chapters. If you are new to this course, please check the installation of WPF.

Step 2: Accessing Installation Settings
To check the installation settings, navigate to the "Tools" menu. There, select "Get Tools and Features." This should immediately display an overview of the installed components. Loading the interface may take a moment.
Step 3: Checking.NET Desktop Development
Once the interface is loaded, make sure that the item ".NET Desktop Development" is selected. This WPF development tool is crucial for creating WPF applications in C#. If this item is not selected, you need to actively check it.
Step 4: Installing Missing Components
After making the selection, click on the "Modify" button that appears at the bottom of the screen. This step will initiate the installation of the required components. This may take some time. It's worth being patient while the installation is running.
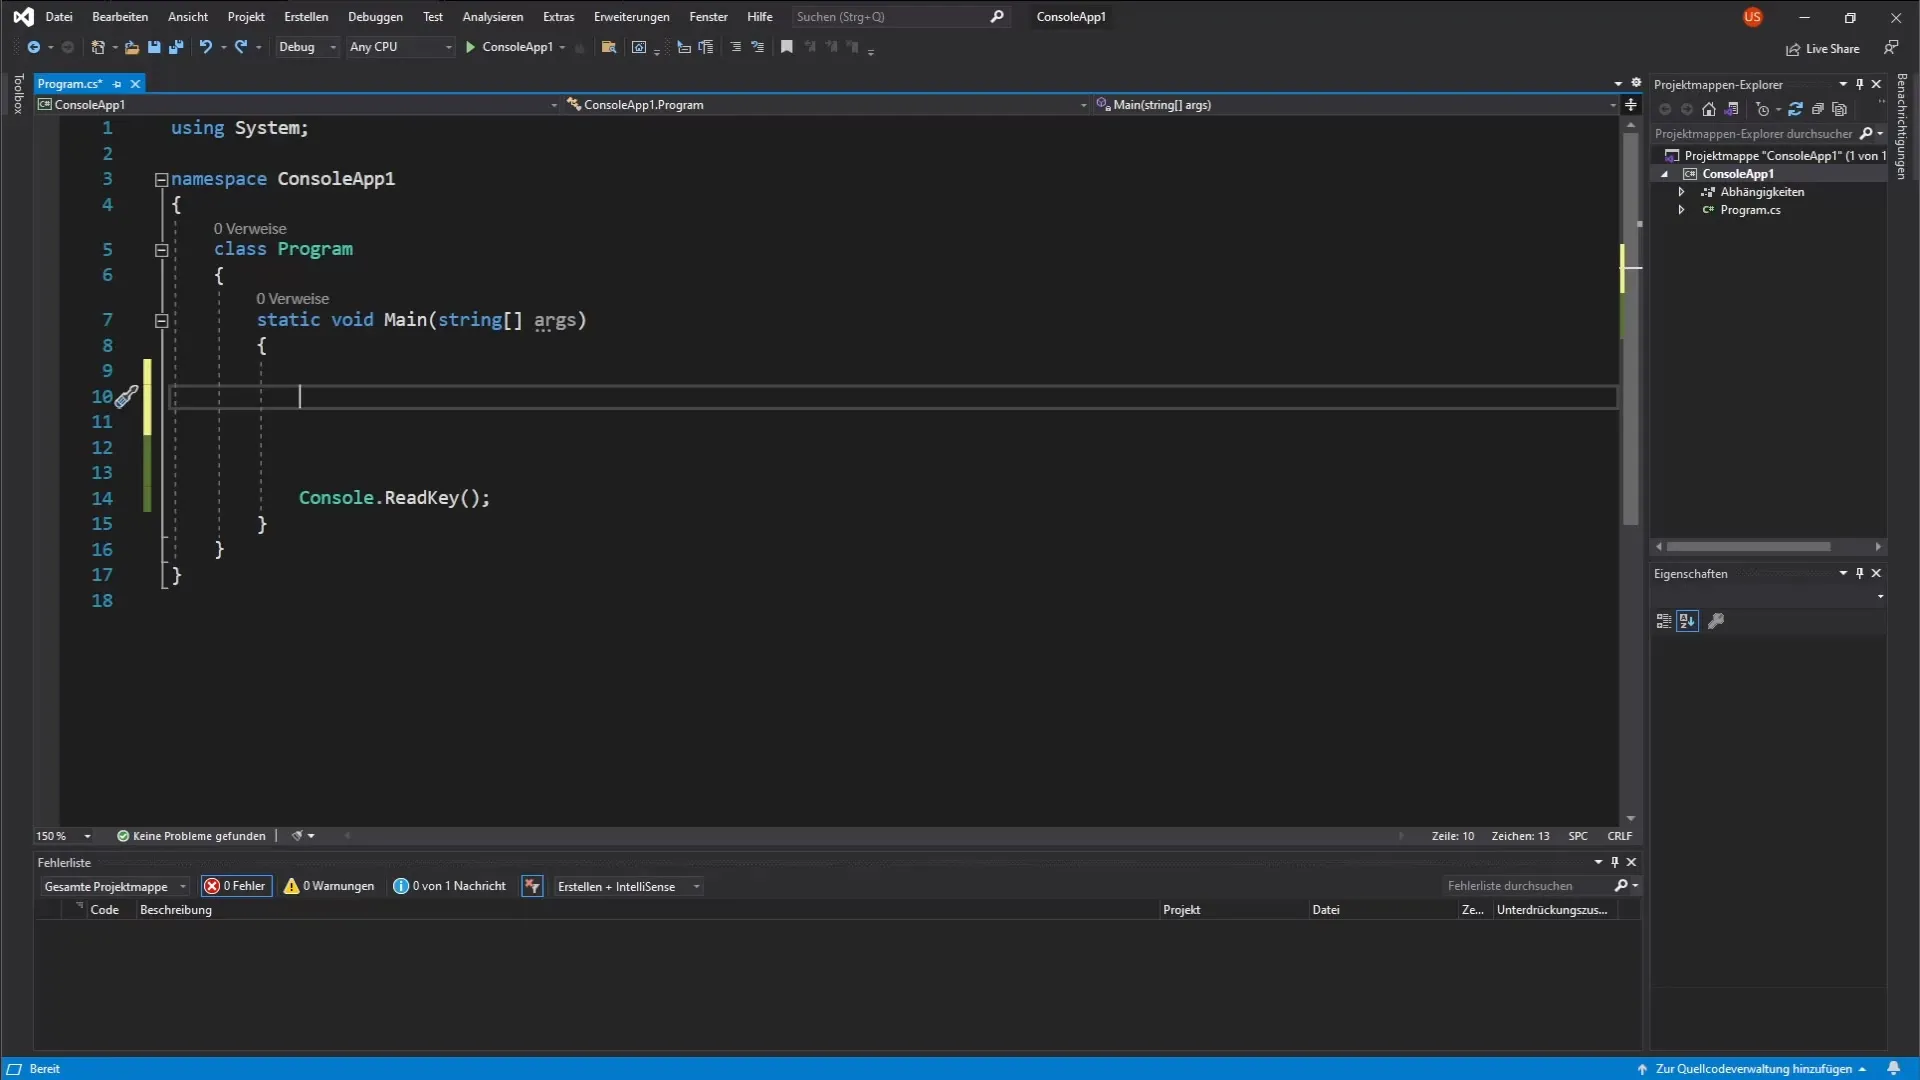
Step 5: Closing the Current Project
Before the installation can be completed, you must ensure that the project you have open is closed. This is a necessary prerequisite for the successful installation of the new components. Once you have closed the project, you will find a successful setup at the end of the installation.
Step 6: Completing the Installation and Outlook
Once the installation is complete, you are ready to start creating your first WPF application. In the upcoming videos, you will be guided step by step through the process of GUI development. Look forward to getting creative and bringing your ideas to life.
Summary – WPF: First Steps to Create Graphical User Interfaces in C
In this guide, you learned how essential it is to set up your development environment correctly to create applications with WPF. You have gone through the necessary steps to check and install the components that will help you design your first graphical user interfaces.
Frequently Asked Questions
How do I install WPF if it is not pre-installed?You need to select the option "Get Tools and Features" from the "Tools" menu and then enable ".NET Desktop Development."
What are Graphical User Interfaces?Graphical User Interfaces (GUIs) are visual interfaces that allow users to interact with software applications through graphical elements.
How long does it take to install WPF components?The installation may take a few minutes, depending on your system's hardware and circumstances.


