Data management is a key competency in software development. When working with SQLite, it may be necessary to remove outdated or incorrect records from your database. In this guide, you will learn how to effectively delete car brands from an SQLite database. The steps are well-structured and easy to follow, so you can quickly implement the procedure.
Key Insights
- Deleting records in SQLite is done via SQL commands.
- Error handling is crucial to ensure the user makes a selection.
- A graphical user interface (GUI) can significantly simplify interaction with the database.
- Using parameters in SQL queries increases security and flexibility.
Step-by-Step Guide
Step 1: Catch Errors
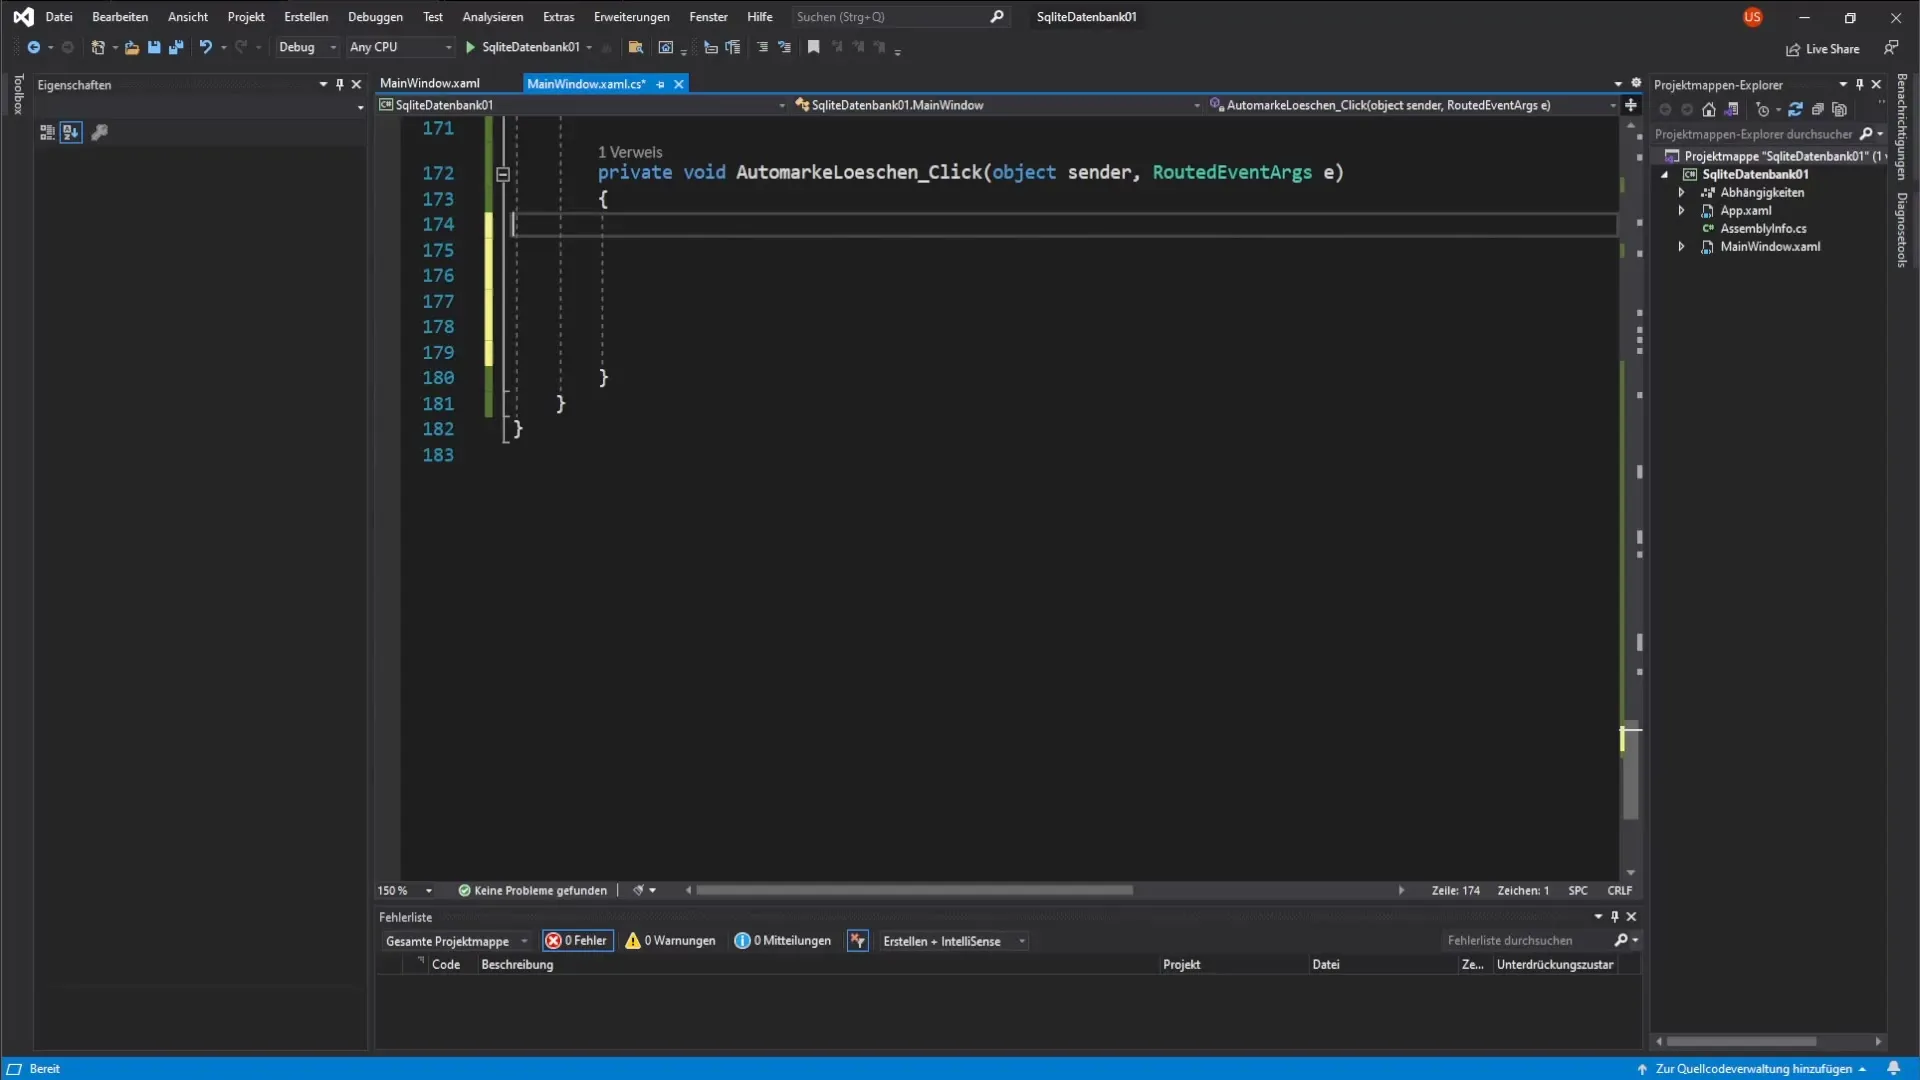
Before you begin deleting records, it's important to ensure that the user has actually selected a car brand. In your method, you will implement an error-catching mechanism for this. You should use the try-catch structure to handle potential errors.
Step 2: Insert try-catch Structure
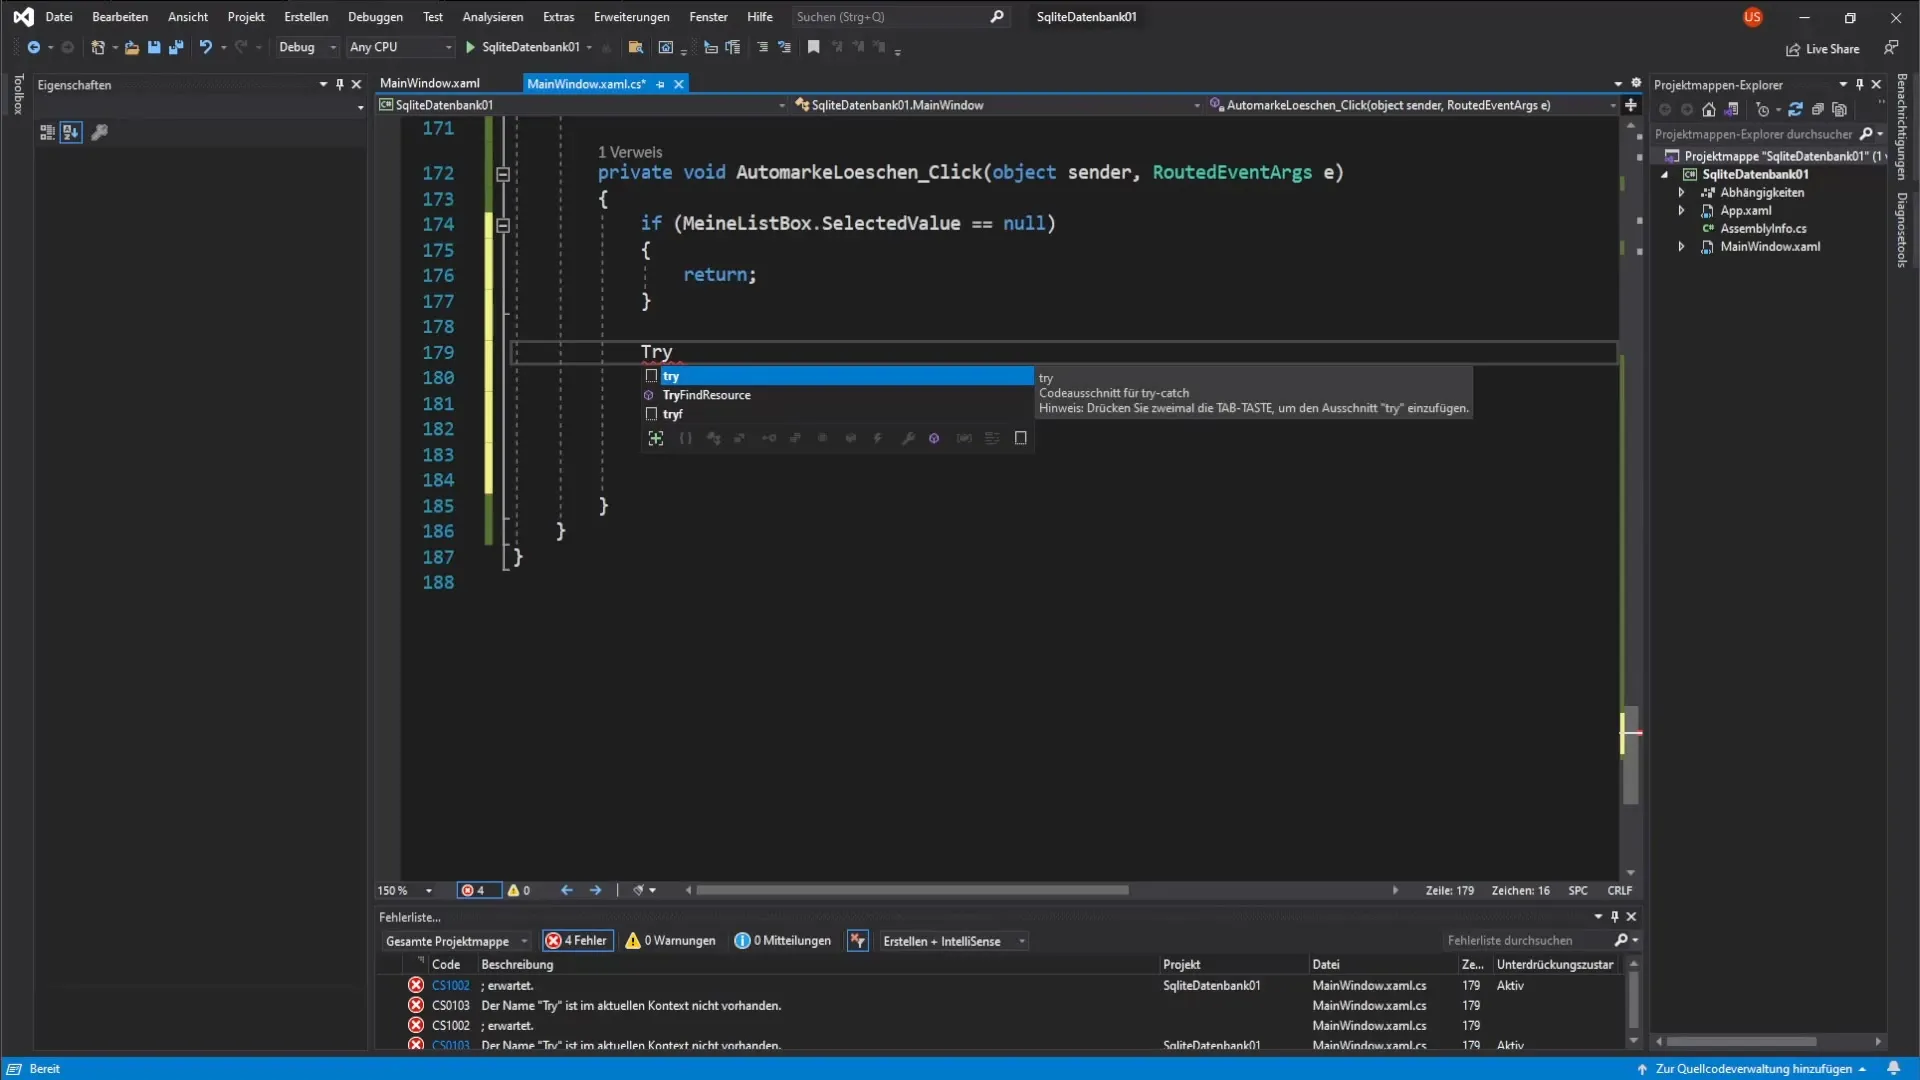
You can easily copy the existing try-catch structure from other methods and paste it into your delete method. This ensures you remain consistent with error handling and avoid duplicating code.
Step 3: Create the SQL Command
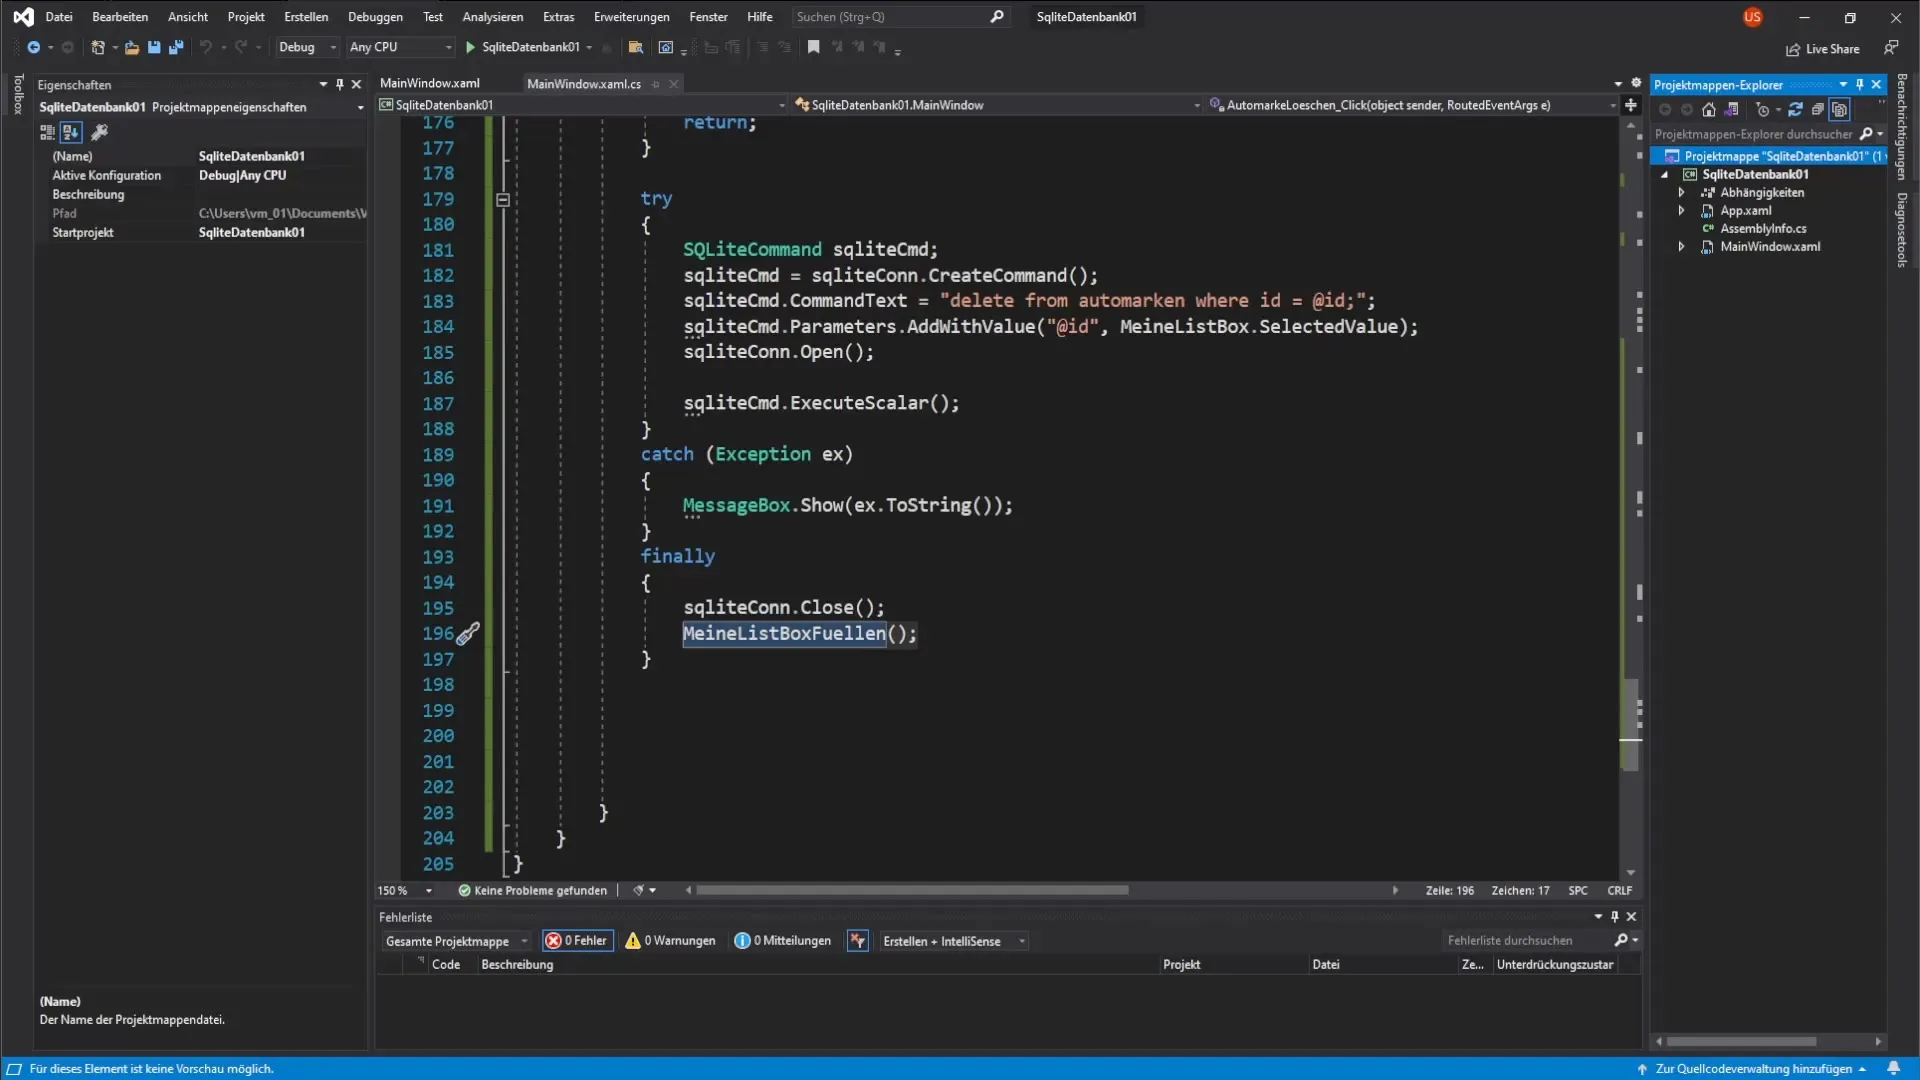
Now you're ready to create the SQL command to delete records. The DELETE command is used to remove records from the car brands table. It's important to formulate the command in such a way that you specifically indicate which row should be deleted. For this, you need the unique ID of the record.
Step 4: Set the Parameter
To ensure you are deleting the correct record, you need to set the parameter for the ID to be deleted. This is typically done from the value selected in a list box. This links the user input directly to the delete operation.
Step 5: Open Database Connection
Once you have defined your SQL command and the corresponding parameter, you open the connection to the SQLite database. It's important to do this in the correct order to ensure that all necessary queries can be executed correctly.
Step 6: Execute the Command
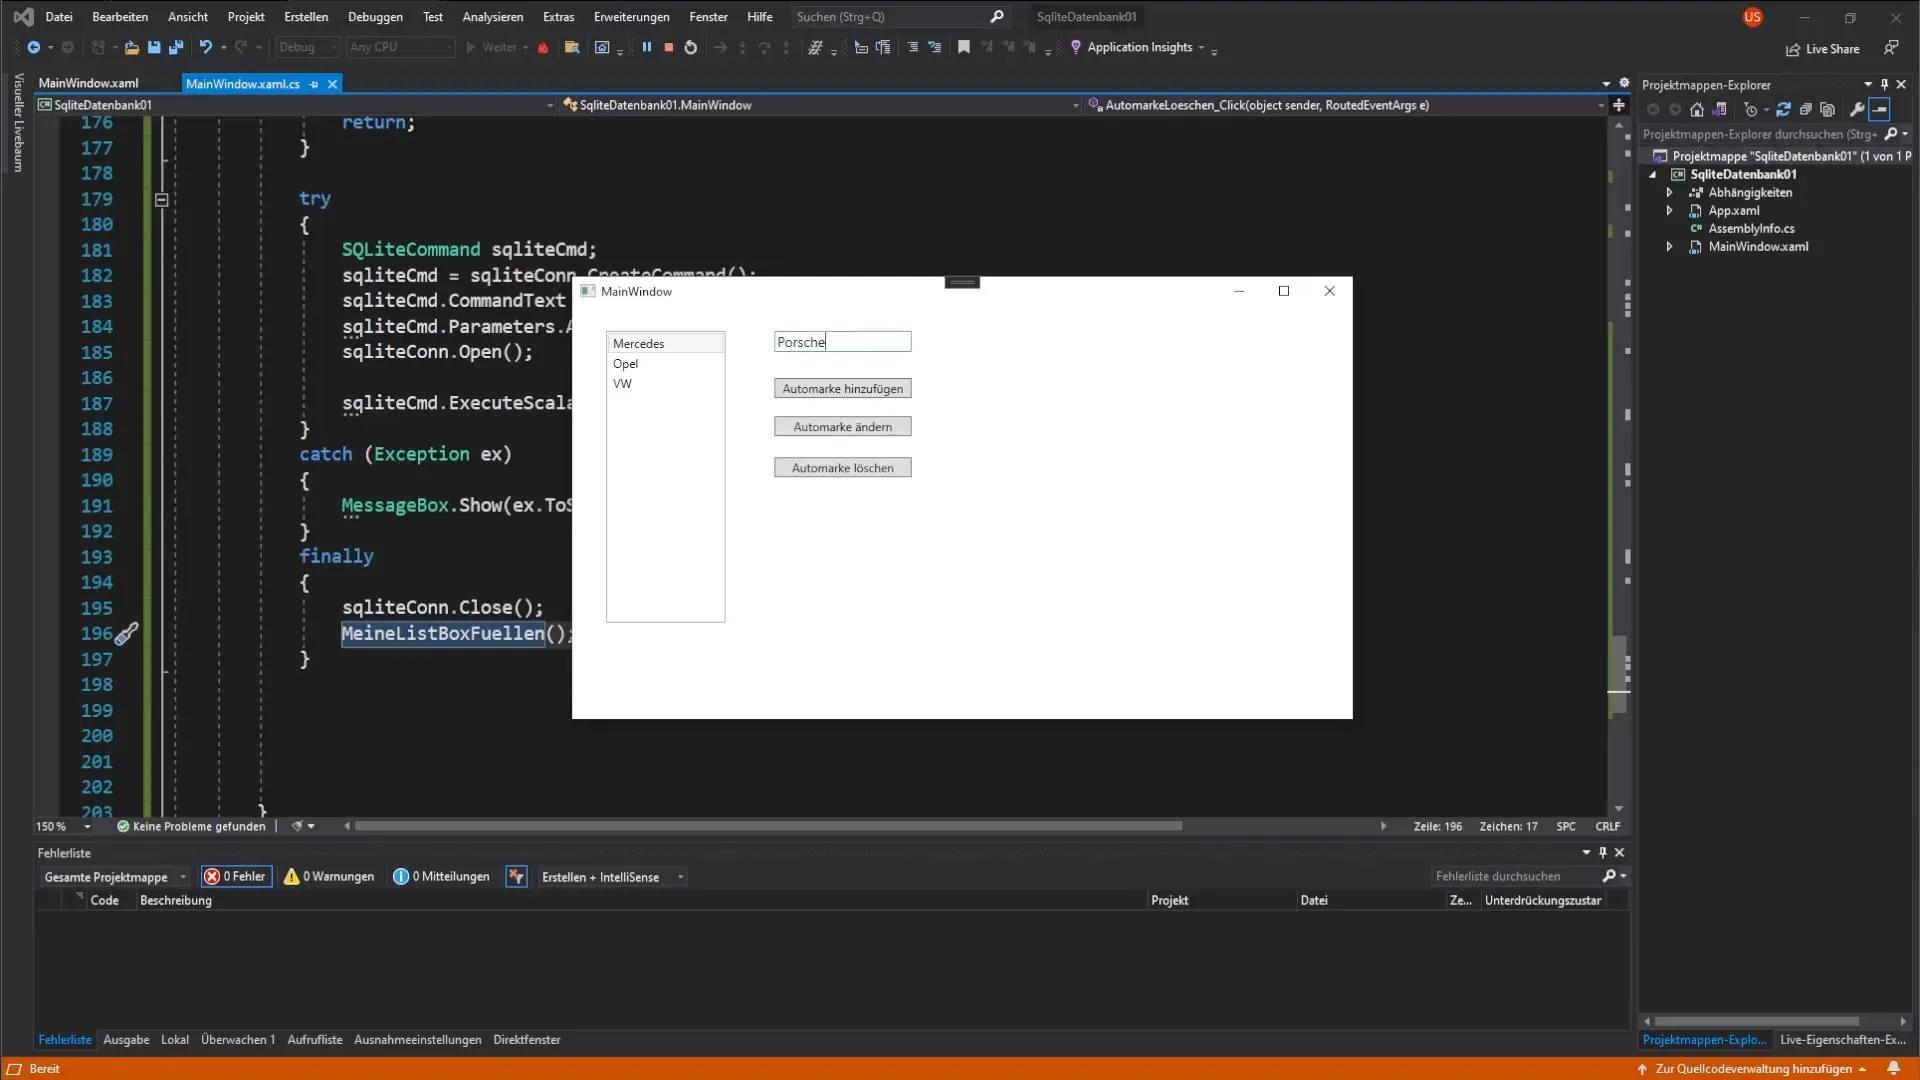
Once the connection is established, you execute the SQL command to delete the record. Executing an SQL command may cause potential errors, so it’s helpful to integrate this within your try block.
Step 7: Close Database Connection
Regardless of whether the delete operation was successful or not, you should close the database connection at the end of your method in the finally block. This prevents open connections from causing issues for security or stability reasons.
Step 8: Update the Listbox
After successfully updating the database, you should refill the list box that displays the car brands. This ensures that your interface reflects the latest state of the database, and the user sees that the delete operation was successful.
Step 9: Check Functionality
Before considering your application final, it is important to check the functionality. You can do this by selecting a record and testing the delete operation. Make sure that after deletion, the record no longer appears in the list box.
Step 10: Check Database
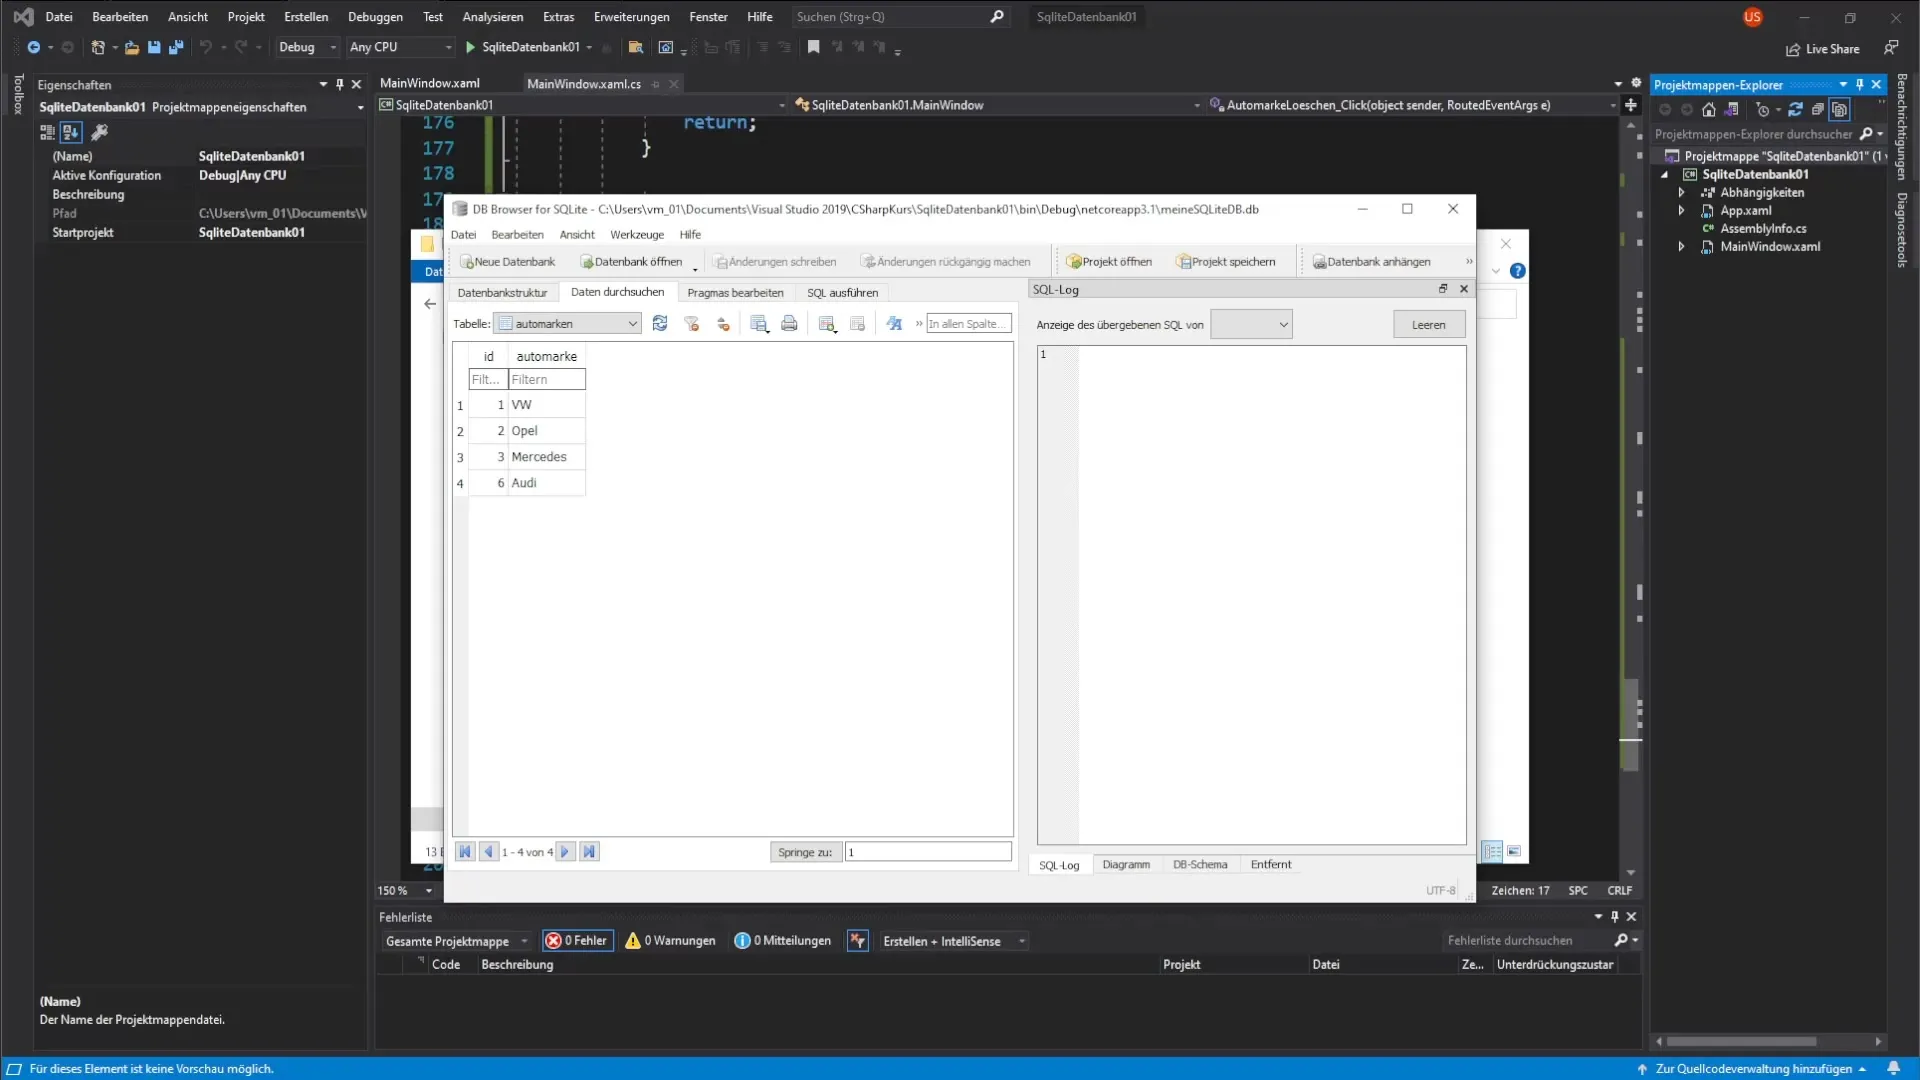
To ensure that everything worked correctly, I recommend opening the database with the SQLite browser. Check the car brands table and verify that the record you deleted has indeed been removed. This confirmation gives you assurance about the operations performed.
Step 11: Further Exercises
Take the opportunity to deepen your knowledge. Consider creating a new table, for example, for car models. Experiment and enhance your skills in database management.
Summary – Deleting Data from an SQLite Database – Step by Step
In this guide, you learned how to delete data from an SQLite database. You went through the basic steps of error handling, the SQL command structure, and using a GUI. Be sure to apply the knowledge gained in further projects.
Frequently Asked Questions
What is the purpose of the try-catch structure?The try-catch structure helps catch errors that may occur during execution and allows for controlled error handling.
How do I delete a record from SQLite?You use the DELETE SQL command to remove records based on their unique ID.
Why is it important to close the database connection after deletion?Closing the connection ensures that no resources remain unnecessarily tied up and increases the stability of the application.
