Creating your first program in C# is not only the entry point into programming, but also an exciting moment where you experience how code transforms into a functional application. In this guide, you will discover step by step how to write, compile, and execute a simple “Hello World!” program. Let’s dive straight into this exciting world of C# programming!
Key insights
- C# is a versatile programming language that stands out through its simple syntax and diverse application possibilities.
- The console in C# allows you to display outputs and process inputs.
- Compiling and creating projects in Visual Studio are fundamental steps in programming.
Step-by-step guide
To create your first C# program, you need Visual Studio. If you haven't installed it yet, please do so. Then start the program and follow these steps:
1. Creating a new project When you have Visual Studio open, select “New Project.” In the window that opens, you have the option to choose the project type. Select “Console Application” because we want to create a simple console application.

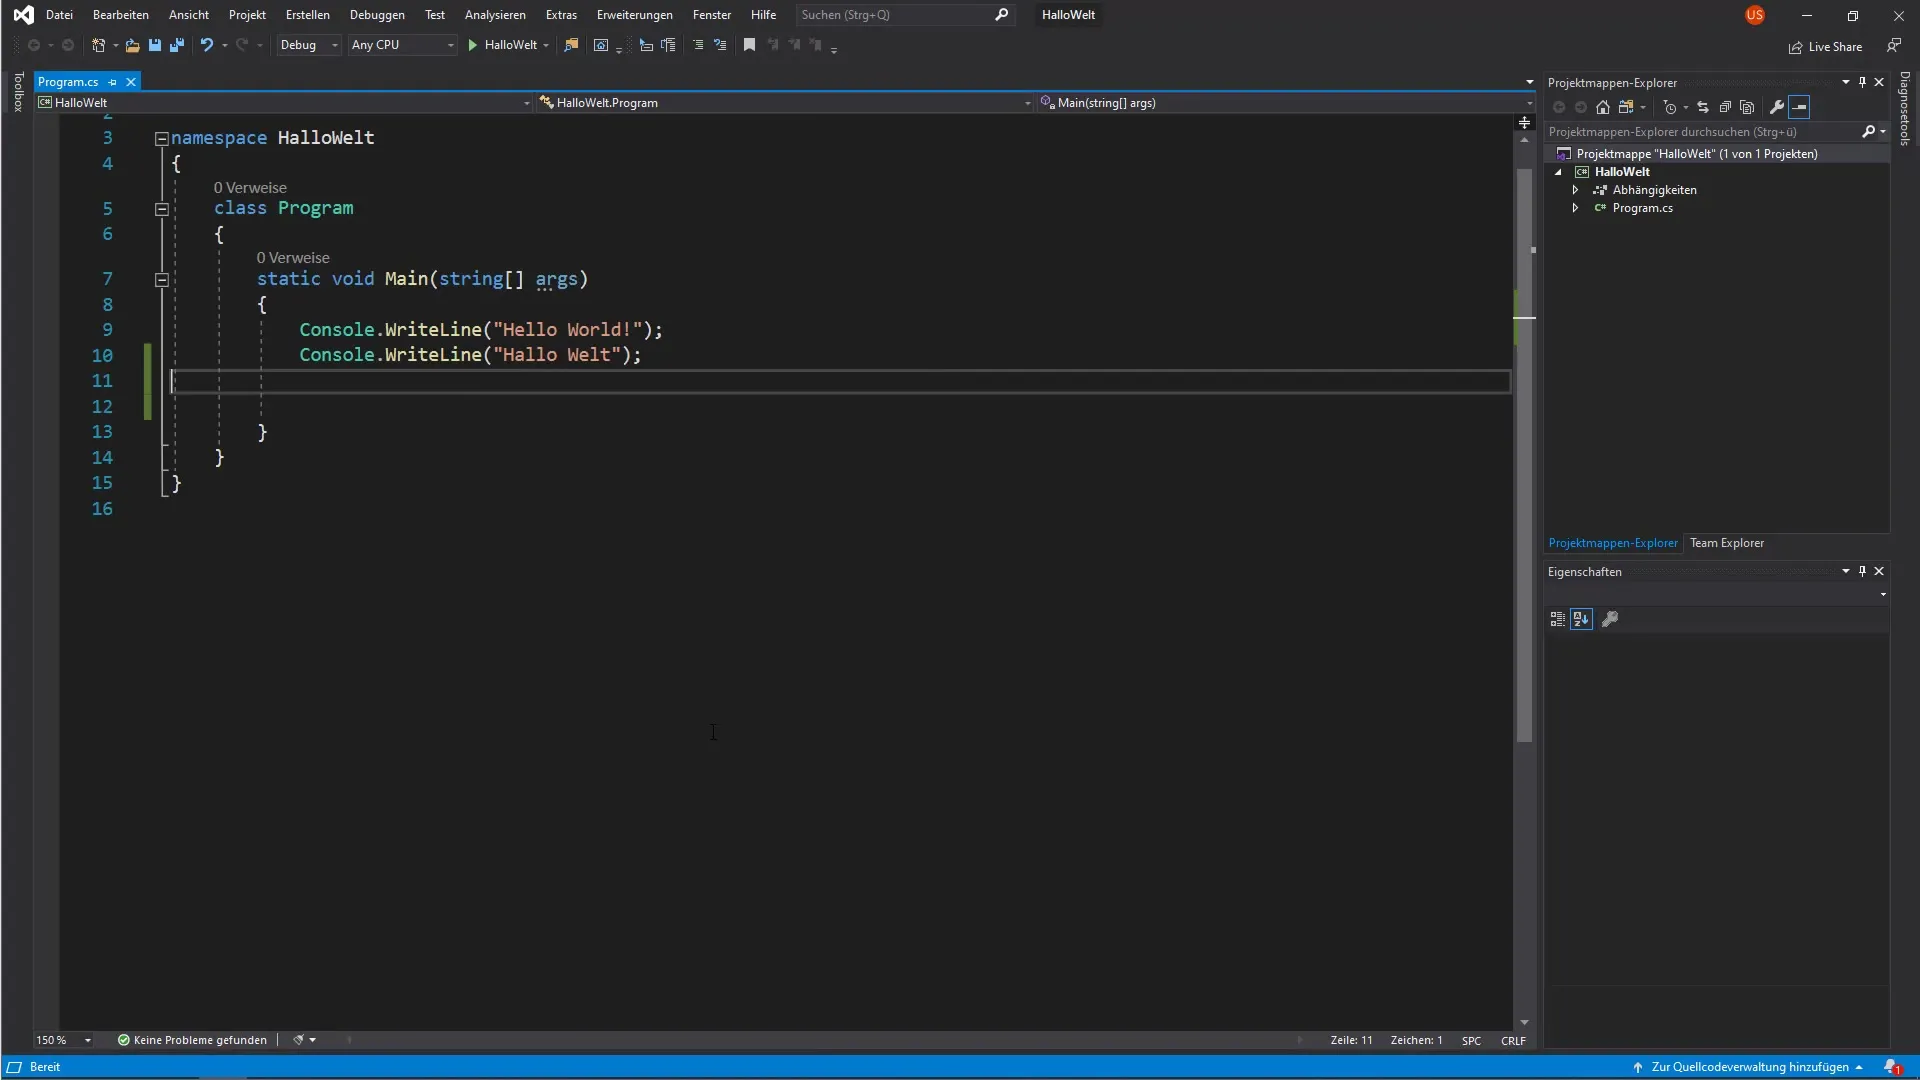
2. Writing the code Now take a look at the code editor where you will write your source code.
class Program { static void Main() { Console.WriteLine("Hello World!"); } }
Paste the above lines into your code editor. This program simply outputs the text “Hello World!” in the console.
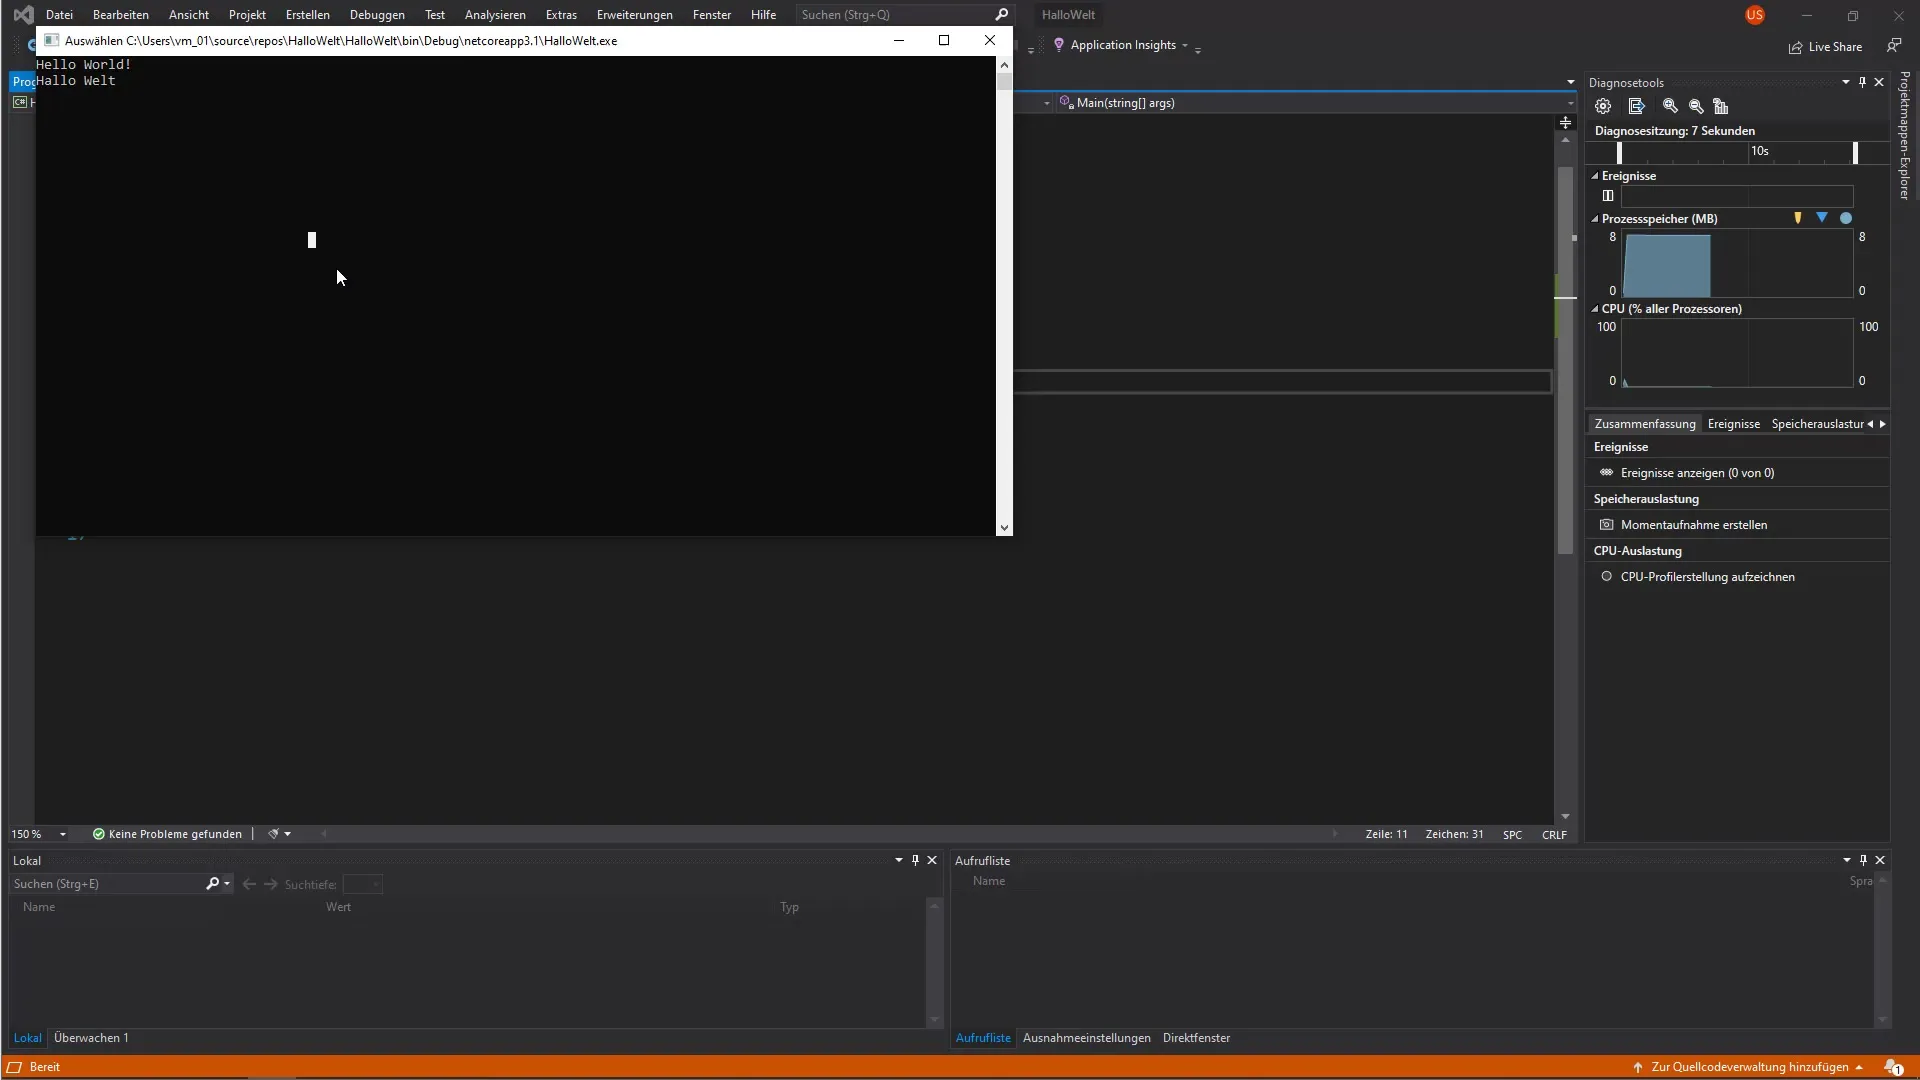
3. Running the program To run your program, simply click on the small green arrow in the top bar. This will compile and start your program. You will see a console open displaying the text “Hello World!”.
4. Keeping the console open When the program runs, the console automatically closes after execution. To avoid this and see the output longer, you add the command Console.ReadKey(); after the line with Console.WriteLine();. This command waits for a key press before the program ends.
5. Running the program again Start the program again using the green arrow. This time you should see the text “Hello World!” in the console, and the console remains open until you press a key. You have successfully created your first interactive C# program!

6. Creating the project Now that your program works, you want to create an executable file. Go to the menu bar and select “Build Project.” This will generate an executable file that you can run later on any computer that has the appropriate environment.
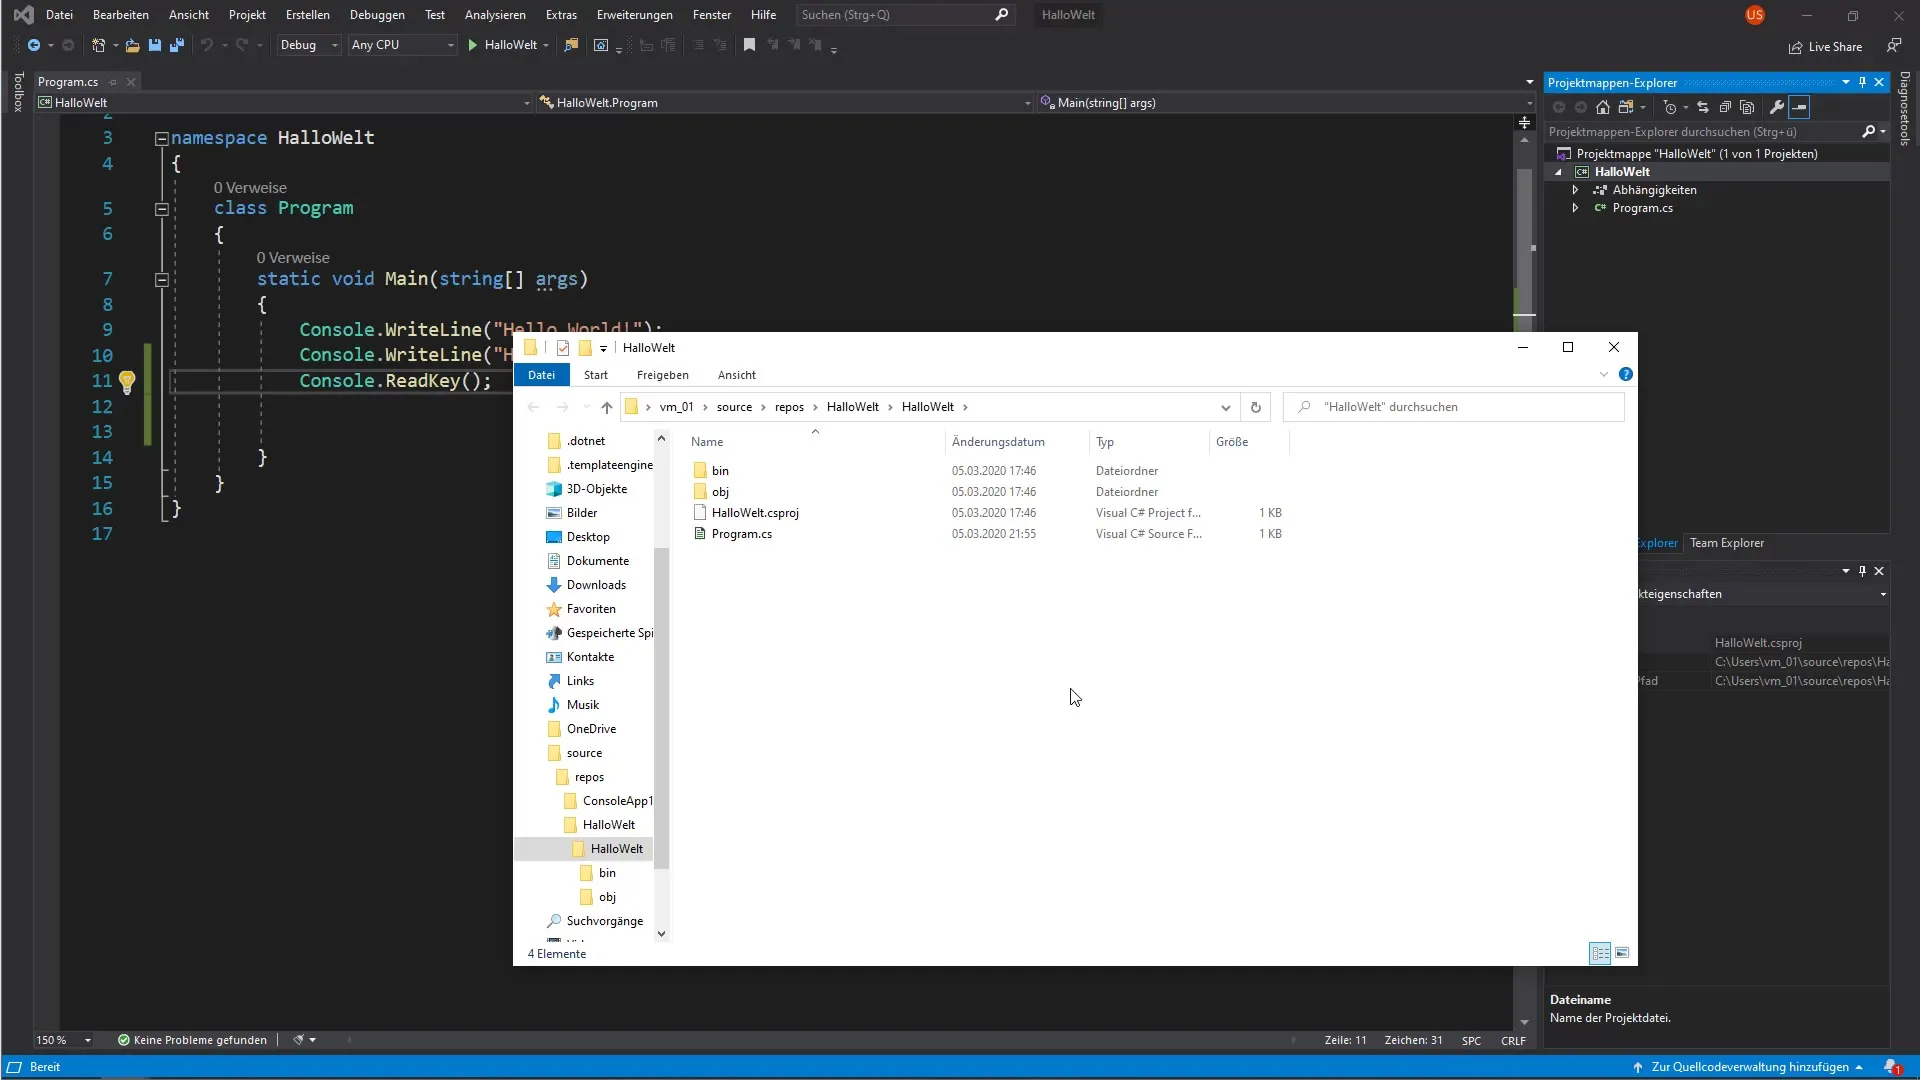
7. Finding the file in the file explorer To find the generated file, go to the right side to your solution explorer. Right-click on the project folder and select “Open Folder in File Explorer.” This shows you the folder structure of your project.

8. Testing the executable file In the file explorer, navigate to the “bin” folder, then “Debug.” Here you will find the file “HelloWorld.exe.” Double-click on it. Now the console will open again displaying your “Hello World!” text, and this time it also remains open until you press a key.
9. Congratulations! You did it! Congratulations on your first C# program. Even though it is just a simple output, you have gone through the fundamental steps of programming, and the feeling of having created something is priceless.
Summary - Your first program in C
Writing your first C# program is the first step into the world of programming. With the creation of a console application, you have not only learned to write source code but also how to create projects and generate executable files. These are fundamental skills that will be very useful in your programming journey.
Frequently asked questions
How do I start a project in Visual Studio?You open Visual Studio, select “New Project,” and then “Console Application.”
What does the command Console.ReadKey() do?The command waits for the user to press a key before the program closes.
How do I find the executable file of my program?After creating the project, you navigate to the “bin” folder and then the “Debug” folder.
What can I learn next?You can proceed with variables, conditions, and loops in C# to write more complex programs.


