Establishing connections to databases is one of the fundamental skills in software development. SQLite offers an excellent way to implement lightweight database solutions. In this guide, you will learn how to establish a connection to an SQLite database in C#, properly configure the connection string, and use the basics to populate your database.
Key insights
- The connection string is crucial for connecting to the database.
- You must first name the SQLite database and specify the directories.
- There are various parameters for the connection string that you can customize.
Step-by-step guide
To establish a connection to your SQLite database, please follow these steps:
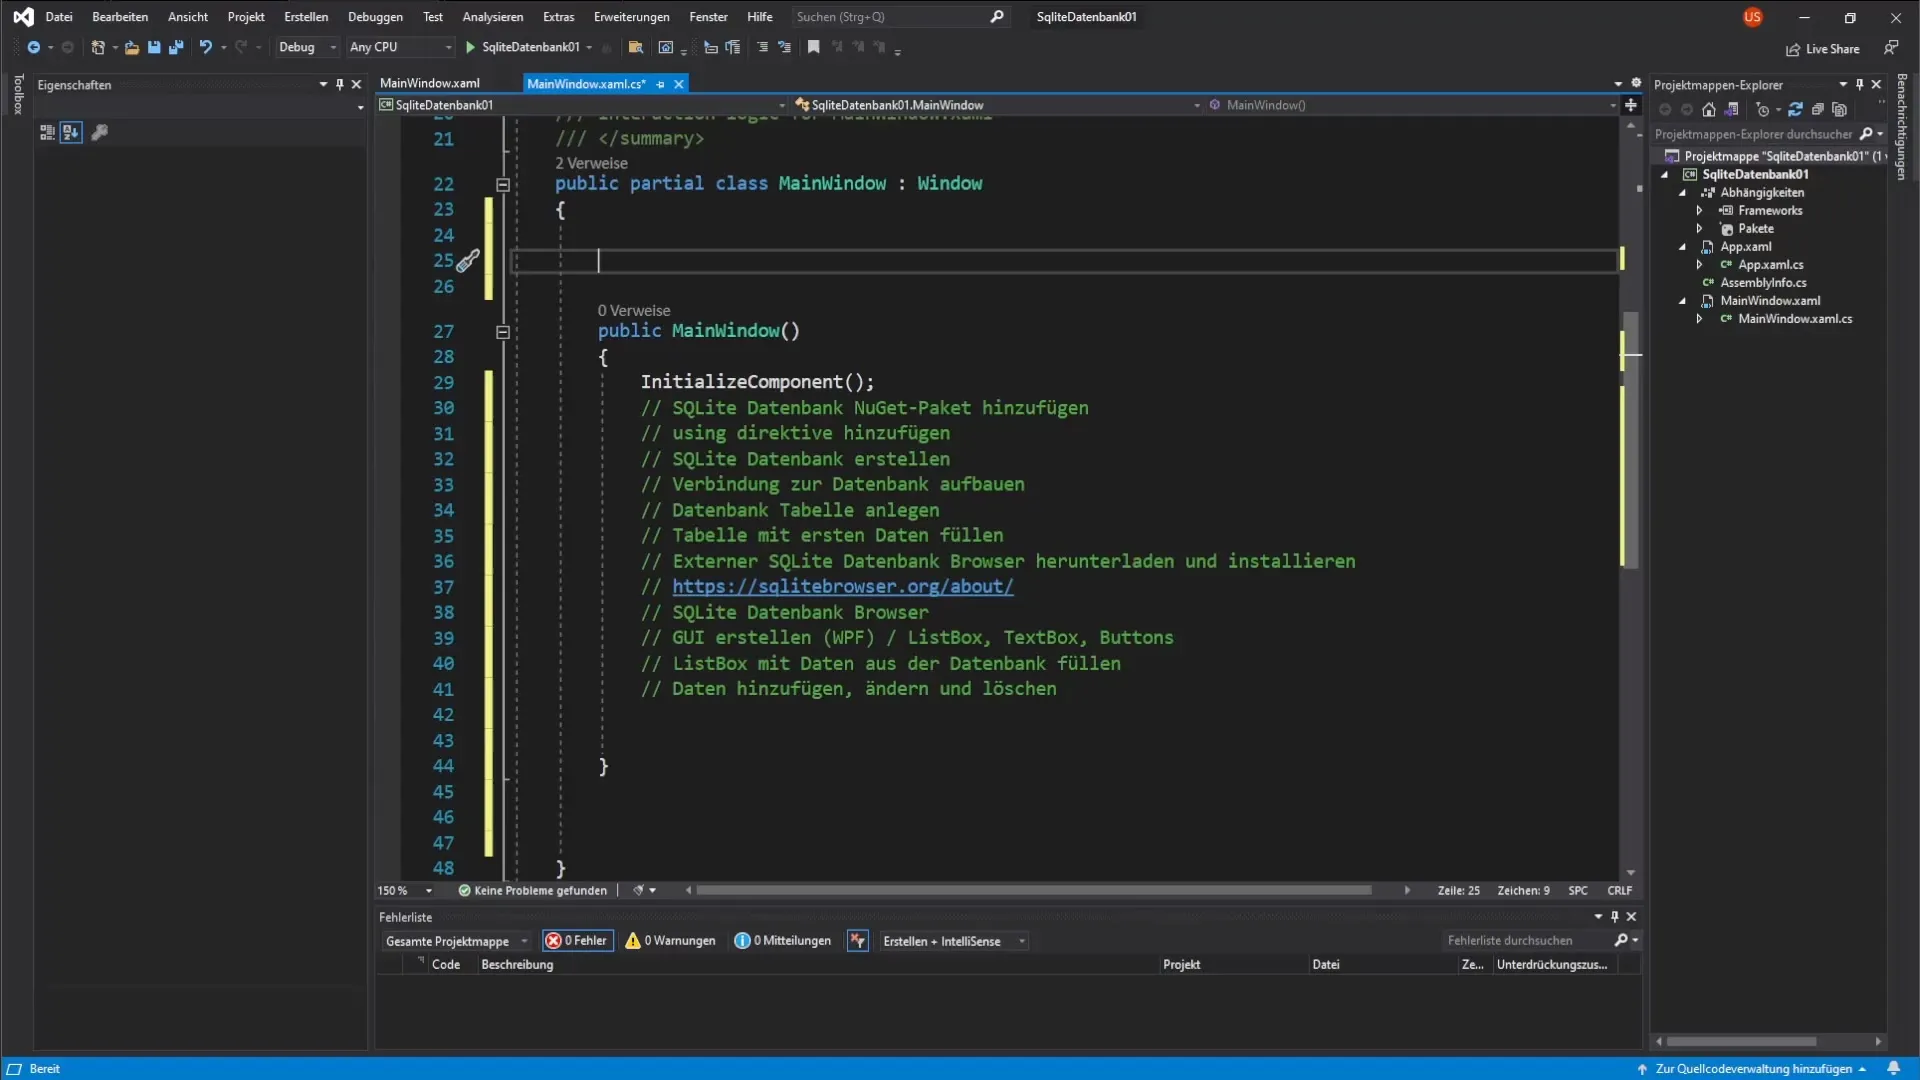
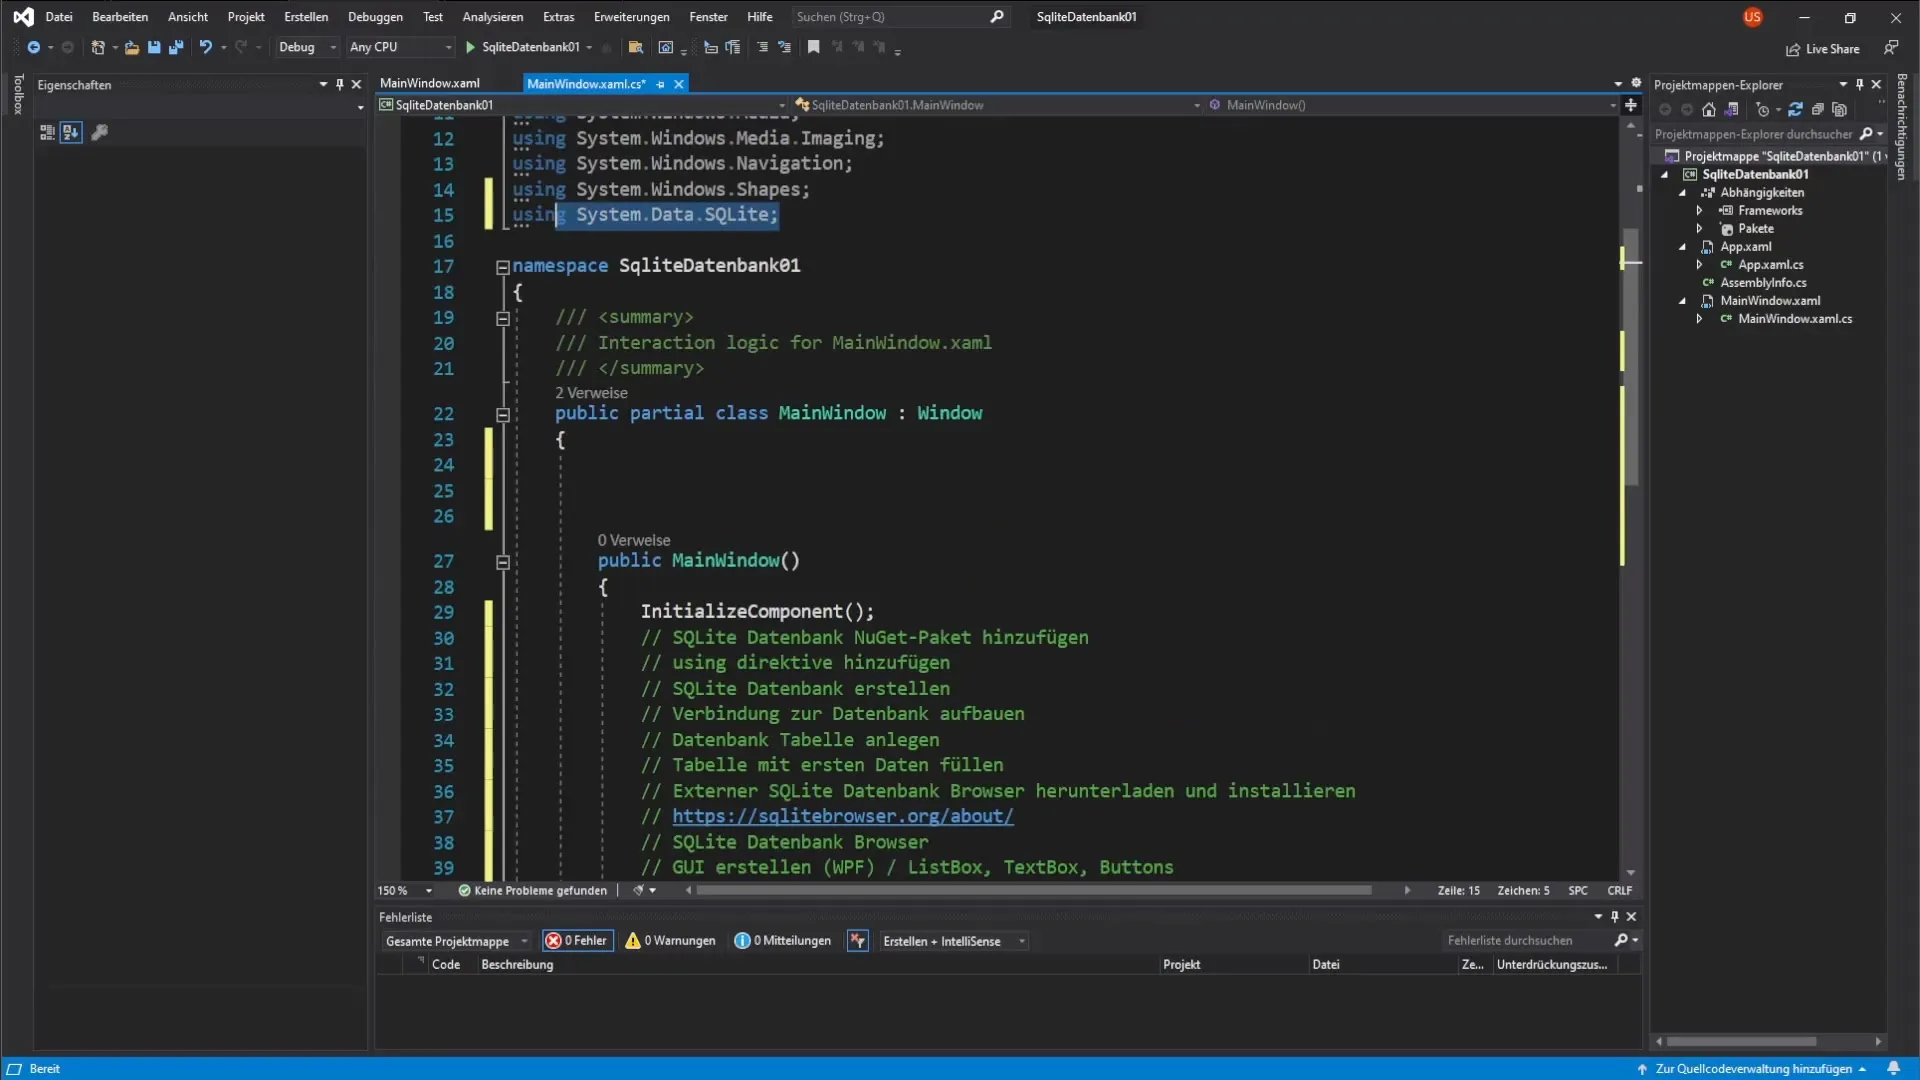
First, you need to insert the required namespaces. To do this, add the using directive for the System.Data.SQLite namespace into your C# project. This is essential to gain access to the SQLite classes necessary for the connection.

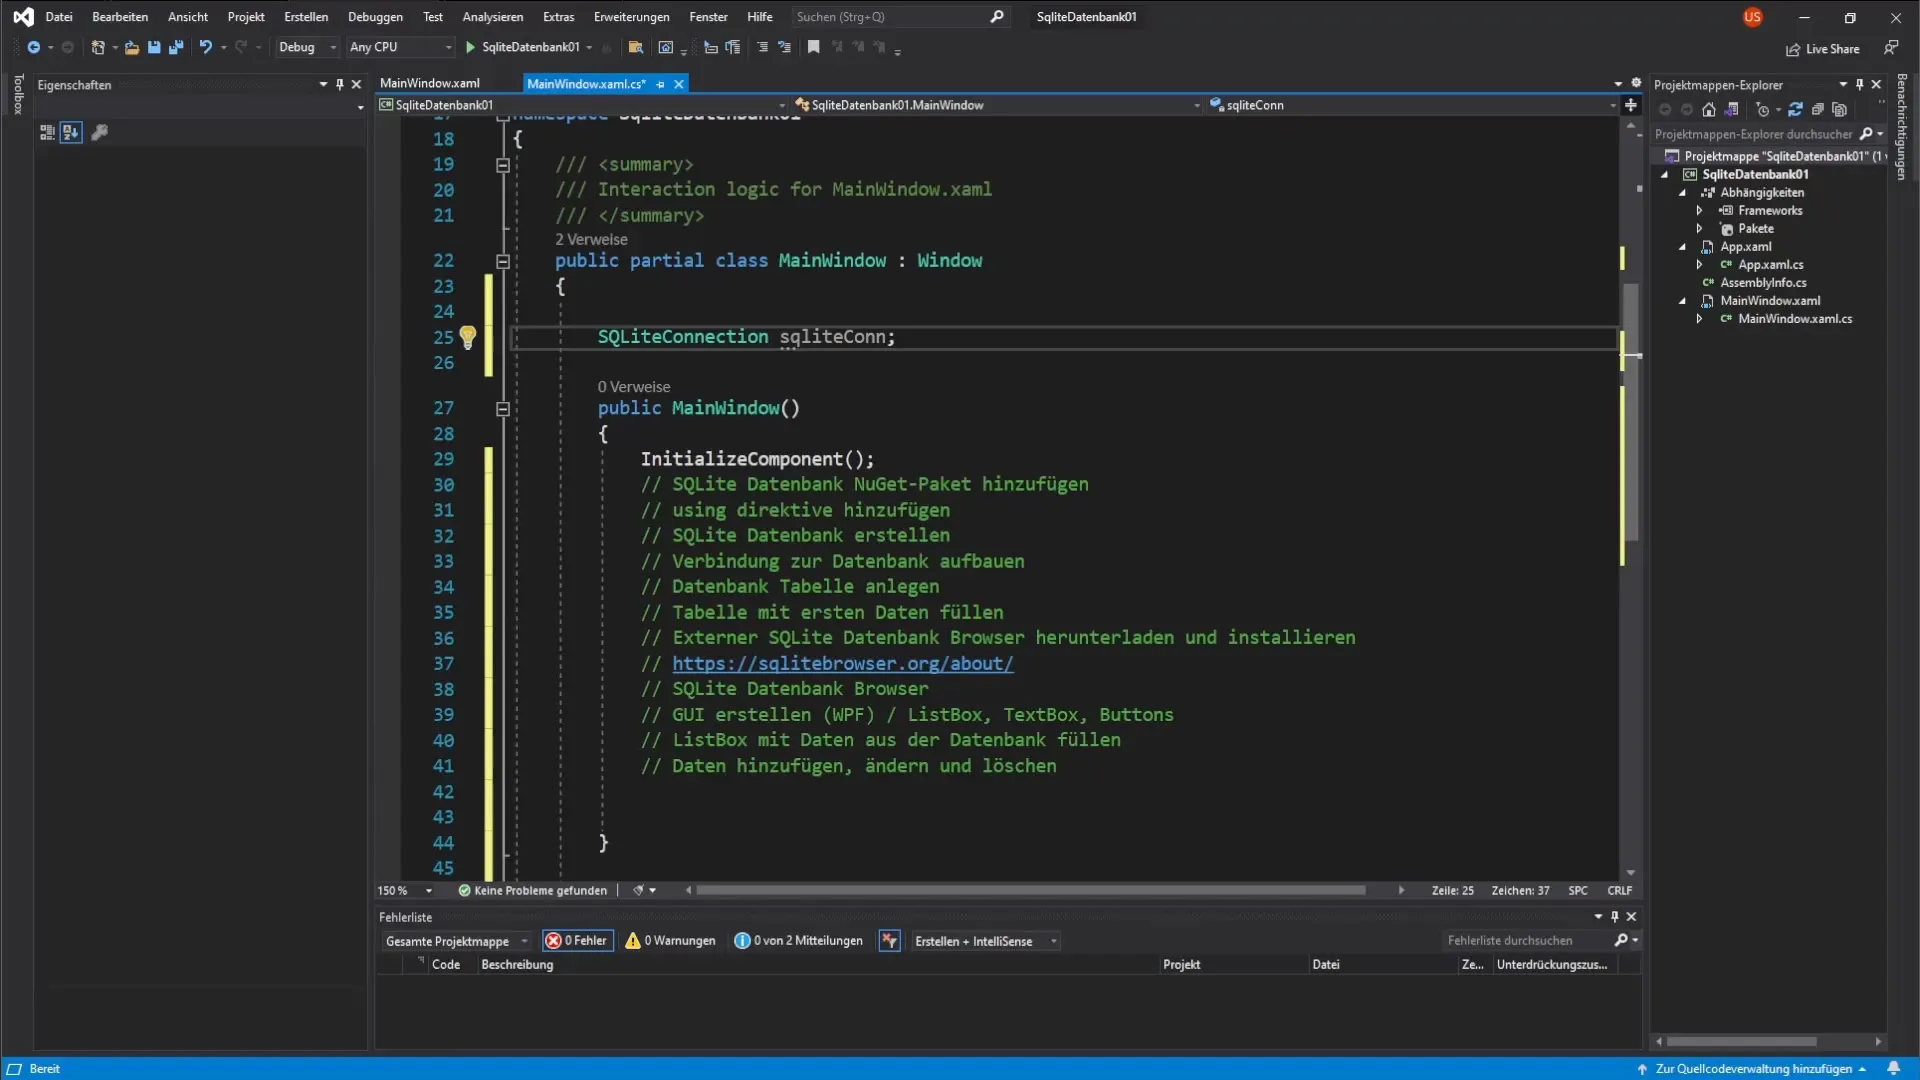
Once the using directive is implemented, you can define the SQLite connection. Create a public property in your main window class that represents the SQLite connection. In this example, we will call it sqliteCon. Make sure to declare this property such that it is accessible in all methods of your class.

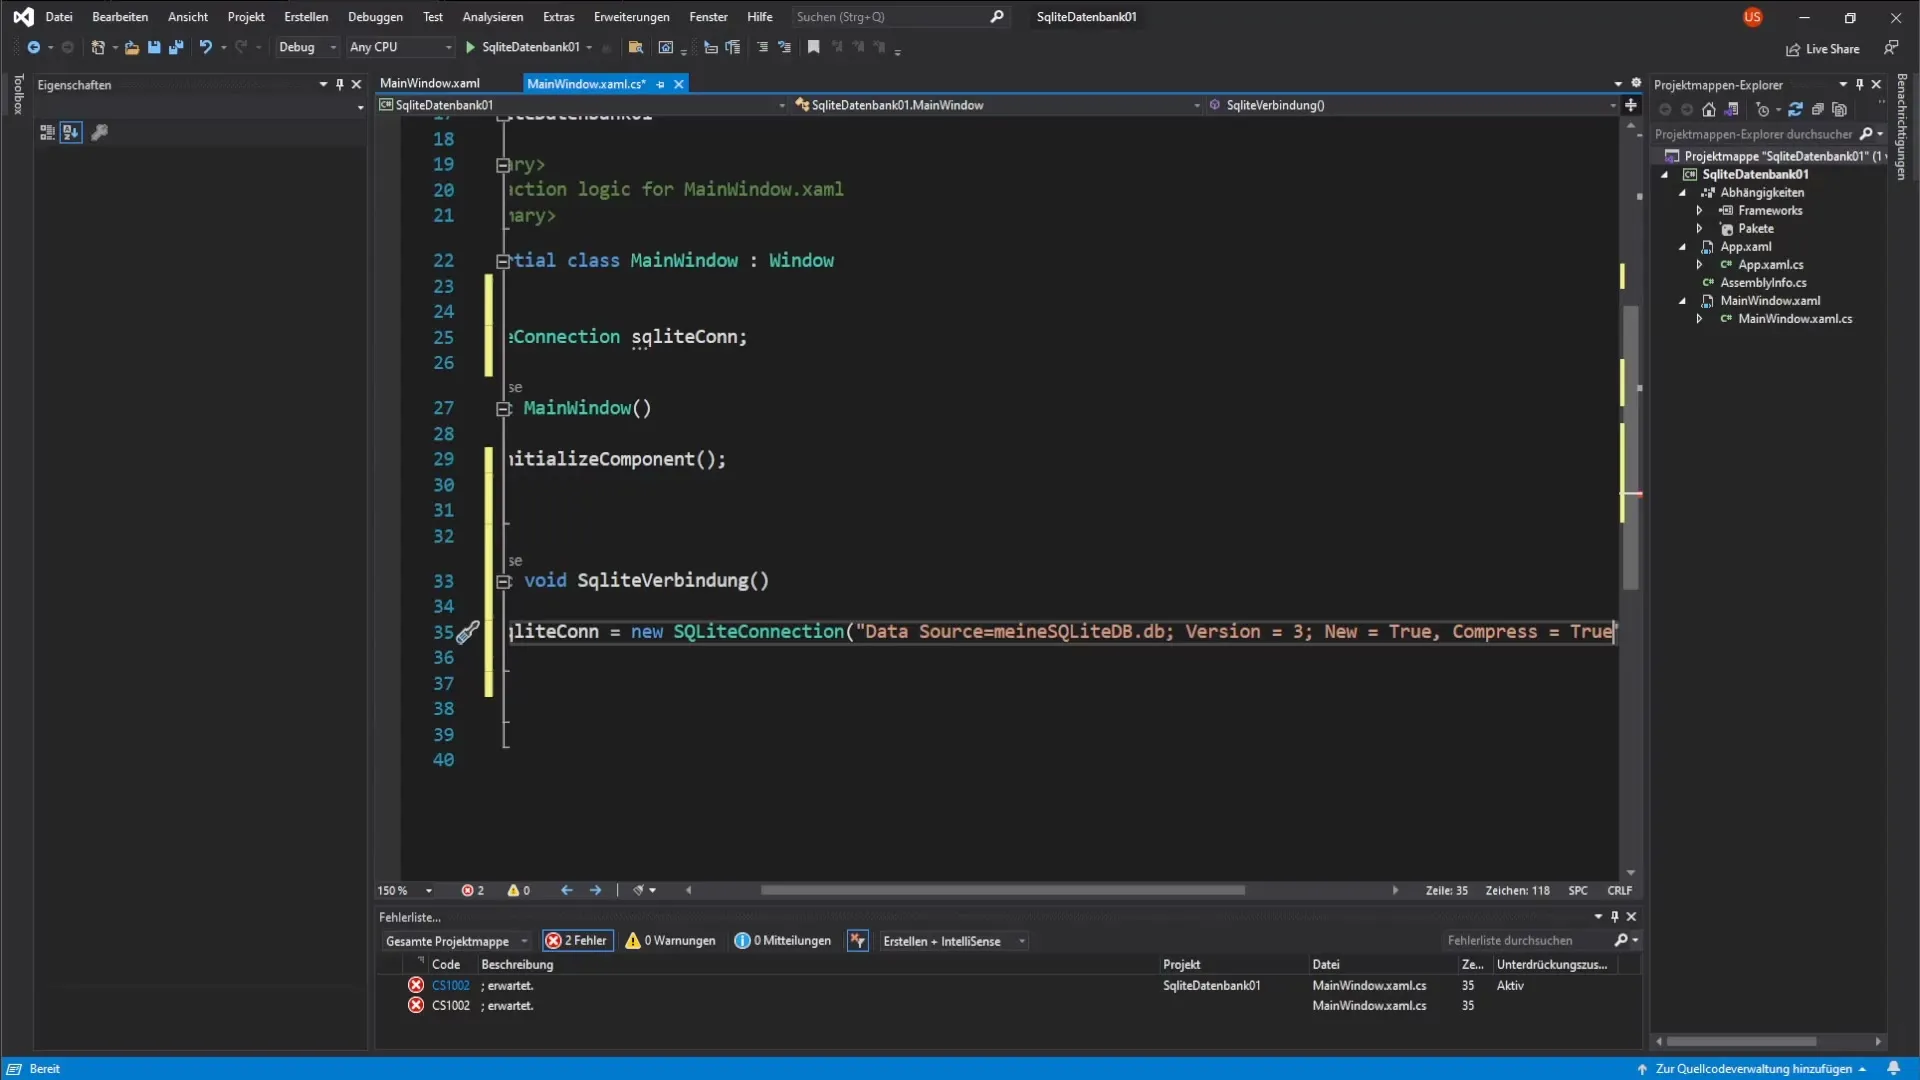
Now it is time to create the method for establishing the connection. Simply name this method SQLiteConnection. This method will include all the necessary steps to successfully establish the connection to the database.

After you have set up the method, you need to create a new connection string for the SQLite database. This is done with the command sqliteCon = new SQLiteConnection(); Here, additional parameters are added that are necessary to establish the connection to the database.
The first parameters you need to specify are the location and the name of the database. Set DataSource = "yourDatabase.db";. In our example, the database is named meineSQLite.db. This file will be created in the same directory as your project.
Now you also need to specify the version of the SQLite database in your connection string. Typically, you specify Version=3;. You also have the option to choose other versions, but in this example, we will use the third version.
Additionally, you should specify whether it should be a new database. To do this, add New=true;. This ensures that if the database does not yet exist, it will be created anew.
Once you have fully configured the connection string, you can also enable the data compression option by adding Compress=true;. This ensures that the data is stored efficiently.

Now you have a complete and functional connection string for your SQLite database that you can use at any time. With this, you should be able to change, delete, or add data. The next step will be about how to populate the database with tables and records.
Summary – C# Programming: Establishing a connection to the SQLite database
In this guide, you learned how to establish a connection to an SQLite database in C#. You now know how important the connection string is and which parameters are required for a successful connection. Step by step, you have gone through the process and gained the necessary knowledge to effectively link your application with an SQLite database.
Frequently Asked Questions
How do I install the SQLite package in Visual Studio?You can install it via the NuGet Package Manager: search for “System.Data.SQLite” and install the package.
Which version of SQLite should I use?In most cases, version 3 is recommended as it provides the latest features and security updates.
How can I ensure that my database is saved after closing the program?Make sure that the connection is closed properly and that all transactions are completed before you exit the program.


