Regularly updating your development environment is essential to benefit from the latest features and security patches. In this guide, you will learn how to update Visual Studio effectively and easily from the user interface.
Key Insights Updating Visual Studio is a simple and quick process. Make sure to save important projects beforehand to avoid data loss. The update may take a few minutes depending on the extent of the changes, and it is advisable to restart the system after the update to make the most of all functionalities.
Step-by-Step Guide
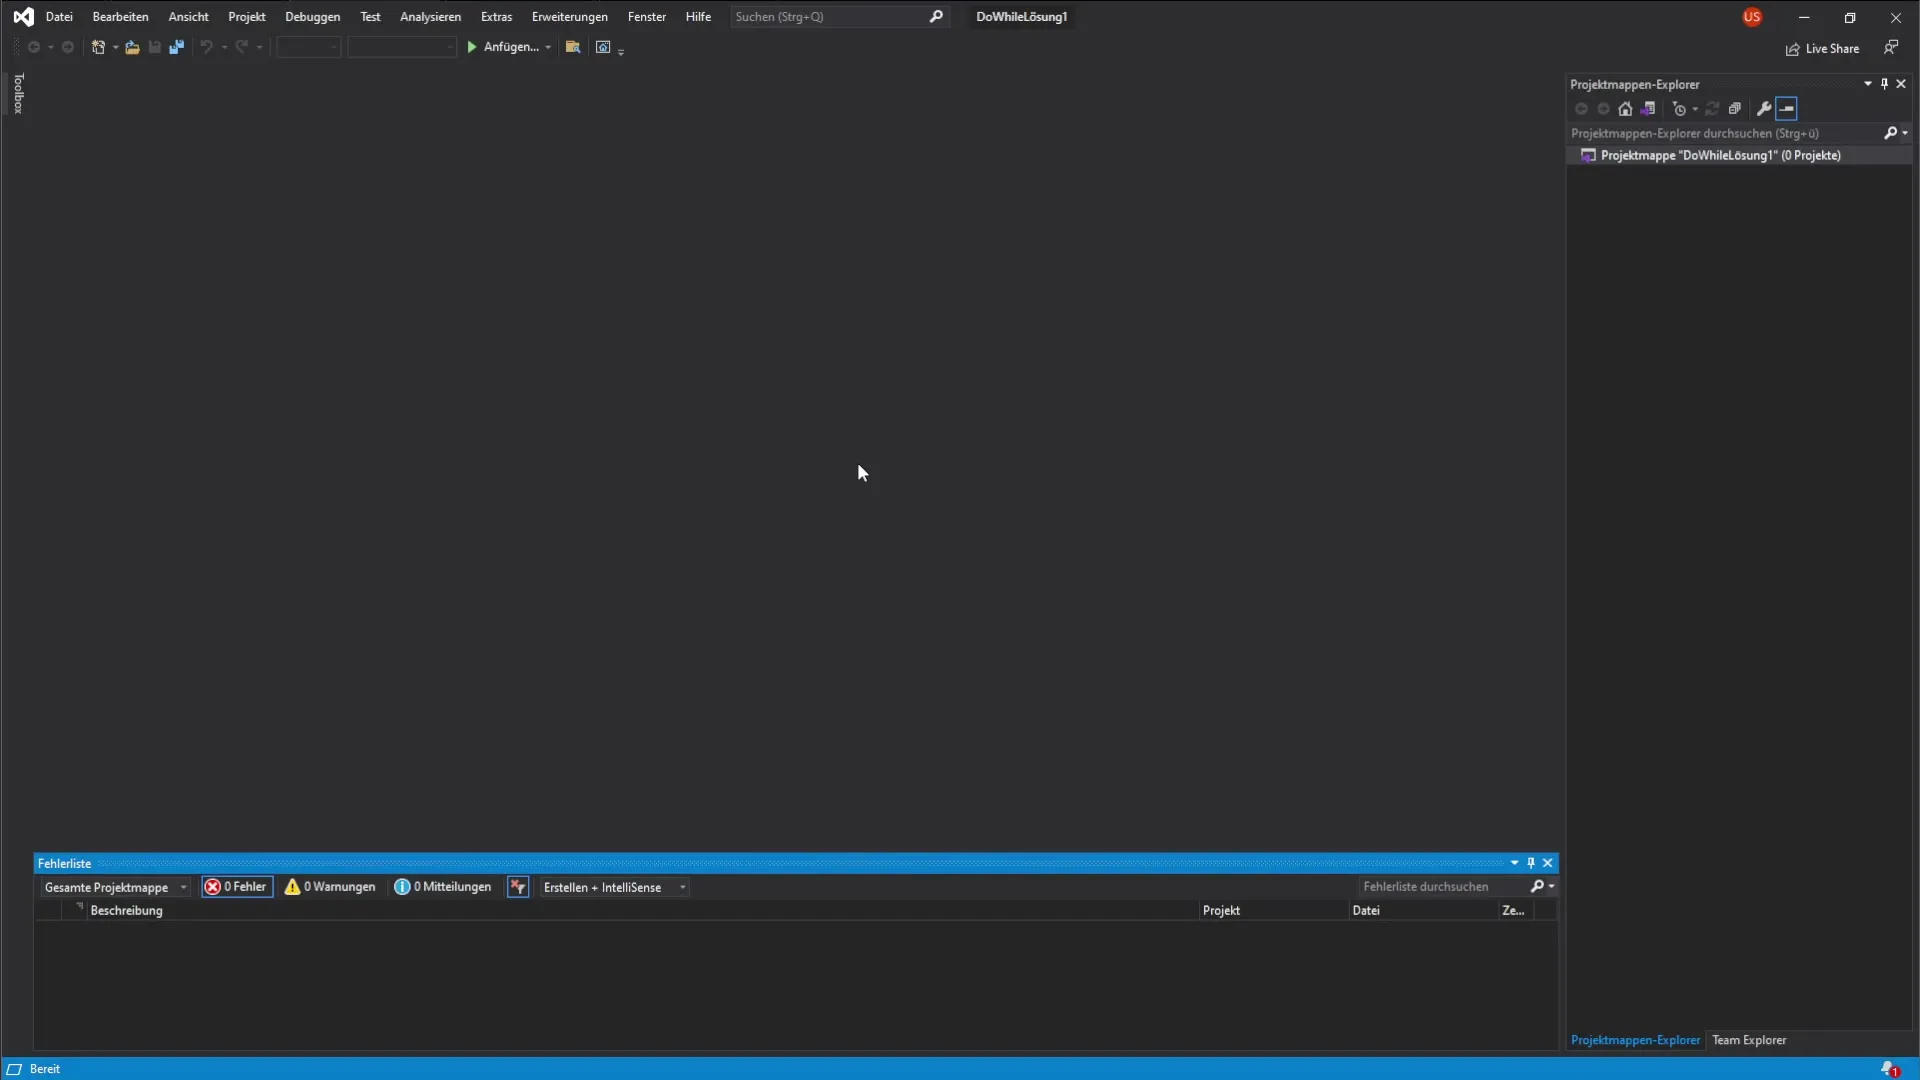
To begin, it is necessary to open Visual Studio. You should then take a close look at the user interface to find the update option.

You will notice a small bell icon in the lower right corner of the Visual Studio interface. This icon indicates that an update is available. Click on the bell to view the details of the update.
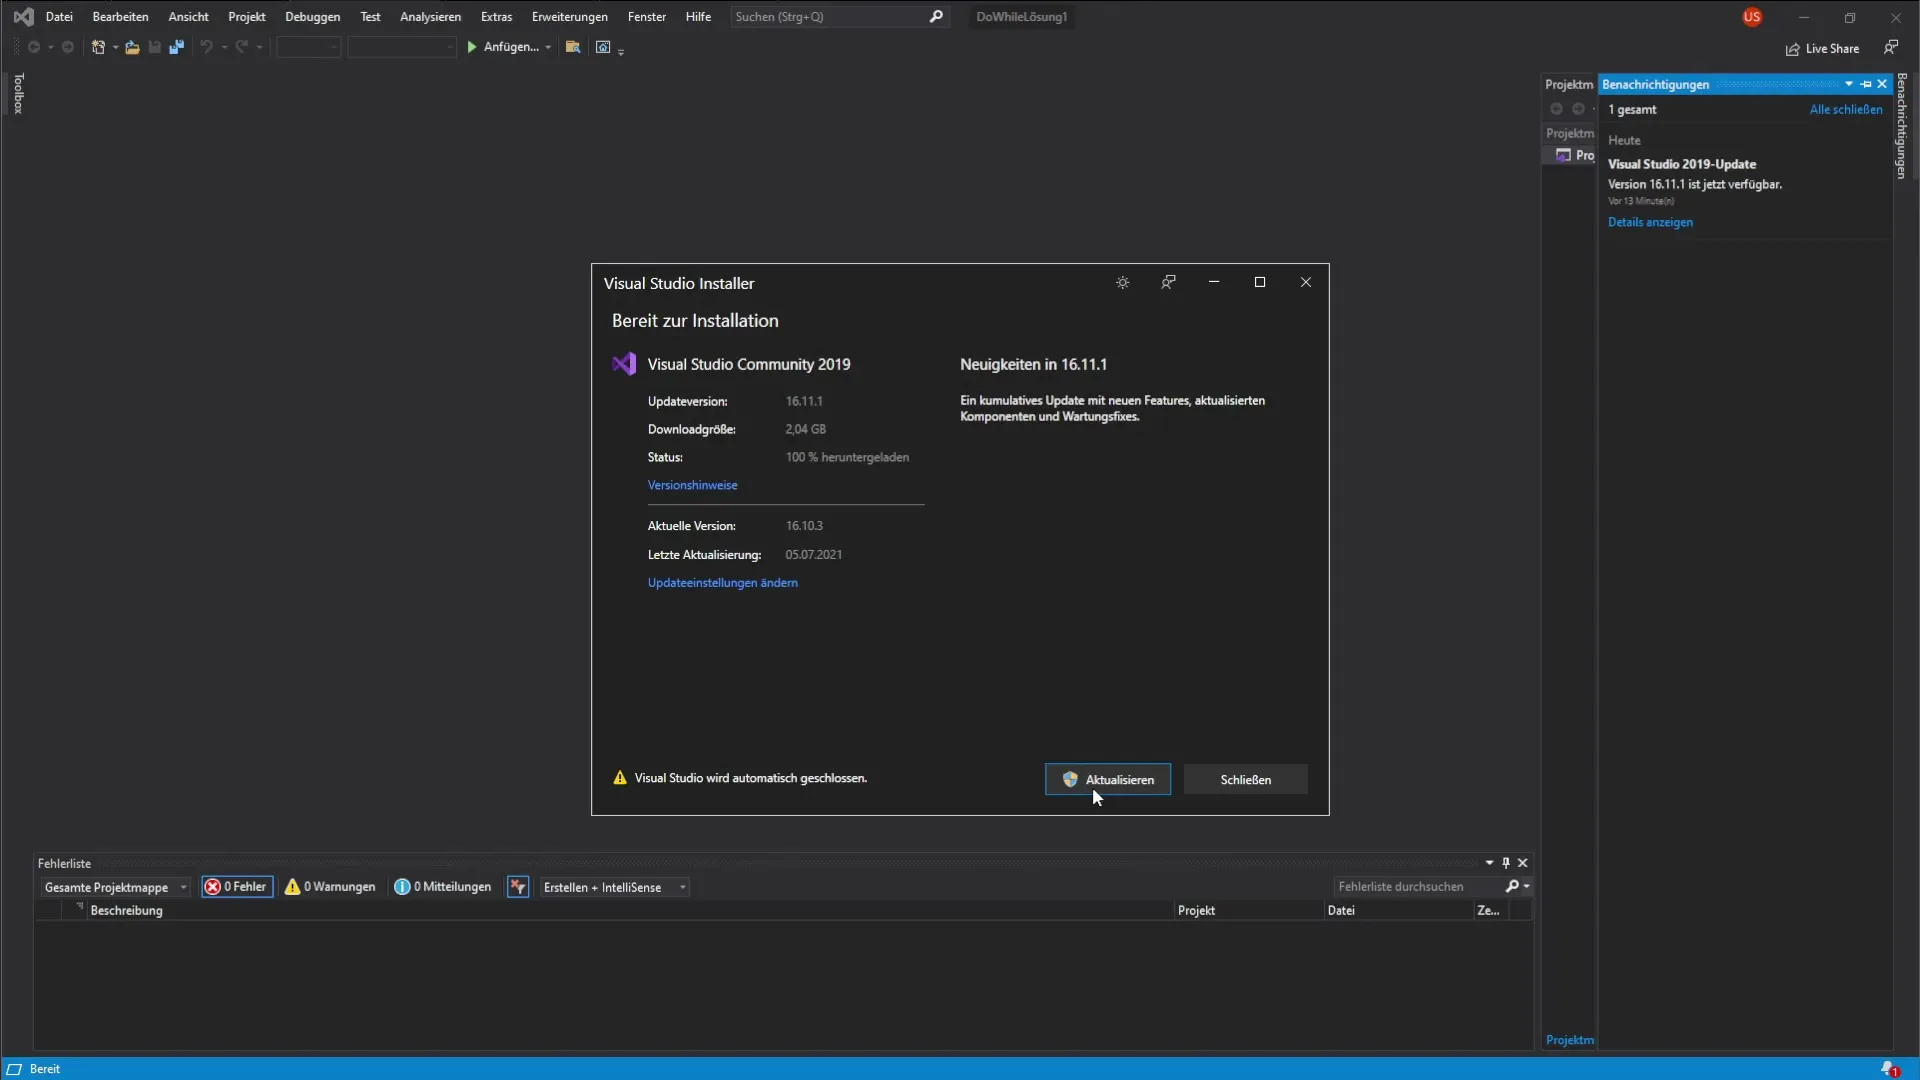
Here you will see the message about the current version of Visual Studio, which in your case is 2019. A new version will be presented to you, which can be downloaded onto your system.
To start the update process, simply press the “Update” button. Make sure that you inform yourself in advance whether this update will proceed smoothly.

After clicking "Update", your installer will open. This may take some time as the installer first checks for further available updates.
Once the installer has recognized the currently installed version, you will receive information about the required changes. Confirm the update process and be prepared for possible prompts about changes to the device.
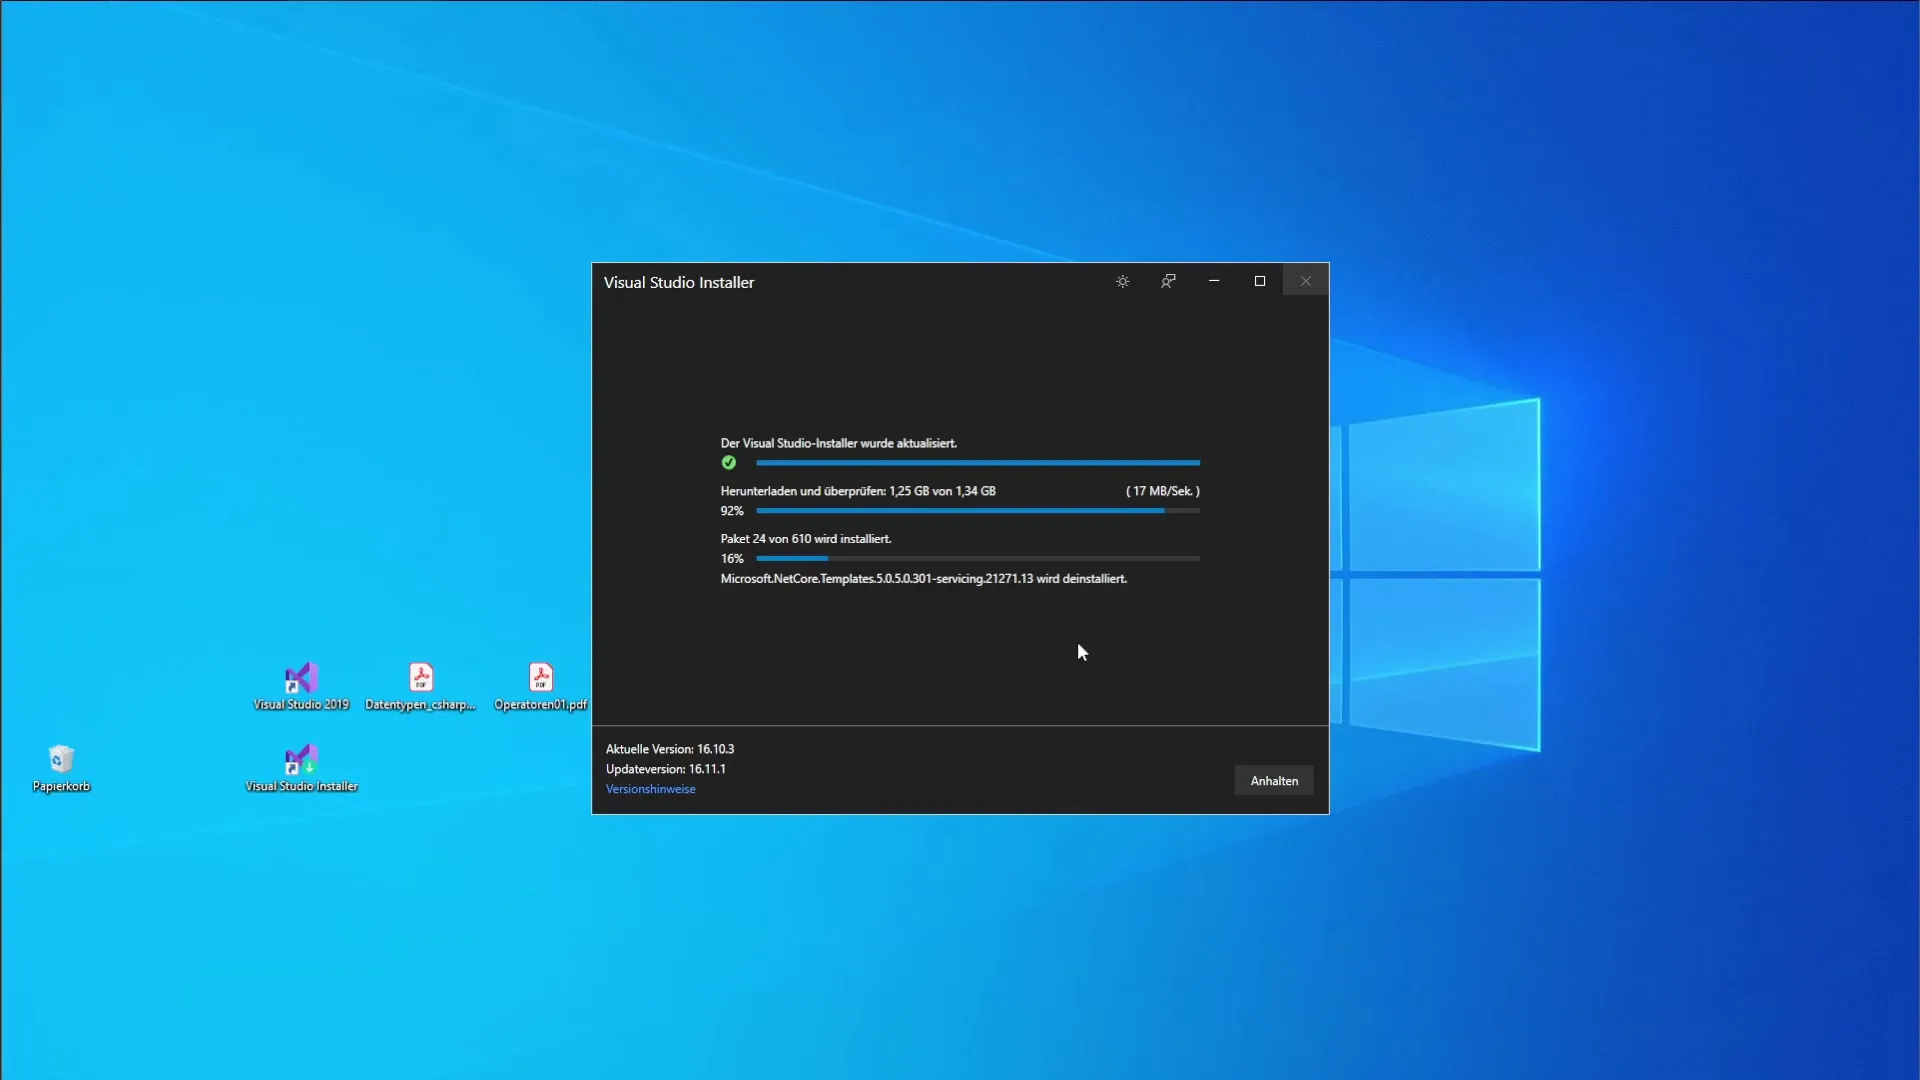
You may want to pause the update during the process. Note: The download time can vary between 5 to 10 minutes, depending on the size of the update and the speed of your internet connection.
If you are in a project during the update, a security warning will be displayed. Make sure to save all your work before the update.
While the packages are being downloaded and installed, you can monitor the progress. In total, this can amount to up to 1.34 GB of data, consisting of around 610 individual packages.

After the installation is complete, Visual Studio will automatically restart. This is an important step to ensure that all updated components load properly.
You may need to manually close the program to ensure all installation processes are completed.
As the installer remains active in the background, you can also close it. To ensure that all changes take effect, it is advisable to restart the operating system.
Once Windows has restarted, open Visual Studio again to ensure everything is working as desired. Also, check the bell display in the lower right corner. If it no longer appears, you can rely on the fact that you have updated to the latest version.
If you encounter difficulties or have questions during the update process, do not hesitate to seek support. These steps ensure that your Visual Studio remains reliable and secure.
Summary – Updating Visual Studio: Step-by-Step Guide
Regularly updating Visual Studio is essential for optimal software development. With this step-by-step guide, you are well-equipped to carry out updates efficiently and without major effort.
Frequently Asked Questions
How often should I update Visual Studio?It is recommended to update Visual Studio regularly, at least every few months or as soon as new releases are available.
Could an update affect my project?Generally not, but it is important to save and back up all work before the update.
What can I do if the update fails?Check the error messages and try to run the update again. If problems persist, I recommend consulting technical support forums or colleagues for advice.
Is there a way to schedule updates?Visual Studio allows you to enable automatic updates, relieving you of the need for manual checks and installations.


