The creation of user interfaces is a central part of software development. With WPF(Windows Presentation Foundation), it is easy to develop interactive and engaging applications. In this guide, you will learn how to add, customize, and configure various properties of a Textboxin WPF.
Main insights You will understand how to create a Textbox using the toolbox, customize its content and properties, and ultimately access the code-behind to extend the use of textboxes.
Step-by-Step Guide
To createyour first Textbox, here are the steps you should follow:
Step 1: Open toolbox and add Textbox
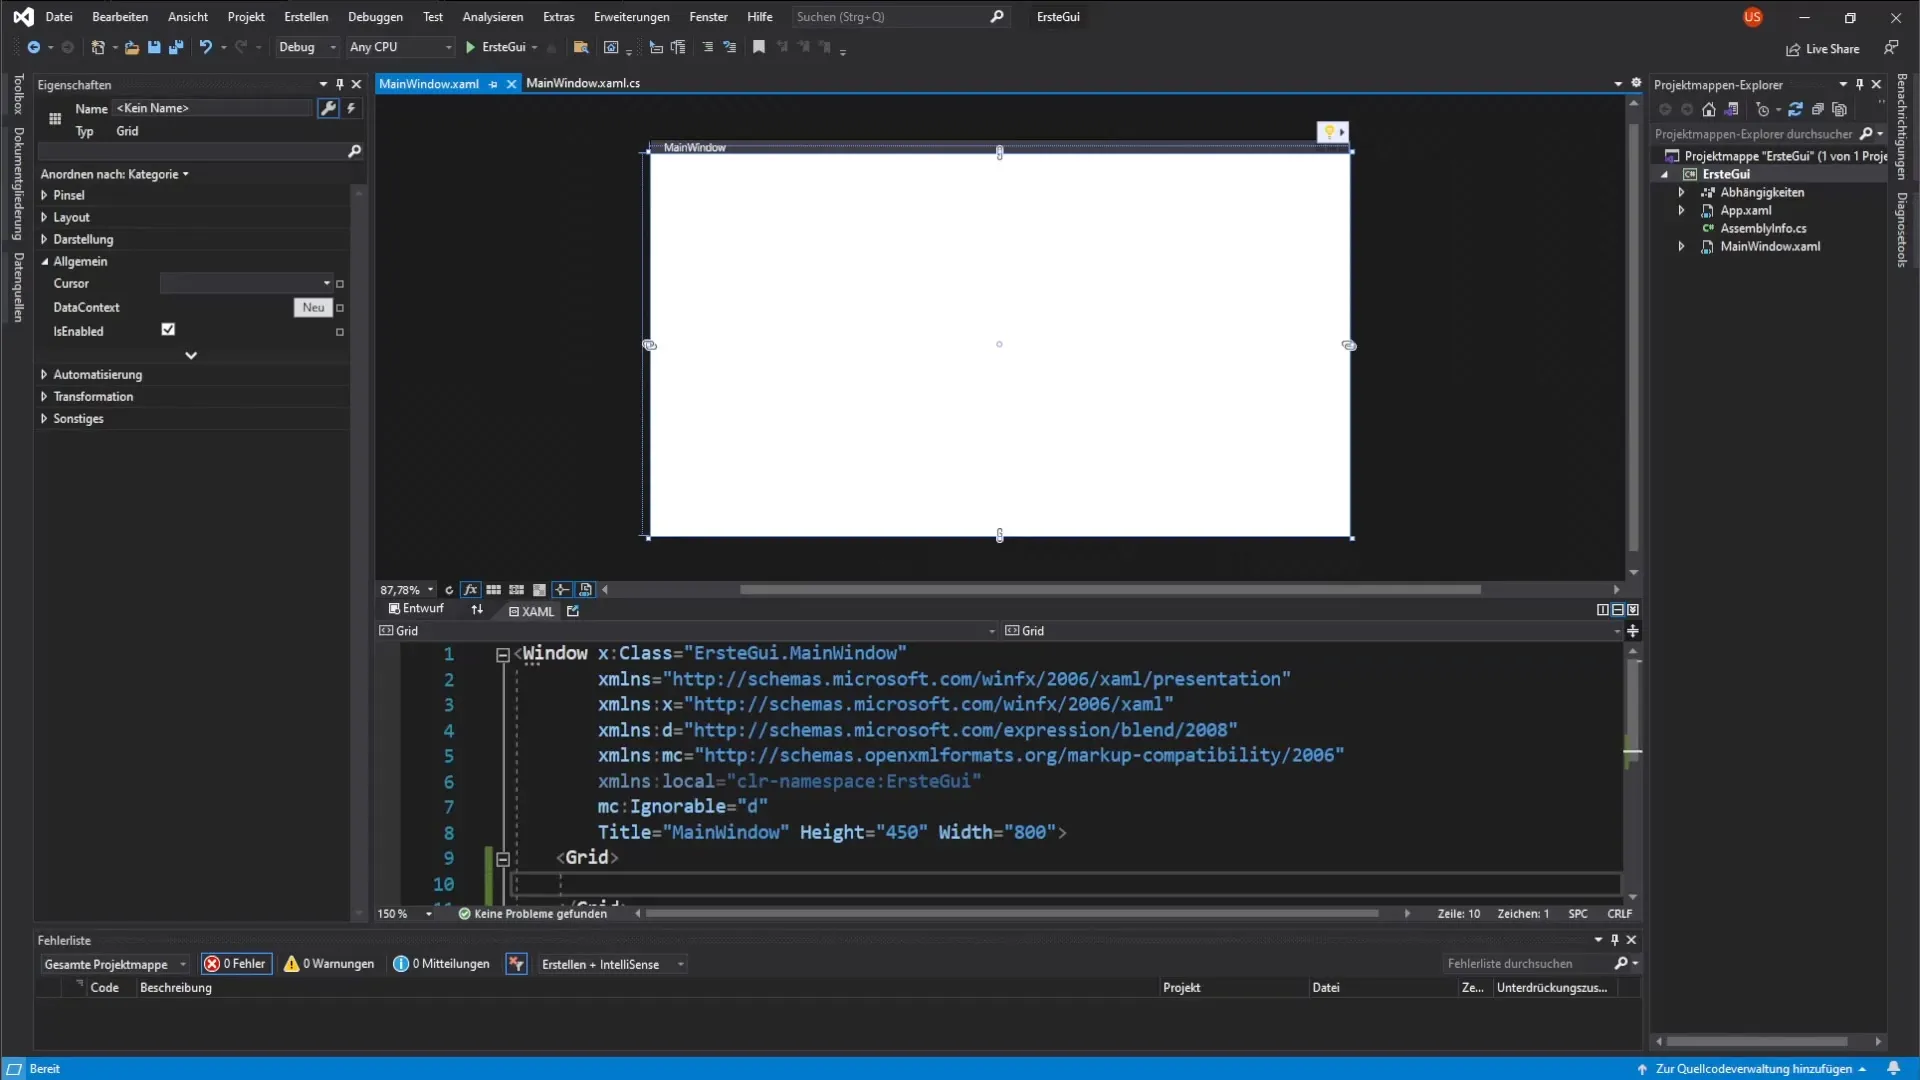
The easiest way to add a Textbox to your user interface is to use the toolbox. Open the toolbox by clicking on it. You will find the Textbox at the bottom. Select it with a left click, then go to the main window designer (MainWindow) and drag the Textbox to the desired location on your user interface. Release the mouse button to place the Textbox. Now you have successfully created a Textbox.
Step 2: Customize Text
You will now see the placed Textbox in the designer. To change the displayed text, simply double-click the Textbox. An input field will appear where you can specify the desired text. I recommend giving the Textbox a recognizable name so you can easily identify it in your code. For this example, you will name the Textbox "TextboxCodeDesigner".
Step 3: Adjust size and position
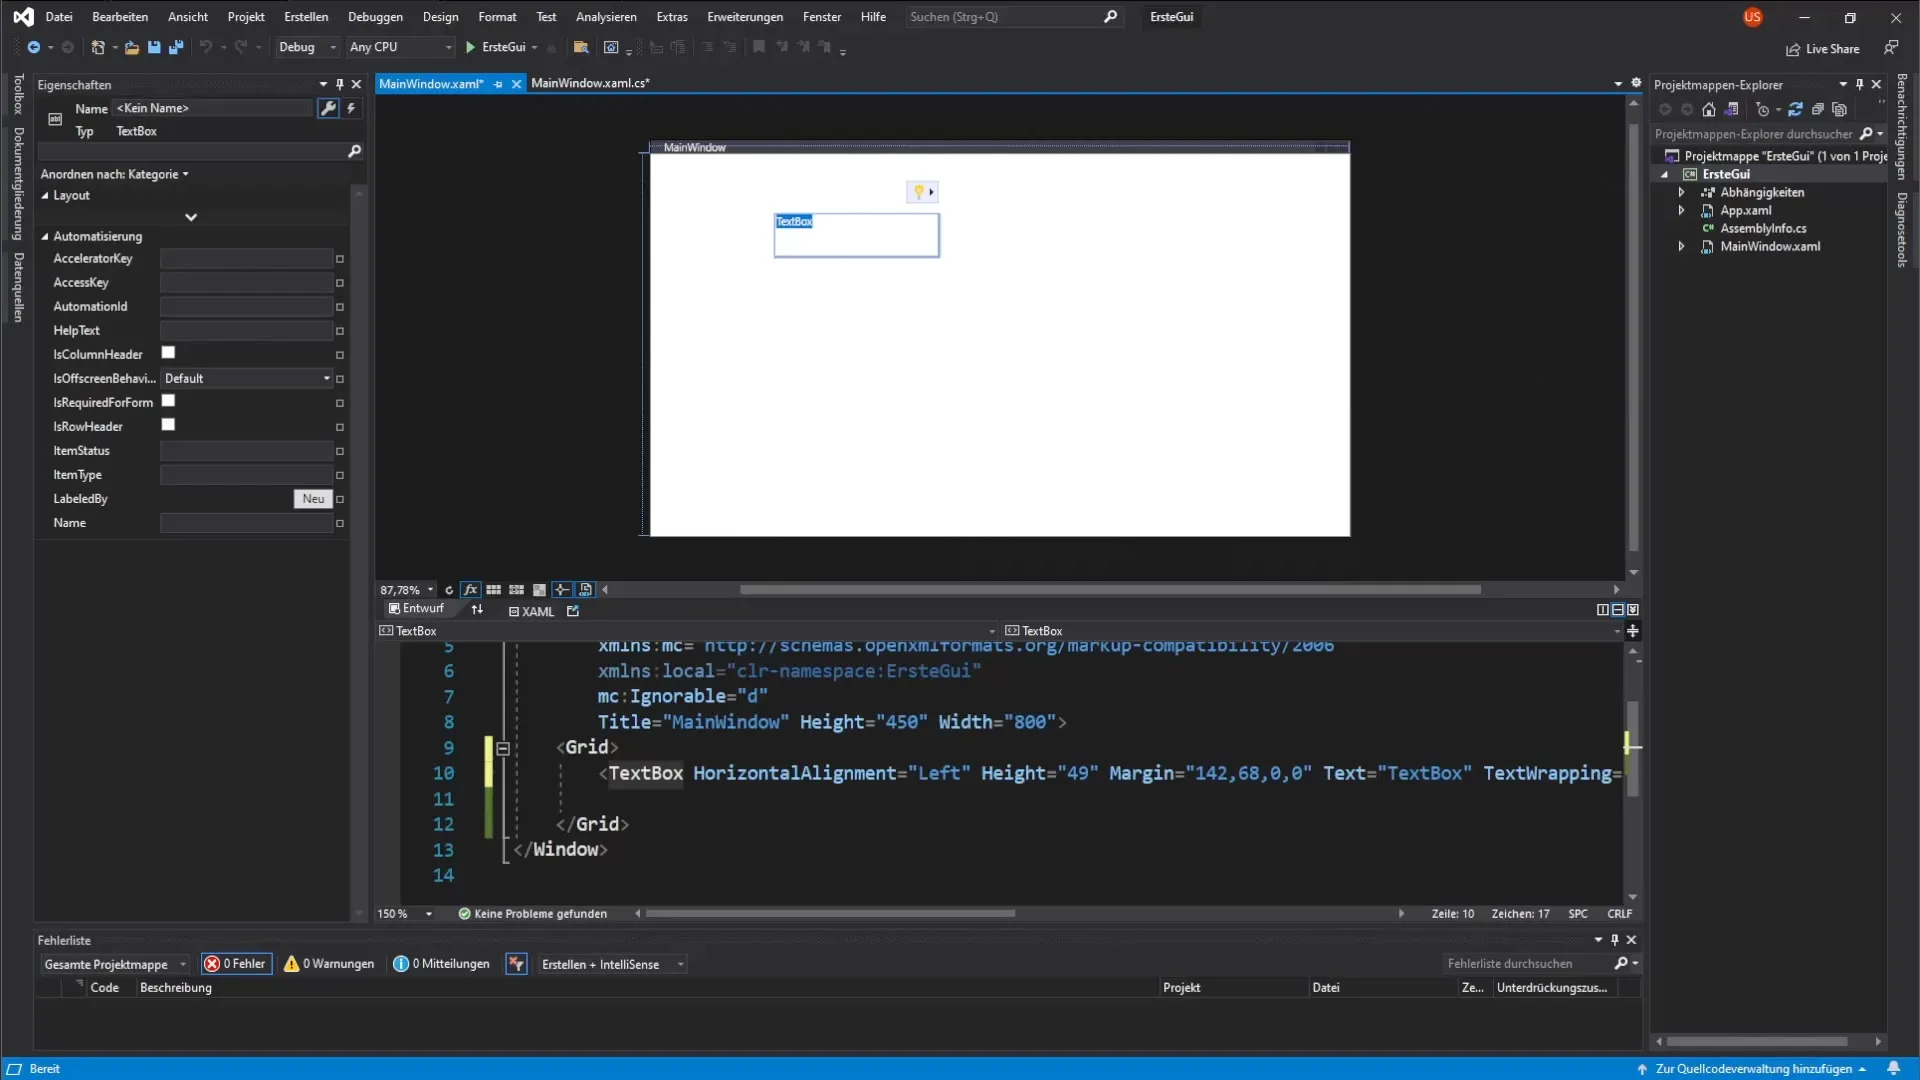
To change the size of the Textbox, you can simply click and drag the edges. Make sure the Textbox has enough space for the full text. You can also manually adjustthe height and width in the properties. For example, you could set the height to 28 pixels and the width to 130 pixels. This ensures that the text is displayed correctly.
Step 4: Name the Textbox
To make it easier to identify your Textbox, you should also give it a name. In the properties on the left side, you will find the field for the name where you can enter "TextboxDesigner". This helps you keep track of different controls.
Step 5: Test the user interface
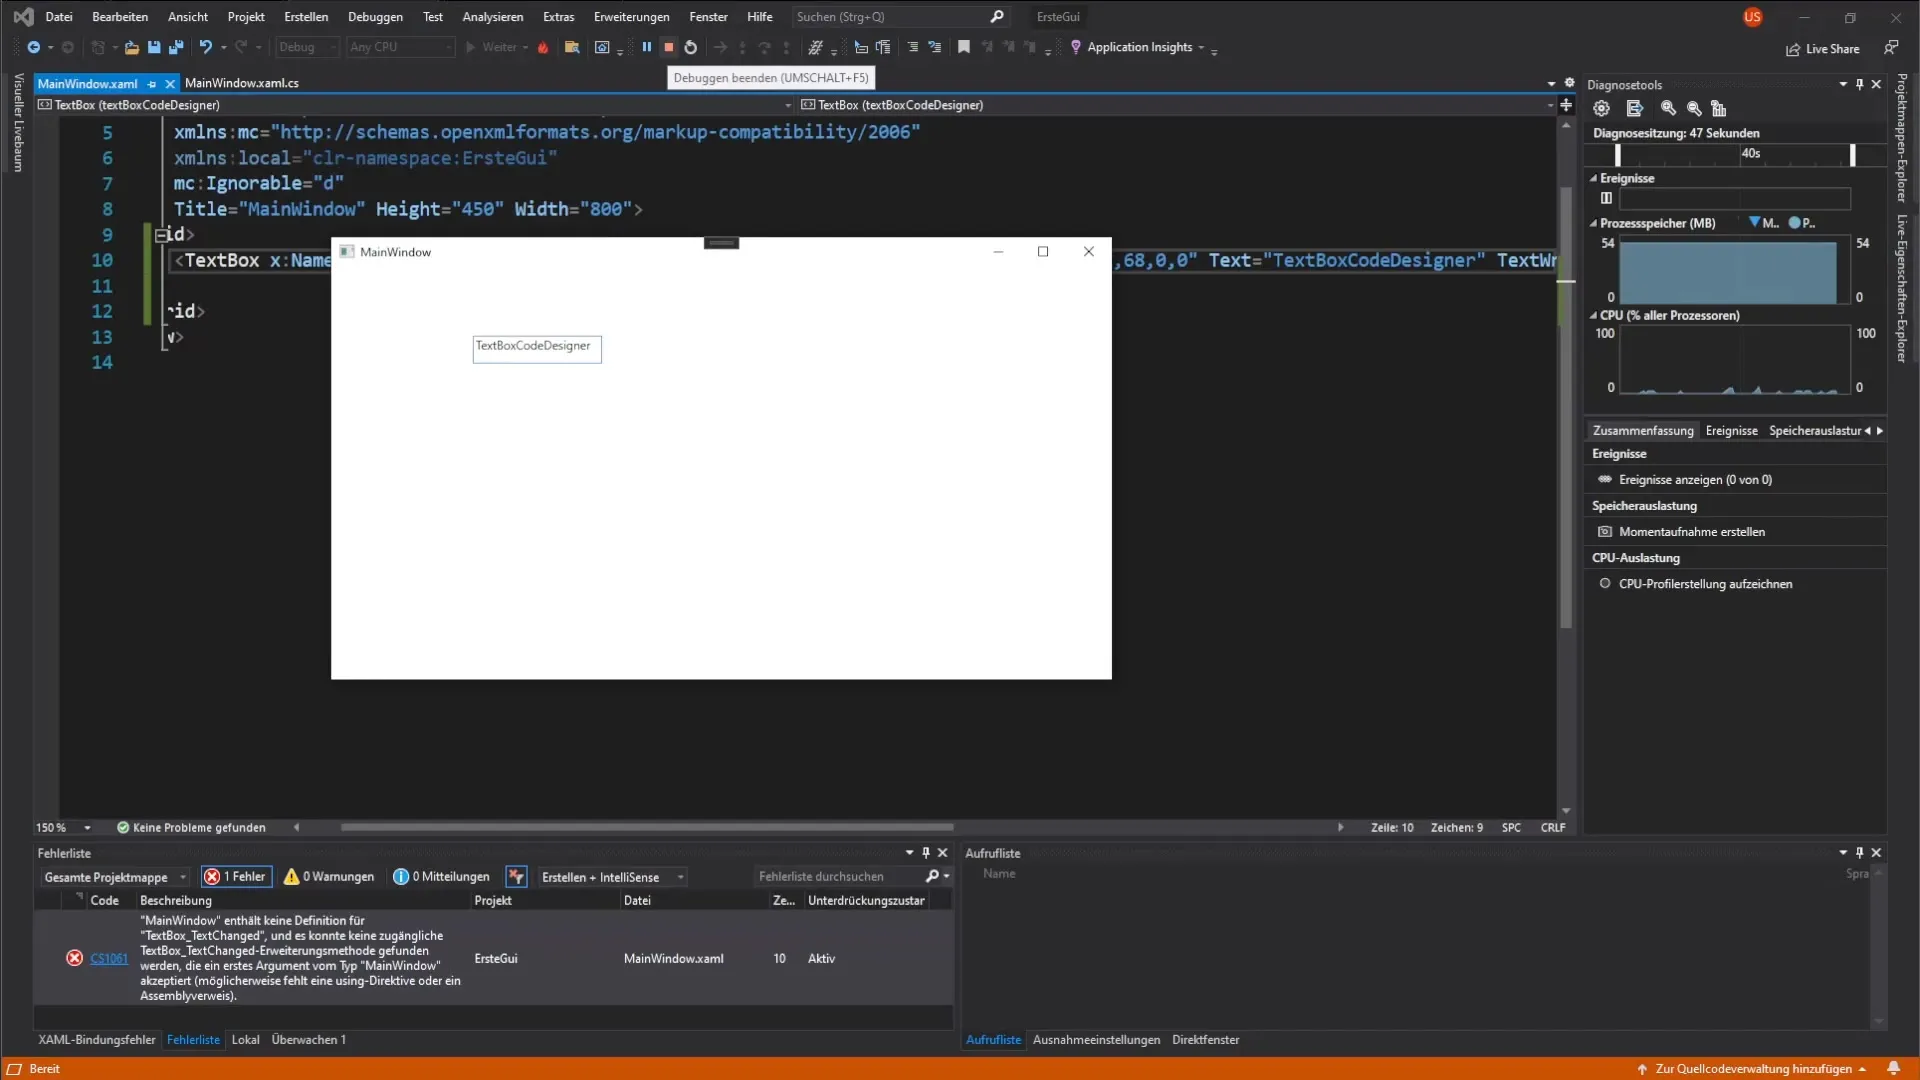
Start your application to check if everything is displayed correctly. You should see the main window where your Textbox appears with the specified content. You have now learned the basics of creating a Textbox.
Step 6: Customize Textbox in the XAML editor
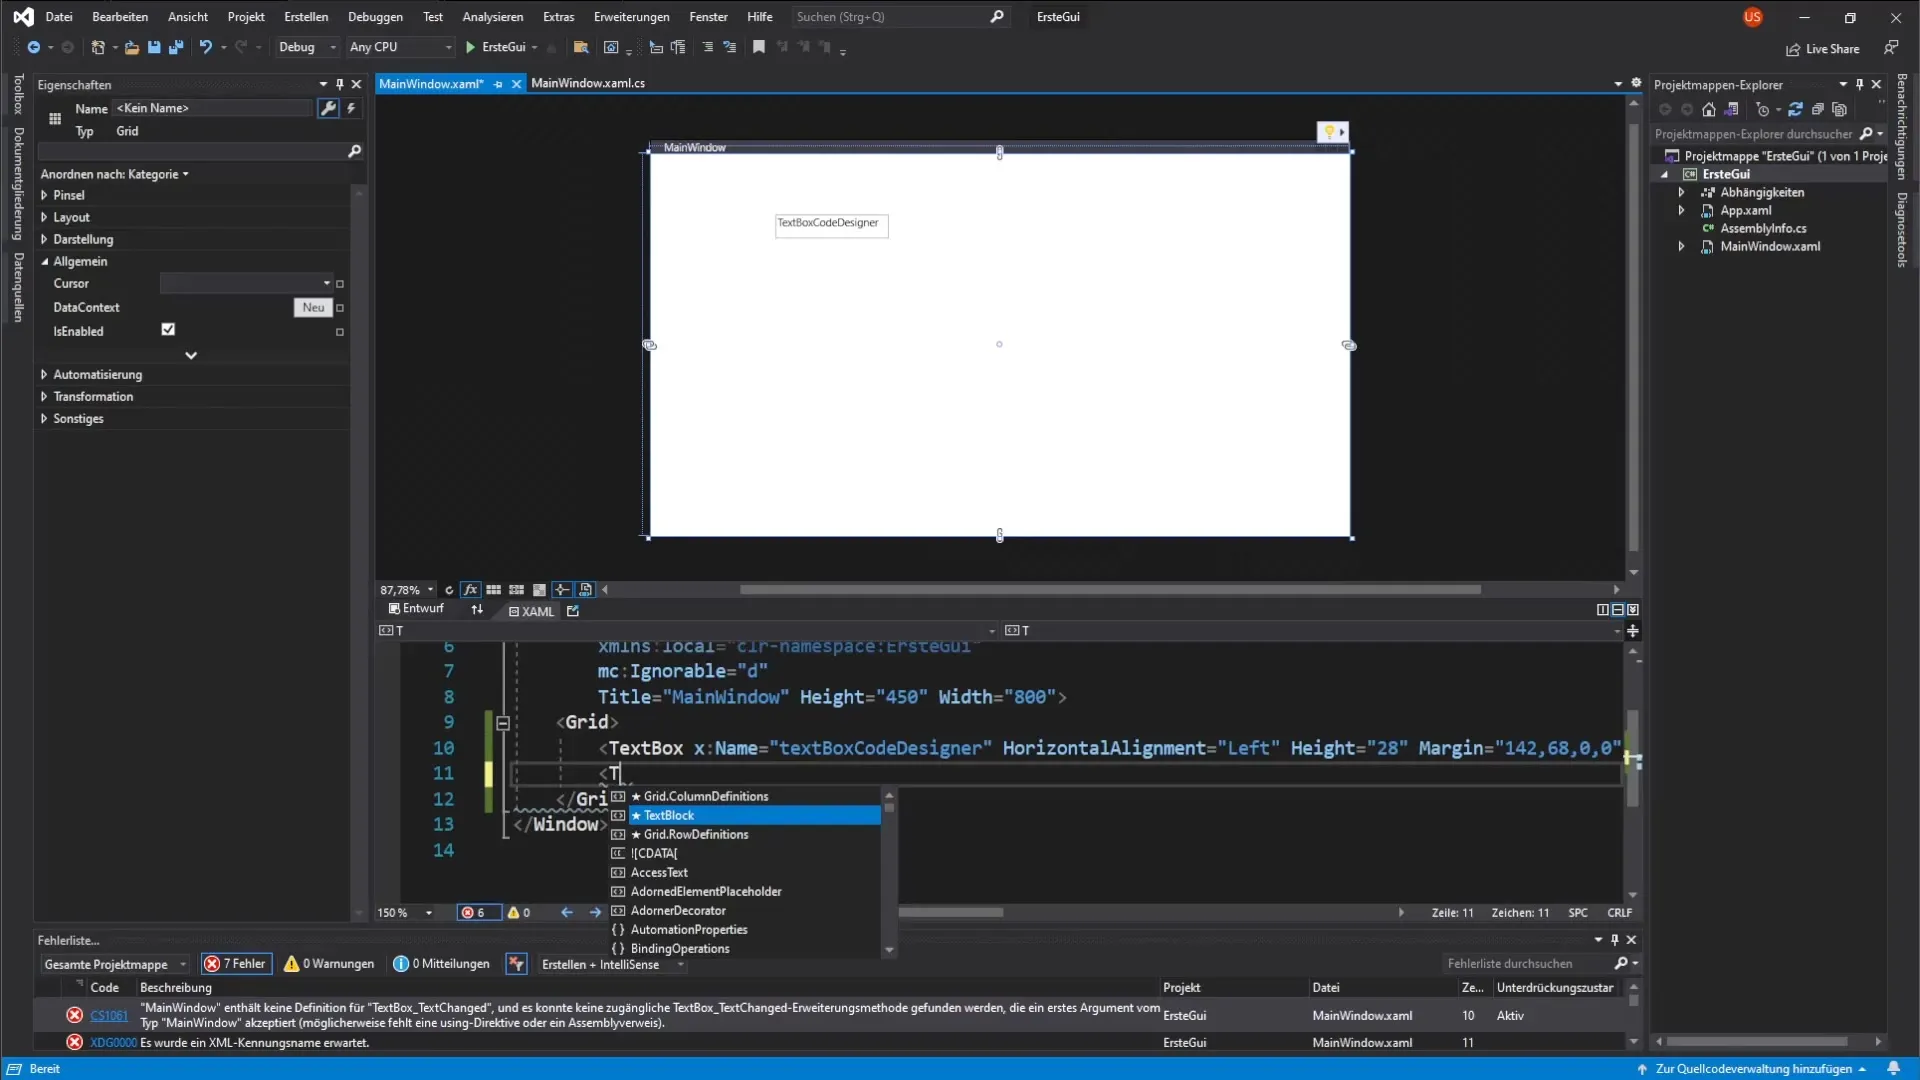
When you look at the XAML code, you will notice that a new line was automatically added to the XAML code editor when the Textbox was created. Here, you can make alternative adjustments. For example, the code might look like this:
Step 7: Add second Textbox
To add a second Textbox, go back to the toolbox and add a new Textbox as described in step 1. You can also give it a name and content to distinguish it from the previous one.
Step 8: Connect Textbox with code-behind
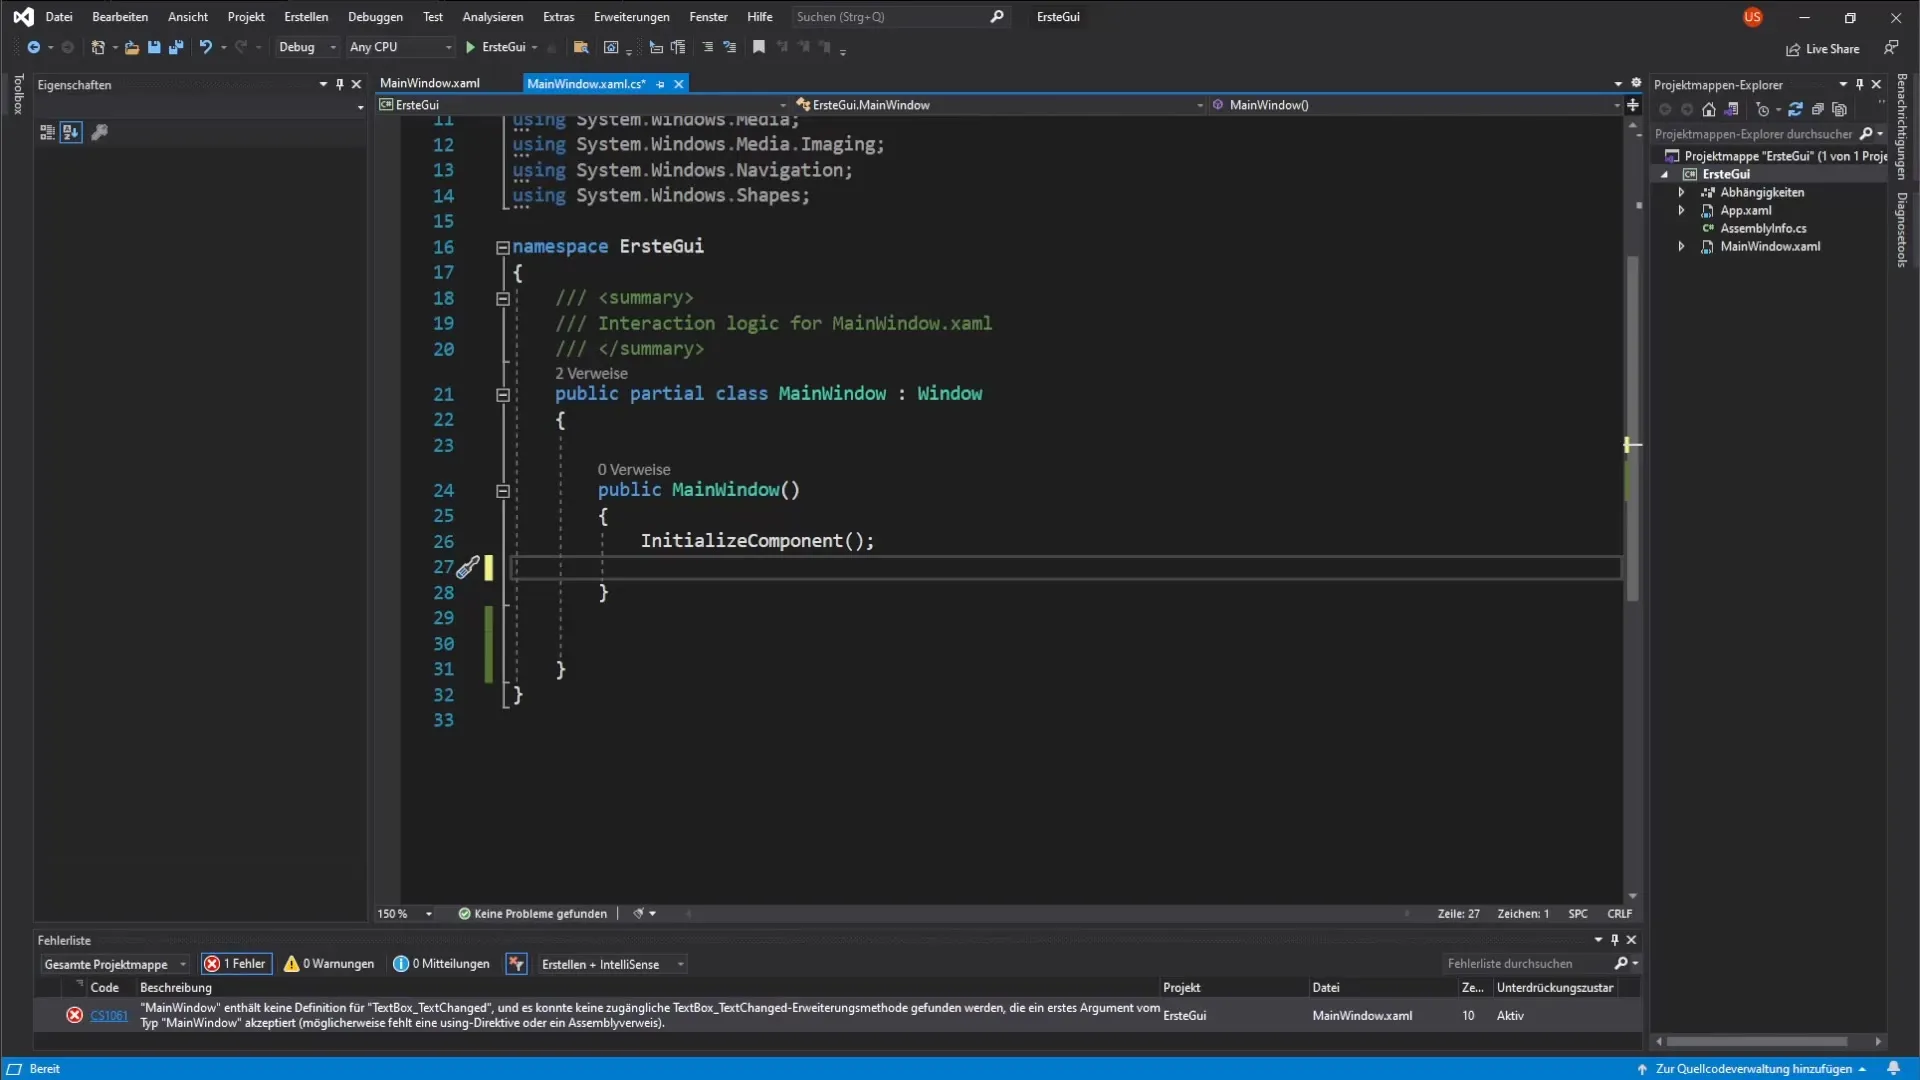
To work with the Textbox in the code-behind, you need to ensure that all controls, including the Textbox, have a name. In the code-behind, you can then add event-driven code. For example, you might define a Textbox in your MainWindow.xaml.cs like this: TextBox textboxCodeBehind = new TextBox(); textboxCodeBehind.Name = "TextboxCodeBehind';
Step 9: Set Textbox parameters in code-behind
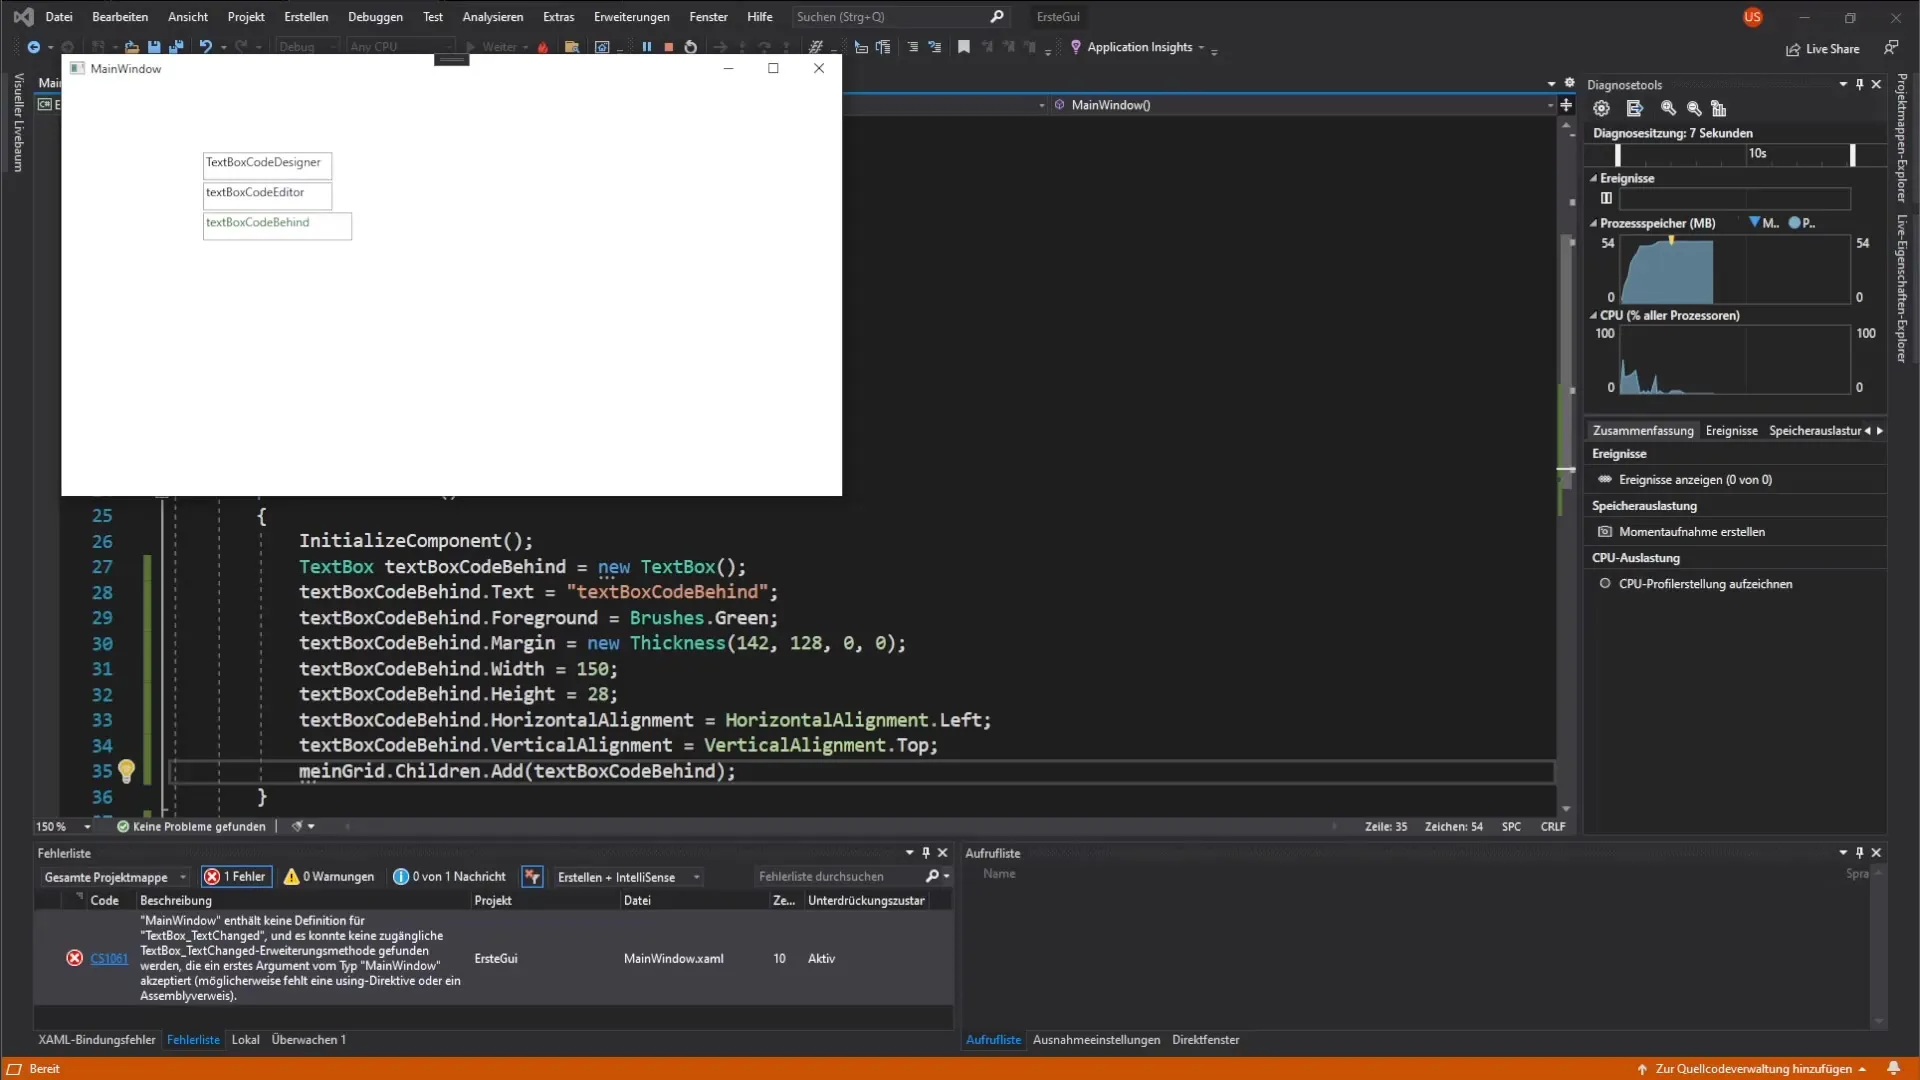
Every control in your code-behind should be configured to display correctly in the user interface. You can set the text color and other properties just like you would in the designer. An example would be: textboxCodeBehind.Text = "Textbox Code Behind";
Step 10: Test the user interface
Restart the project to ensure that the added Textboxes are displayed as desired. You should be able to see both the Textboxes you created in the designer and those you created in the code-behind.
Step 11: Practice and further expansion
To deepen your knowledge further, I recommend creating additional Textboxes both in the designer and the code-behind. Experiment with different texts, positions, and layouts to gain a better understanding of the possibilities.
Summary – Getting Started with Textboxes in WPF
You have now learned how to create, customize, and change the properties of Textboxes in WPF. The three methods: through the toolbox, the XAML code editor, and the code-behind, allow you flexible design of your user interface.
FAQ
How do I add a Textbox in WPF?A Textbox is dragged from the toolbox into the main window.
How can I change the text of a Textbox?Double-click on the Textbox in the designer and change the text in the input field.
Where can I adjust the properties of a Textbox?In the properties list on the left side of the designer, you can adjust the height, width, and the name of the Textbox.
Why do I need to give a Textbox a name?A name makes it easier to access the Textbox in the code-behind.
How do I work with the Textbox in the code-behind?The Textbox needs to have an ID in XAML first to be addressed in the code-behind.
